Use the VSTS Release extension with ReadyRoll
Published 03 April 2018
If you have any feedback on this feature please let us know in our forum.
This tutorial takes you through each stage of setting up a database release pipeline using Visual Studio Team Services (VSTS) and the DLM Automation Release extension.
1. Prerequisites
Make sure you have the following:
- A DLM Automation build in VSTS that creates a NuGet package from your source-controlled ReadyRoll project and publishes it as an artifact. See Using the VSTS Build extension.
- DLM Automation 2: Release VSTS plugin installed. See Set up the VSTS Release extension.
2. Create a release definition
A VSTS release definition is similar to a build definition. It defines your environments, release processes, variables and other options.
- In your VSTS account, go to your Projects page
In this tutorial, we'll be releasing the database, WidgetShop. This is the same database used in the tutorial Using the VSTS Build extension. - In the top menu, click Build and Release.
- Click the Releases tab
- Click New definition
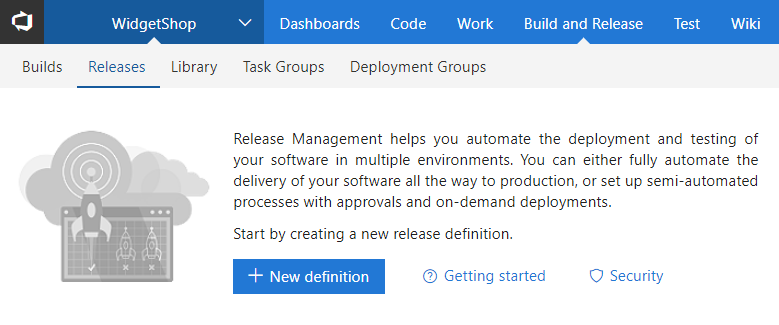
- Click Empty process at the top of the Select a template page.
3. Create the target environments
An environment usually represents a stage in your development process.
For this guide, we'll use one environment: production.
Although it's not covered in this tutorial, a database release is also likely to involve releasing a corresponding application or website.
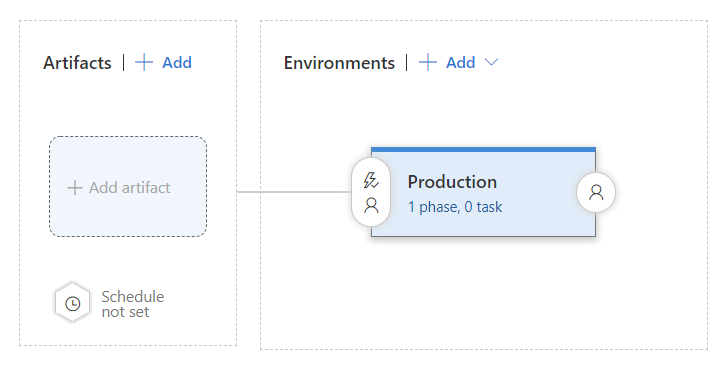
To set up the environment:
- Click on Environment 1 and then rename it to Production
4. Link to a build definition
A release definition is often linked to a build definition. The build definition is used to release the artifacts published by a particular build. In this case, we want to release the NuGet package that was published by our WidgetShop build definition.
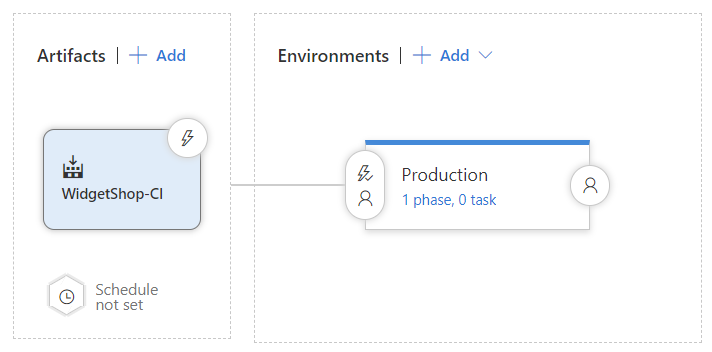
- Click Add artifact
- In Source type select Build
- In Project, select your project
- In Source (Build definition), select your build definition
- In Default version, select Latest
- Click Add
5. Build the deployment process
- In the production environment, click 1 phase, 0 task.
- On the left of the screen you should see the phases of your build. In Phase 1, click the plus icon to add a task.
- Find Redgate DLM Automation 2: Release in the list of tasks and click the Add button

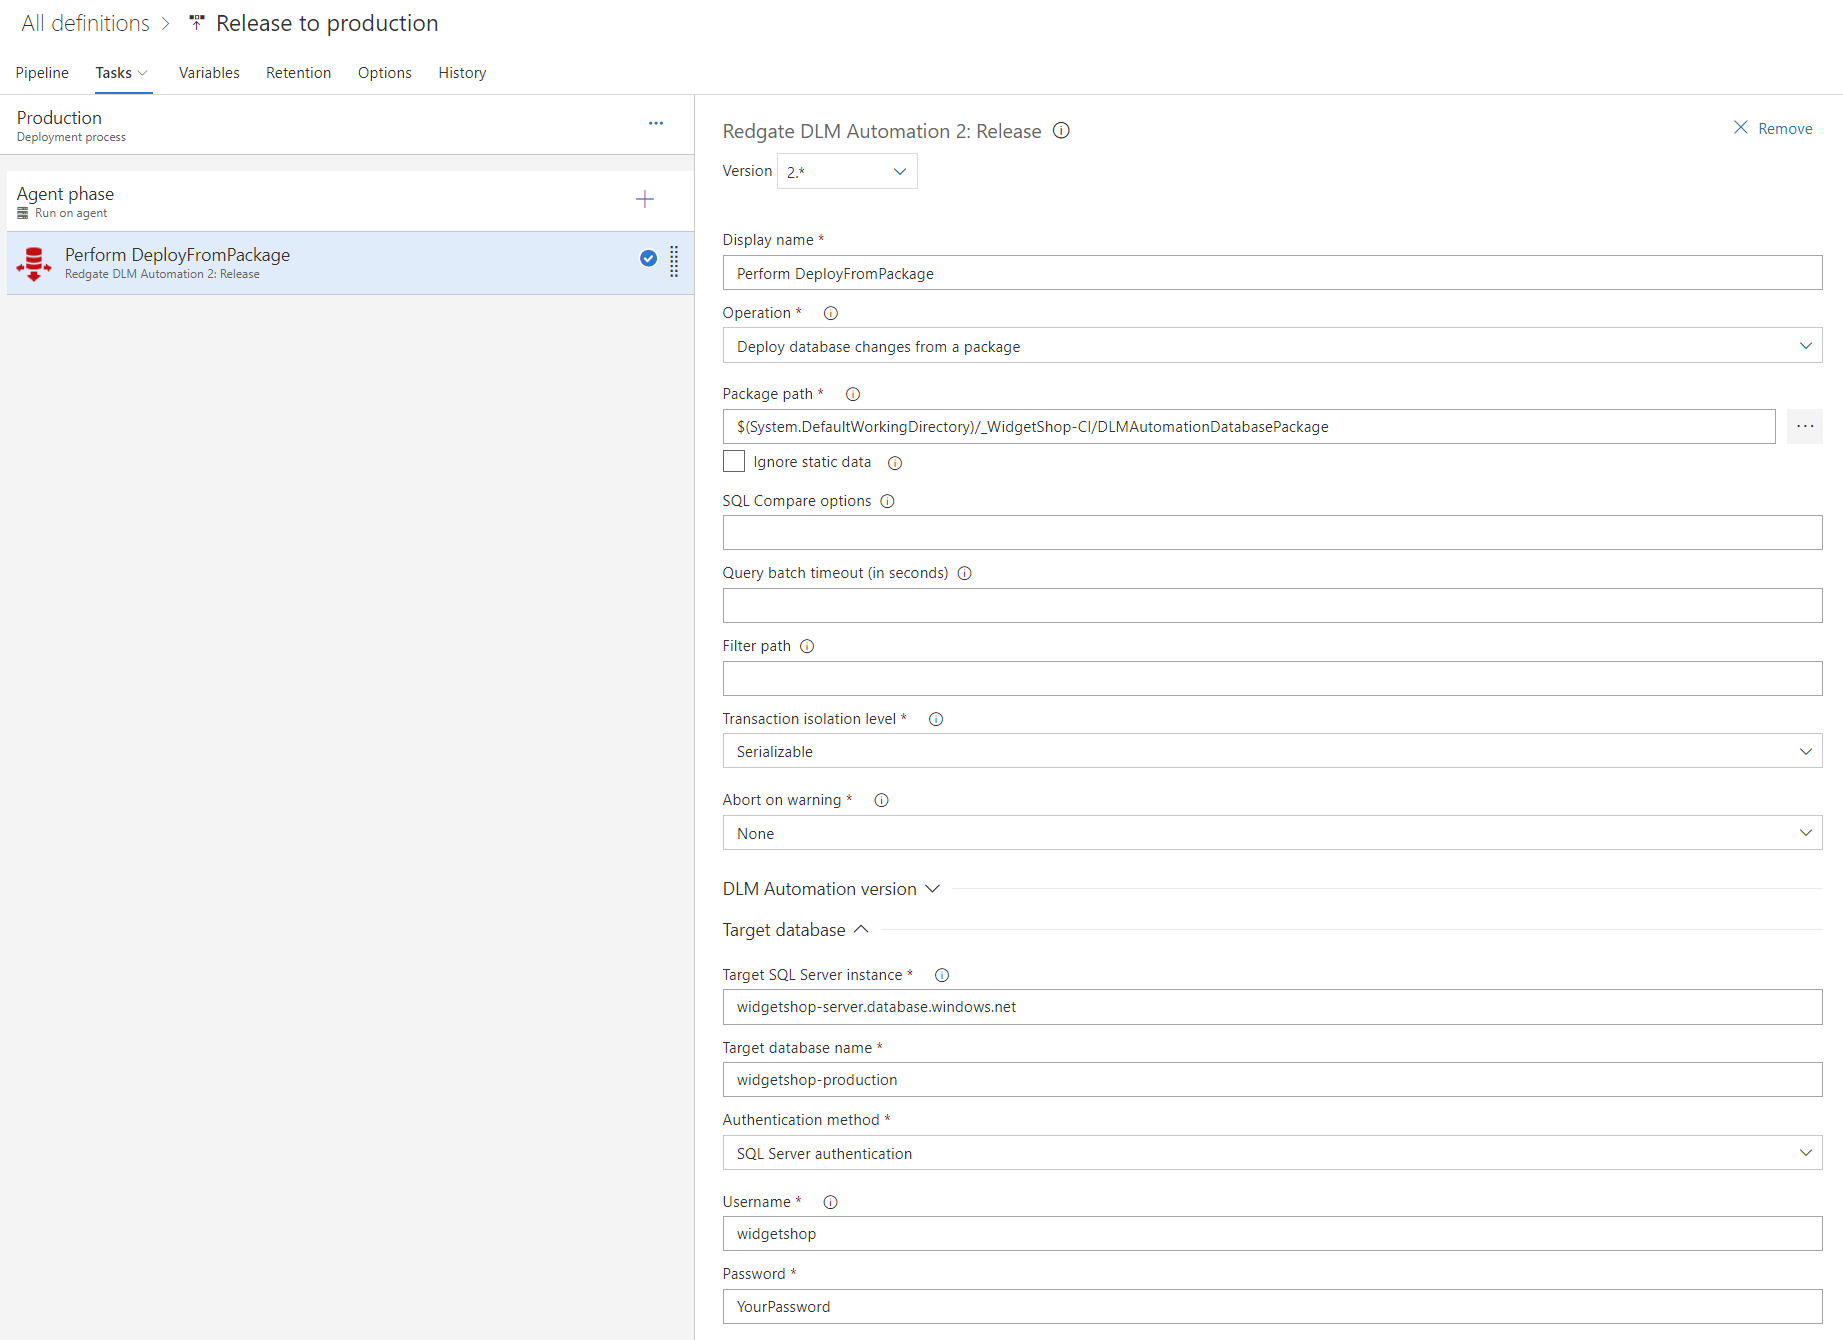
- Click the Redgate DLM Automation 2: Release task that has been added as part of phase 1.
- In Display name, enter Deploy database changes
- In Operation, select Deploy database changes from a package.
- In Package path, click the ellipsis (...). Select the parent directory of your nuget package from the build artifacts.
In the Target database section, enter the following details:
- In Target SQL Server instance, enter the name of your production server.
- In Target database name, enter the name of your production database.
Select the Authentication Method for the production server. If you select SQL Server Authentication, you also need to give your SQL Server username and password.
- In Password, enter $(MyPassword).
- If you want to store the password globally, click Configuration.
- If you want to store the password by environment, click the ellipsis on the relevant environment and then click Configure variables.
- Click Add variable.
- In Name, enter MyPassword.
- In Value, enter your password.
- Click the
 icon to hide the password.
 - Click OK.
Click Save.
6. Run a full release
You're now ready to run a release:
- Click Release in the top right hand corner and select Create Release.
- Click Create to queue the release.
The deployment process will now continue and release to production.
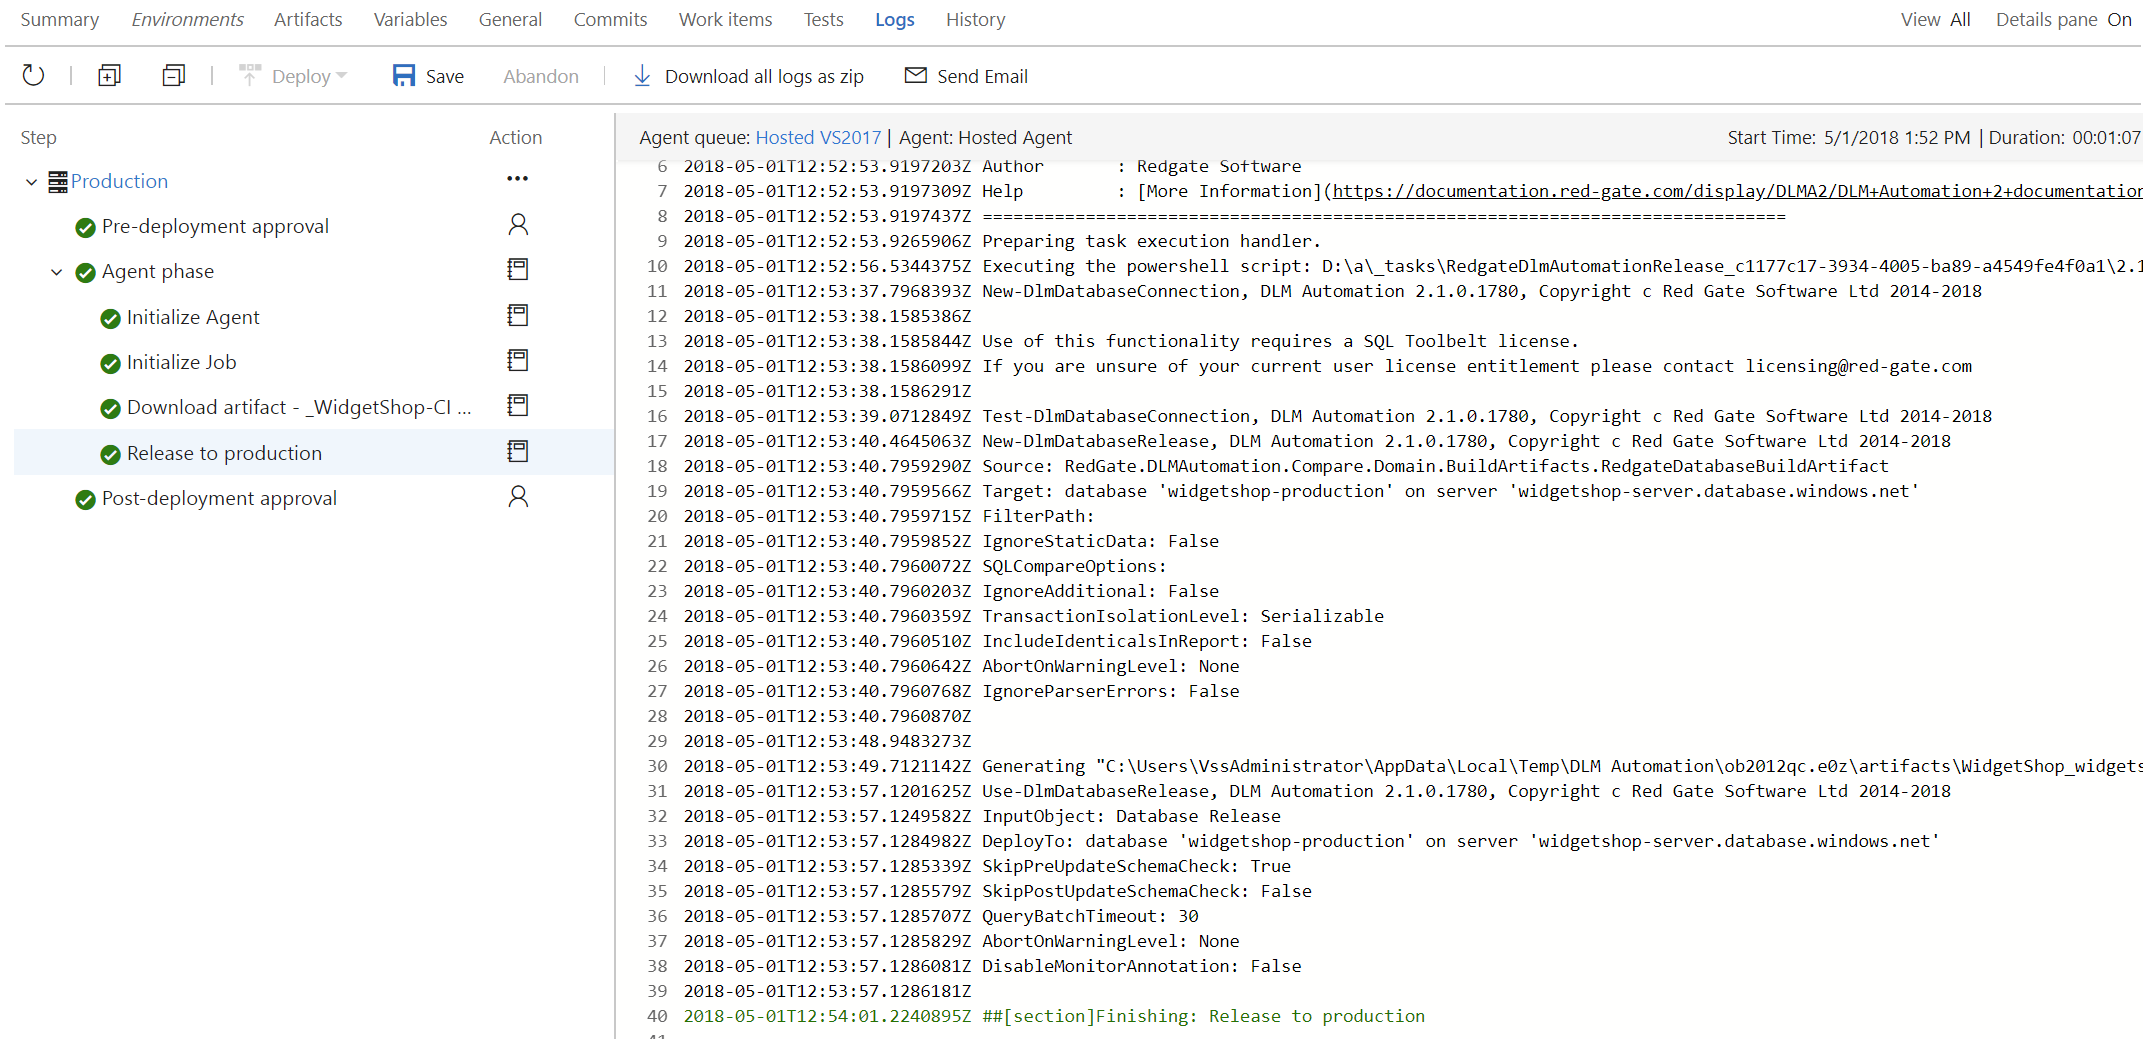
7. Review the release
- Click on Release-<number> to see a summary of the release.
- Click on the Logs tab menu to see the log output of the DLM Automation Build step.
This documentation contains proprietary information and is protected by copyright law.
Copyright © 2026 Red Gate Software Limited. All rights reserved


