Flyway POC Worfkflow
Published 06 January 2026
The purpose of this section is to replicate in a simple, controlled environment all of the commands that compose a flyway CICD pipeline. Devops tools execute CLI, these are the CLI commands they will run.
Set Up Flyway
We have a 15 minute video on how to set up the project here.
Test Flyway
Example Flyway commands are provided on the Automated Deployment page in Flyway Desktop. Everything that is done in a CI/CD deployment pipeline (Azure DevOps, GitHub Actions, Gitlab, Harness, etc.) can and should be tested via CLI. This is the fastest path to testing out the functionality. For additional samples, see:
- CLI commands (Suitable for copy/paste in terminal from Flyway Desktop)
Let's walk through the basic building blocks that compose a flyway implementation. There are several core commands.
- Flyway migrate will deploy everything that is pending.
- Flyway check can run code analysis as well as drift detection, separately or together.
- Flyway undo can undo a deployment script by executing the corresponding U script.
- Migrate and undo support cherryPick and target parameters to further define the action and order, if necessary.
- In your project, go ahead and make some changes to your "development" database. This is the database you make changes to and flyway extracts changes from, in order to generate the migration script for you.
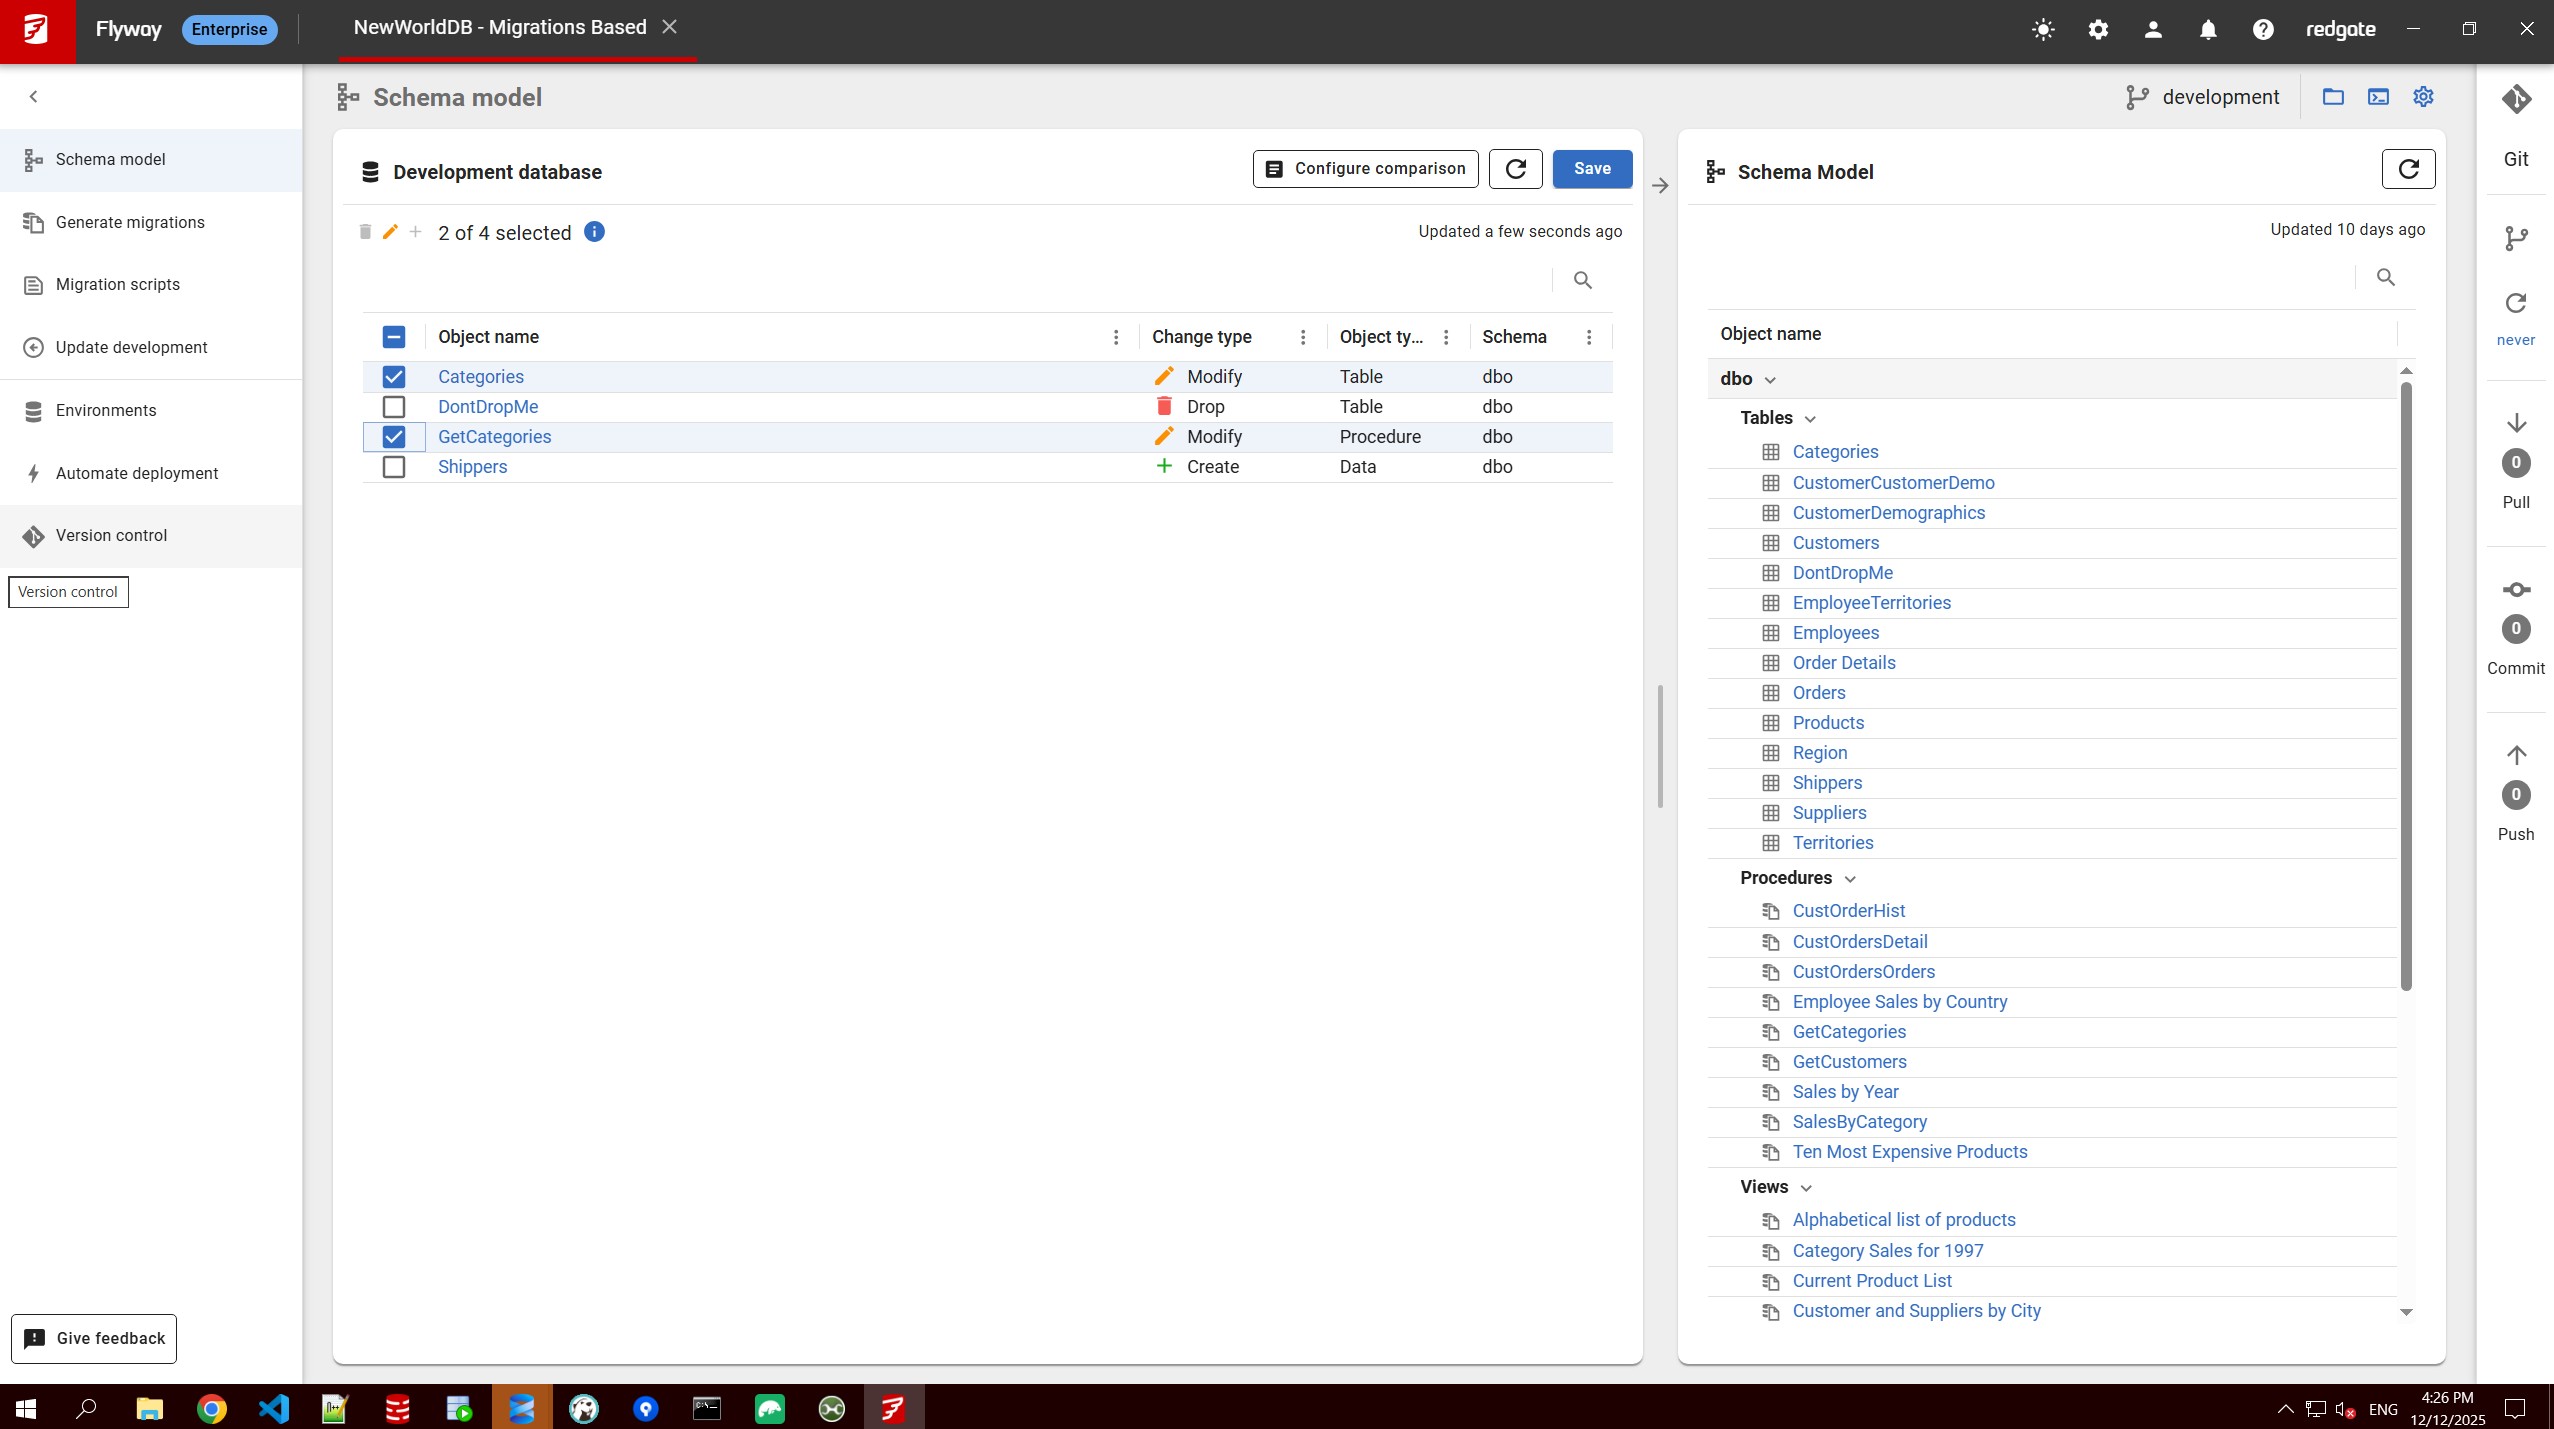
- Once you have uncaptured changes, 1st step is to save to your schema model. All actions inside of Flyway Desktop can be automated, but the UI is a good starting place and even finishing place for many teams.
- Select the objects to save in the schema model.
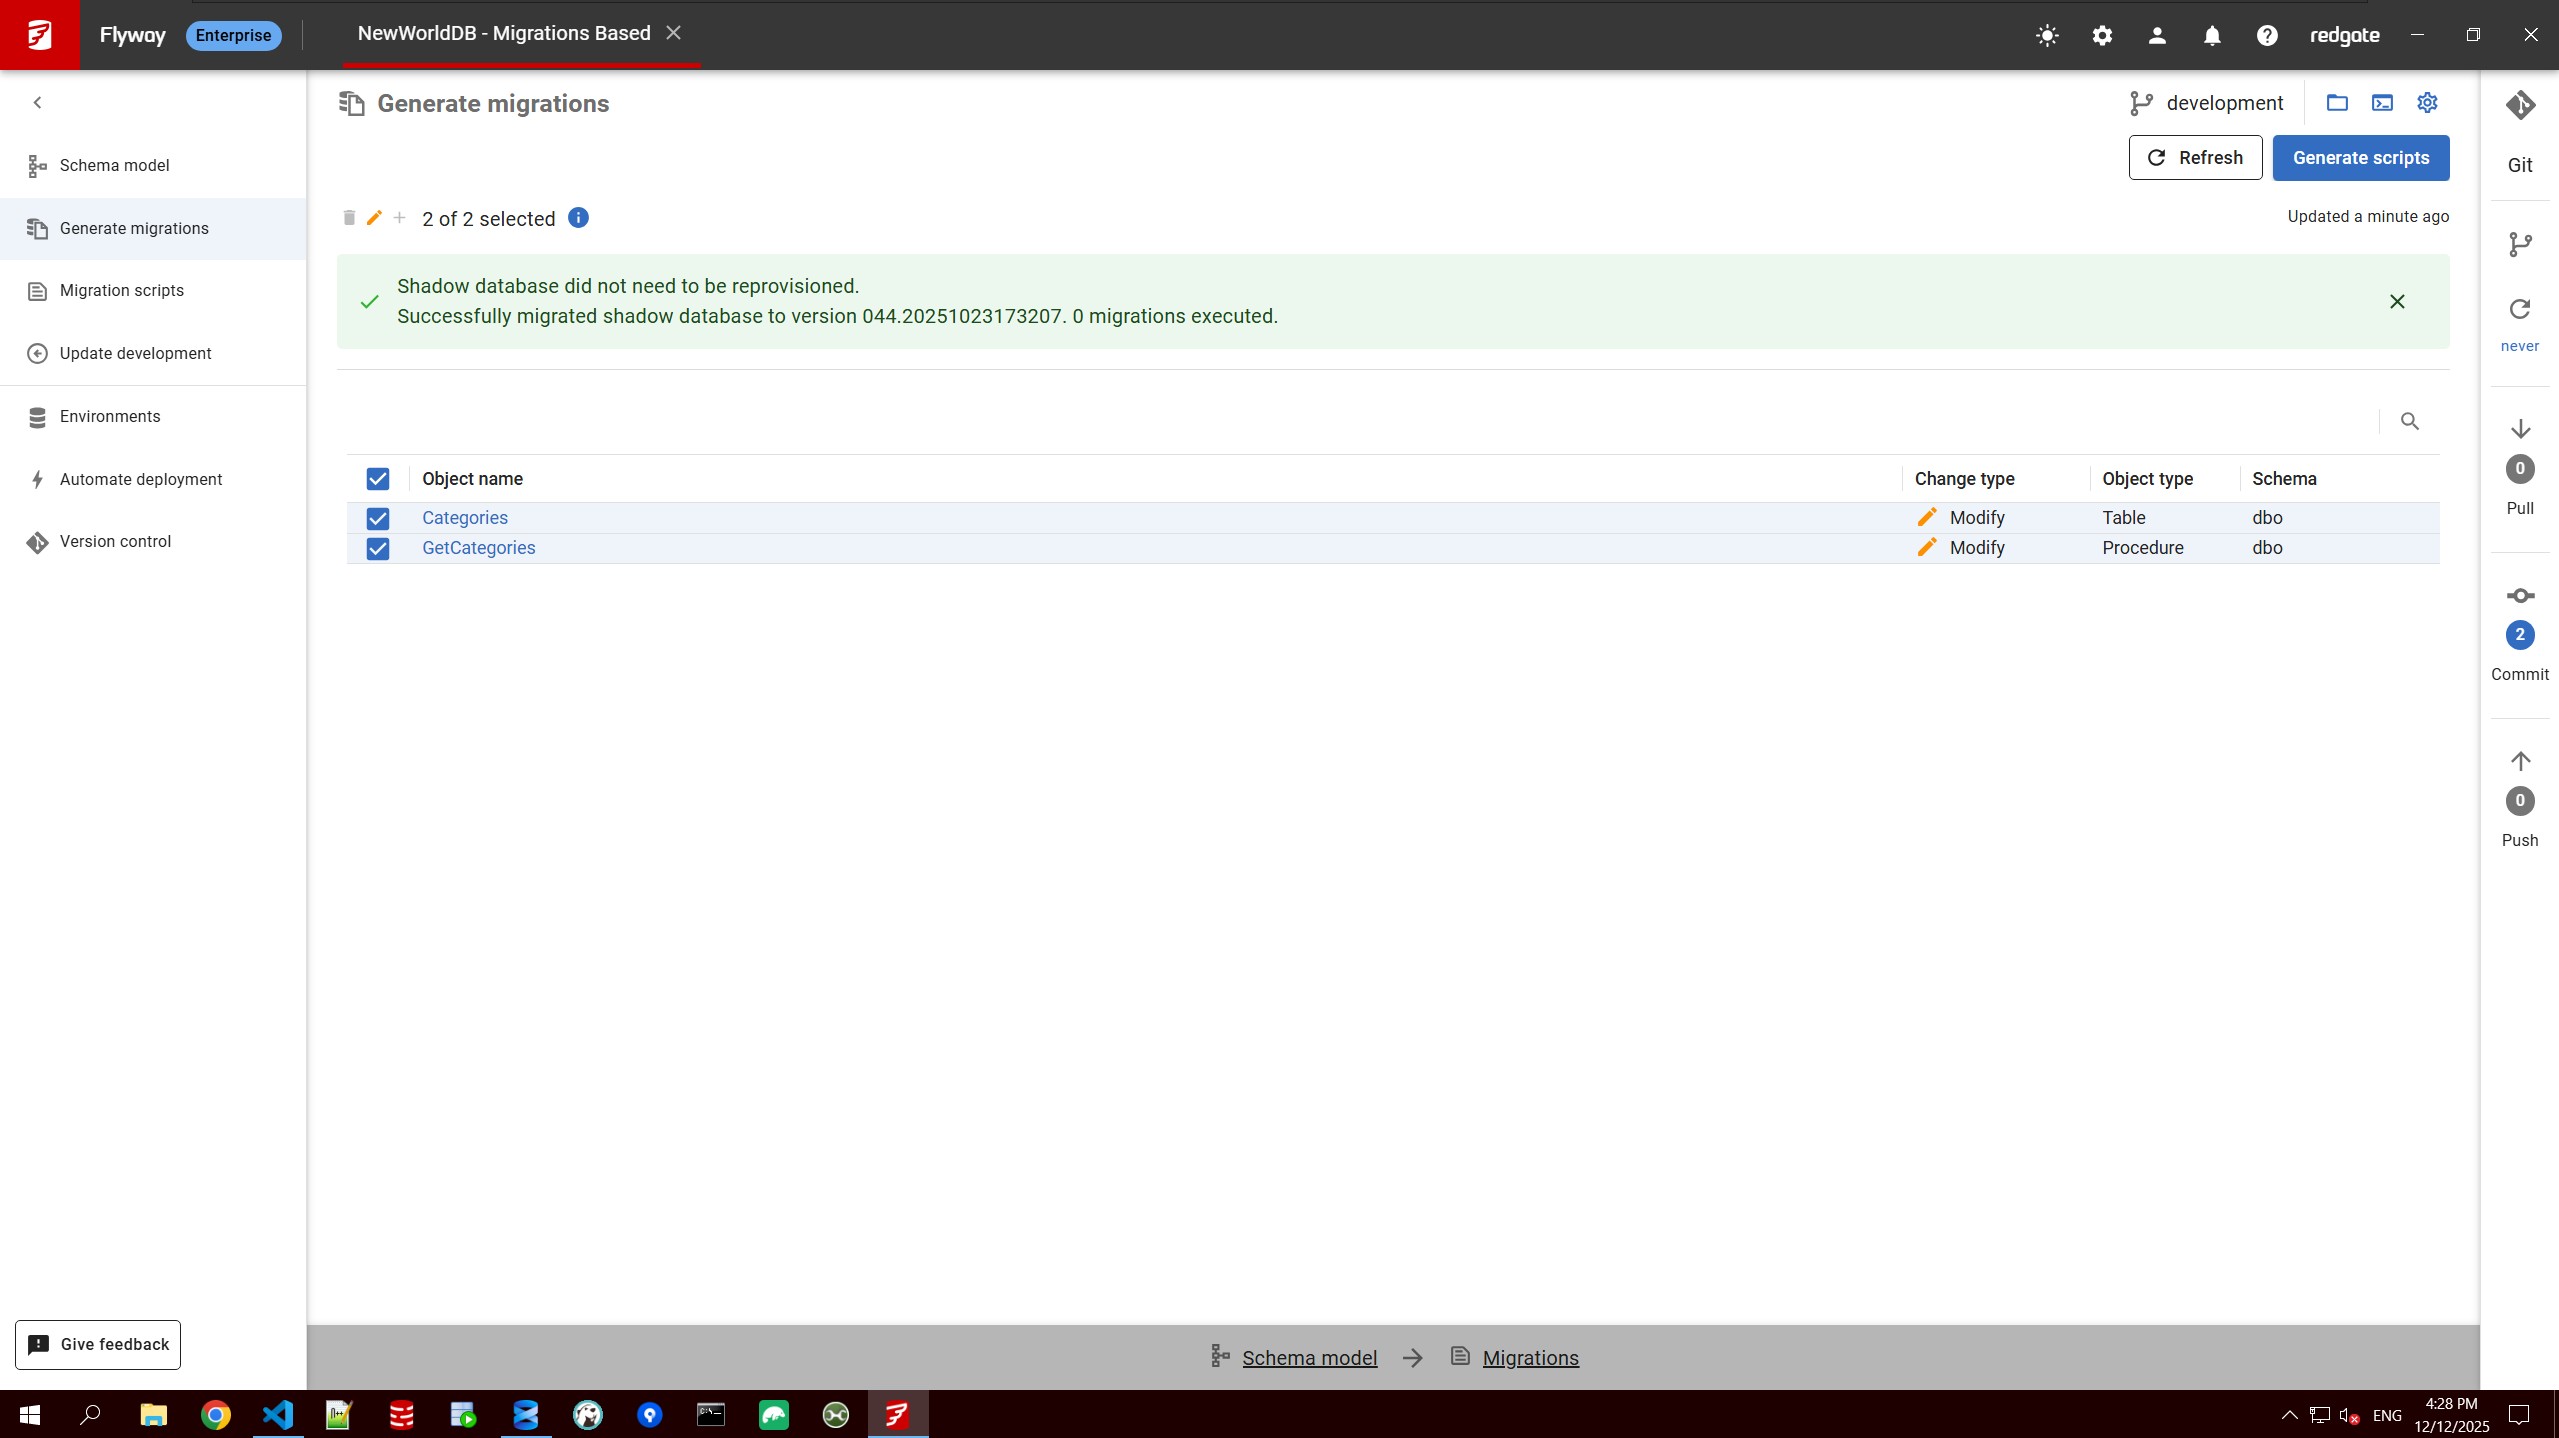
- Move to the "Generate Migrations" sidebar on the left-hand size of your project. Select the objects you want to capture in deployment scripts.
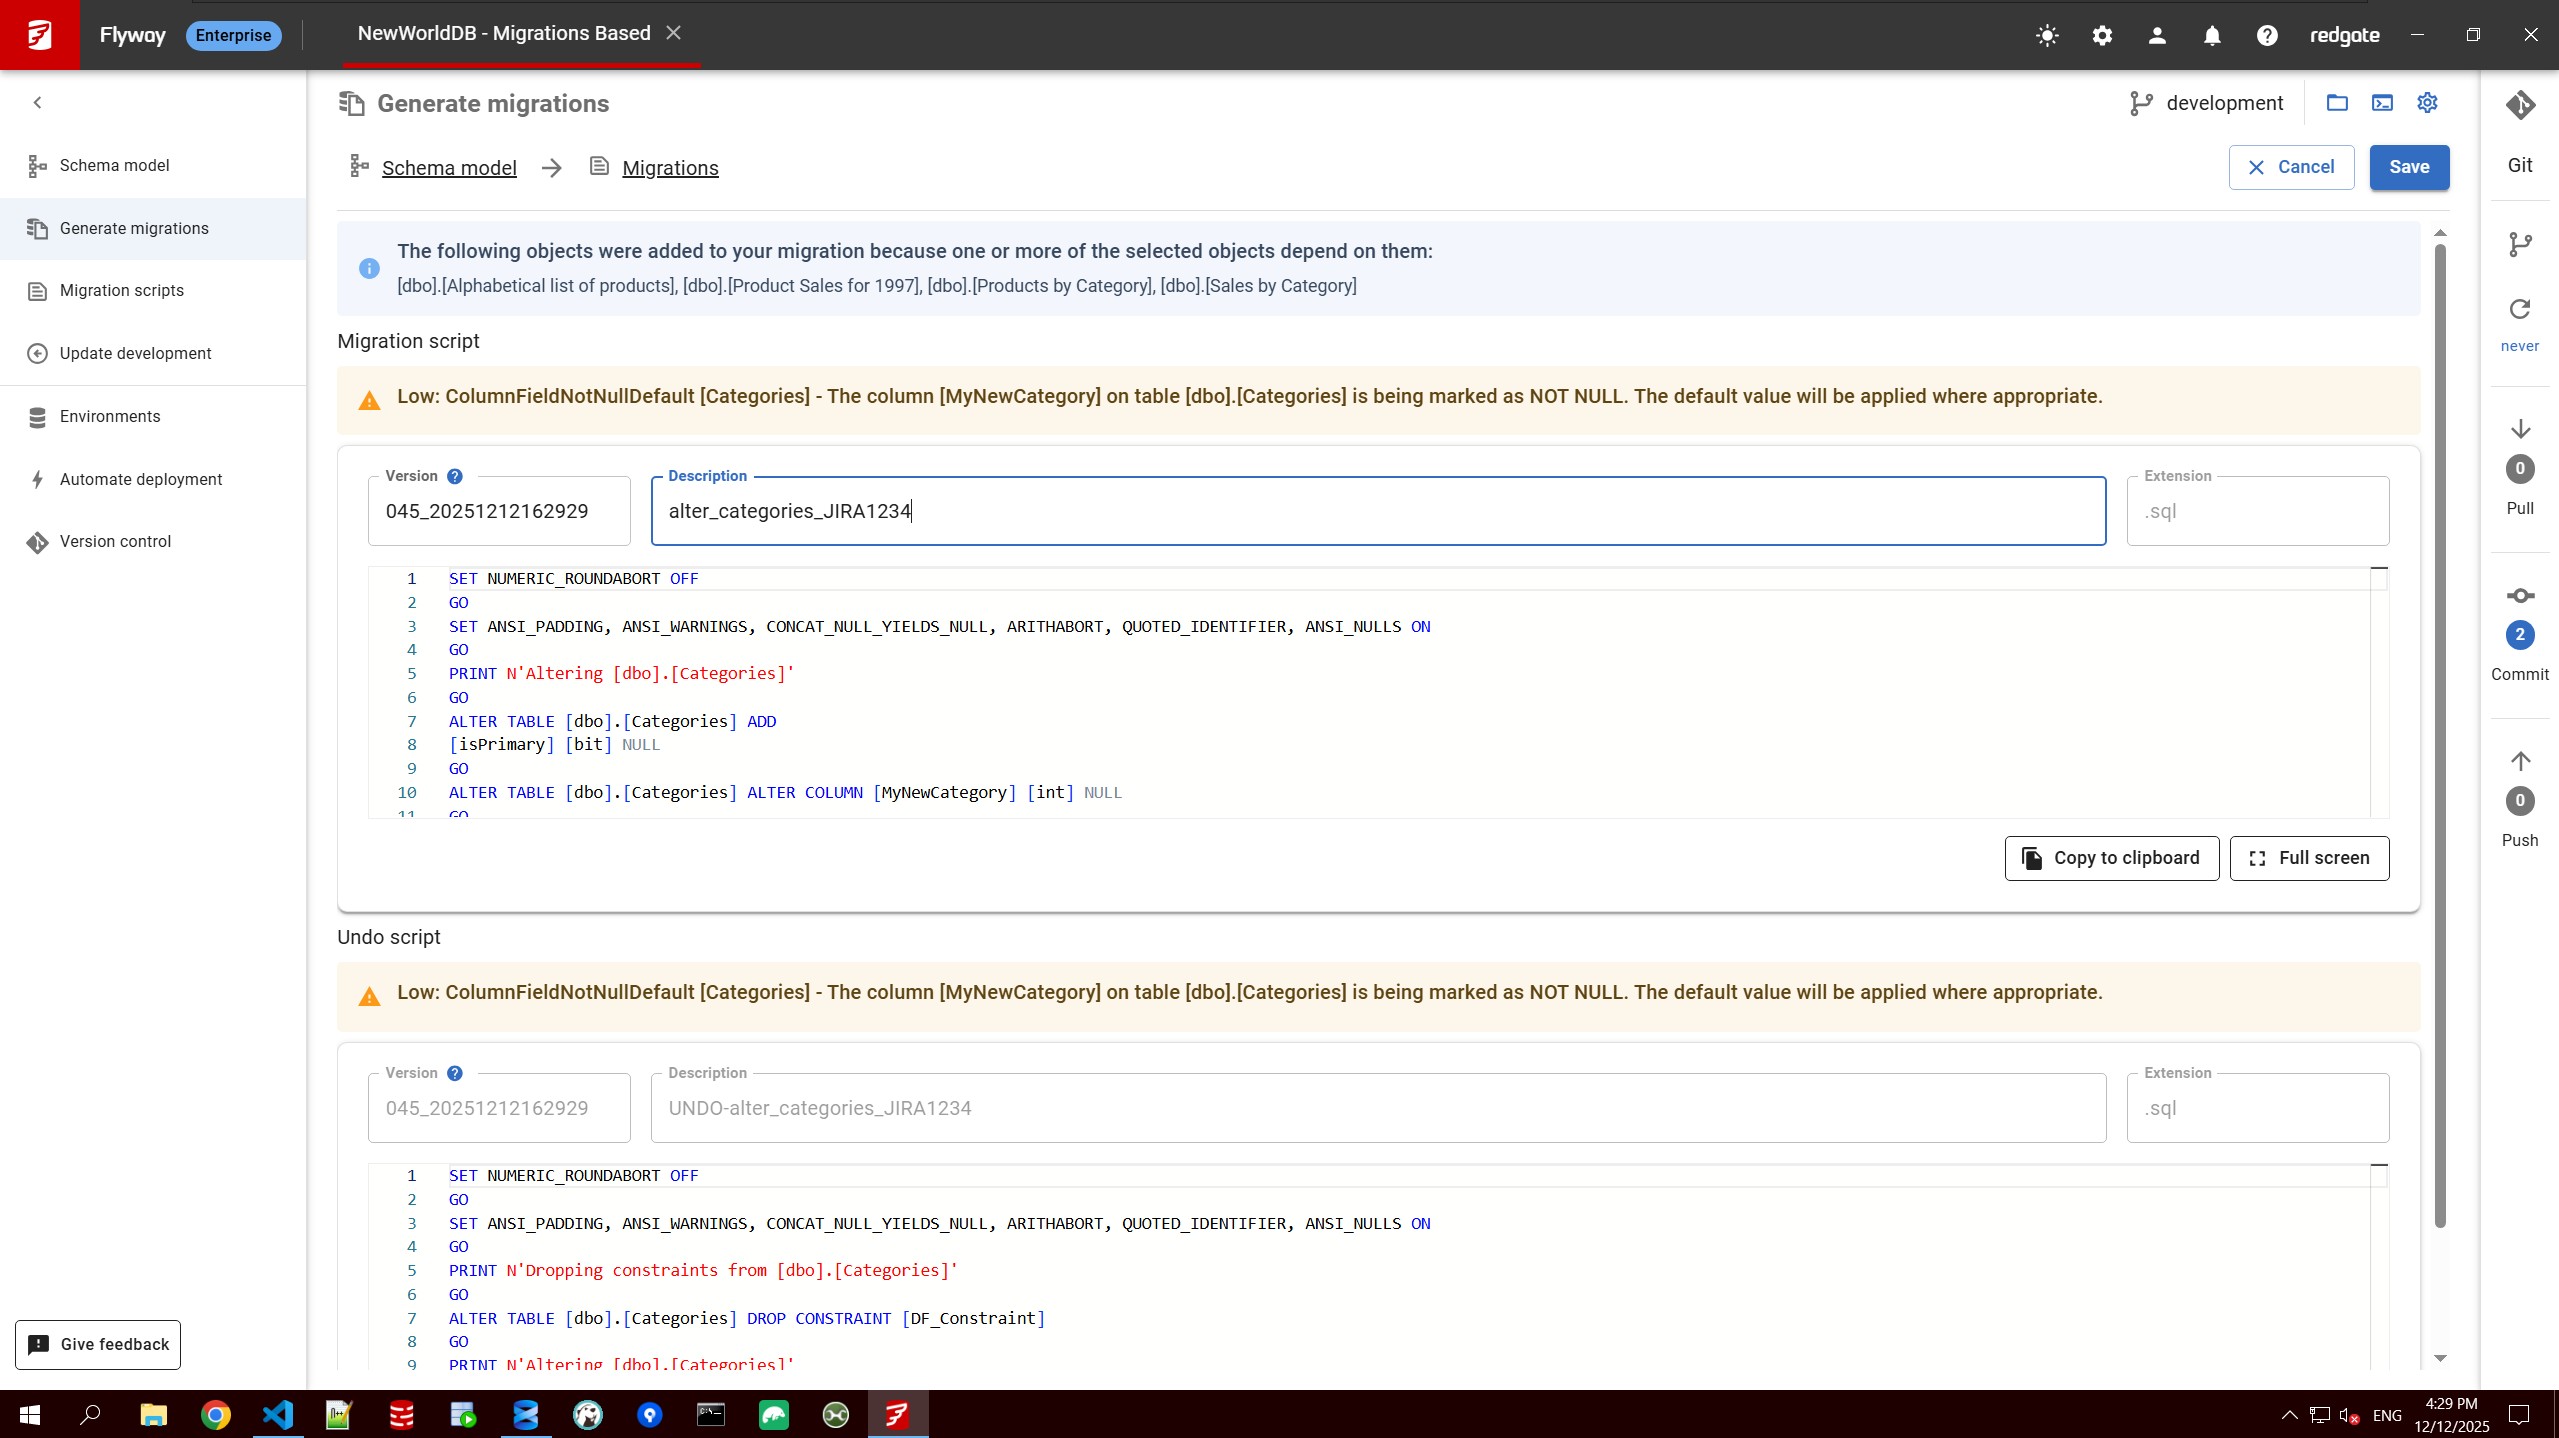
- Click the blue "Generate Scripts" button on the top right. Review, edit, rename, refactor the scripts if desired. Click save when ready.
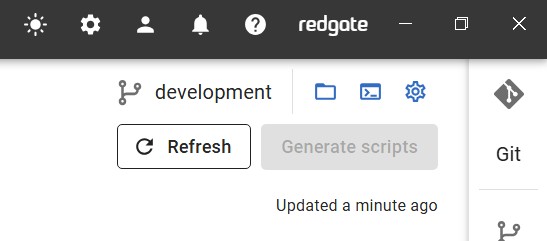
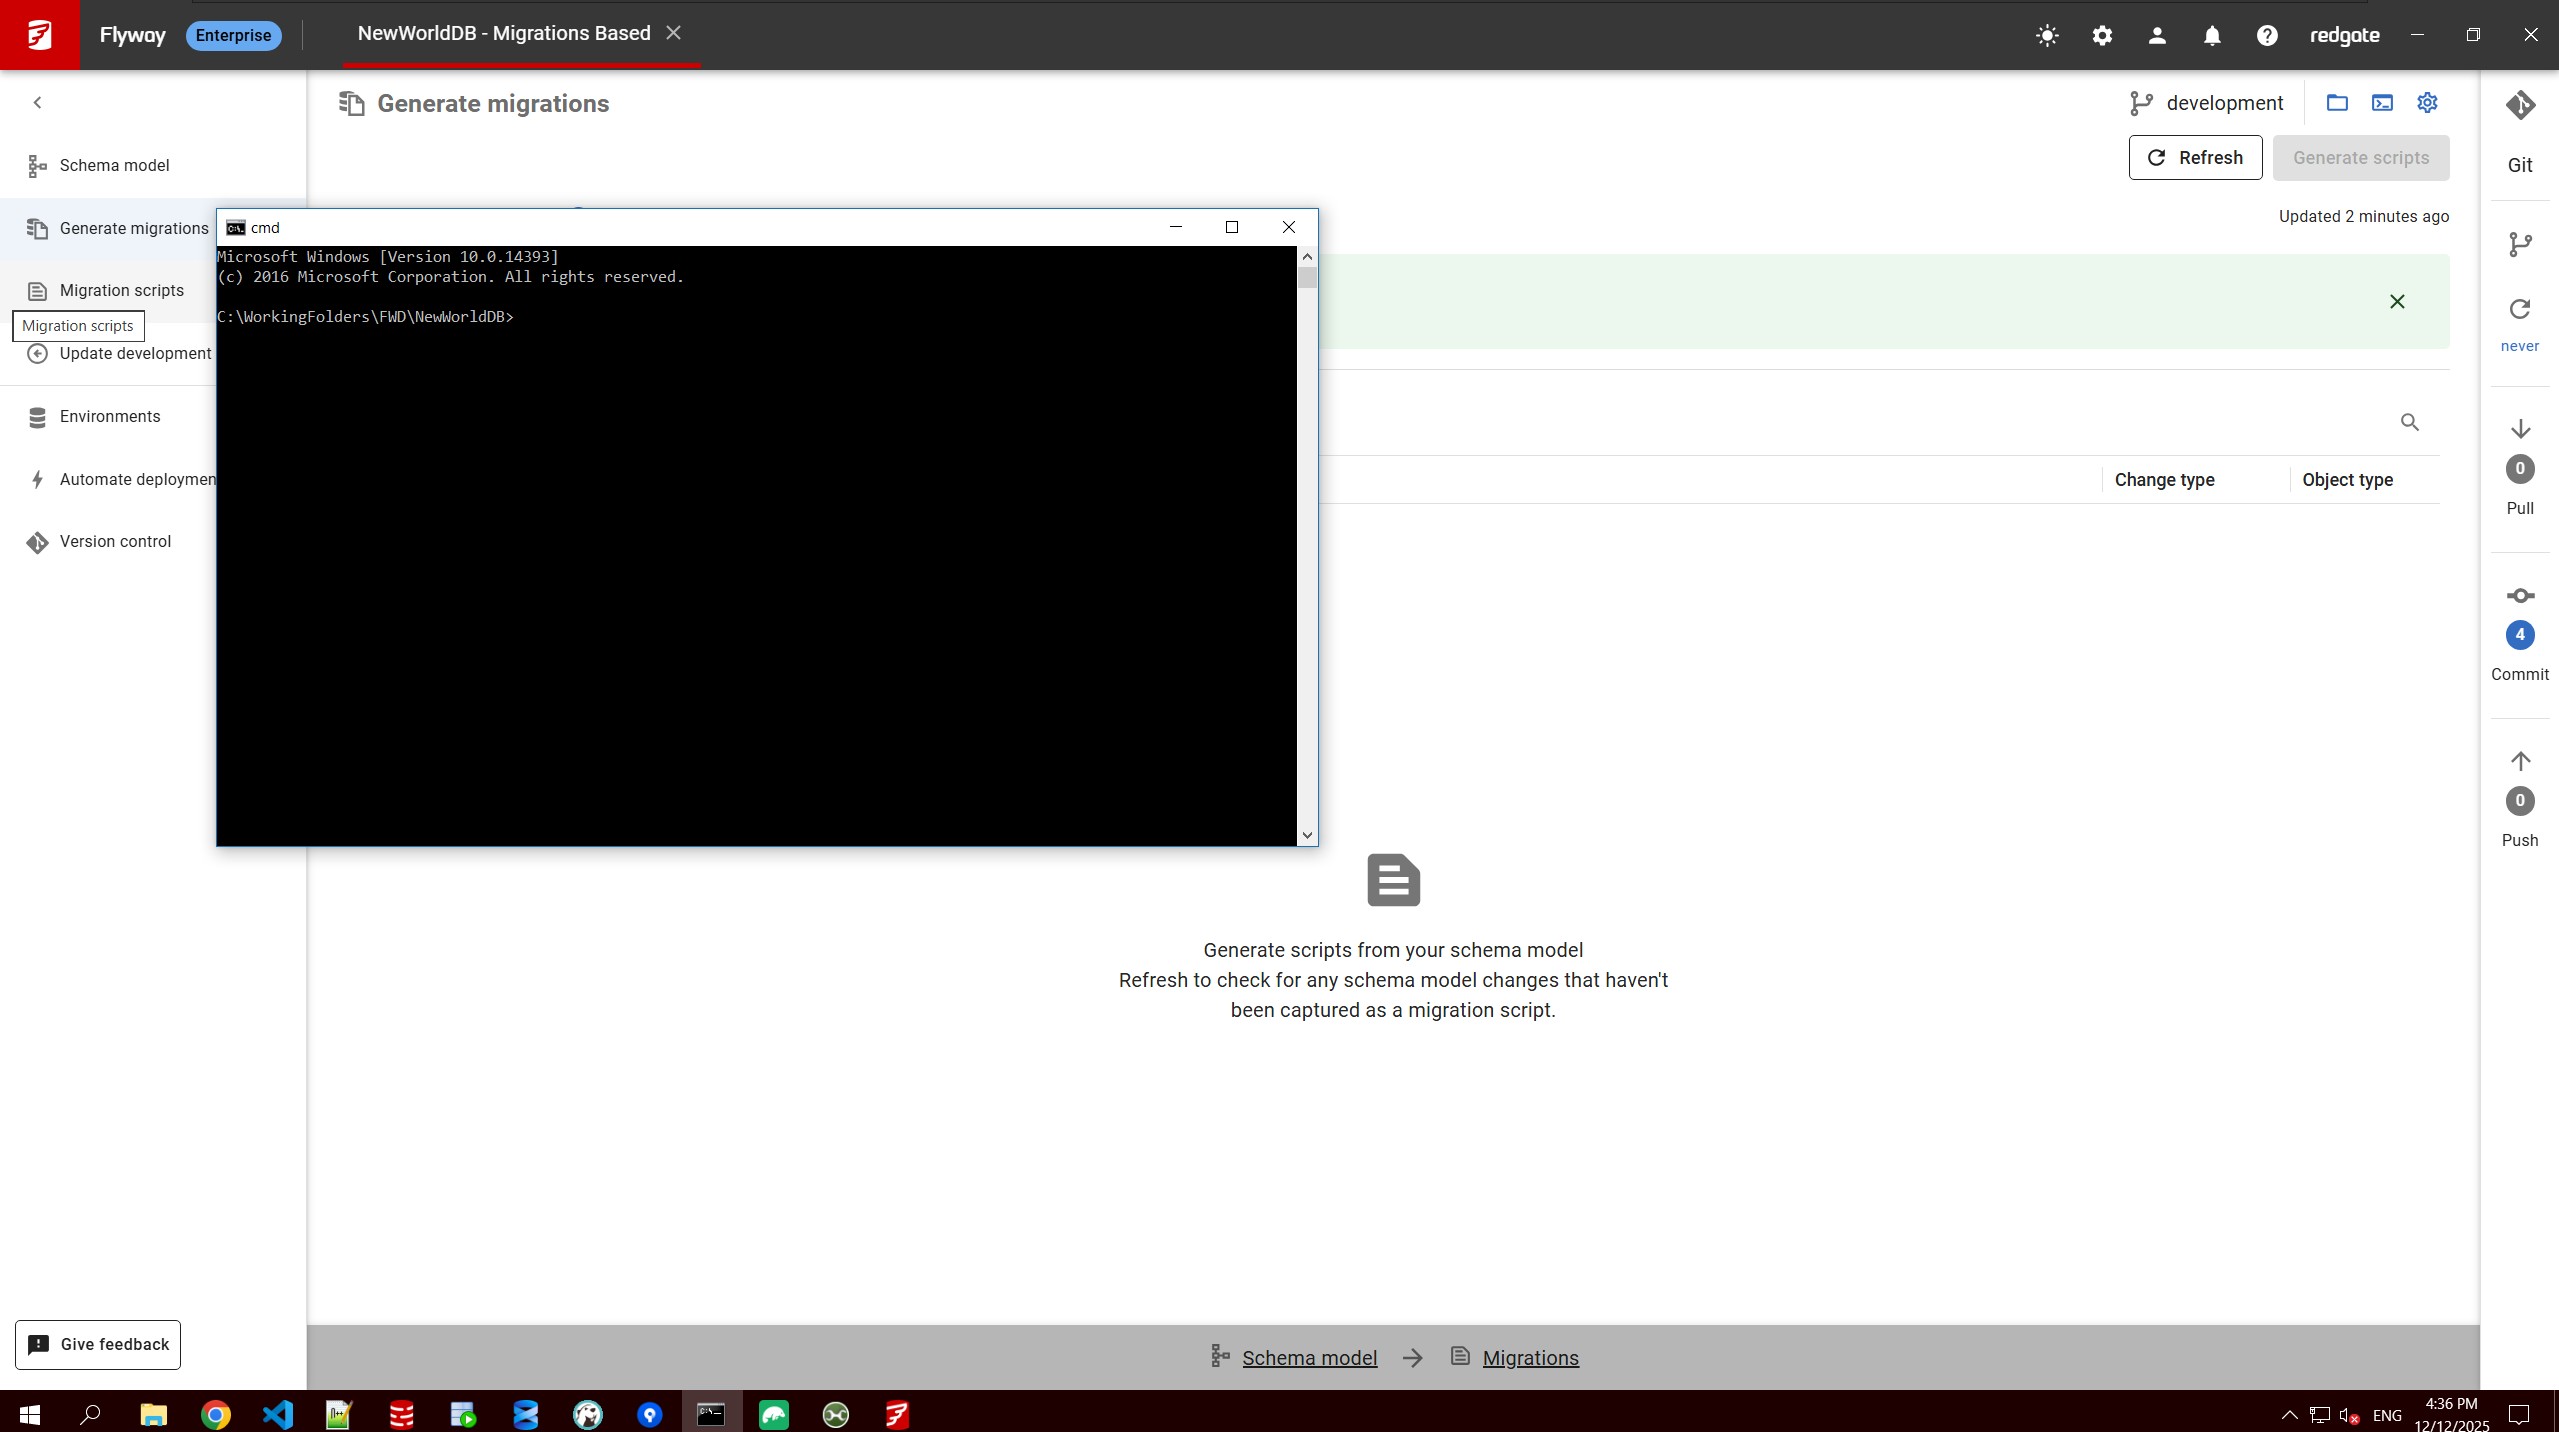
- Now that we have a new migration script(s) and corresponding undo script(s) to play around with, we can test out deploying and reverting changes. You will want to open a terminal to do this. In the top-right corner there are three blue icons (see picture below). The middle one will open a terminal to the correct directory that is already licensed. Open that specific link to the terminal to simplify the commands you will run.
- Now we have a console that is licensed and in the proper directory. Here is a list of commands you can run to test out the workflows of flyway. This is a starting point. Note that for any cherryPick or target commands, the params must match what's inside of your project. The values need to be changed. The environment is reading from your TOML file. If you called a target DB anything other than test, make sure you update the script to reflect a target database you've declared in your "environments" sidebar. Here is a list of commands you can run in sequence to get started. Don't forget to update some of the cherryPick and target values! You may find it better to have more than 1 script to test out. Feel free to create as many scripts as you wish. And remember all of that repetitive clicking can be automated.
- Once you have uncaptured changes, 1st step is to save to your schema model. All actions inside of Flyway Desktop can be automated, but the UI is a good starting place and even finishing place for many teams.

This documentation contains proprietary information and is protected by copyright law.
Copyright © 2026 Red Gate Software Limited. All rights reserved


