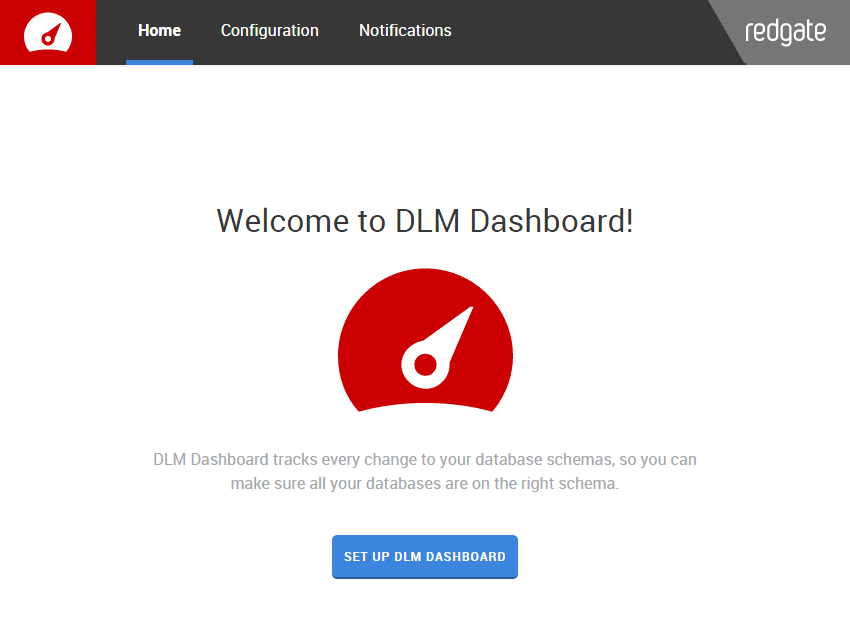
Click Set up DLM Dashboard. The Configuration page opens.
Add a server
For DLM Dashboard to track schema changes on a server, you need to run a setup script run a setup script on the server. The script creates a DDL trigger, a database, and some stored procedures. For information about these objects, see About the DLM Dashboard server objects. |
To add a server:
- On the Configuration > Add a server page, under SQL Server name, enter the SQL Server's name:
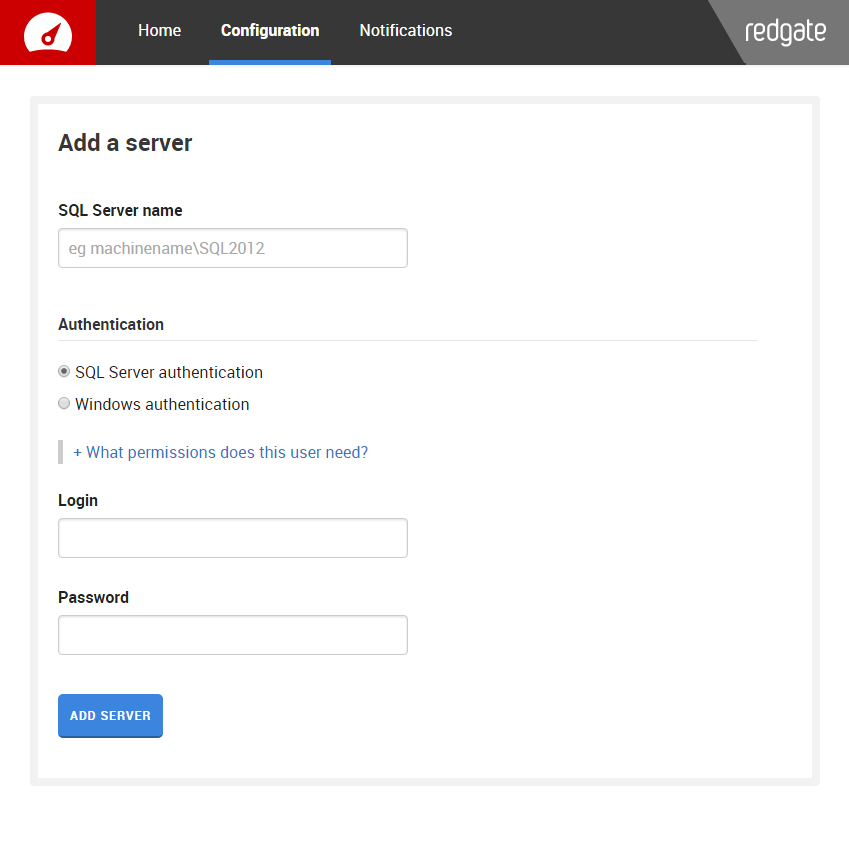
For a remote SQL Server, enter its details in the format: <machine name>\<SQL Server instance name>,<port number>
For example: production-server\SQL2012,999 - Select either SQL Server authentication or Windows authentication.
If you choose Windows authentication, DLM Dashboard will connect to SQL Server using its Windows services account.
To change this account, see Changing the DLM Dashboard user account. - Enter credentials to connect to the server.
If you're evaluating DLM Dashboard, it's easiest to use a login with thesysadminrole.
Otherwise, we recommend creating a new login for DLM Dashboard.
For instructions, see Creating a login with the correct permissions. Click Add server.
If you've already run the setup script on this server, you'll skip step 5.
- The Set up server page opens.
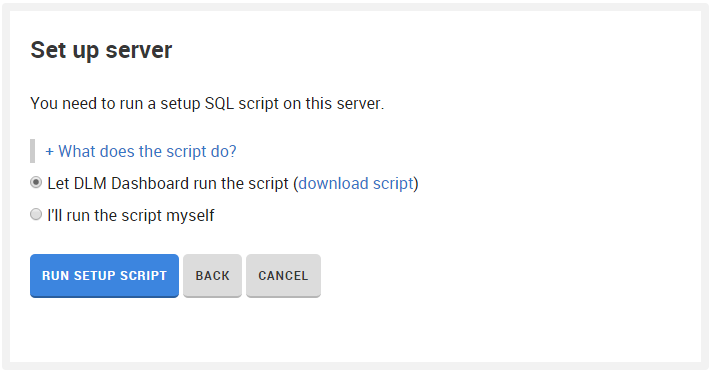
You need to run a SQL script which sets up the server for monitoring. To find out more about the script, see About the DLM Dashboard server objects.
You can either:- Select Let DLM Dashboard run the script and click Run setup script.
This will only work if the account you used in step 4 has CONTROL SERVER permissions. Click Back if you want to change the account. - Select I'll run the script myself.
You need to download the setup script the setup script, then run it on the server. You needsysadminpermissions to run the script.
When you've finished, click I've run the script.
- Select Let DLM Dashboard run the script and click Run setup script.
The server you added is listed under Servers.
Add databases
Once you've added a server, you can add a database.
If you've just added a server:
- The databases on the server are listed on the right:
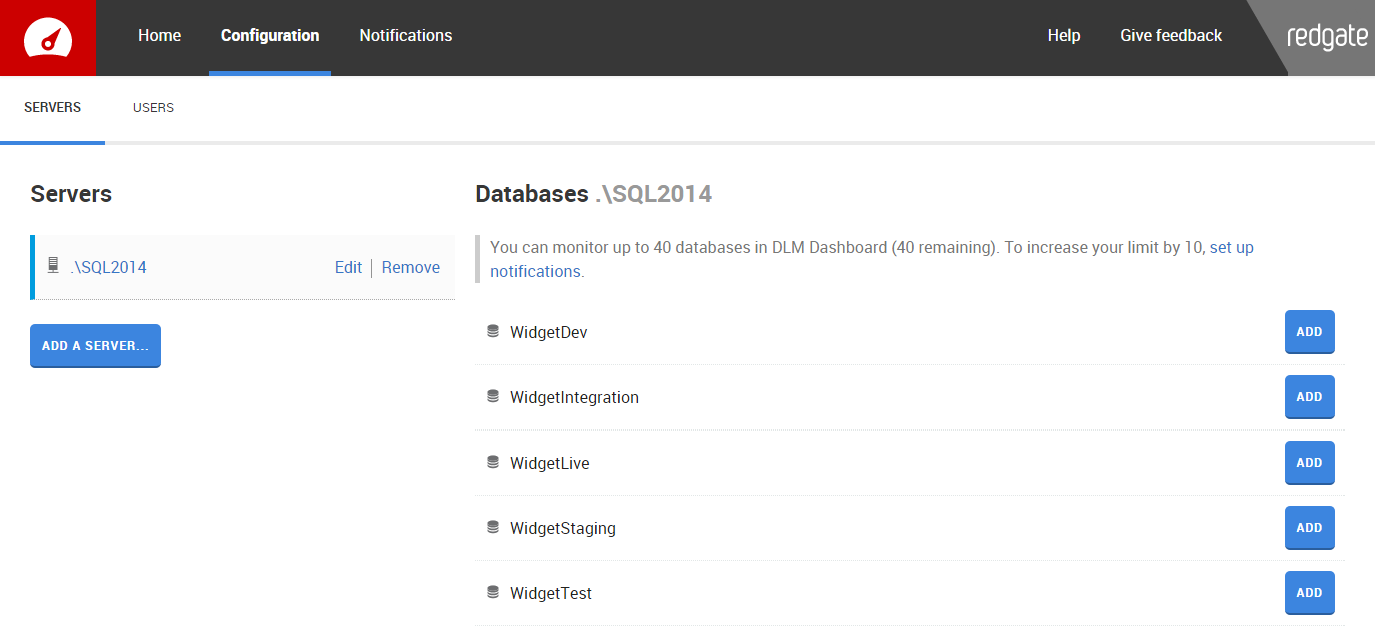
- Next to each database you want to monitor, click Add.
Otherwise:
- On the Configuration page, select the server that the database is on.
- On the right, click Add databases.
The Connect to server page opens. - If you're using SQL Server authentication, re-enter the credentials for the server.
- Click Connect.
The databases on the server are listed on the right. - Next to each database you want to monitor, click Add.
If you want to add more than 40 databases, setting up notifications will add an extra 10 to your limit.
4. After configuration
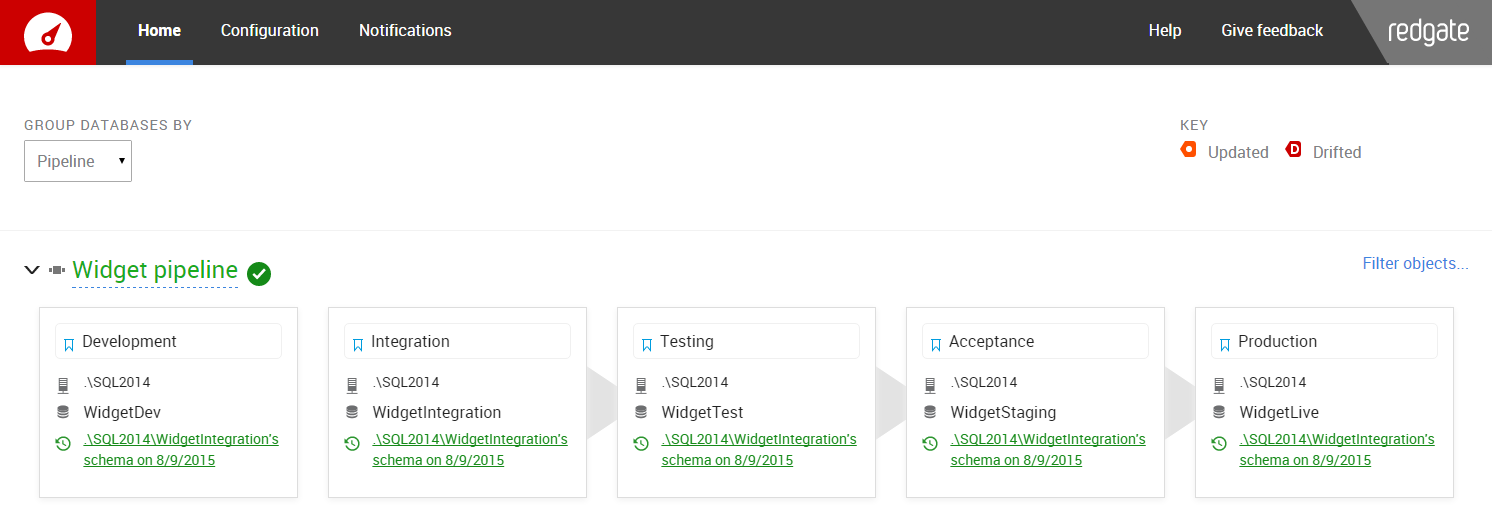
When you've finished setting up, click Home in the banner. It now looks something like this: