Using Azure Interactive Authentication
Published 23 January 2020
Requirements
- To use Azure Active Directory with an Azure SQL Database server, the server needs to be assigned an Azure Active Directory admin
- To register an app with Azure Active Directory, you need to be either an Azure AD admin or a user assigned the Azure AD Application Developer role
Registering SQL Compare and setting permissions
To use interactive authentication to connect to Azure, SQL Compare needs to register as an Azure Active Directory app. Registering SQL Compare will generate an application ID that SQL Compare will need to know to connect.
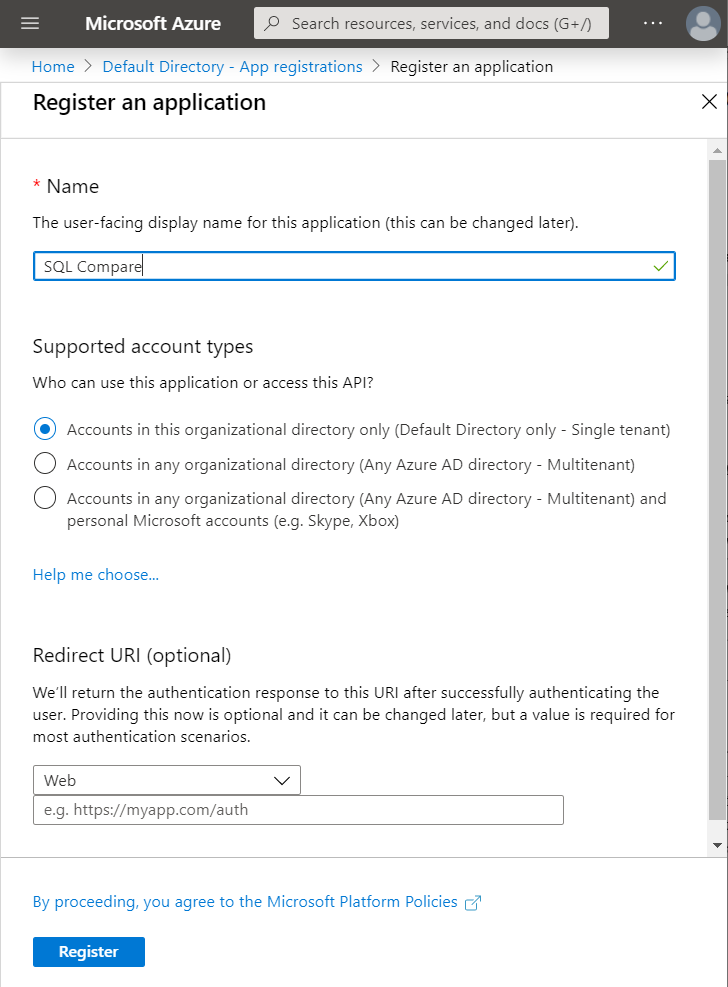
In the Azure portal, select Azure Active Directory > App registrations > New registration. Enter SQL Compare for the application name and then click on the Register button.
Note: You may need to change the option under 'Supported account types' to 'Accounts in any organizational directory, dependent on your specific active directory configuration.
Make a note of the Application ID as this will be required later.
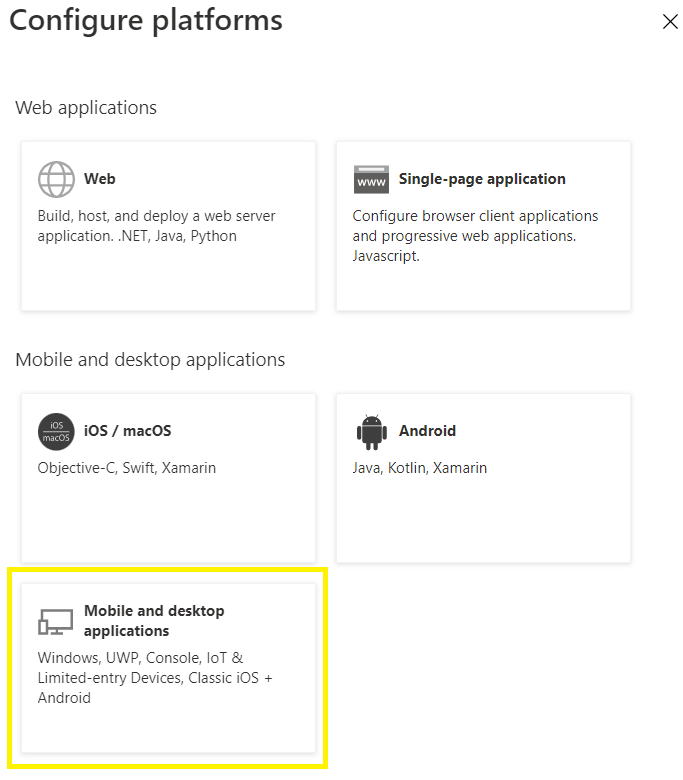
Under this new application, select Authentication > Add a platform
next select Mobile and desktop applications
and then, in the Redirect URIs section, select the option https://login.microsoftonline.com/common/oauth2/nativeclient as a redirect URI before clicking the Configure button.
Next, in the Advanced settings section of the Authentication page, allow the following public client flows before saving
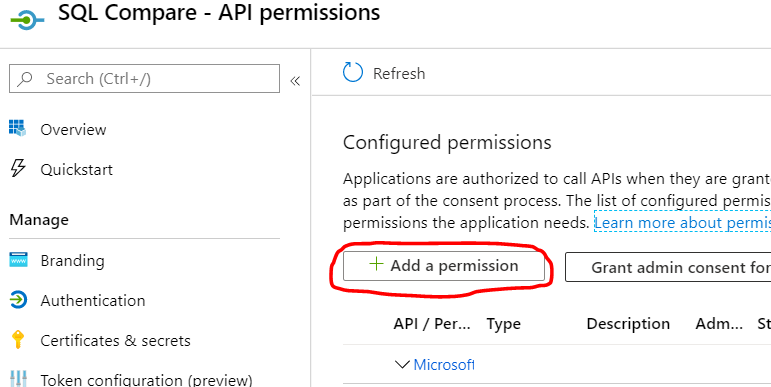
Select API permissions > Add a permission.
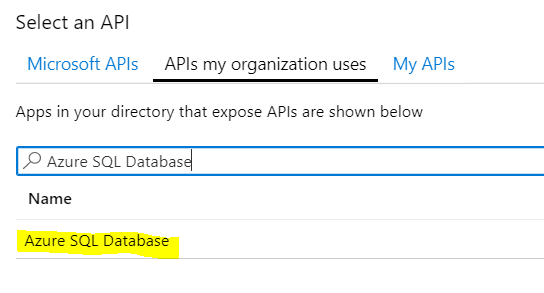
Select APIs my organization uses > type Azure SQL Database into the search and select Azure SQL Database.
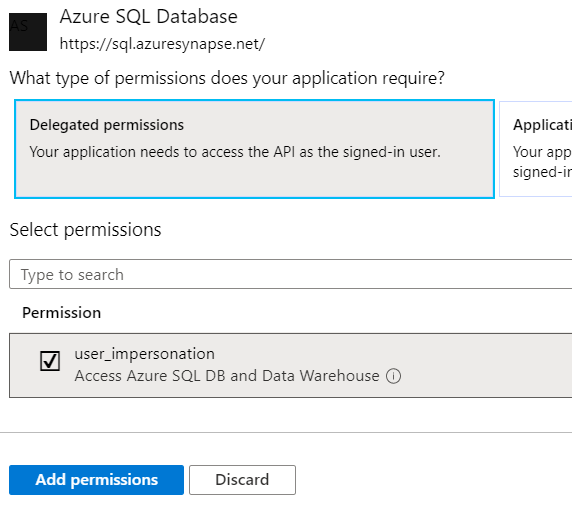
Select Delegated permissions > user_impersonation > Add permissions.
Setting up SQL Compare
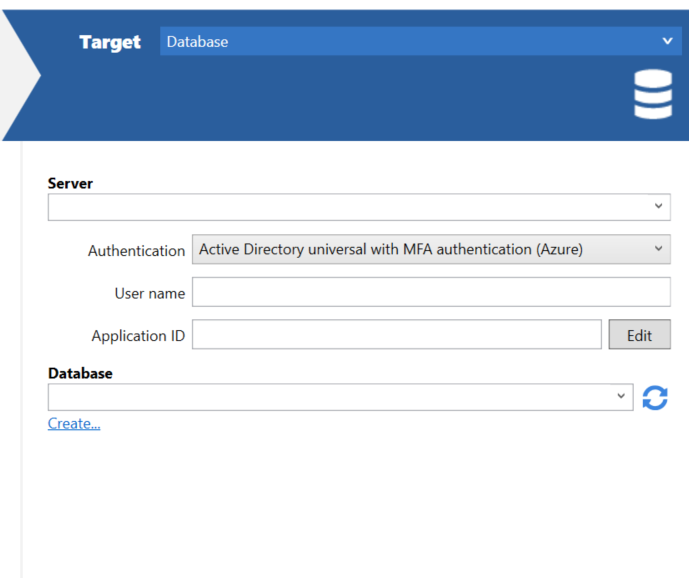
In the database connection dialog, select Active Directory universal with MFA authentication (Azure) in the Authentication dropdown, enter your username in the corresponding text box, and paste the Application ID (from the previous section) in the Application ID text box. This will remember the Application ID for future use.
