Use the Azure DevOps Build extension with SQL Change Automation Project
Published 31 July 2019
If you have any feedback on this feature please let us know in our forum.
This tutorial takes you through each stage of setting up a database build pipeline using Azure DevOps and the SQL Change Automation Build extension. You'll use the extension to validate and build a SQL Change Automation project.
1. Prerequisites
Make sure you have the following:
- An existing Azure DevOps. See Create a team project.
- An existing SQL Change Automation project in source control. See Setting up a project in Visual Studio or Setting up a project in SSMS if you don't have one
- SQL Change Automation: Build Azure DevOps plugin installed.
2. Create a build definition
You can now create a Azure DevOps build definition for your SQL Change Automation project.
- Go to your project in Azure DevOps
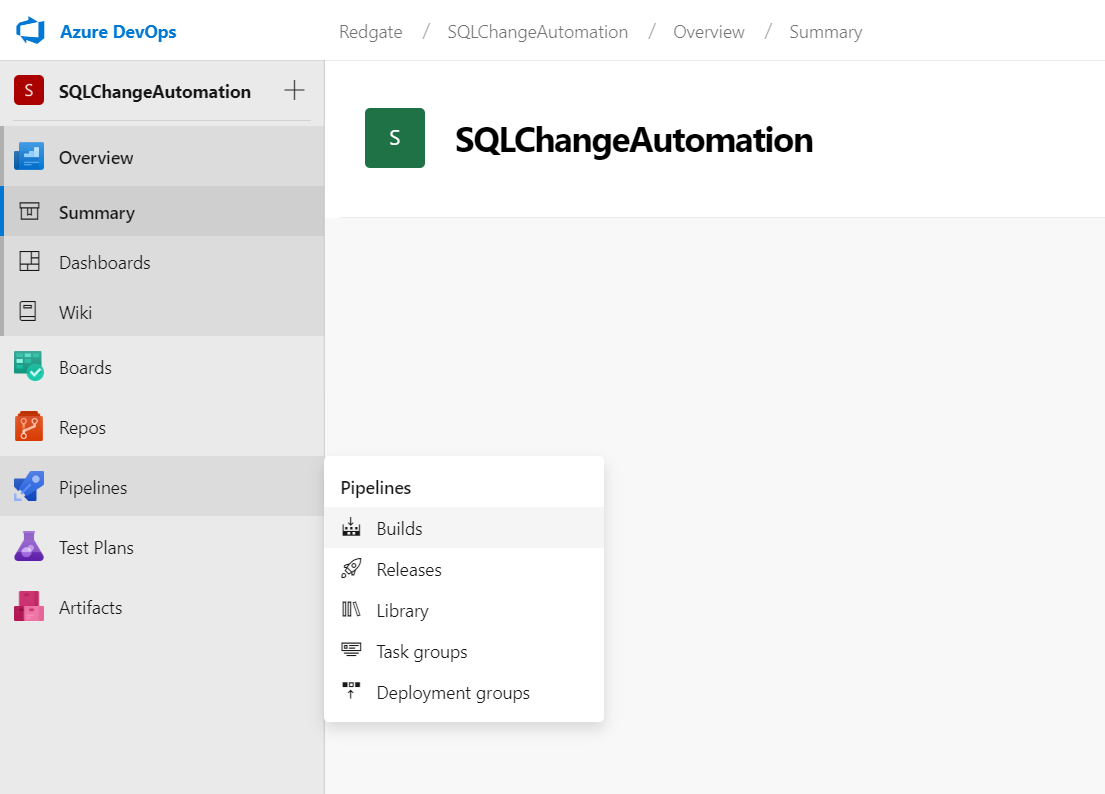
- In the left menu, click Pipelines > Builds
- Click New > New build pipeline or the New pipeline button that will be in the center of the window if you do not have any existing pipelines
- Select Use the classic editor since we will be creating a pipeline without YAML in this tutorial
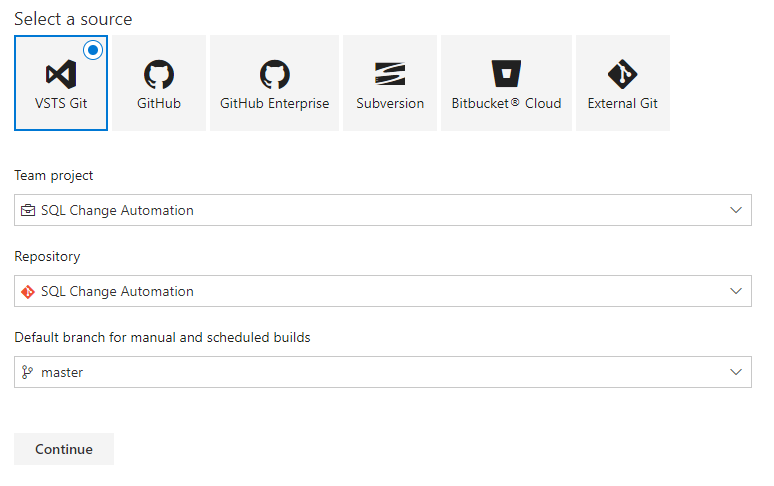
- Choose your source control system and provide the details to connect to it. Once completed click Continue
- Click on Empty pipeline at the top of the Select a template page
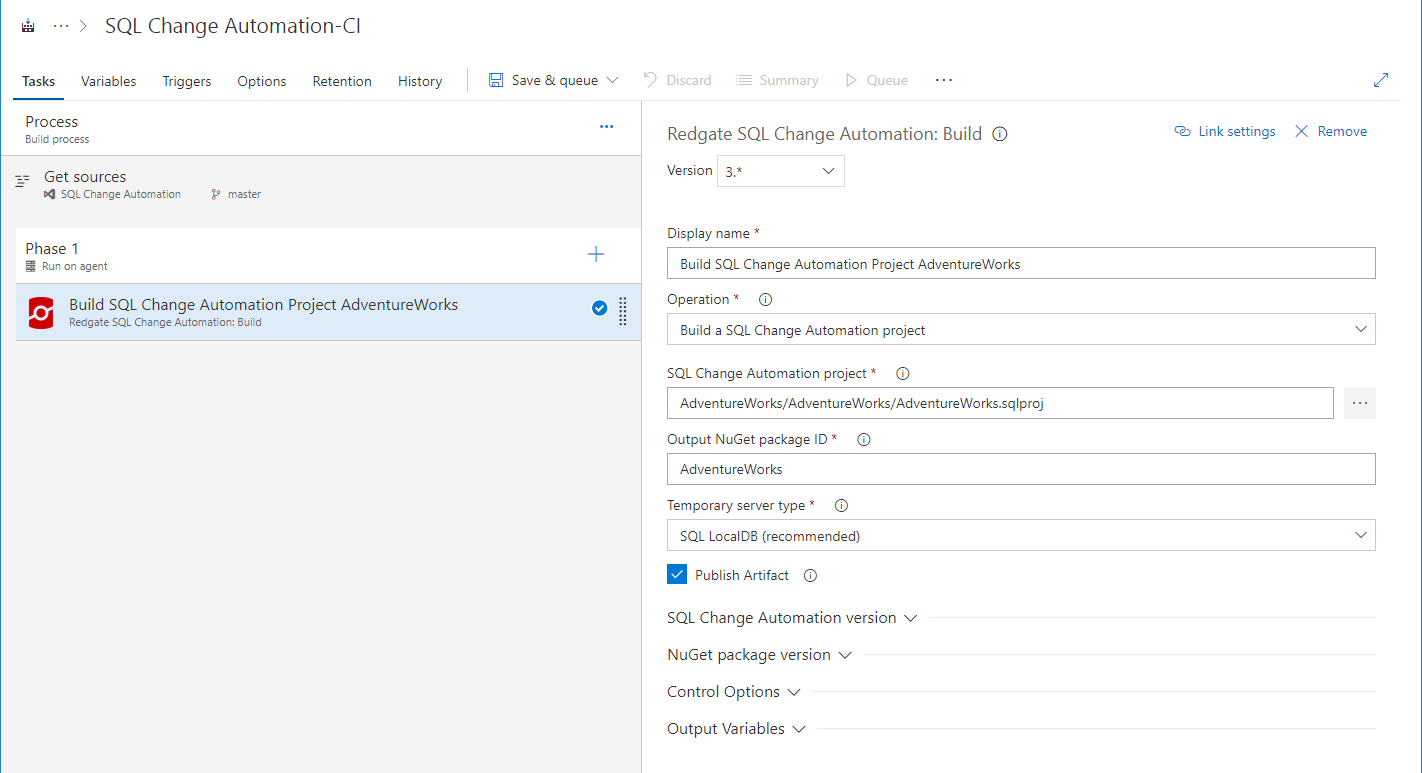
- On the left of the screen you should see the phases of your build. In Phase 1, click the plus icon to add a task
- Search for SQL Change Automation task and click Add
- Click the Build task that has been added as part of phase 1
- In Operation, select Build a SQL Change Automation project
- In SQL Change Automation project, click the ellipsis (…). Select your SQL Change Automation .sqlproj file
- In Output NuGet package ID, enter a package name (for example, the name of your database)
3. Run the build definition
We're now ready to run the build definition. This will check that the SQL Change Automation project will deploy to an empty database.
- While editing the build definition click the Save & queue drop-down menu at the top of the page
- From the drop-down menu select Save & queue
- Review the branch and commit to be built and click Save & queue to start the build
4. Reviewing the build output
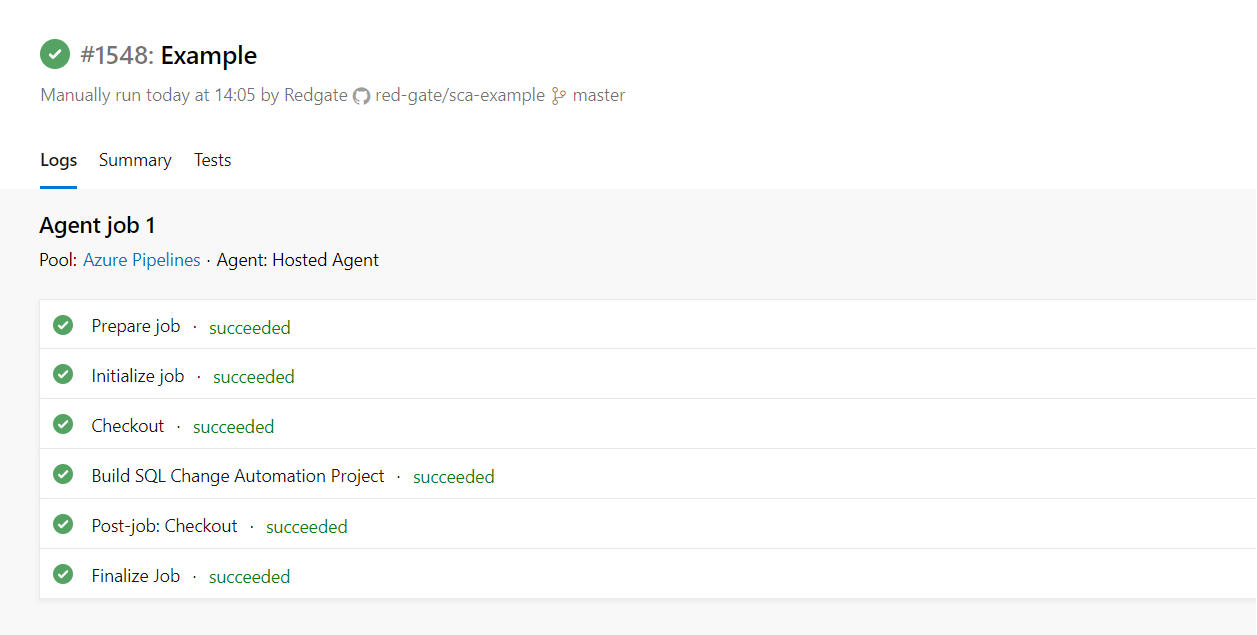
Once the build it's complete, you can investigate the build output.
- Click on the build to see a summary
- Click on the Build SQL Change Automation build step to see the log output. If there's a build error, this is a good place to start investigating


