Configuring SQL Monitor with IIS 6
Published 22 April 2015
This page explains how to set up SQL Monitor with IIS 6. For instructions for later versions of IIS, see Configuring SQL Monitor with IIS 7 and later.
SQL Monitor doesn't install IIS.
If you don't already have a IIS web server, we recommend you install the SQL Monitor web server instead. For more information, see About the web interface and server.
1. Before you start
- Make sure your IIS server has ASP.NET enabled. If you installed IIS using Add or Remove Programs or the Configure Your Server wizard, ASP.NET should be enabled already. For more information, see Problems with IIS and ASP.NET.
- Make sure your IIS service account has full control over the folders listed under web service account on the Permissions page.
- If you've already installed SQL Monitor, stop the SQL Monitor web service:
- From the Start menu, open services.msc.
- In the list, select the SQL Monitor web service and click the stop button in the toolbar.
2. Install SQL Monitor to use with IIS
If you've already installed SQL Monitor, skip this section.
For more information about installing SQL Monitor, see Installing.
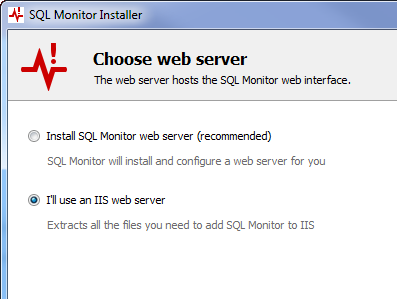
- Run the SQL Monitor installer on your IIS server, and on the Choose web server page, select I'll use an IIS web server:
- Click Next.
- On the Installation options page, under Install web interface files to, enter a folder to extract the website files to.
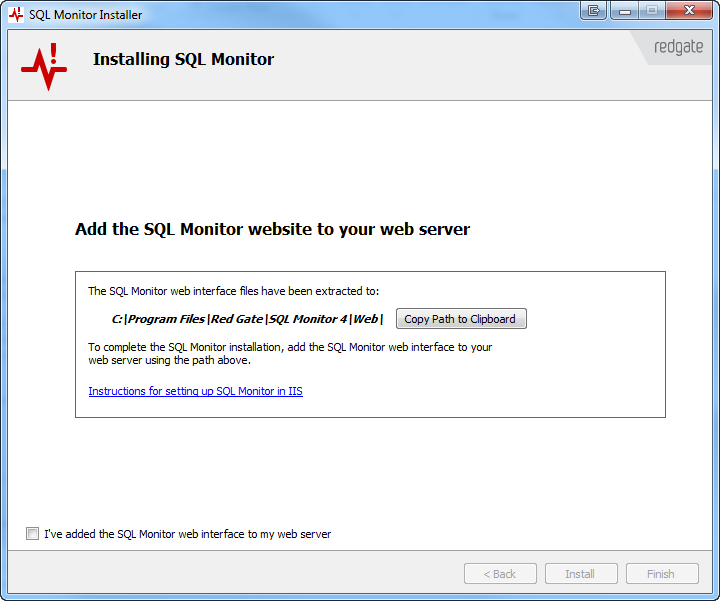
- Follow the SQL Monitor installer steps until you reach the Add the SQL Monitor website to your web server page:
Don't click Finish yet – we'll come back to the installer later.
3. Configure the SQL Monitor website
- In IIS Manager, on the left, under the IIS server you want to use, right-click Web Sites and select New > Web Site:
The Web Site Creation Wizard opens. Click Next. - In Description, enter the name of the website (eg SQL Monitor) and click Next.
- Enter the IP address you want to use for the SQL Monitor website and an available port (the default is 80).
Unless you need it, leave the Host header box empty. - Click Next.
- Enter the path to the location of the SQL Monitor website files. By default, this is C:\Program Files\Red Gate\SQL Monitor 4\Web
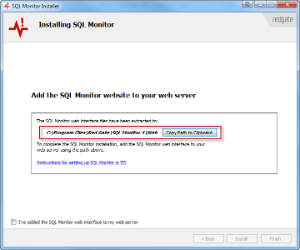
If you're installing SQL Monitor, you can copy the path from the SQL Monitor installer:
Make sure Allow anonymous access to this Web site is checked.
SQL Monitor requires anonymous access to the website. For more information, see How to configure IIS Web site authentication in Windows Server 2003.- Click Next.
- On the Web Site Access Permissions page, make sure only Read is selected:
- Click Next and then Finish.
- On the left, right-click the Monitor website you created and click Properties.
The Properties window opens. - On the ASP.NET tab, open the ASP.NET version dropdown.
If you're using SQL Monitor 4.3 or later, select ASP.NET version 4.0.30319.
If you're using an earlier version of SQL Monitor, select ASP.NET version 2.0.50727. - On the Home Directory tab, click Configuration.
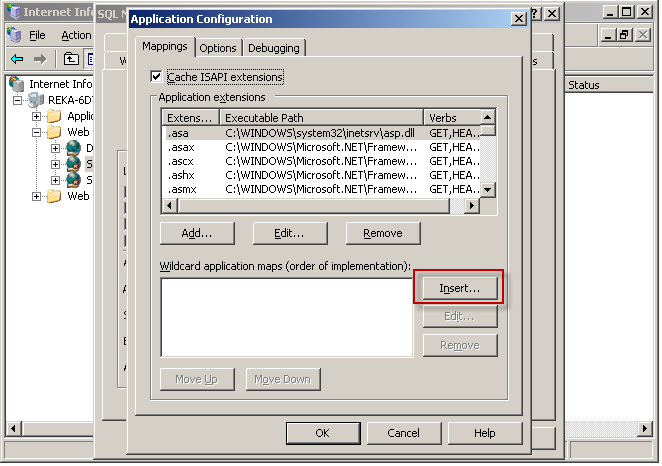
- Under Wildcard application maps, click Insert.
In the Add/Edit Application Extension Mapping window, enter the path to the aspnet.isapi.dll file in the Executable box.
If you're running SQL Monitor 4.3 or laterIf you're running 32-bit Windows, the executable path should be:
C:\windows\microsoft.net\framework\v4.0.30319\aspnet_isapi.dllIf you're running 64-bit Windows, the executable path should be:C:\windows\Microsoft.NET\Framework64\v4.0.30319\aspnet_isapi.dllIf you're running an older version of SQL Monitor
If you're running 32-bit Windows, the executable path should be:
C:\windows\microsoft.net\framework\v2.0.50727\aspnet_isapi.dllIf you're running 64-bit Windows, the executable path should be:C:\windows\Microsoft.NET\Framework64\v2.0.50727\aspnet_isapi.dll- Make sure Verify that file exists is not checked:
- Click OK to close each dialogue.
- To make sure the website works, in your browser, go to IP:PORT NUMBER (eg localhost:80).
4. Finish
- To test the configuration, in IIS Manager, on the right, under Actions, click Browse. This opens the SQL Monitor website in your default browser.
- If you're installing SQL Monitor, in the installer, select the I've added the SQL Monitor web interface to my web server checkbox and click Finish.
SQL Monitor is now set up with IIS.


