Example - source-controlling database schema and application code together using a working folder
Published 16 July 2015
If you want to do atomic commits of your database schema together with your application code, you can do this by linking to a working folder.
In this example, we'll link a working folder to a TFS workspace. The principles can be applied to any other source control system.
- Create a new (server) workspace for the existing application.
To do this, in Visual Studio, in the Source Control Explorer tab, select the Workspace drop-down menu:

- The Manage Workspaces dialogue box opens.
To add a new workspace, click Add: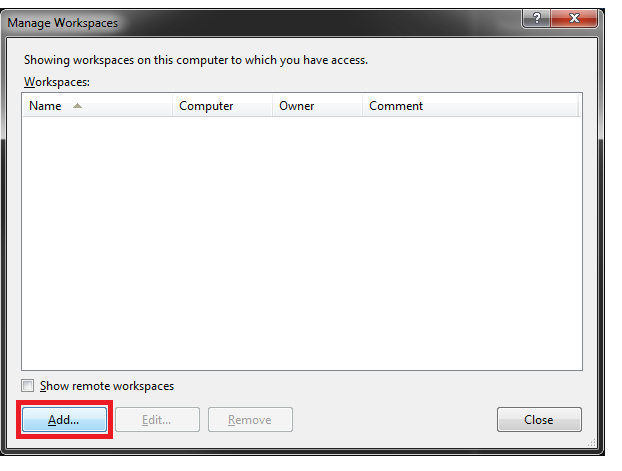
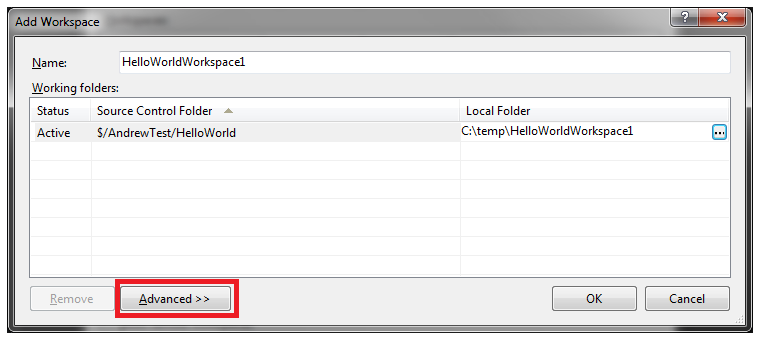
The Add Workspace dialogue box opens. Under Source Control Folder, specify the server folder that contains the application.
Under Local Folder, specify a local folder.Click Advanced.
Under Location, choose whether you want to use a local or server workspace: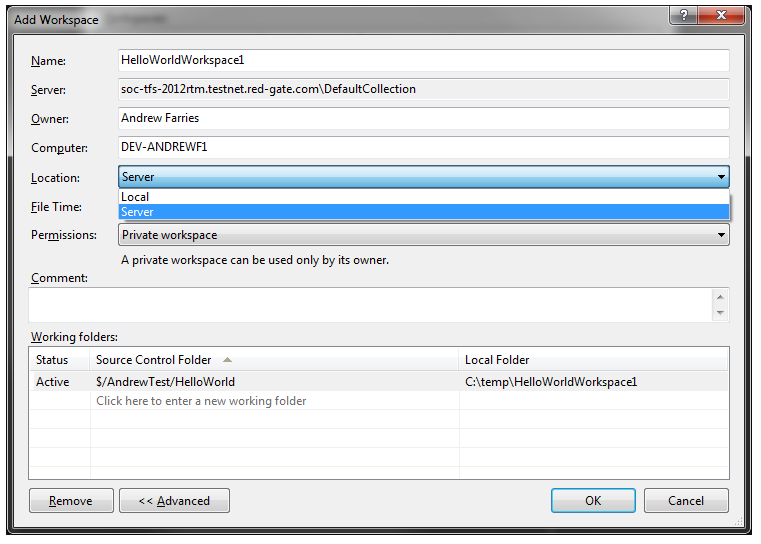
TFS 2012 introduces a distinction between local and server workspaces. In earlier versions of TFS, all workspaces are server workspaces.
However, local workspaces support more operations offline without needing to communicate with the TFS server. Additionally, when you add new databases objects in Management Studio, you need to manually add the new SQL files to the repository (see step 11 below). If you use a local workspace, Team Explorer will automatically detect and suggest new files for addition to the repository.
For more information, see Server workspaces vs. local workspaces on MSDN Blogs.
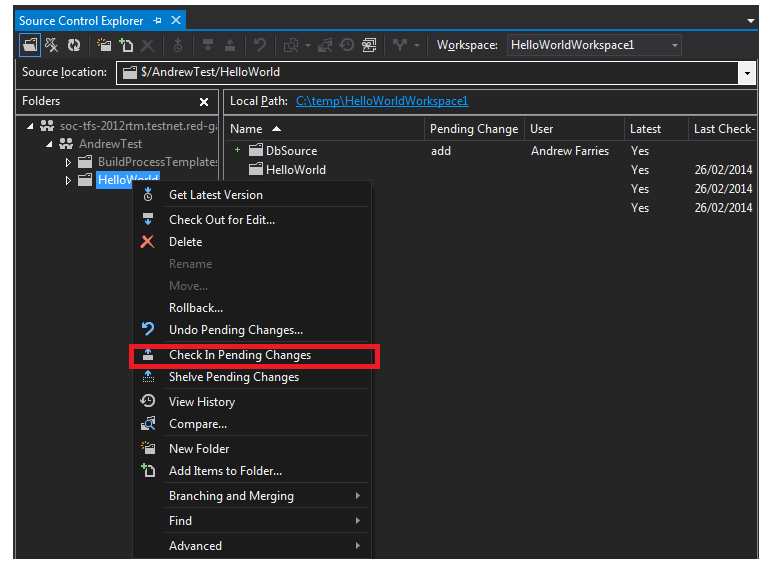
- In Source Control Explorer, create an empty folder to contain the database source code:
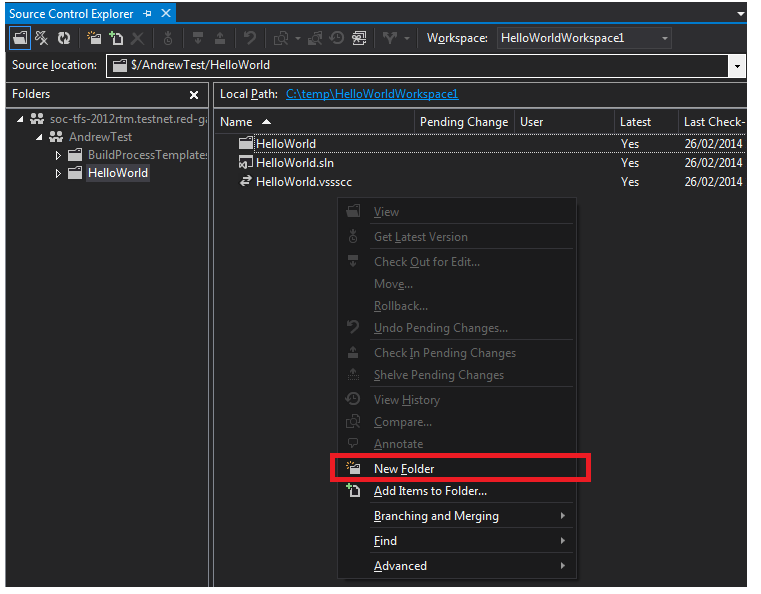
- To check in the empty folder, right-click on the folder and select Check In Pending Changes. In this example, the folder is called named DbSource.
In the Pending Changes tab, write a check-in comment and click Check In: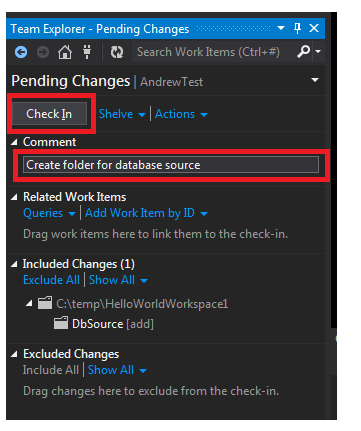
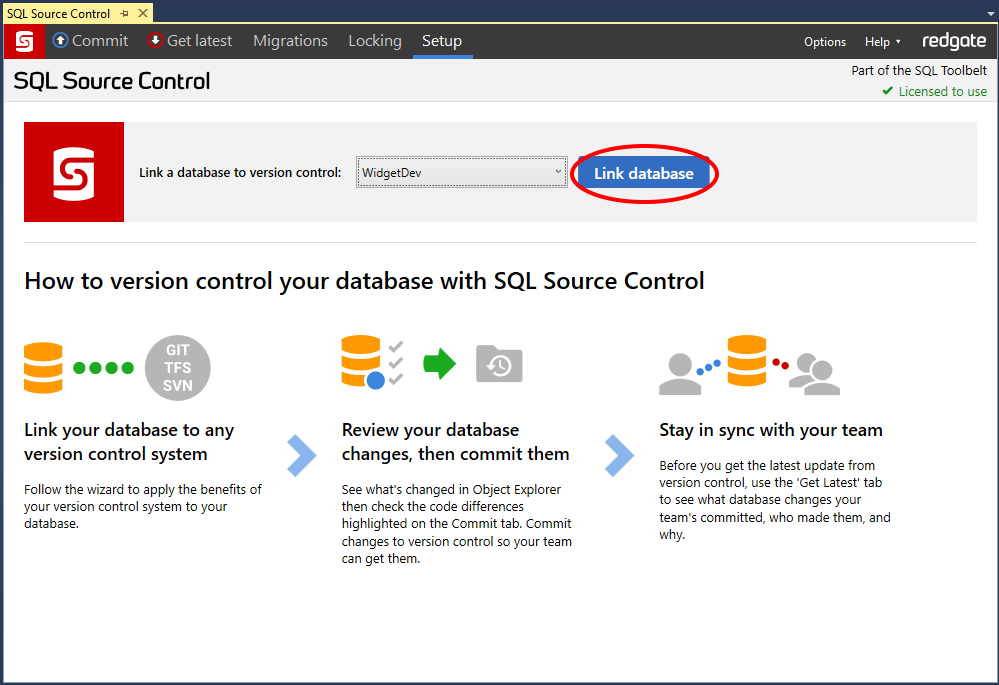
- In Management Studio, select the database in the Object Explorer.
- In SQL Source Control, on the Setup tab, select the database from the drop-down list and click Link database:
The Link this database to source control page opens. - Select Link to a working folder and click Next:
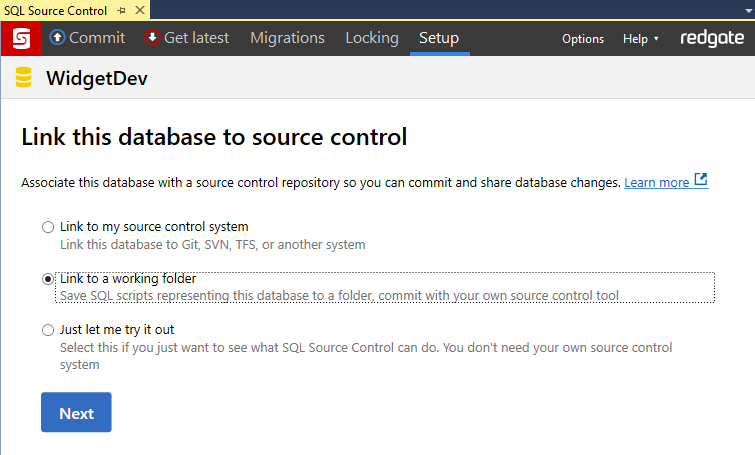
- Specify the location of the folder and click Link.
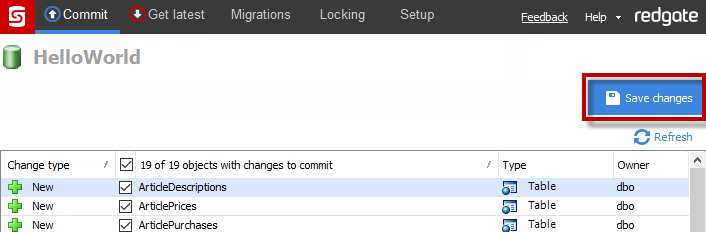
The database is linked to the working folder. - In the Commit tab, do an initial commit of all the objects in the database. To do this, make sure all the objects are selected and click Save changes.
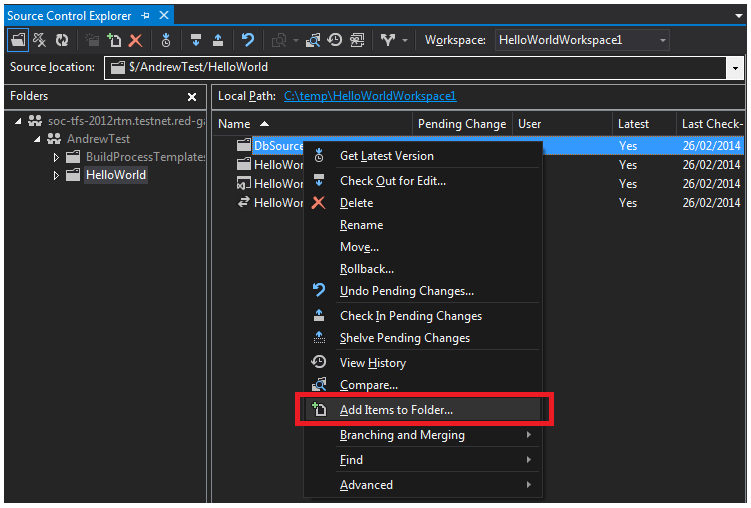
The objects are saved to the working folder. In Source Control Explorer, right-click on the folder that contains the database source and select Add Items to Folder.
If you're using a local workspace (selected in step 4), Team Explorer will automatically detect and suggest new files for addition to the repository. You don't have to add them manually.
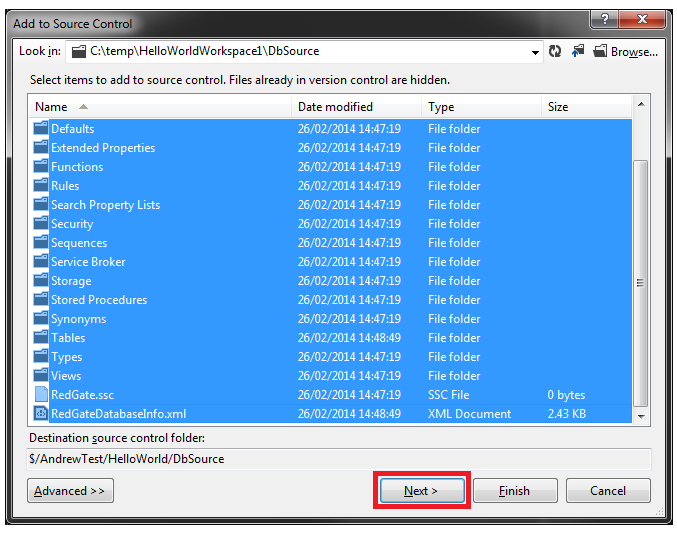
The Add to Source Control dialog box opens. This lists all the objects SQL Source Control added to the folder when we did the initial commit in step 10.- Select all the objects and click Next:
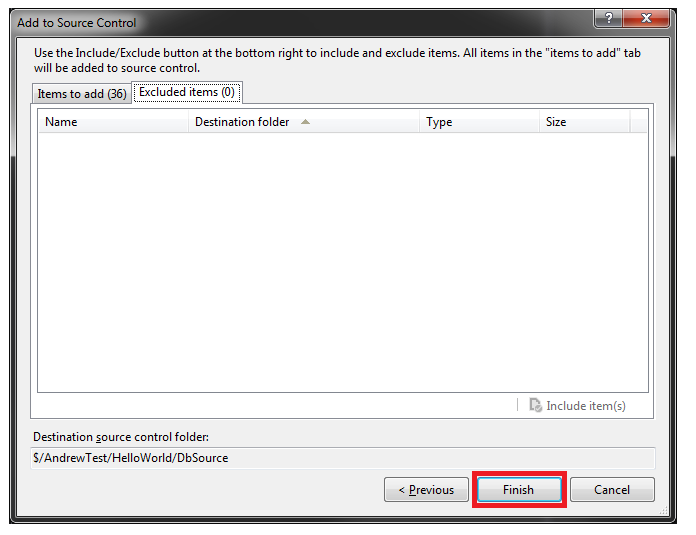
- Make sure no objects are excluded, and click Finish:
- Check in all the files we just added:

Now you can make database changes in Management Studio and save the changes to the server workspace from SQL Source Control. You can then commit the changes, together with application code changes, in Visual Studio.
This documentation contains proprietary information and is protected by copyright law.
Copyright © 2026 Red Gate Software Limited. All rights reserved


