Flyway POC Worfkflows
Published 06 January 2026
The purpose of this section is to become familiar with the Flyway commands that will be called in your CI/CD workflows to deploy database changes safely.
There are several core commands:
- migrate - deploy all pending migration scripts
- check - run code analysis, generate a change report, and check for drift
- undo - undo a versioned migration script by executing the corresponding U script
The migrate and undo commands support cherryPick and target parameters to further define the actions, if necessary:
- cherryPick - explicit list and order of script versions to execute
- target - execute up to and including the target version
Testing Flyway commands
- Create a Flyway Project with a development and test database environment
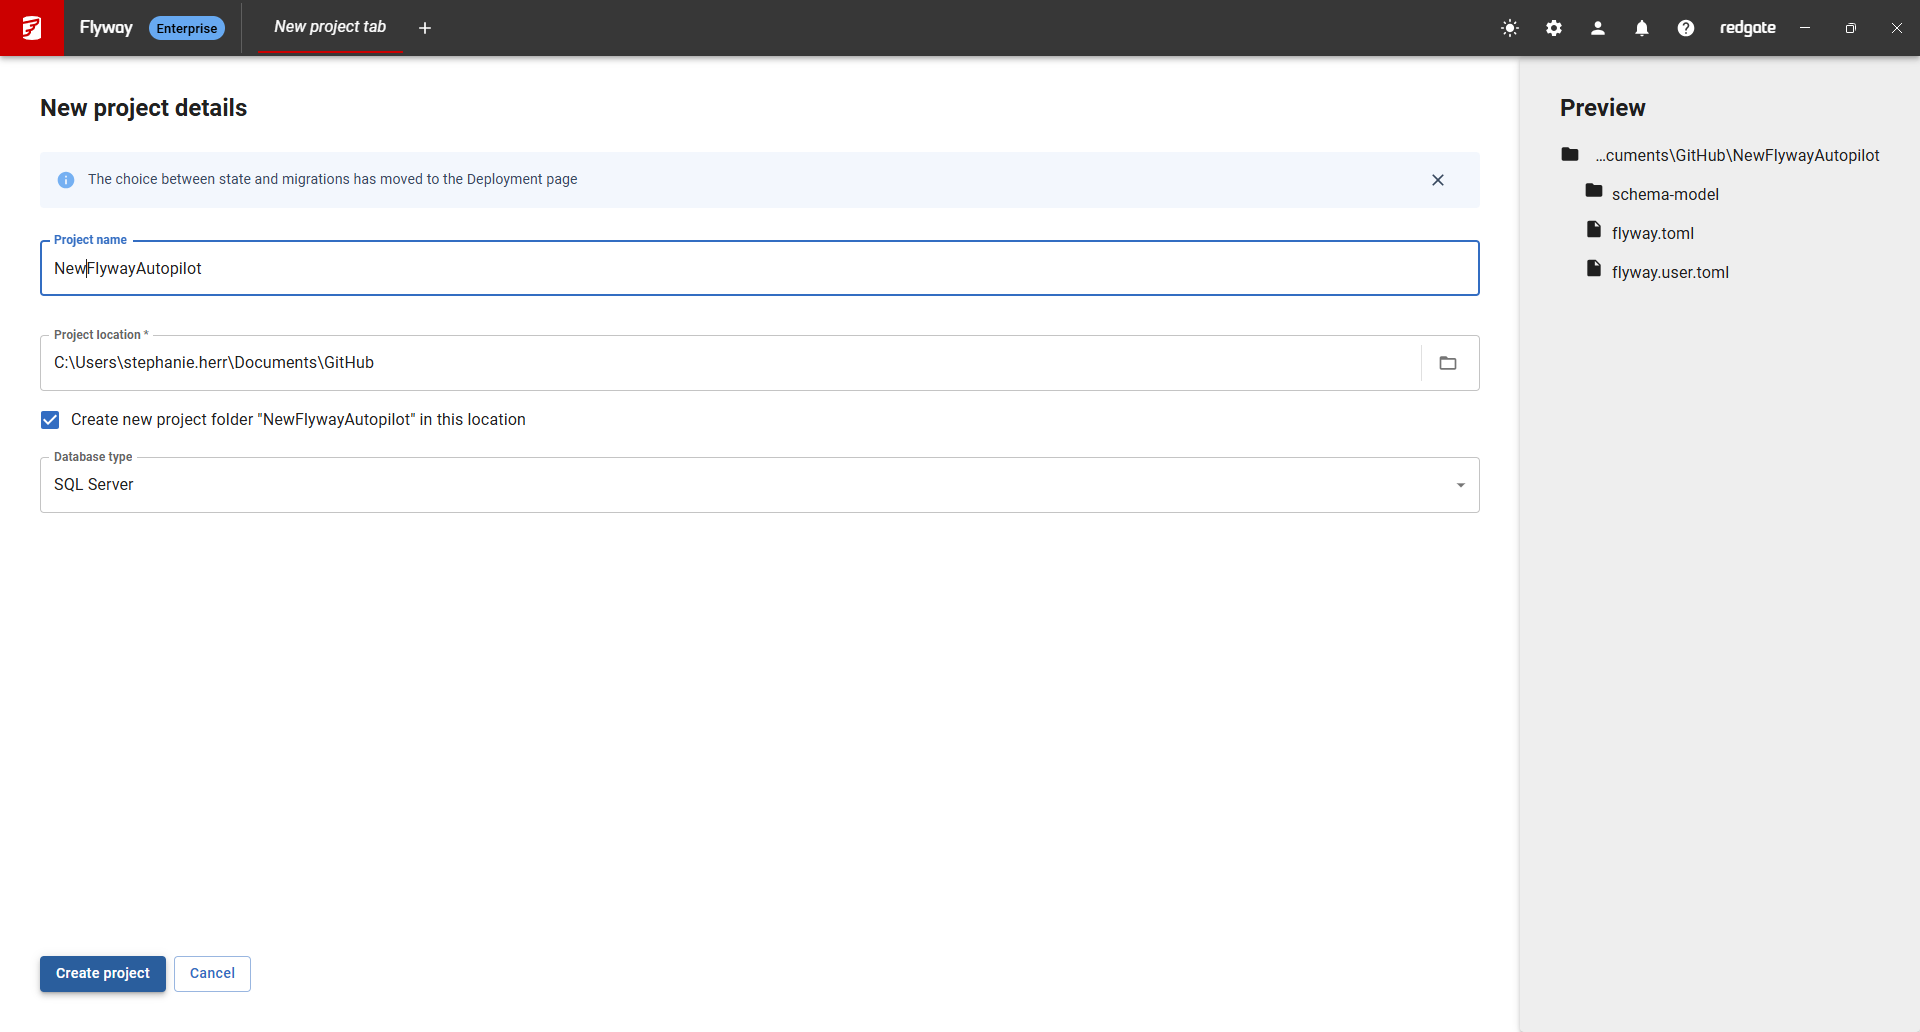
- In Flyway Desktop, create a New project setting the name, location, and database type.

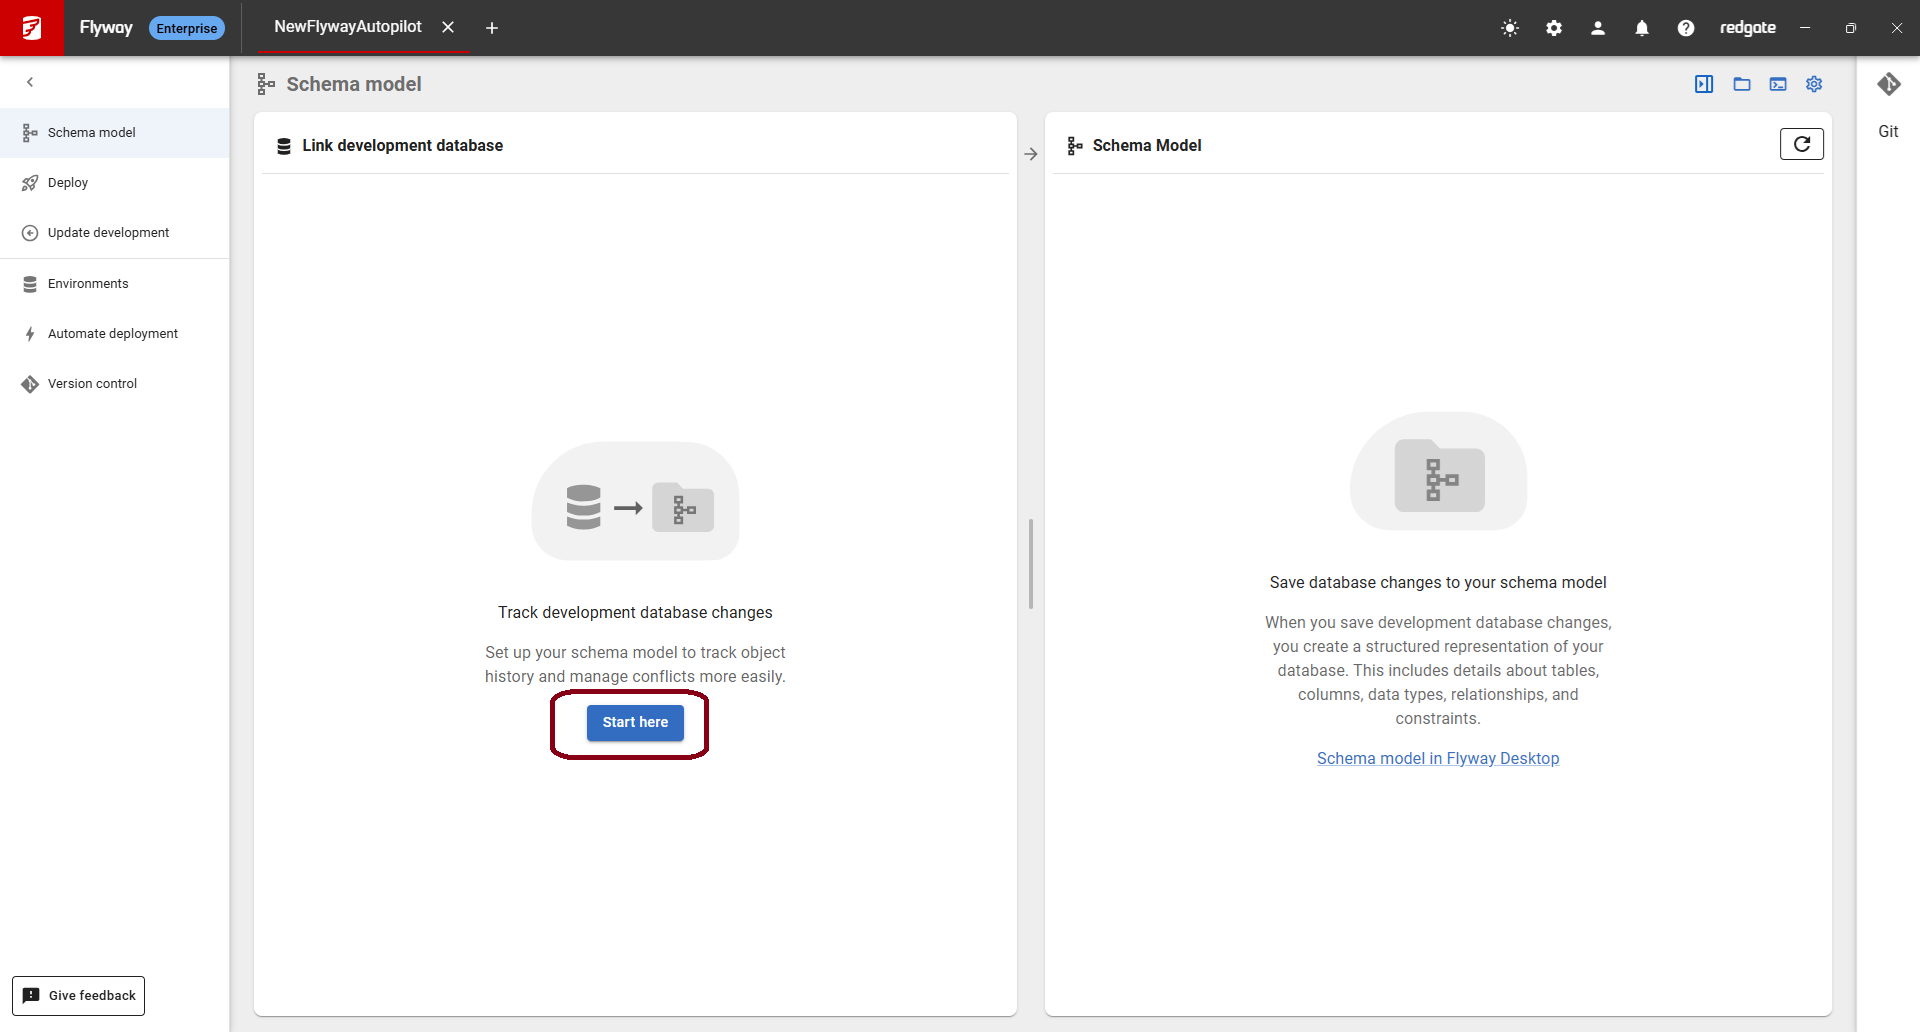
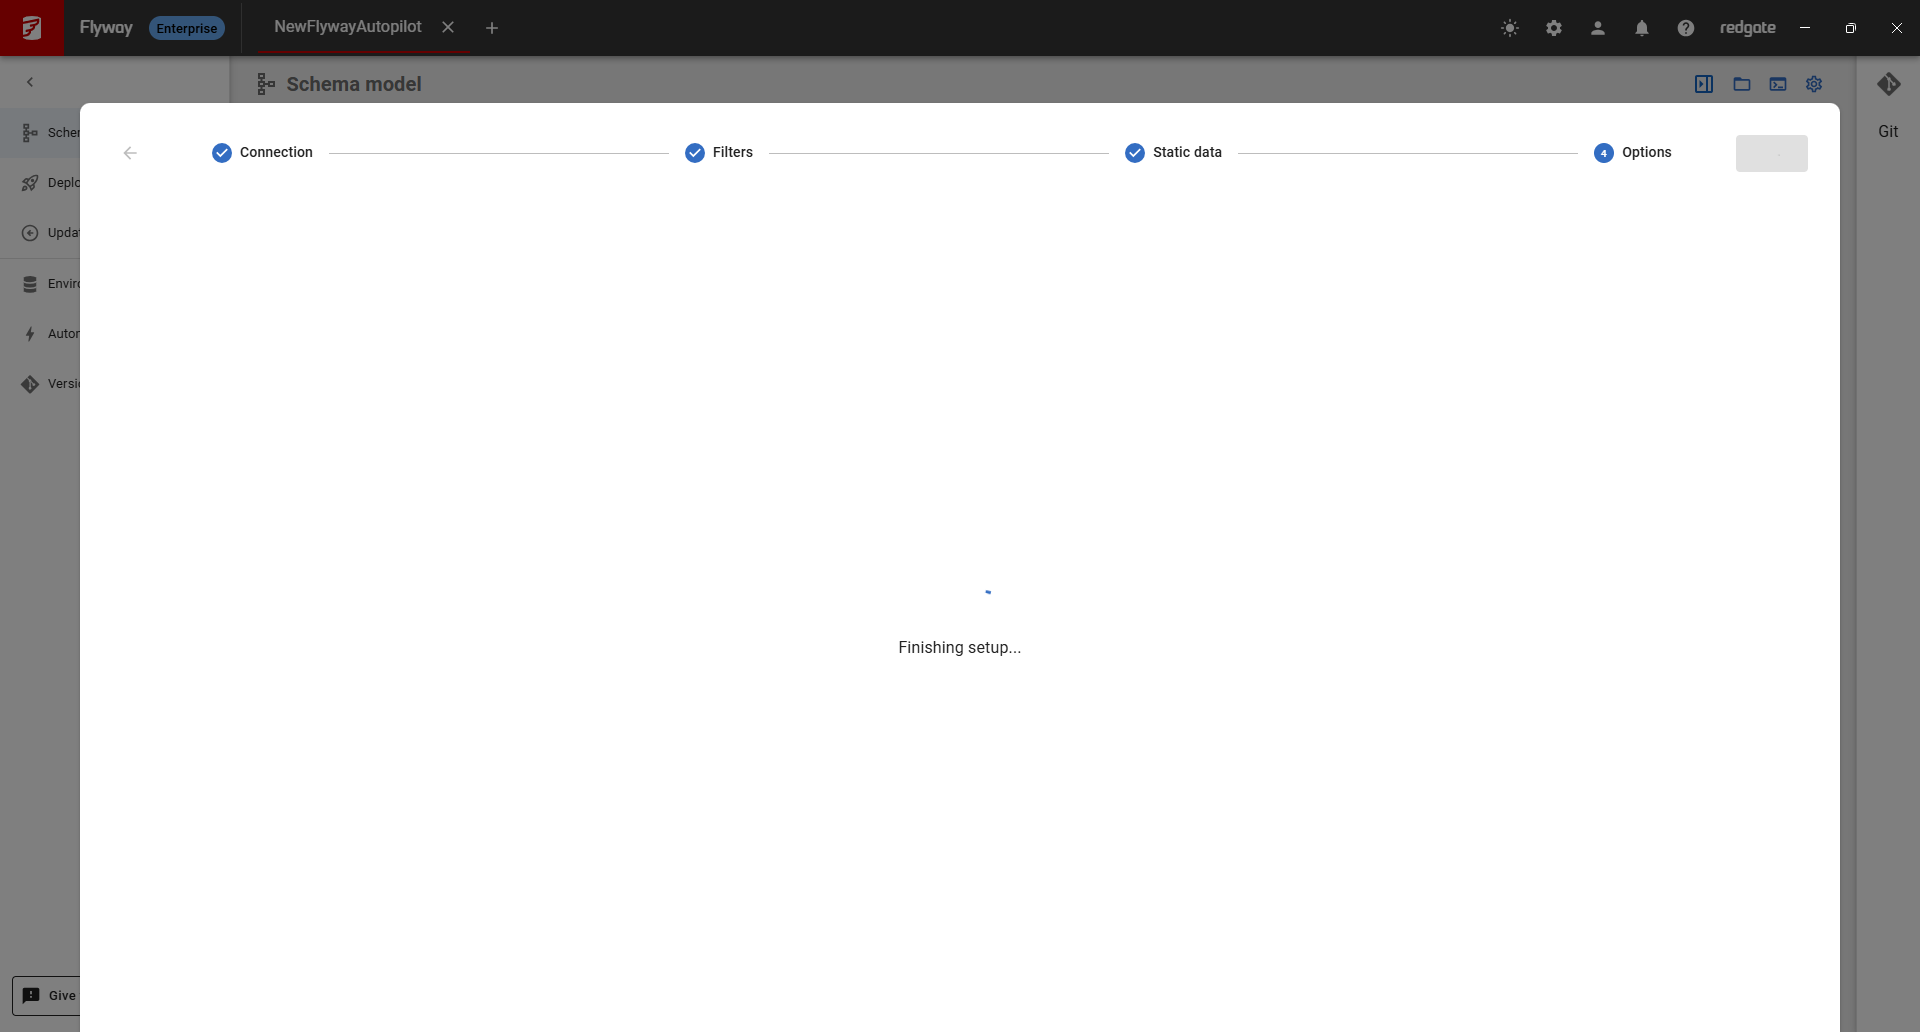
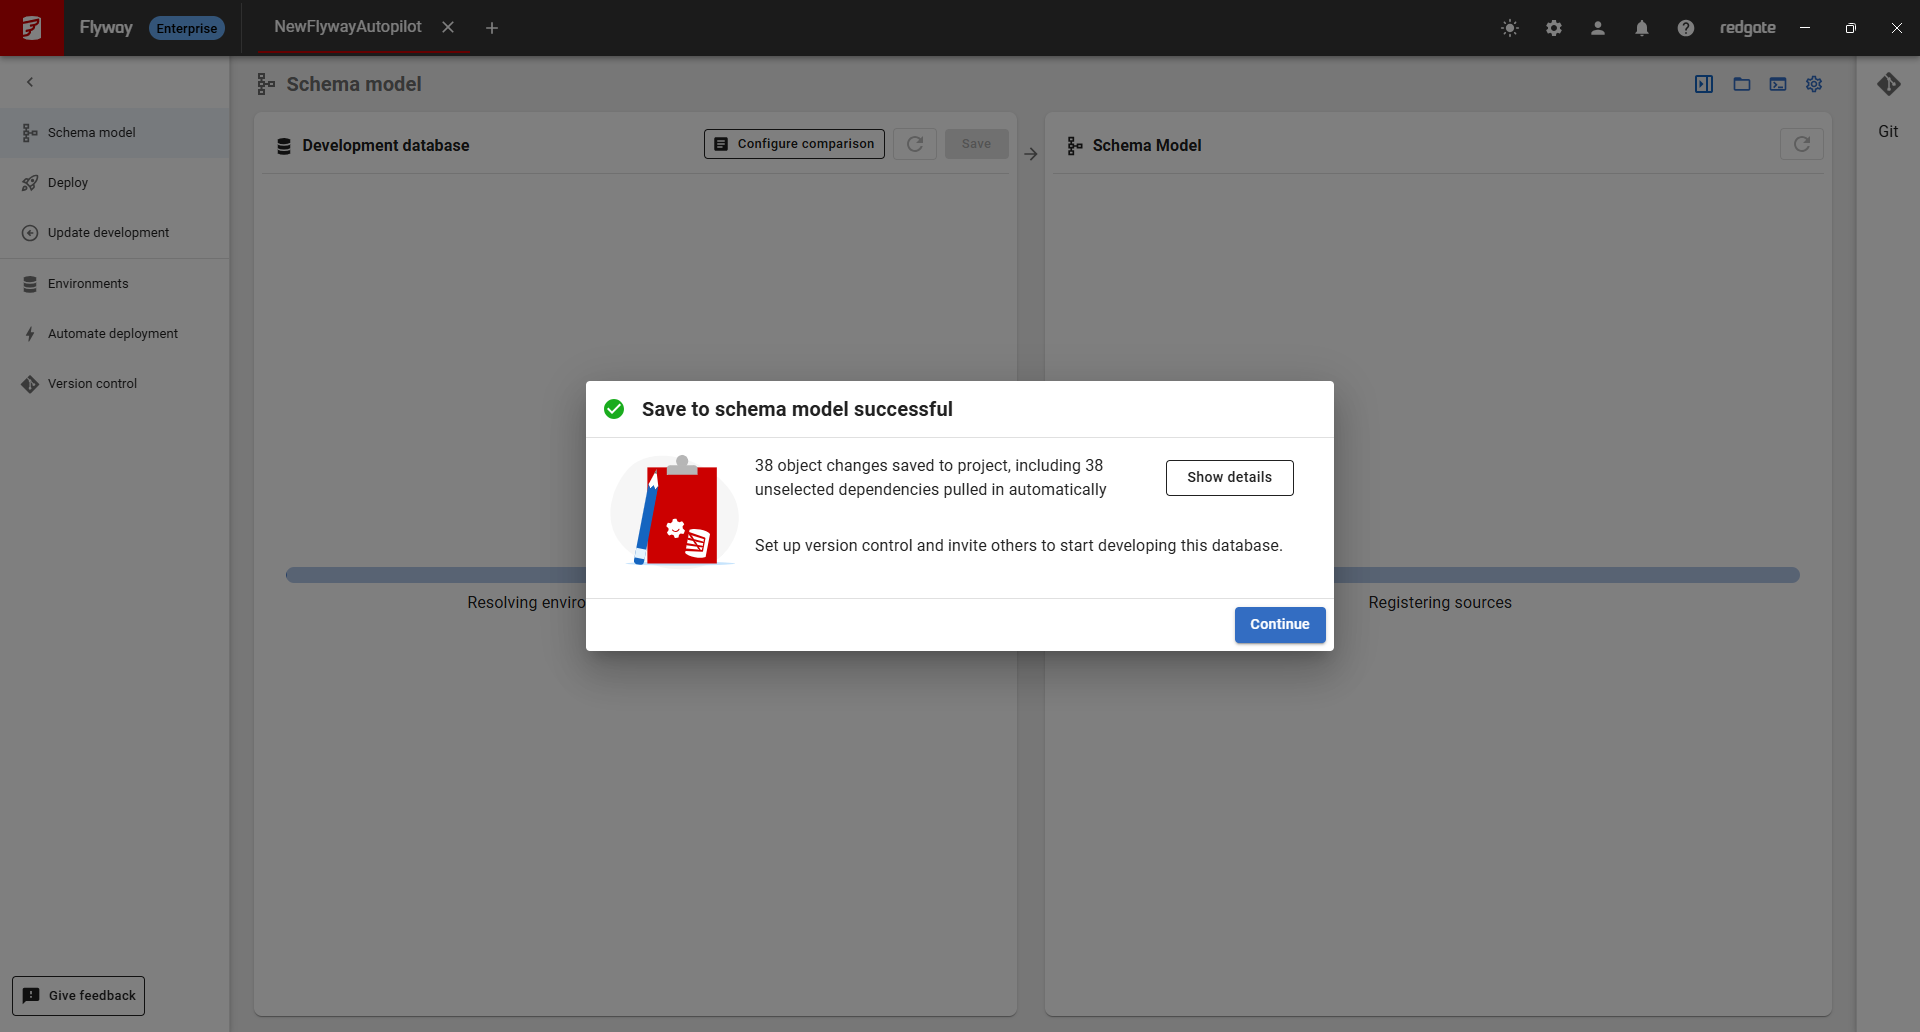
- On the Schema model page, click Start here to set up your development environment and follow a wizard to save the initial state of your objects (and static data if you selected any) to the schema model. The schema model is a folder on disk which is versioned controlled in your own version control system (GitHub, GitLab, Azure DevOps Repos, etc.) so you see how each object changes over time. This is also the source that Flyway generates migration scripts from when your changes are ready to be deployed.
- Click Environments on the left and setup a connection to your test database by clicking Configure new environment under Deployment Environments.
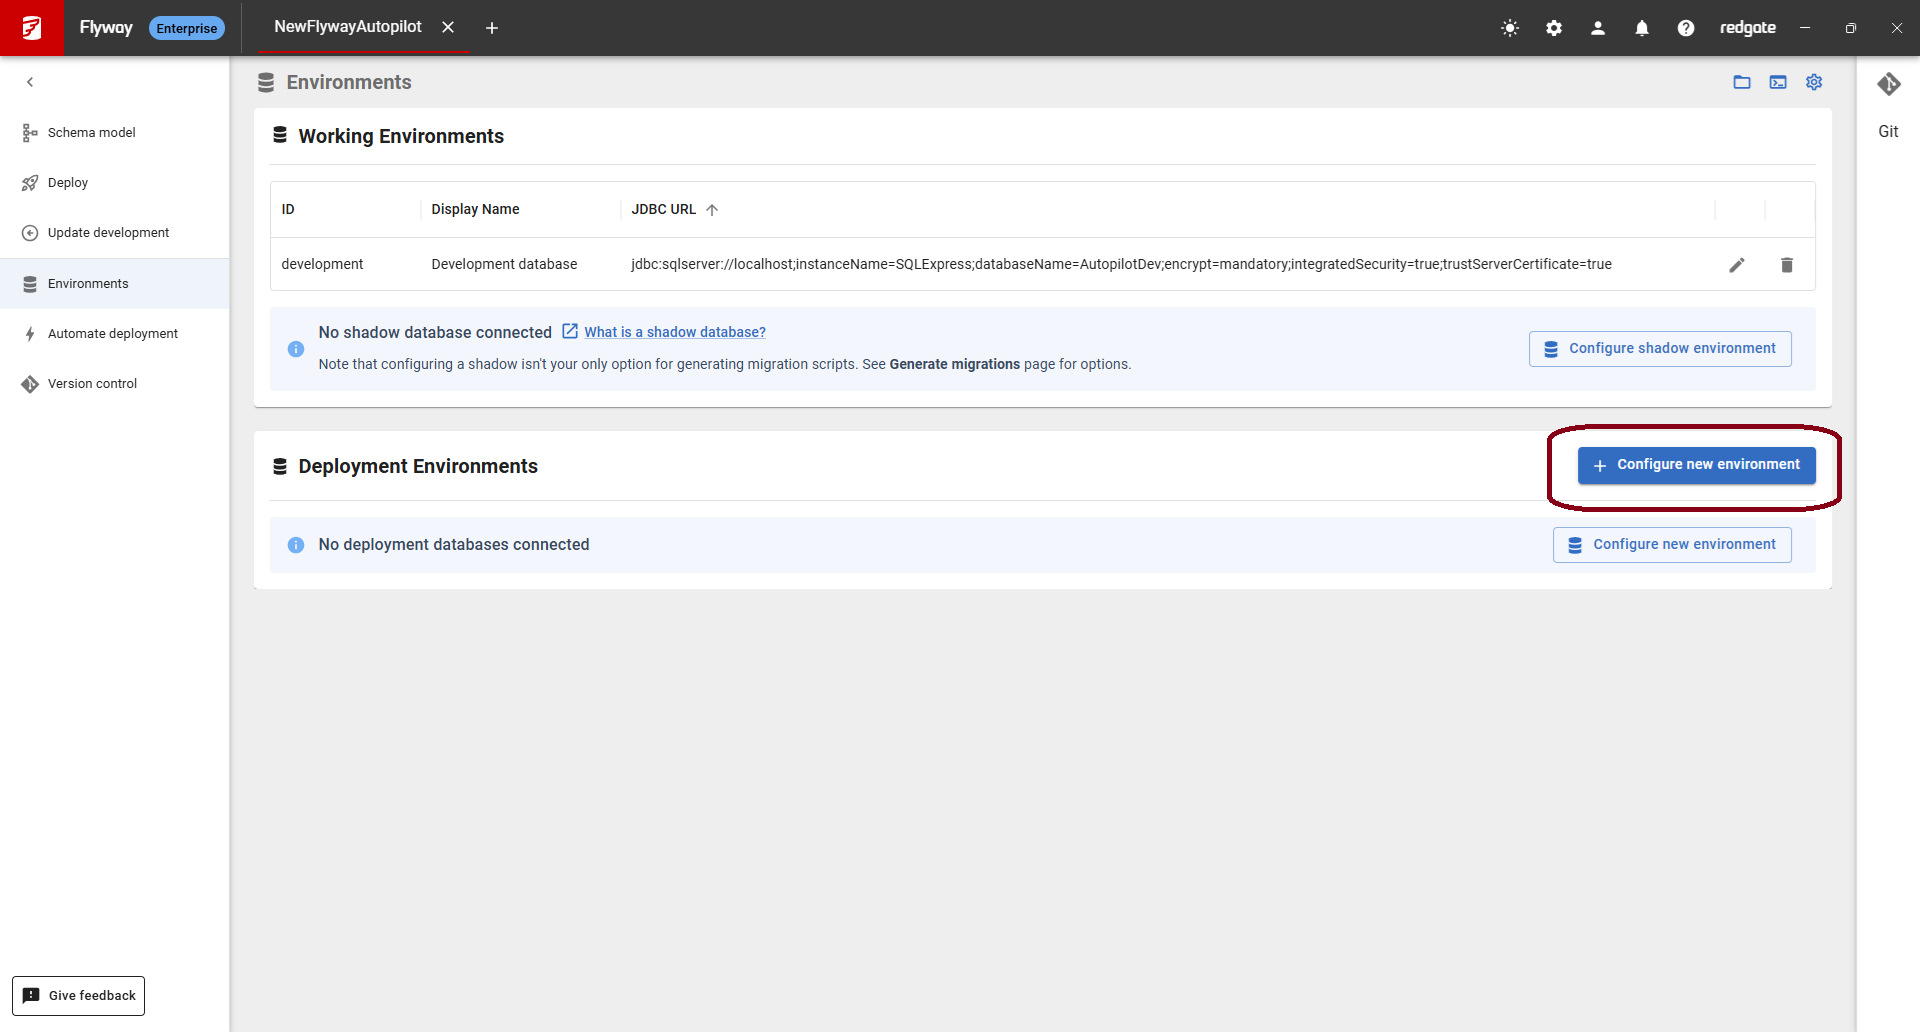
- Set the ID to test, enter your connection details, and click Test and save.
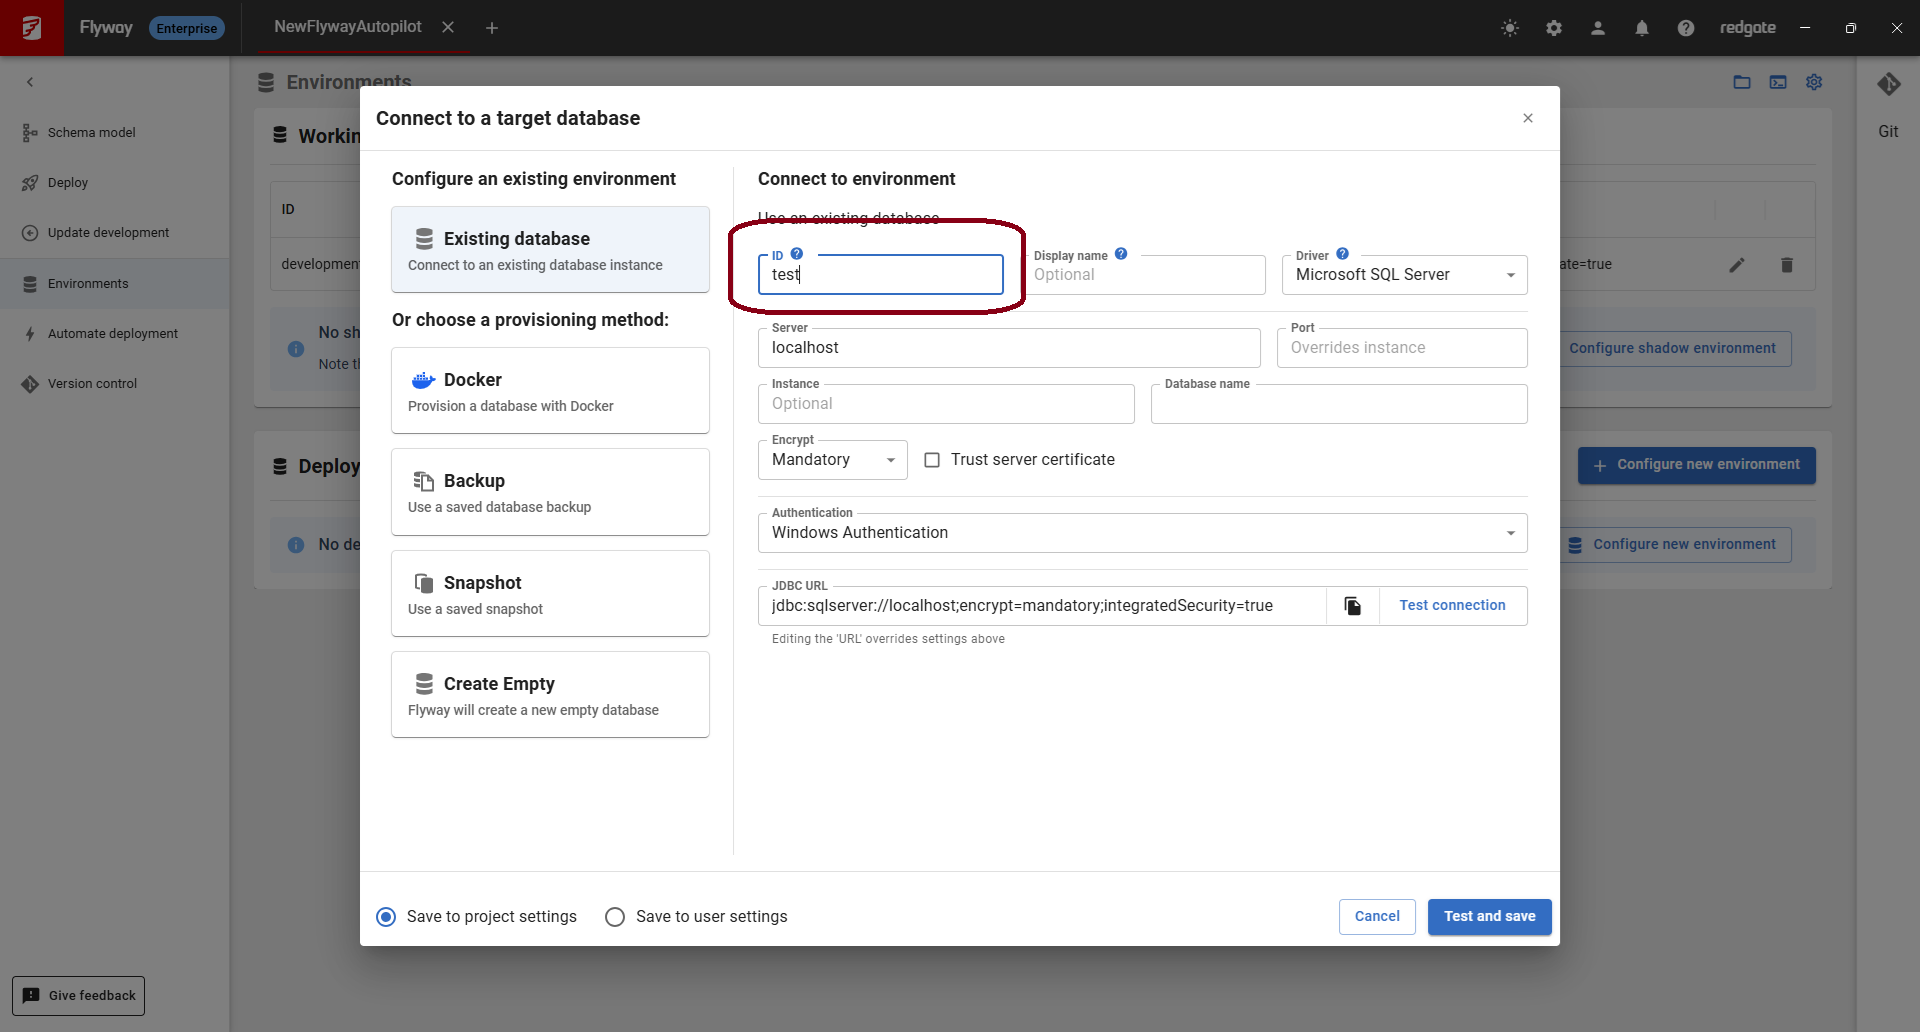
- Set the ID to test, enter your connection details, and click Test and save.
- In Flyway Desktop, create a New project setting the name, location, and database type.
- Make changes to your development database
Use your preferred IDE to make changes directly to the development database. This is the database you make changes to and Flyway tracks those changes in a schema model folder on disk which is versioned controlled in your own version control system (GitHub, GitLab, Azure DevOps Repos, etc.) so you see how each object changes over time. This is also the source that Flyway generates migration scripts from when your changes are ready to be deployed. - Saving changes to the schema model
- In Flyway Desktop, see the changes on the Schema model page.

- Select the objects you want and Save them to the schema model.

- In Flyway Desktop, see the changes on the Schema model page.
- Generate migration scripts
- Click Generate Migrations on the left sidebar. Select the objects you want to capture in deployment scripts.

- Click Generate Scripts on the top right. Review, edit, rename, refactor the scripts if desired. Click Save when ready.

- Click Generate Migrations on the left sidebar. Select the objects you want to capture in deployment scripts.
- Deploy to Test
Now that we have a new migration script and an optional corresponding undo script, let's test deploying and reverting changes.- Visit the Automated deployment page
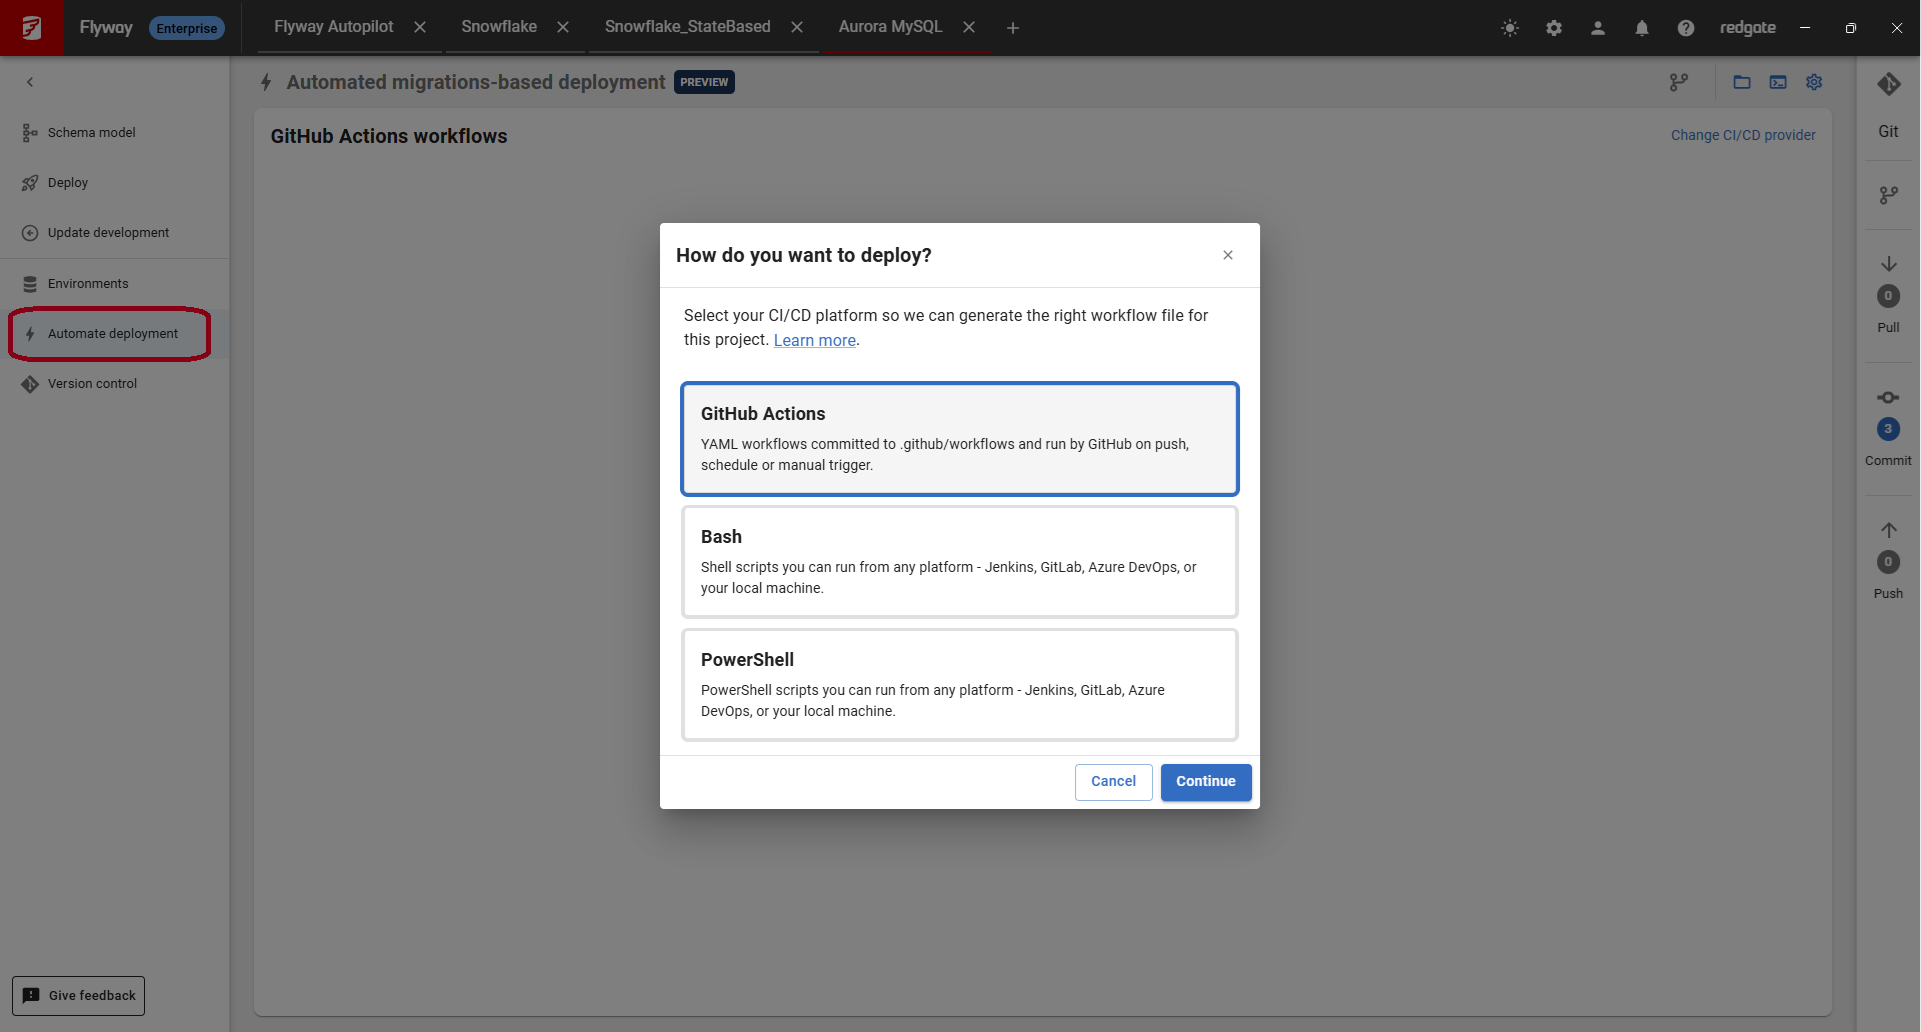
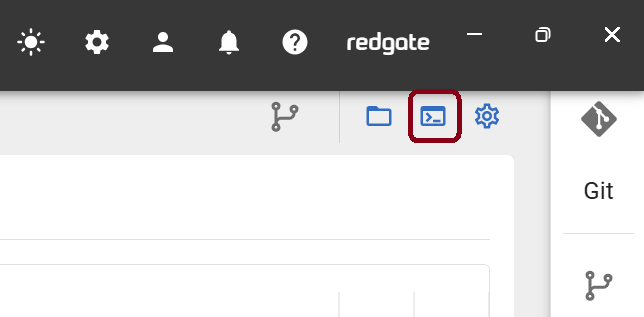
- If using Bash on Windows, click the blue console icon in the top-right corner to open a terminal in the correct directory. The terminal will already be licensed for Flyway since it was opened from Flyway Desktop.
- Additional sample commands to try
Don't forget to update the cherryPick and target values to match the version numbers in your project. You may also need to create a test envifonment or update the parameter in the script to match your environment name.
- Visit the Automated deployment page
Note: You may find it better to have more than one migration and undo script to test. Create as many migration scripts as you wish in steps 2 and 3 above. The development workflow of saving changes to the schema model and generating migrations can be automated.
This documentation contains proprietary information and is protected by copyright law.
Copyright © 2026 Red Gate Software Limited. All rights reserved


