Installation
Published 27 July 2018
In order to install SQL Data Catalog, please contact us via the product page to obtain an installer. After that, you should be able to complete the installation by following the steps that the installer takes you through.
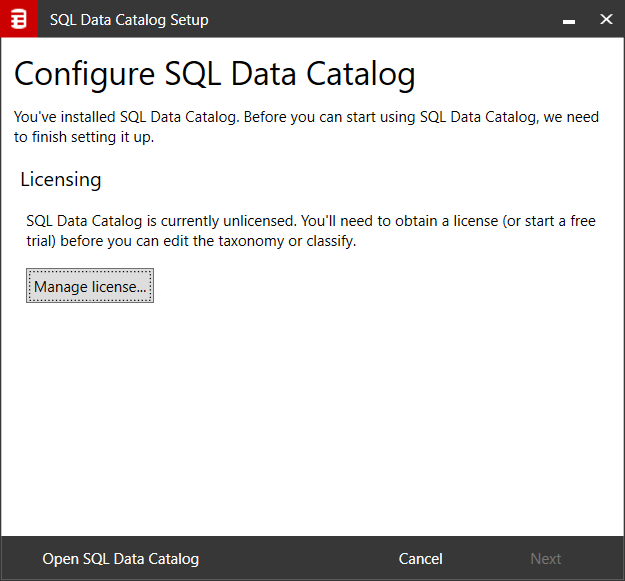
After installing the software, the Configuration Setup window will pop up.
Using the Manage License... button you can enter a Redgate ID (and create one if you need to) and then start a trial. If you have a license key, then you can also use the dialog to register that.
The Next button will remain disabled until you do this.
Once you have configured the licensing, you can use the Next button to go to the next step.
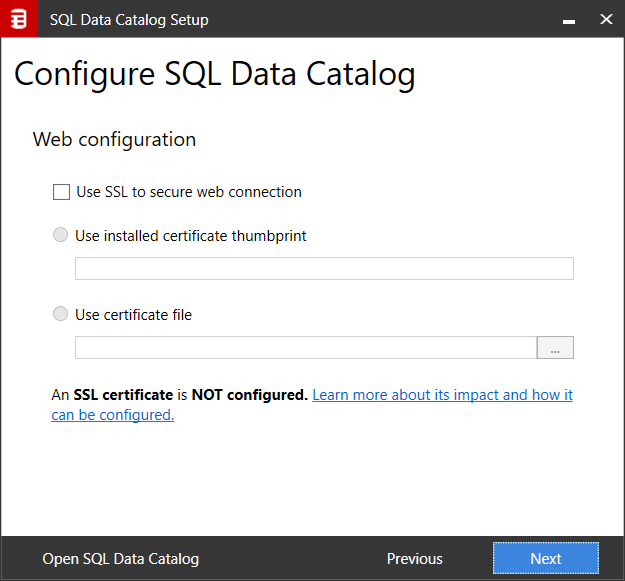
The next dialog allows you to configure the system to use SSL. To do this you will need access to an SSL certificate that your Administrator can generate for you.
Typically you either have the certificate in your Certificate store, in which case you can use the thumbprint to communicate it to Data Catalog, or you may have a pfx file which the system can import into the Certificate store and then use. Click the checkbox to enable the two radio buttons, and use the associated input to provide the data required.
To understand more about certificates, please use the "Learn more" link on the dialog which will take you to some documentation. In particular, without SSL any credentials you provide will be transferred without encryption.
Clicking the Next button will take you to the last step of the installation process.
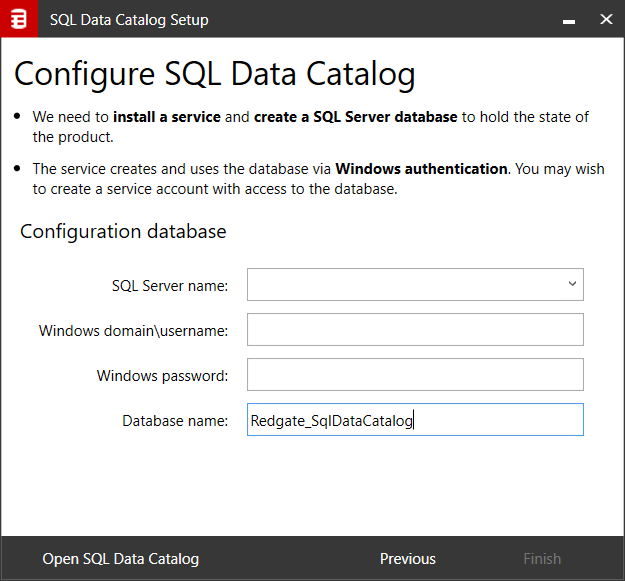
This is where you need to enter:
- The credentials the Redgate SQL Data Catalog windows service runs under. This will be used to access the SQL Server instances and databases. For that reason, you need to use account credentials which have access to SQL Server instances and databases that you want the software to operate on.
- The SQL Server instance and database name. We recommend that you create the database manually with the SQL_Latin1_General_CP1_CI_AS collation (if the database does not exist when SQL Data Catalog starts it will create the database with the default server collation).
Please refer to the Requirements section for more details.


