Installing SQL Release 1.2.3 and earlier versions
Published 05 August 2015
This page applies to SQL Release 1.2.3 and earlier, which were part of DLM Automation Suite 1.2 and earlier. If you're using a more recent version of the DLM Automation Suite, click here.
- From the DLM Automation Suite app, in the Release management > SQL Release section, click Open folder:
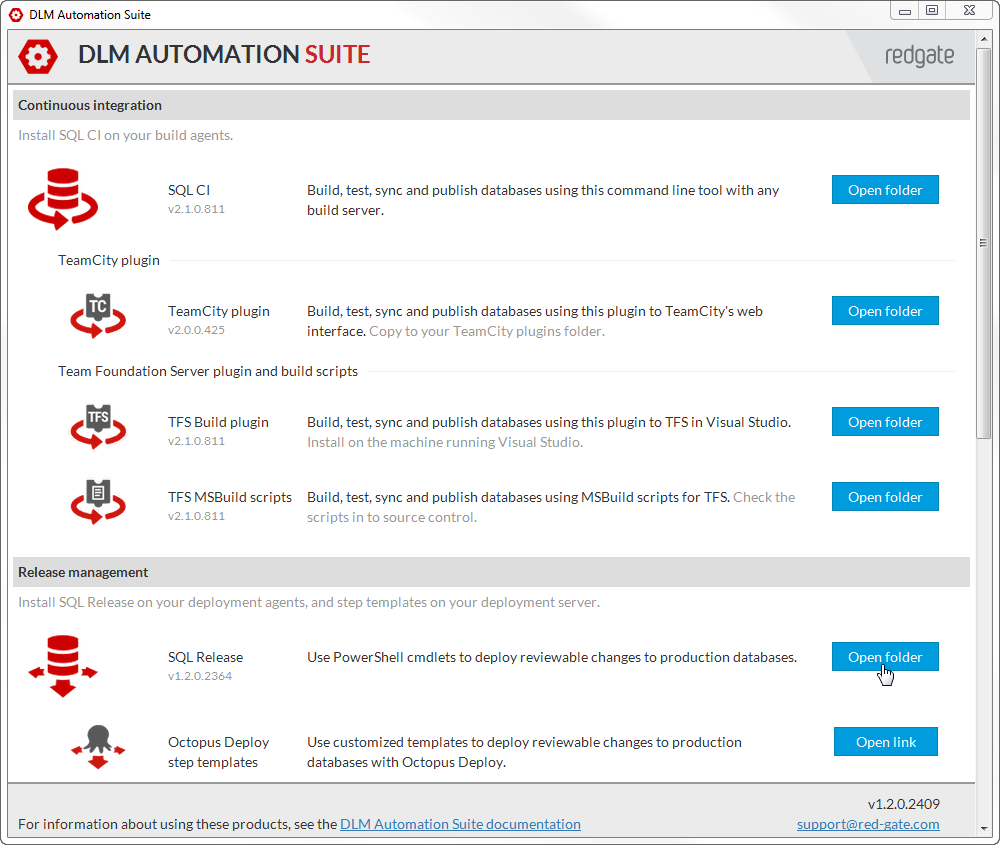
The installed SQL Release MSI is displayed in your file browser.
The install location is C:\Program Files (x86)\Red Gate\DLM Automation Suite 1\SQLRelease. If you're upgrading from the SQL Automation Pack, the location is C:\Program Files (x86)\Red Gate\SQL Automation Pack 1\SQLRelease. - Copy the installer package to a folder local to the machine running your deployment agent.
Now you can complete the installation using either the MSI installer or the command prompt.
Installing from a command prompt
Use a command prompt to install SQLRelease:
- silently - no UI or prompts
- passively - displays a single progress UI but no prompts
To run a silent or passive install:
- Open a command prompt with administrator privileges.
- Navigate to the SQL Release MSI file location.
Enter
/quietor/passiveExample
:\DownloadedInstallers\SQLRelease_1.0.6.1791.msi /quiet
Optionally add the following:
SENDERRORS=0- stops sending error reports to Redgate. By default, it's set toSENDERRORS=1so Redgate will receive error reports to help us diagnose issues and fix them.SENDFUR=0- stops sending feature usage reporting (FUR) data to Redgate. By default, it's set toSENDFUR=1so Redgate can collect data to help us understand how you're using SQL Release, and prioritize future development work.
Example
C:\DownloadedInstallers\SQLRelease_1.0.6.1791.msi /quiet SENDERRORS=0 SENDFUR=1
If you're upgrading, SQL Release will keep using your existing options for sending error and feature usage reports.
This documentation contains proprietary information and is protected by copyright law.
Copyright © 2026 Red Gate Software Limited. All rights reserved


