Creating masking sets from SQL Data Catalog classifications
Published 16 September 2020
Before following this walkthrough, please ensure you're running v1.9 or later of SQL Data Catalog and v7.1 or later of Data Masker for SQL Server. The screenshots of the product are accurate as of v7.1.5 of Data Masker for SQL Server.
This walkthrough will also assume you've already classified data in SQL Data Catalog and marked them as requiring masking. If you haven't get done that, learn how to do so here.
For background information about the challenges of masking data and our command line options, please see this article on How to Classify and Protect your Development Data Automatically using SQL Data Catalog and Data Masker Command Line.
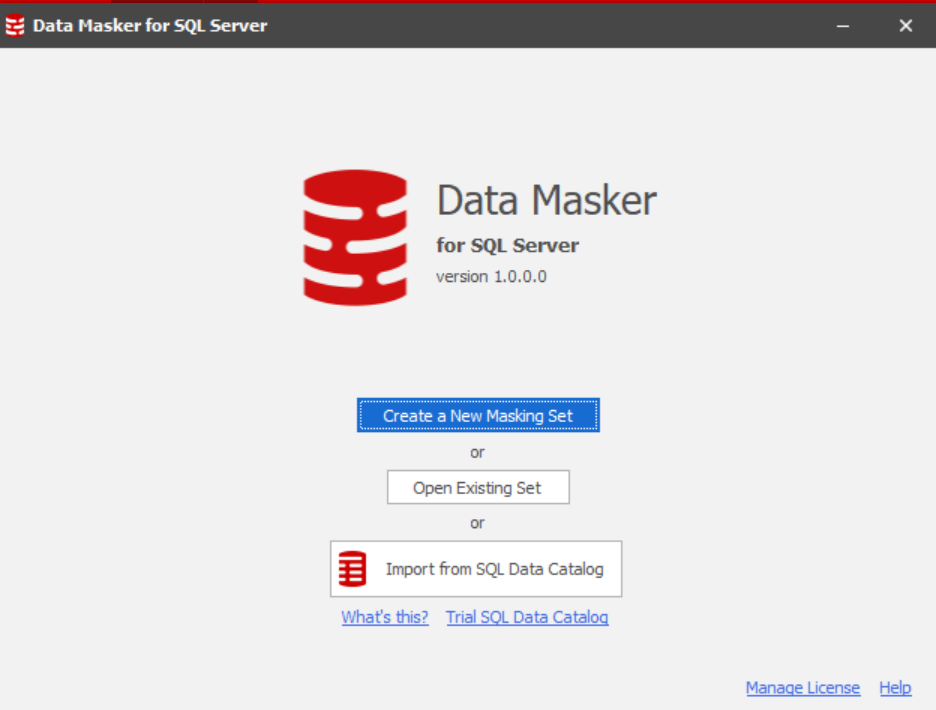
To begin, we’re going to start up Data Masker for SQL Server. We're then going to choose "Import from SQL Data Catalog".
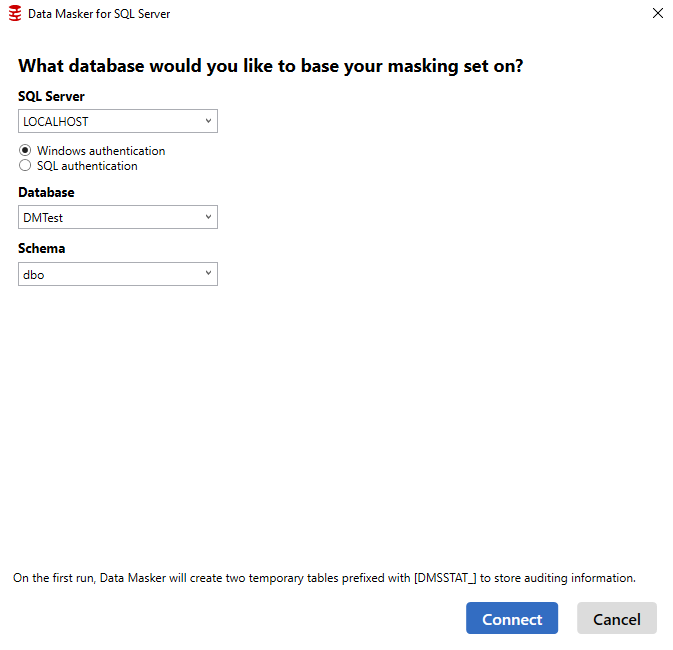
The first thing we'll be prompted for is the details of the database we want to mask. Therefore, we'll select the properties of our desired database DMTest.
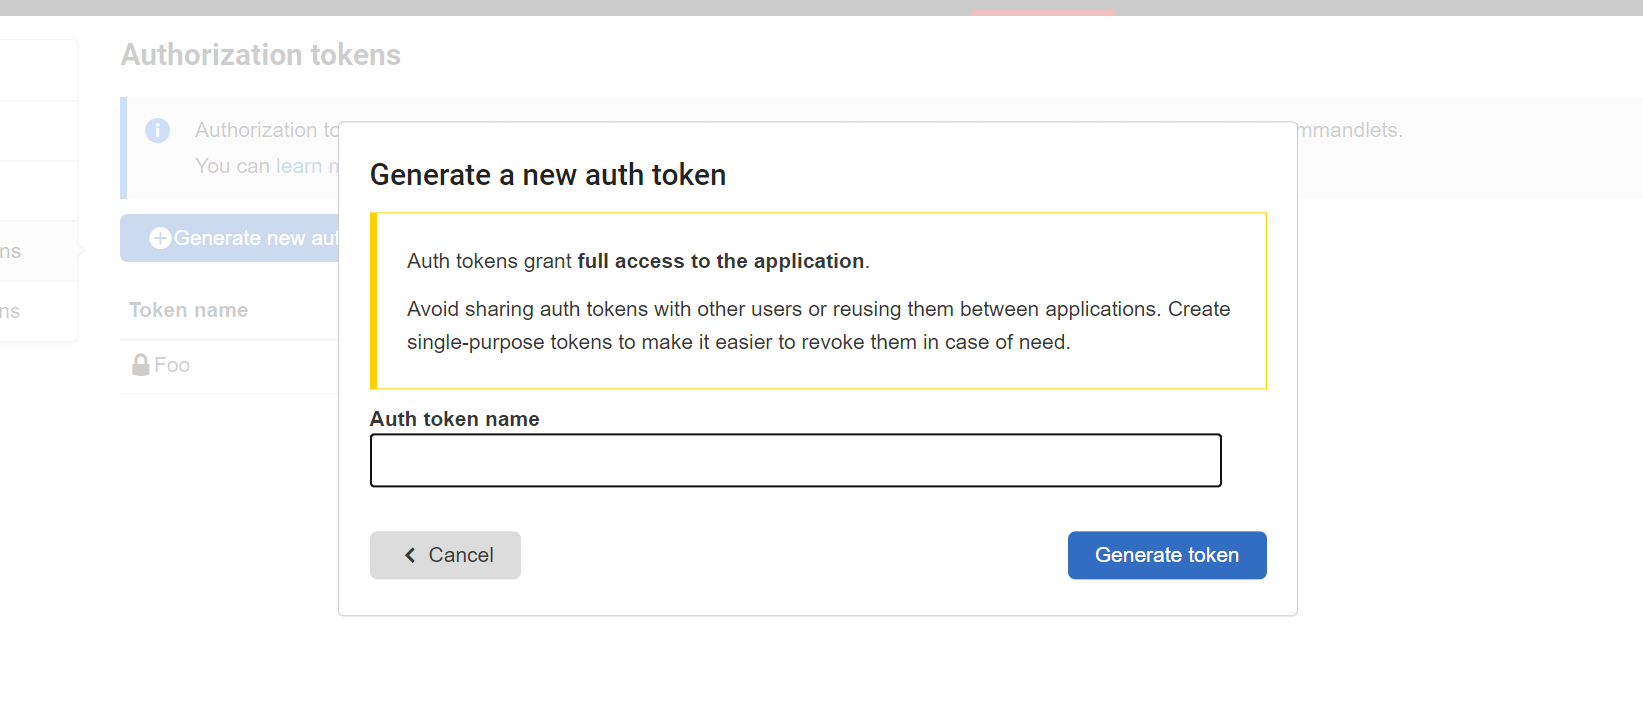
Next, we'll be asked to configure our import setting for SQL Data Catalog. To configure things properly, we're going to need an API key. To generate one from SQL Data Catalog, click Settings > Auth Tokens.
In the API settings window displayed below, we also set the import settings, i.e. which tags define sensitive columns. These columns will be automatically masked by Data Masker. Here, we also define which tags map to masking templates, which control what data set (e.g. “Full Addresses (US)”) the columns are masked with. In our case, we’re just going to use the defaults. This means the treatment intent Static Masking marks columns as sensitive, and the Information Type tags have a 1-1 mapping to column templates.
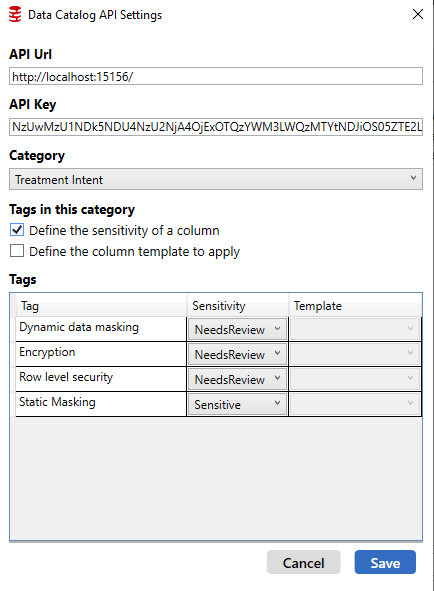
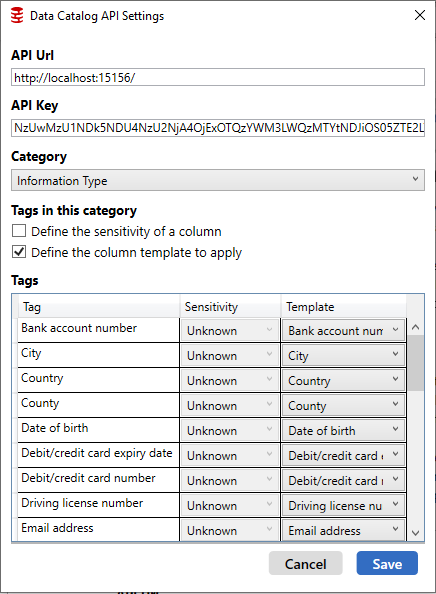
By default, Data Masker will mask all columns with any tag applied, as they are configured as NeedsReview. This is to ensure we do not accidentally leak sensitive information to our non-production environments. For tag categories unrelated to sensitivity classification (such as Owner), we need to uncheck the Define the sensitivity of a column checkbox. For tag categories that do relate to sensitivity classification, or tags that signify a column requires masking, such as Static Masking), we select the appropriate sensitivity for each tag. This means that a column not marked with Static Masking could still be masked automatically if it has other tags applied that mark it as sensitive in the Data Masker importer.
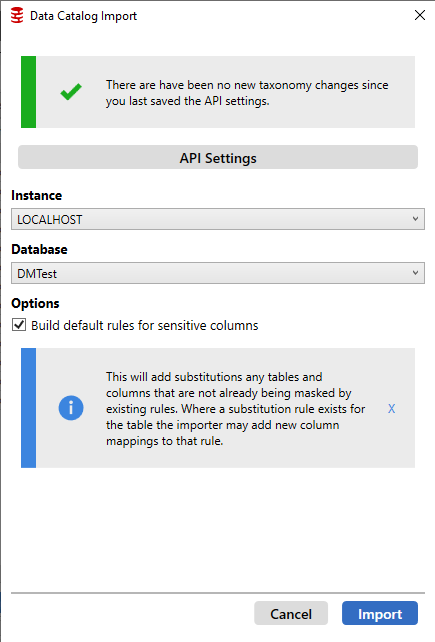
On the next screen, we can see the Instance and Database fields have been prepopulated, and Build Default Rules for sensitive columns is checked. Click Import and all the classifications should be brought in from Data Catalog.
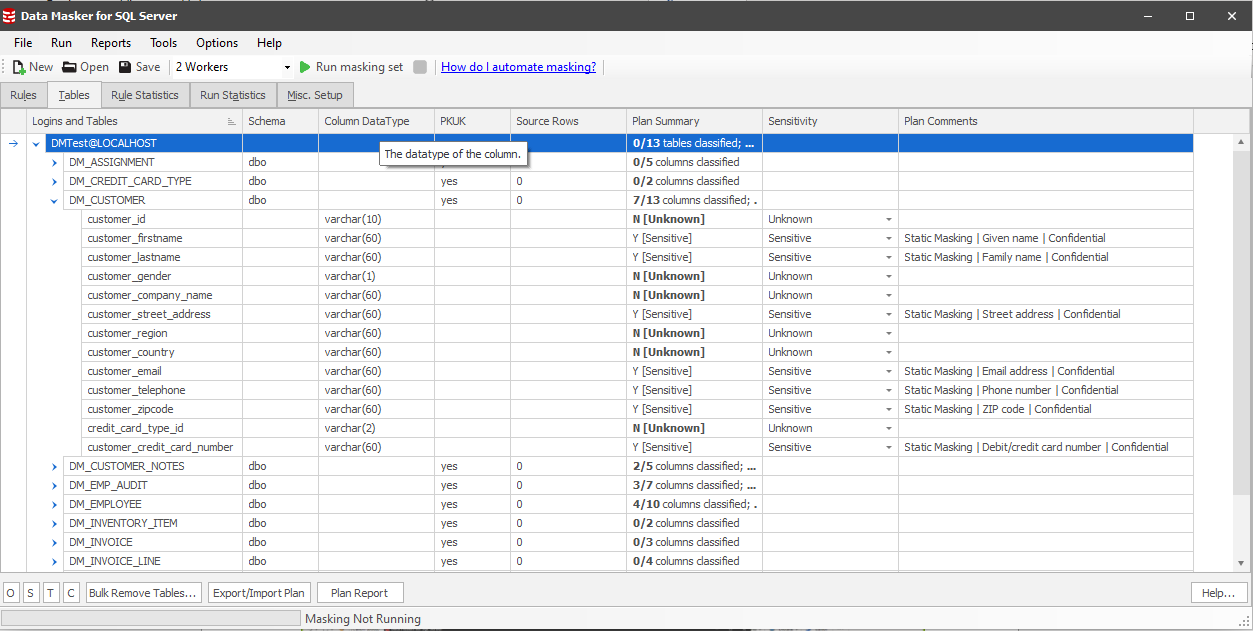
After clicking Import, navigate to the Tables tab. We can immediately see the plan summary for our database. For instance, in the DM_CUSTOMER table, which contains significant amounts of Personably Identifiable Information, 7 out of the 13 columns have been classified and marked for masking. The Plan Comments show all the tags that have been applied to that column in SQL Data Catalog.
If we now navigate to the Rules tab, we see the generated substitution rules, grouped together by each table that we’ve classified columns for. In this case, we’ve got rules for DM_CUSTOMER, DM_CUSTOMER_NOTES, DM_EMP_AUDIT and DM_EMPLOYEE, as shown by the Rule Target column for each rule.
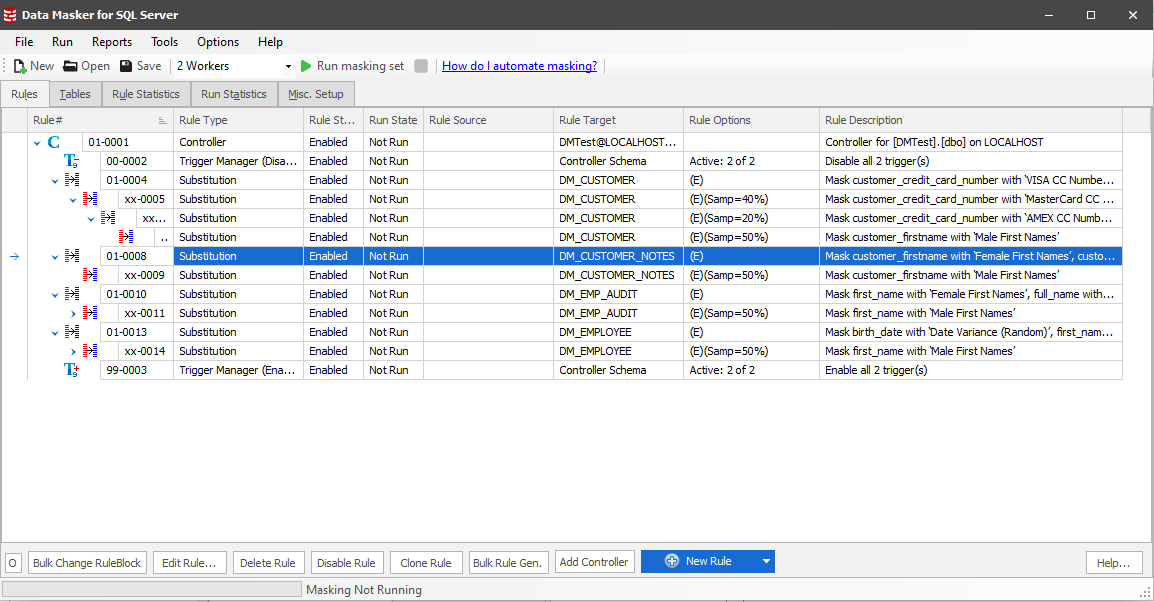
To make the masked databases as realistic as possible, Data Masker has automatically set up several “rule chains”. For instance, in rule 01-0008, we replace all first names in the DM_CUSTOMER_NOTES table with female first names. In xx-0009 (which is a dependency of 01-0008), we then use Data Masker’s sampling capability to replace 50% of those names with male first names, leaving us with an even split.
Rule 01-0004 shows a more complex example. We begin by masking all credit card numbers with VISA CC numbers, then replacing 40% of those with MasterCard CC numbers, before finally replacing 20% with AMEX CC numbers to deliver a realistic distribution across the different card types.
To get more information on the specific masking operations contained in each rule, you can double click on a rule. The image below shows the various substitutions Data Masker will be applying on the DM_CUSTOMER table.
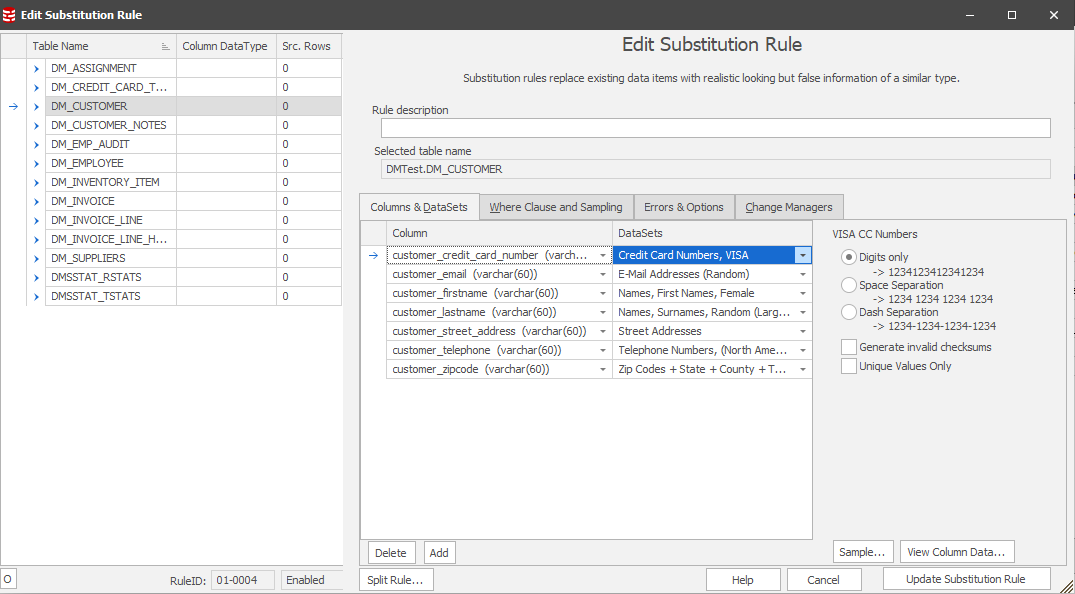
From the screenshot above, we can see the different columns we’re preparing to mask, as well as the specific datasets being used to provide the masked data. We can also tweak the format of the masked data as well, such as adding spaces or dashes into credit card numbers.
We recommend sanity checking the rules before attempting to run the masking set to ensure you’re happy with your configuration, such as the order of masking and the format of certain replacements, such as credit card numbers.
Once you’re happy with it, click Run masking set at the top of the main Data Masker screen. Once all the rules have completed, that’s it! We’ve taken a completely unclassified database, made some basic classifications and then used those classifications to produce a masked version of a production database!
This documentation contains proprietary information and is protected by copyright law.
Copyright © 2026 Red Gate Software Limited. All rights reserved


