Tutorial - Deploy changes from schema model to target environment
Published 11 April 2024
Pre-requisites
- Ensure that Flyway is installed and available on your path
- Ensure that Flyway is authenticated to use enterprise features
- Ensure that any secrets necessary for database connection auth are available
Commands to run
If your target environment, here with id production, is defined in your toml configuration run the following
flyway prepare -source=schemaModel -target=production -scriptFilename="D__deployment.sql"
flyway deploy -scriptFilename="D__deployment.sql" -environment=production
If you instead want to pass in the target connection information inline, instead run the following
flyway prepare -source=schemaModel "-url=<JDBC URL>" -scriptFilename="D__deployment.sql"
flyway deploy -scriptFilename="D__deployment.sql" "-url=<JDBC URL>"
If you don't want to review the deployment script before running the deployment, you can combine the two commands into a single line using command chaining, though be careful of the namespaced parameters
flyway prepare deploy -prepare.source=schemaModel -environment=production
Related command reference
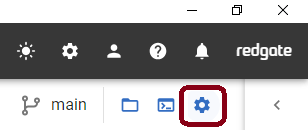
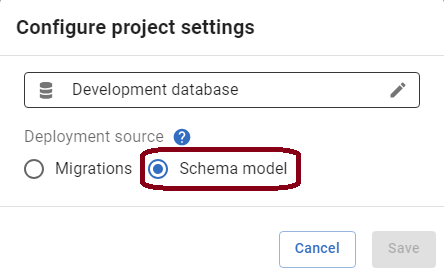
- Ensure that your project has deployment source set to schema model
 →
→ 
- Save some changes to the schema model
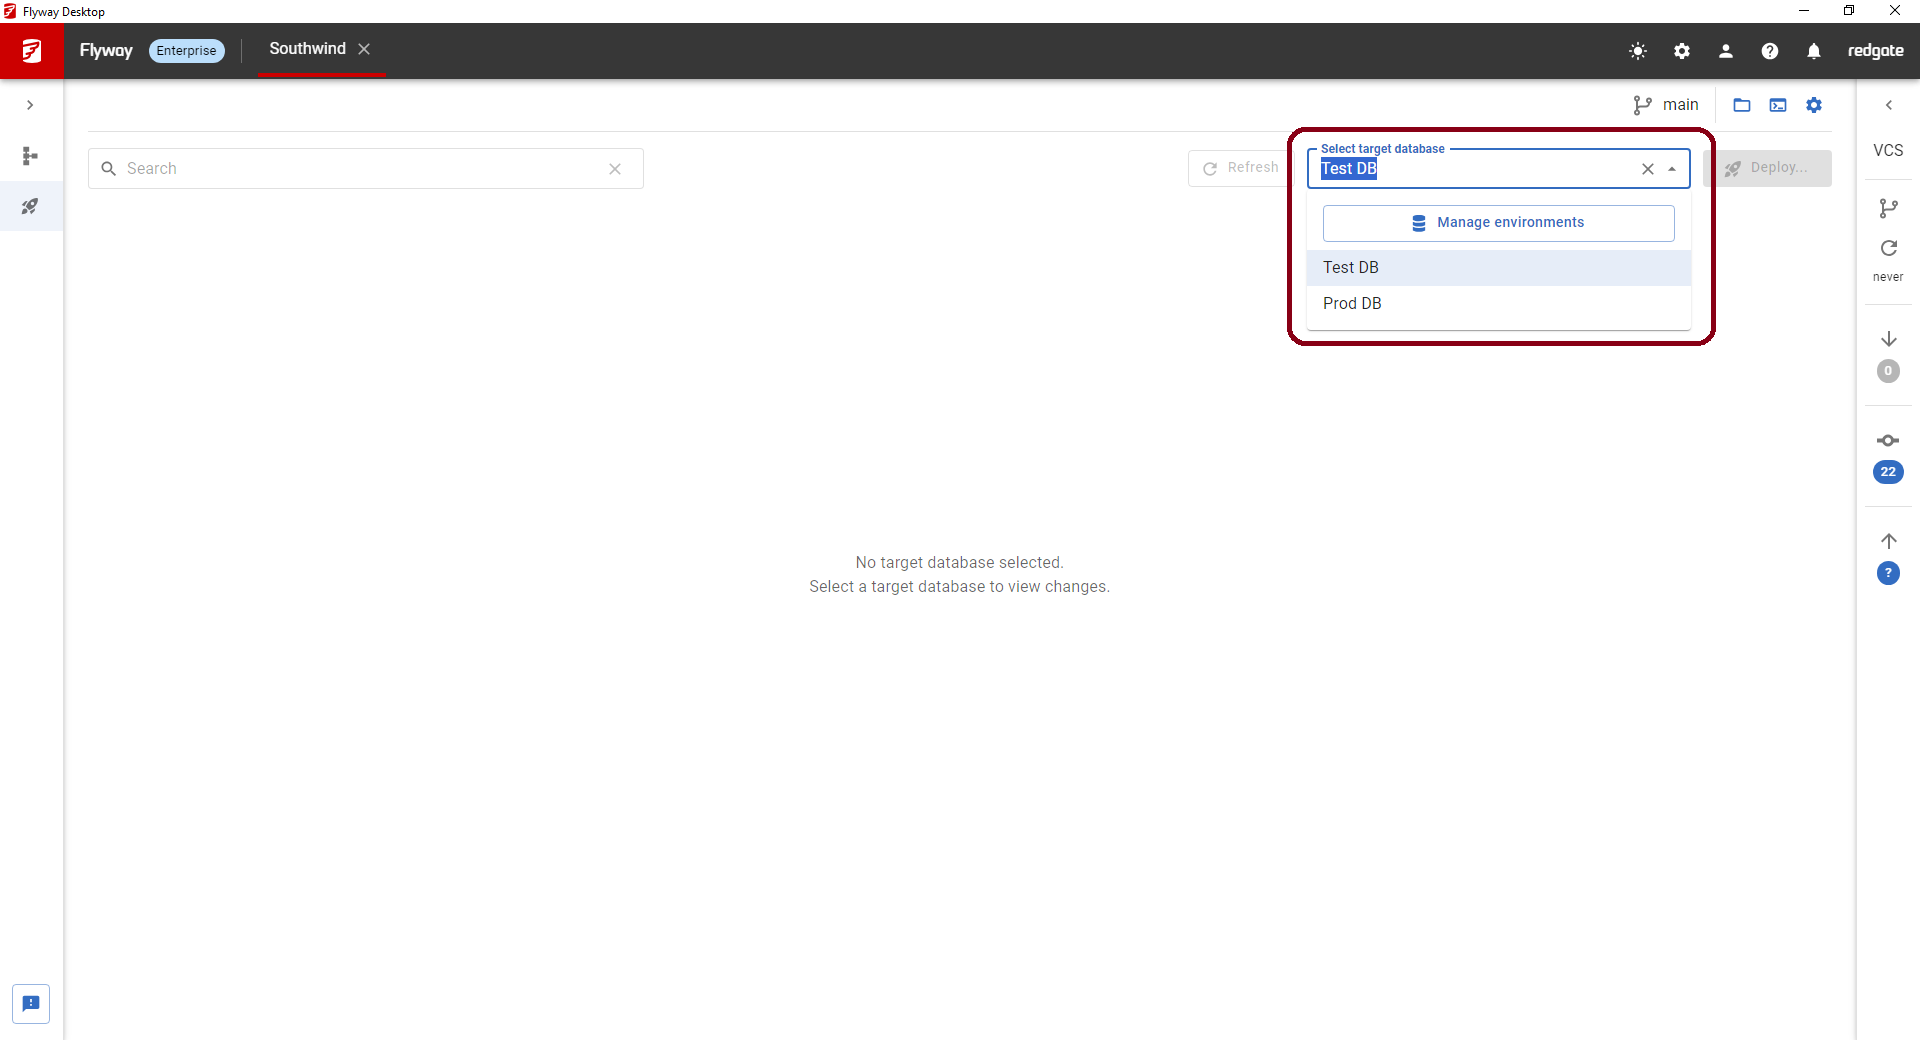
- Navigate to the deployment page

- The page will look empty. Use the Select target database drop down to select a target database. If you don't see your target database in the list, use the Manage your environments option in the drop down to setup additional database connections.
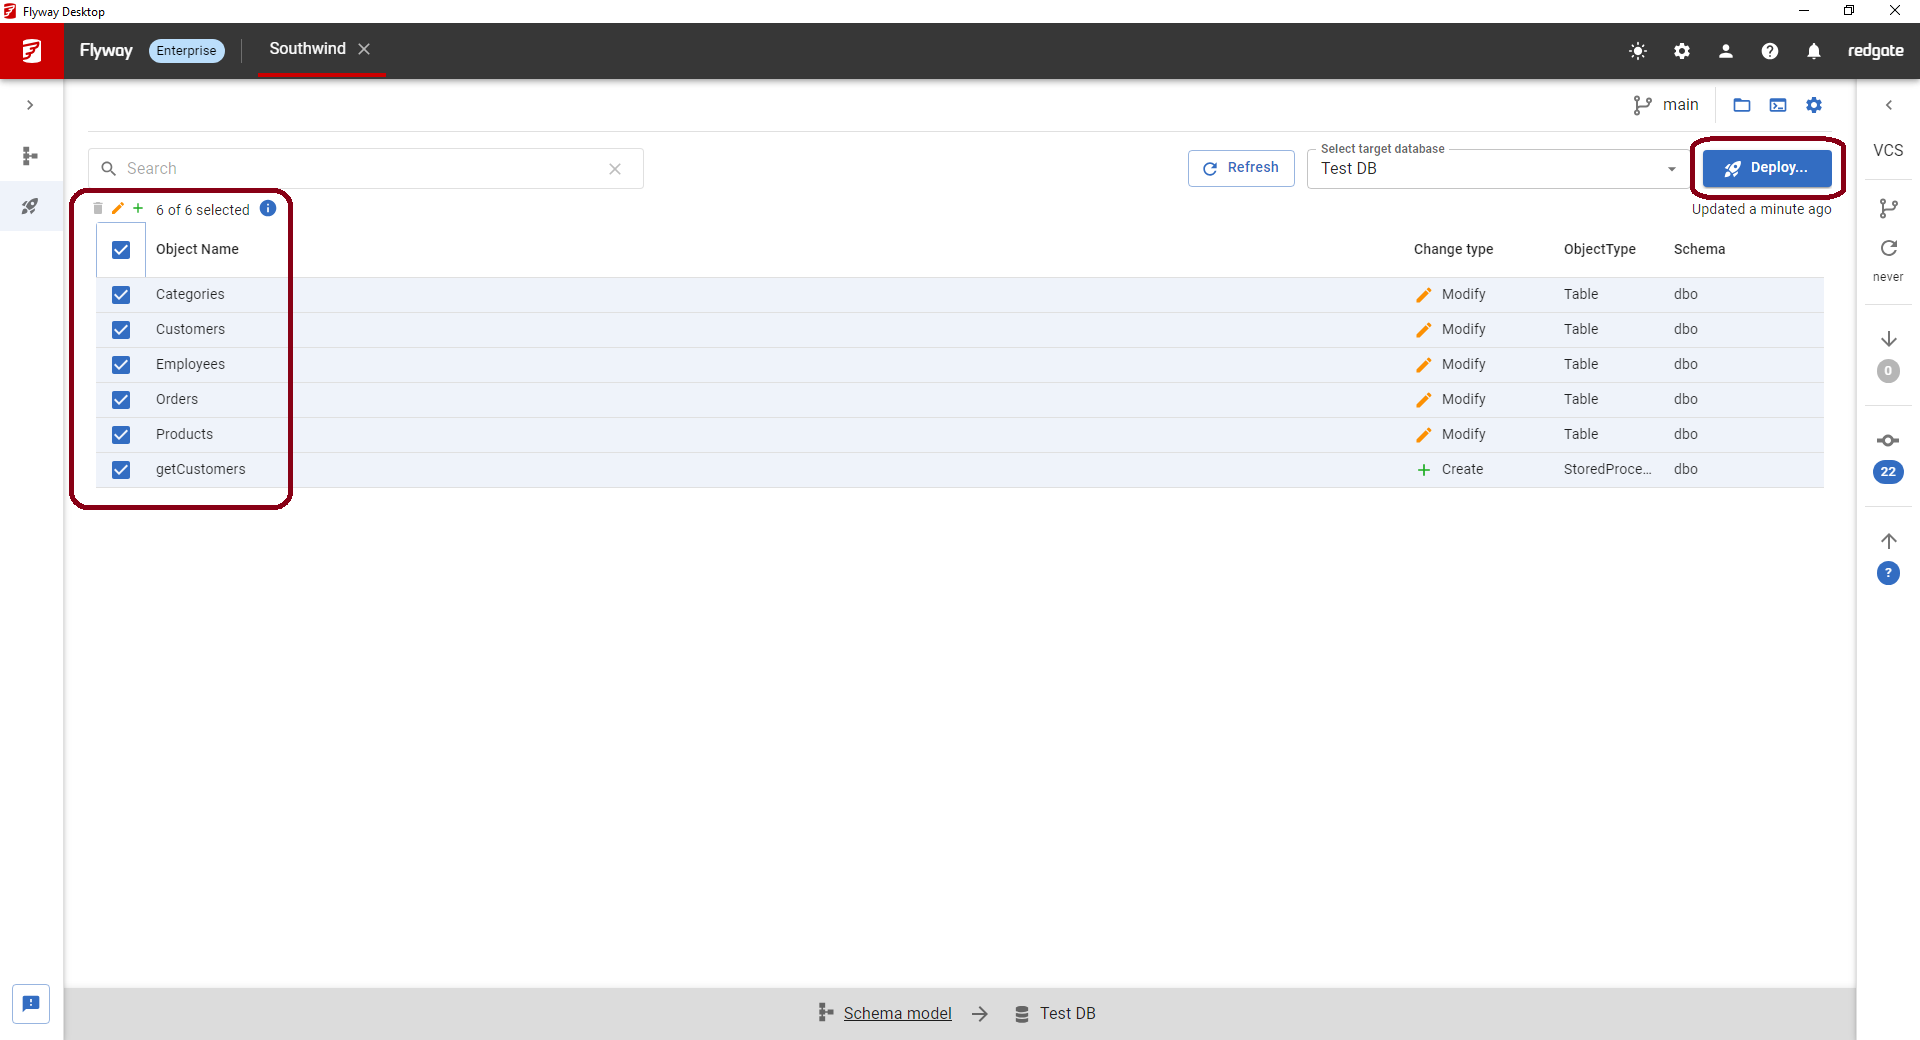
- Once you select your target database, a list of all the objects that are different between your project's schema model on disk and the target database will be displayed. This will also include any changes to static data. Select the objects you want to deploy and click Deploy...
- If there are any objects which weren't selected which selected objects have dependencies on, you will be prompted to select these dependencies at this point, though you can choose to deselect them. If there are no unselected dependencies this step won't happen.
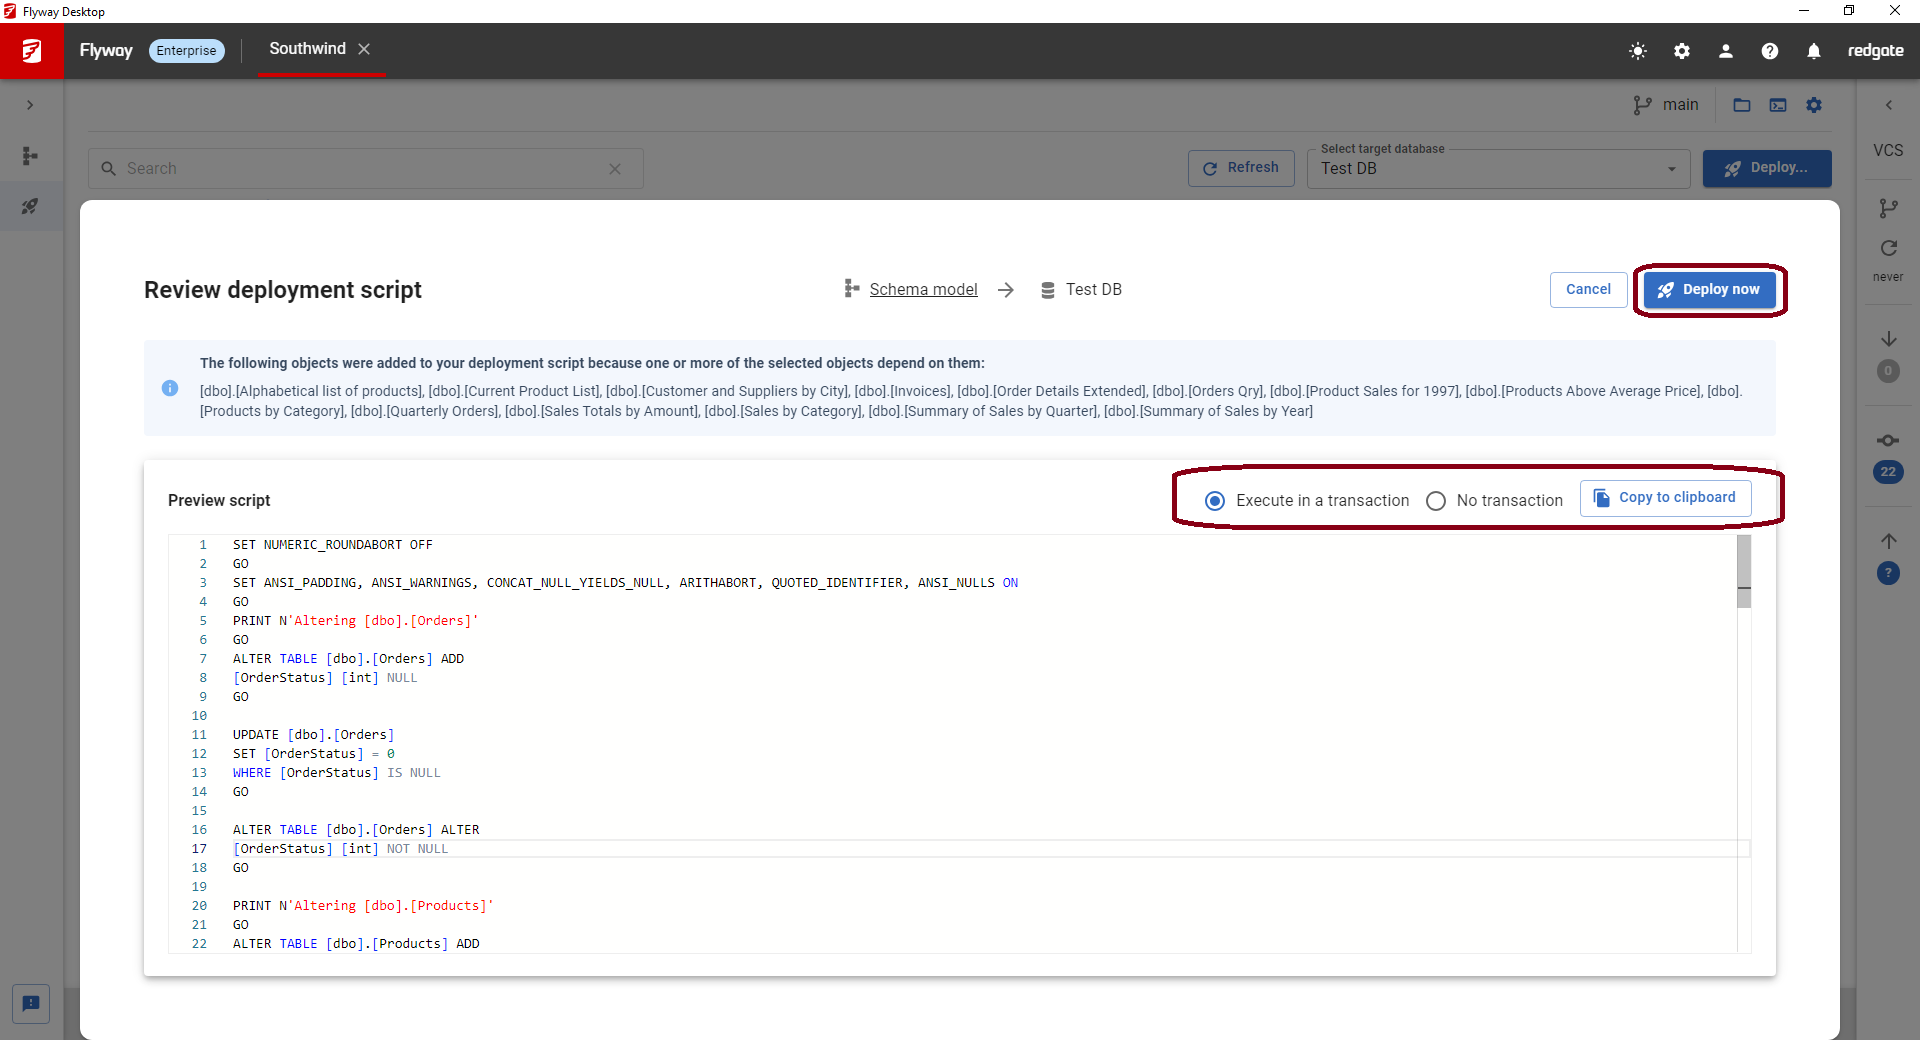
- Flyway generates a deployment script and will also show you any warnings as a result of the changes, e.g., there might be data loss. You can review and edit the deployment script. By default it will be marked to execute the entire script in a transaction unless the script contains changes that are not compatible with transactions. You can change this setting or copy the script to the clipboard. At this point, you may want to take a copy this script and save it in your repository so you have a record of what was run on each environment. When ready, click Deploy now.
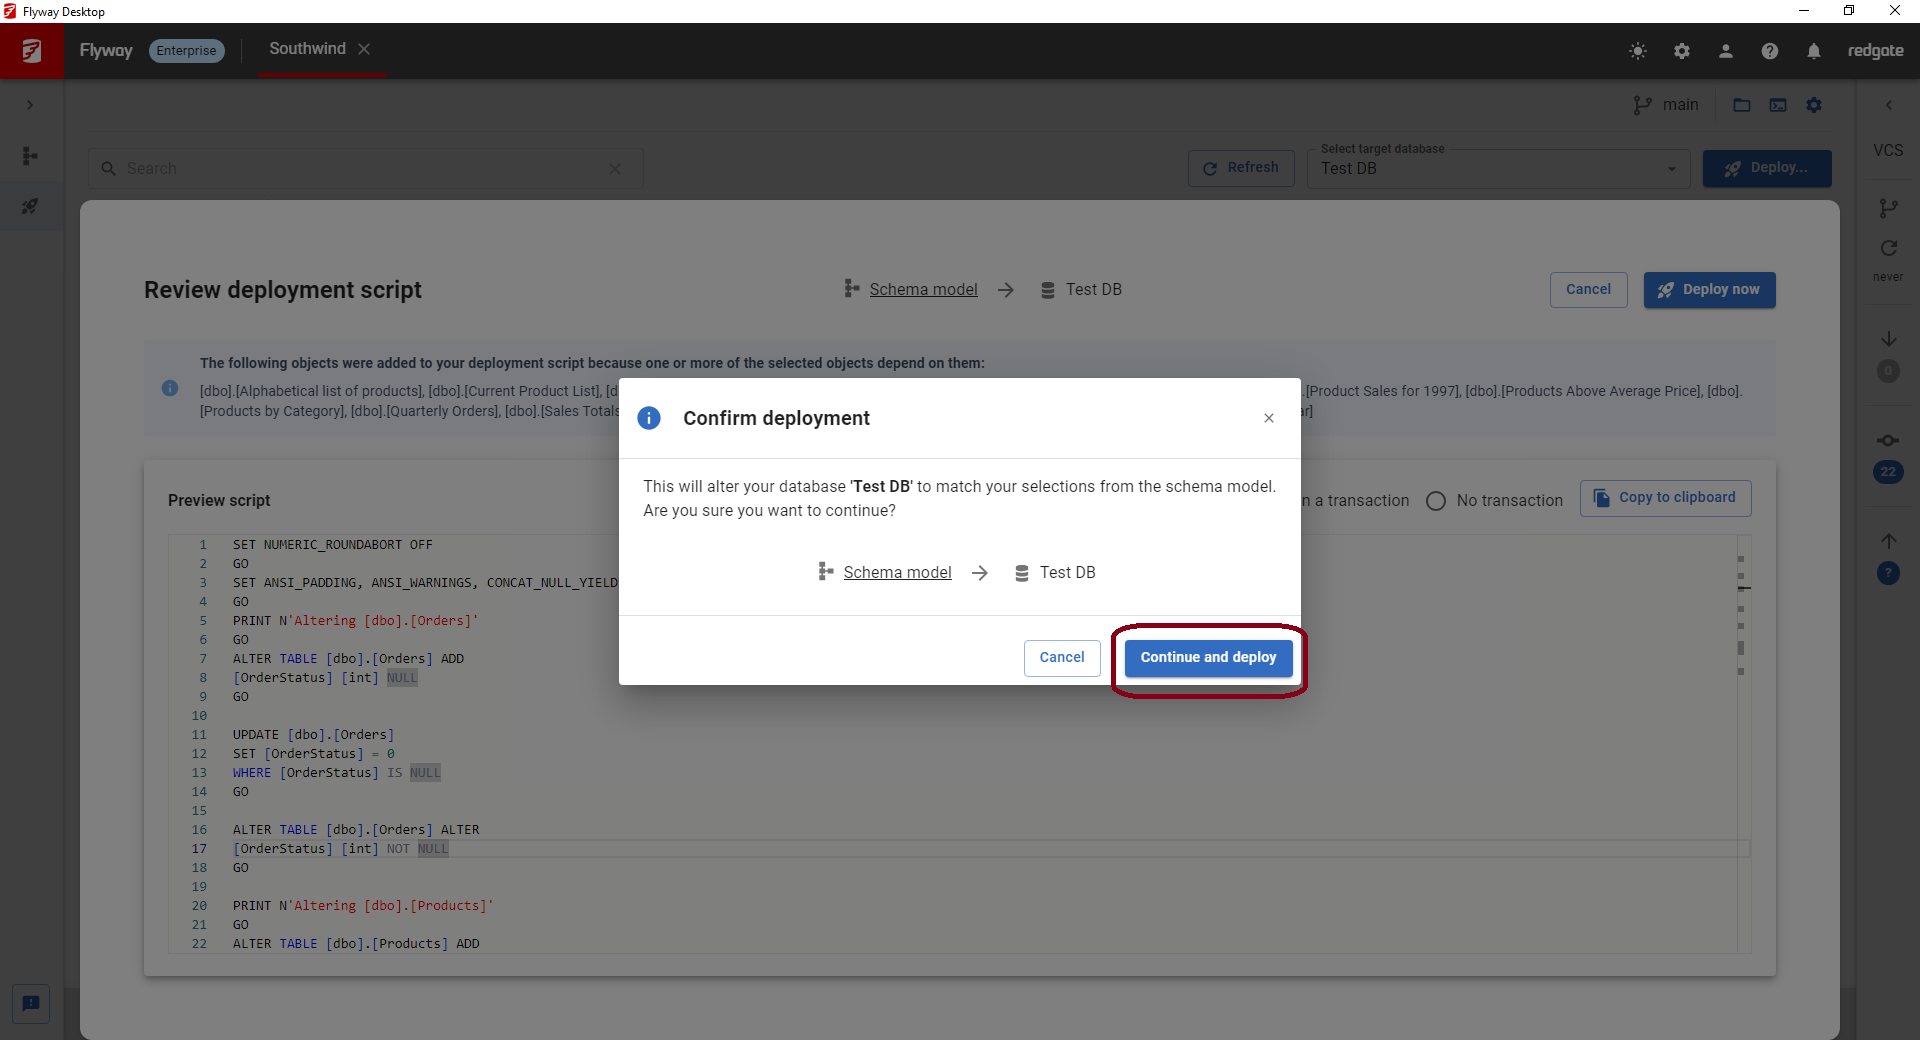
- Click Continue and deploy to run the script against the target database in the final confirmation dialog.
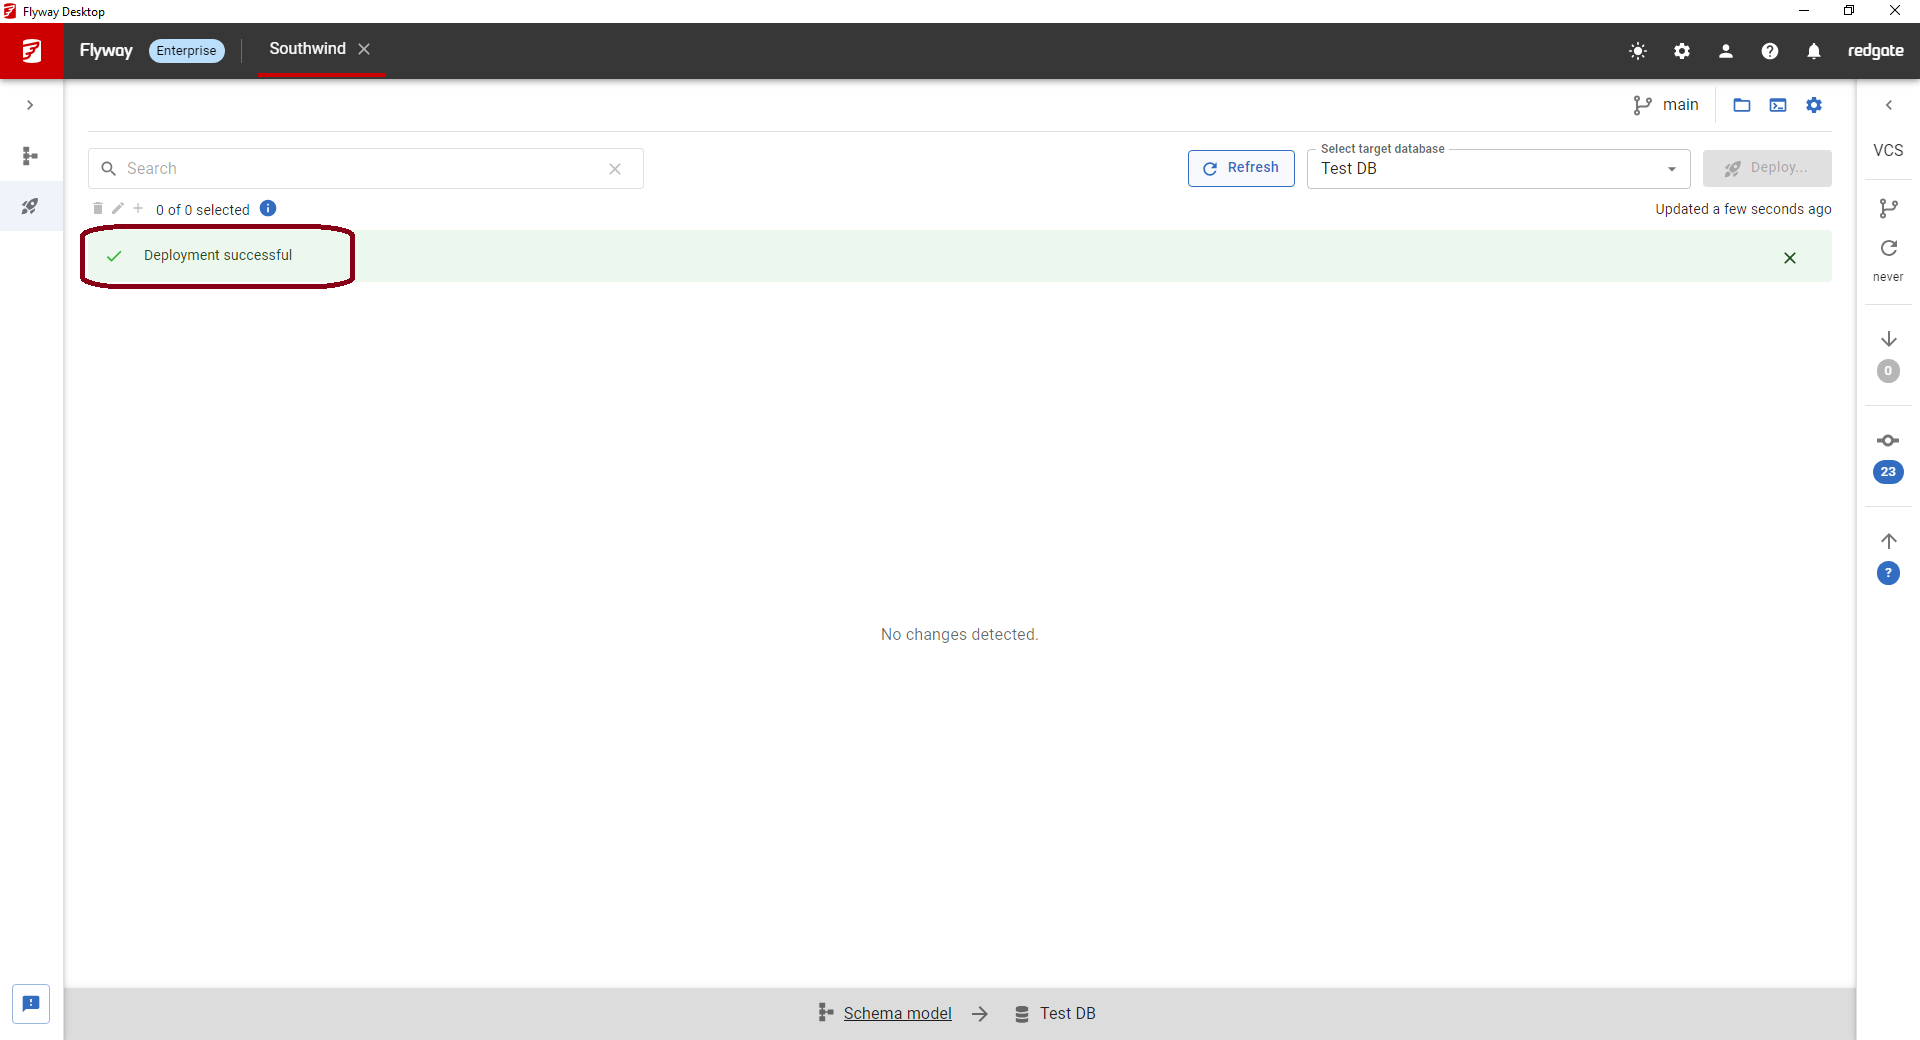
- If there are any issues with your script, you'll see an error. If not, you'll get a success message.
This documentation contains proprietary information and is protected by copyright law.
Copyright © 2026 Red Gate Software Limited. All rights reserved


