Working with projects
Published 31 December 2012
Whenever you use SmartAssembly with a new assembly, you first need to set up a project.
A project contains all the settings that you specify for that assembly. You can:
- assign a strong name key to your code
- merge your dependencies
- embed your dependencies
- prune your code
- obfuscate your code and its control flow
- create a proxy for external calls
- encode strings
- set up error reporting
- set up feature usage reporting
- compress and encrypt your managed resources
- apply other optimizations
- preventing disassembly of the IL
- generate debugging information
Creating a new project
To choose the software to protect:
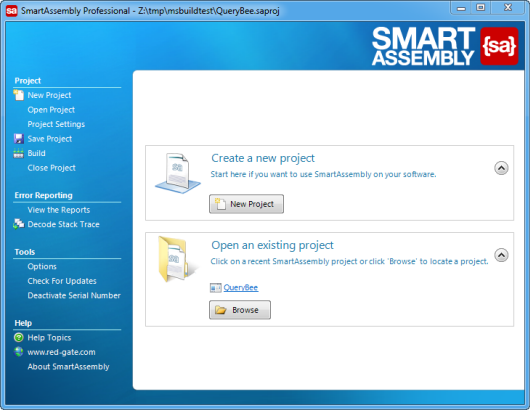
- Launch SmartAssembly then, on the opening screen, click New Project. You can also start a new project using the menu bar on the left at any time.
- Browse to the location of the main assembly that you want to use with SmartAssembly.
- Specify the destination for the modified assembly. This is where SmartAssembly will save the program after processing. We recommend that you use the original file name and store the assembly in a different folder to the original.
- The main window is displayed, showing the Project Settings.
Opening an existing project
If you have any recent existing projects, they are shown on the opening window when you start SmartAssembly.
To open an existing project that is not shown in the list, click Browse to browse to an existing project.
Saving a project
To save a project, either click Save at the bottom of the project settings window, or, on the menu bar, click Save project.
Project compatibility
Project files originally created in SmartAssembly 4 have the extension .{sa}proj. Project files created in SmartAssembly 5 and newer have the extension .saproj.
You can open .{sa}proj files in SmartAssembly 4 or newer.
You can open .saproj files only in SmartAssembly 5 or newer.
This documentation contains proprietary information and is protected by copyright law.
Copyright © 2026 Red Gate Software Limited. All rights reserved


