Creating backups - review summary
Published 13 February 2013
Creating backups > Specify SQL Server > Select backup type and database > File settings > Processing and encryption settings > Verification options > Review summary
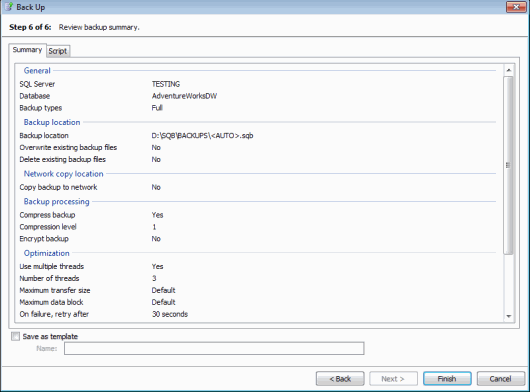
On step 6 of the wizard, review your backup settings and, if required, copy the script.
The Summary tab displays a simple report of the options you have set for the backup, so that you can check the details.
To see the script that will be used, click the Script tab.
You can then select the format in which to view the script:
- Extended stored procedure shows the script you can use to run the backup when you are connected to the SQL Server using an application such as Microsoft SQL Server Management Studio, or connectivity tools such as ADO, OLEDB, ODBC. For information about how you can use the SQL Backup Pro extended stored procedure to back up databases, see Using the extended stored procedure.
- Command line shows the script you can use to run the backup from the command line. For more information, see Using the command line.
You can save the settings to a template. You can then use the template when you next create a backup or when you schedule backup jobs. For example, you may want to use the Back Up wizard to perform a trial run of the backup; when you are happy with the settings, you can open the template in the Schedule Backup Jobs wizard to create a scheduled job.
You can also use the template from the command line or extended stored procedure with the -USE parameter. For more information about the -USE parameter, see Scripting SQL Backup Pro.
To save your settings to a template, select the Save as template check box and type a name for the template. The template will be saved when you click Finish. Note that if a template of the same name exists already, it will be overwritten.
When you have checked the settings, click Finish.
SQL Backup Pro displays a message dialog box that shows the progress of the backup. Click Hide to minimize this dialog box and continue working. You can display the box again by clicking the arrow in the SQL Backup Pro status bar.
The progress of the backup is also displayed in the In Progress tab.
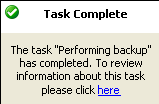
When the backup process completes, if the message box is minimized, a pop-up message is displayed to inform you that the task is complete.
Information about the backup is then displayed in the Activity History. This information is also sent to a log file; you can view the contents of the log file by right-clicking the activity, and selecting Show Log. By default, log files are located in:
- %PROGRAMDATA%\Red Gate\SQL Backup\Log\<instance name> (Windows Vista, Windows 2008 and later), or
- %ALLUSERSPROFILE%\ Application Data\Red Gate\SQL Backup\Log\<instance name> (Windows XP and Windows 2003).
You can change this location in your log file options (see File management options).
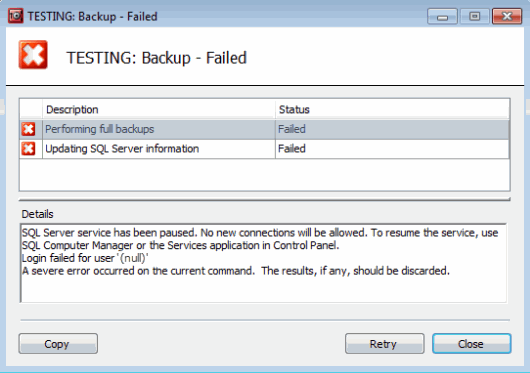
If the backup process fails, you can optionally return to the final step of the wizard by clicking Retry in the message dialog. You can then change the settings in any of the wizard steps before starting the backup process again.


