Managing SQL Server groups
Published 23 March 2017
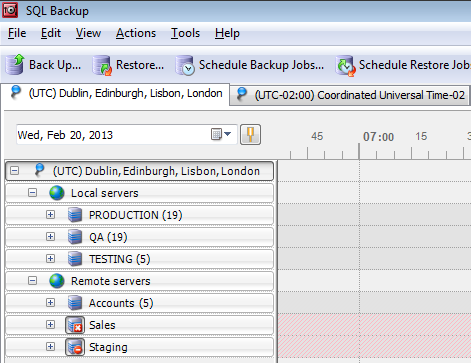
The SQL Server instances that you have added or imported to the SQL Backup Pro graphical user interface are listed in the Registered SQL Servers pane. By default, the instances are listed at the top level, under the location heading.
You can create your own hierarchy of groups to organize the registered instances. For example:
When you add a SQL Server instance, you can allocate the instance to an existing group. For more information, see Adding SQL Server instances.
For more information about locations, see Time settings and locations.
Creating SQL Server groups
To create a new group or subgroup:
- On the File menu, click
 New Group.
 - In the Group name box, type the name for the new group.
- Select the Location in which you want to create the group.
- Choose to create a top-level group, or a group within a group.To create a lower-level group, click Sub-group of, and then select the group in which you want to create the new sub-group.
- Click Add Group.
Deleting SQL Server groups
To delete a group or sub-group, do one of the following:
- Right-click the name of the group in the Registered SQL Servers pane, click Delete, and then click Delete on the confirmation dialog box.
- Click the name of the group in the Registered SQL Servers pane, in the Edit menu, click Delete, and then click Delete on the confirmation dialog box.
This documentation contains proprietary information and is protected by copyright law.
Copyright © 2026 Red Gate Software Limited. All rights reserved


