Use the Azure DevOps Release extension with an approval step
Published 31 July 2019
If you have any feedback on this feature please let us know in our forum.
This tutorial takes you through each stage of setting up a database release pipeline with an approval step using Azure DevOps and the SQL Change Automation Release extension.
An approval step allows you to pause a release and perform a manual review of the database changes before the actual release takes place. This is a recommended practice before releasing changes to production environments.
1. Prerequisites
Make sure you have the following:
- A SQL Change Automation build in Azure DevOps that creates a NuGet package from your source-controlled project and publishes it as an artifact. See Using the Azure DevOps Build extension.
- SQL Change Automation: Release Azure DevOps plugin installed.
- A local Azure DevOps agent configured. See Deploy an agent on Windows.
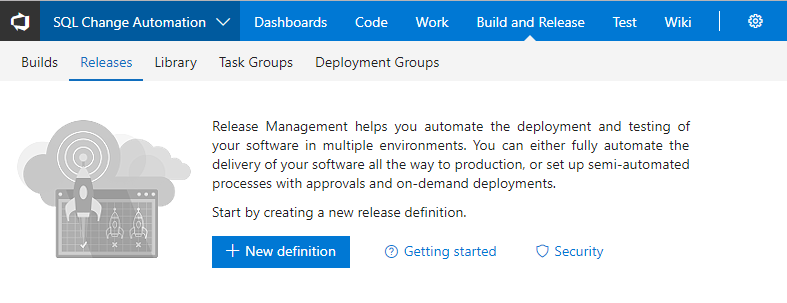
2. Create a release definition
An Azure DevOps release definition is similar to a build definition. It defines your environments, release processes, variables and other options.
- In your Azure DevOps account, go to your Projects page
In this tutorial, we'll be releasing the database, AdventureWorks. This is the same database used in the tutorial Using the Azure DevOps Build extension. - In the top menu, click Build and Release.
- Click the Releases tab
- Click New definition
- Click Empty process
- Click Save
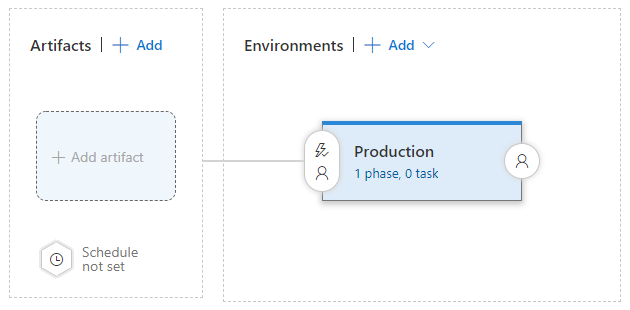
3. Create the target environment
An environment usually represents a stage in your development process.
For this guide, we'll create one environment: production.
Although it's not covered in this tutorial, a database release is also likely to involve releasing a corresponding application or website.
To create the environment:
- Click on Environment 1 and then rename it to Production
- In the Environments area, click Add and then New environment
- Click Empty process.
- Name this environment Production.
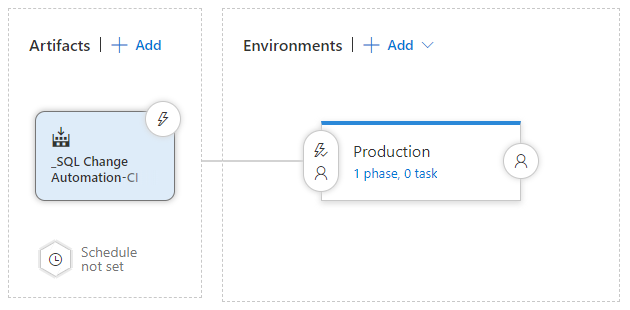
4. Link to a build definition
A release definition is often linked to a build definition. The build definition is used to release the artifacts published by a particular build. In this case, we want to release the NuGet package that was published by our WidgetShop build definition.
- Click Add artifact
- In Source type select Build
- In Project, select your project
- In Source (Build definition), select your build definition
- In Default version, select Latest
- Click Add
5. Build the deployment process
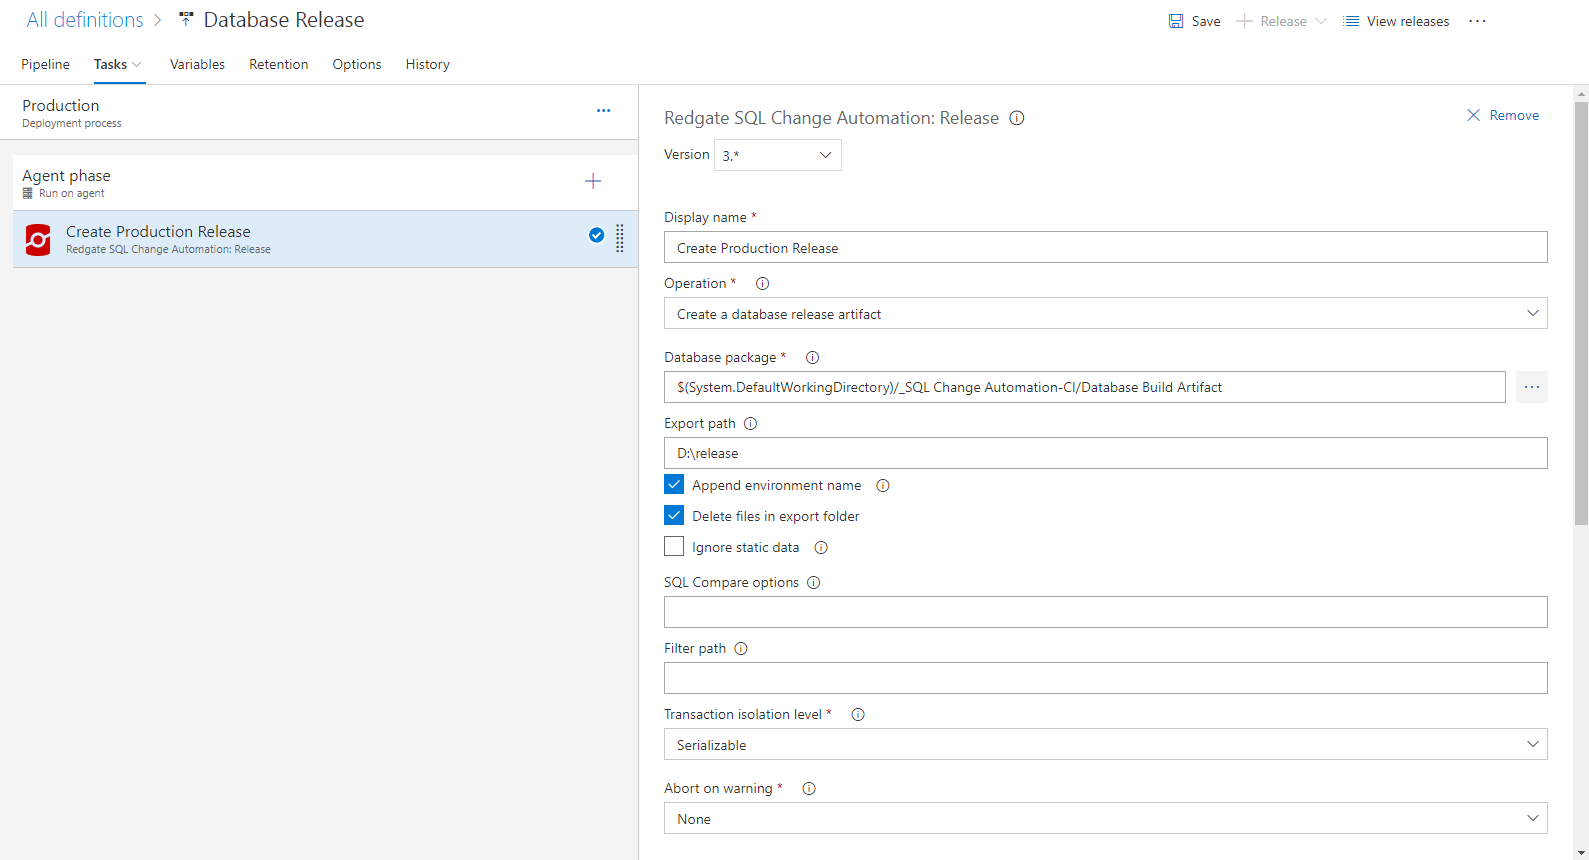
5.1. Add the "Create Production Release" task
- In the production environment, click 1 phase, 0 task.
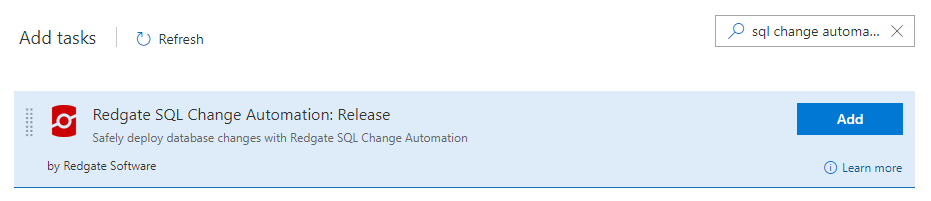
- Click the plus icon on the Agent phase
- Find SQL Change Automation in the list of tasks and click the Add button
- In Display name, enter Create Production Release
- In Operation, click Create a database release artifact.
- In Database package, click the ellipsis (...). Select the parent directory of your NuGet package from the build artifacts.
- In Export path, type the path to a windows share accessible from your local agents. Please make a note of this location as it is required in step 5.3.
In the Target database section, enter the following details:
- In Target SQL Server instance, enter the name of your production server.
- In Target database name, enter the name of your production database.
Select the Authentication Method for the production server. If you select SQL Server Authentication, you also need to give your SQL Server username and password.
- In Password, enter $(MyPassword).
- If you want to store the password globally, click Configuration.
- If you want to store the password by environment, click the ellipsis on the relevant environment and then click Configure variables.
- Click Add variable.
- In Name, enter MyPassword.
- In Value, enter your password.
- Click the
 icon to hide the password.
 - Click OK.
Click Save.
5.2. Add an approval task
An approval task allows you to pause a release within an environment, typically to perform a manual review of the database changes before the actual release takes place.
- In Deployment process, click the ellipsis (...) and then click Add agentless phase.
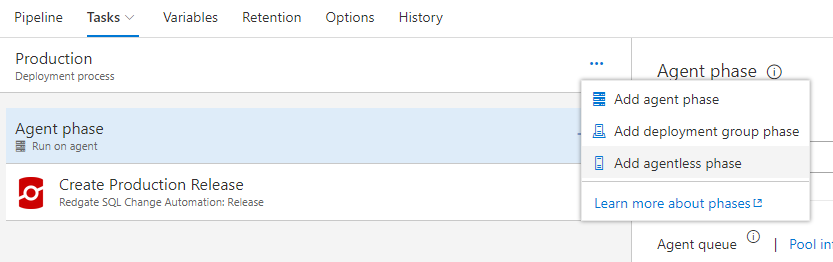
- Add a Manual Intervention task. See Manual intervention documentation
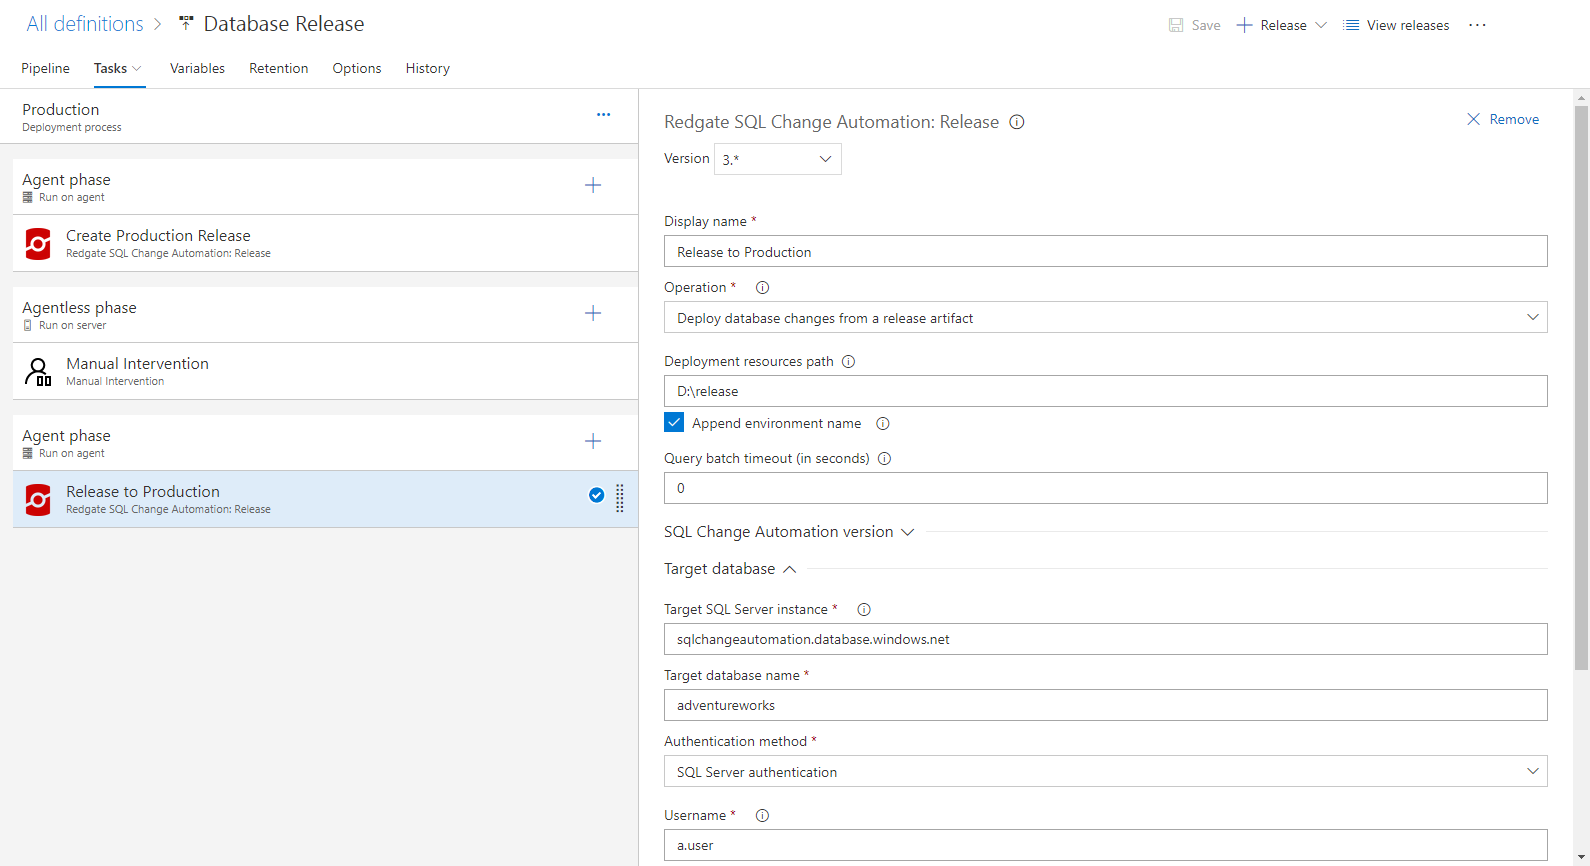
5.3. Add the "Release to Production" task
- Add an agent phase to your deployment process.
- Click the plus icon on the Agent phase
- Find SQL Change Automation in the list of tasks and click the Add button
- In Operation, select Deploy database changes from a release artifact.
- In Deployment Resources Path, enter the same path you entered for the Deployment Resources Path in the previous task.
- In Target database section, enter the following details:
- In Target SQL Server instance, enter the name of your production server.
- In Target database name, enter the name of your production database name.
- Choose the Authentication Method for the production server.
- Click Save.
6. Run a full release
You're now ready to run a release, and check the approval step works:
- Click Release and select Create Release.
- Select the build version you want to release.
- Click Create.
You'll be prompted for approval when the process has created the release artifact. You may receive an email, or see a banner in Azure DevOps reading A manual intervention is pending for 'Production' environment. Resume or Reject. - Review the Change report at the Deployment Resources Path you specified before.
This shows:- A report of the of changes that will be made (Reports/Changes.html)
- A report of any drift detected within the target database (Reports/Drift.html)
- The targeted deployment script (TargetedDeploymentScript.sql)
- The drift revert script (DriftRevertScript.sql)
- Click Resume or Reject.
- Enter a suitable comment, then click Resume.
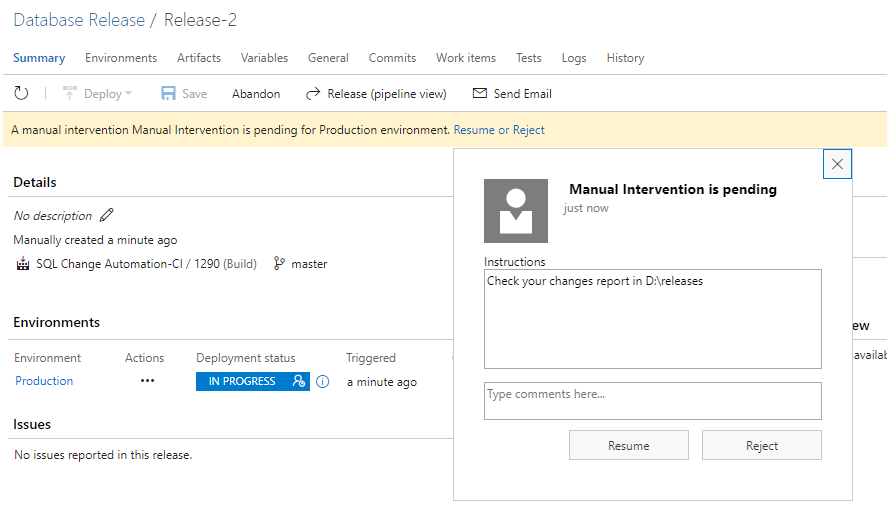
The deployment process will now continue and release to production.
This documentation contains proprietary information and is protected by copyright law.
Copyright © 2026 Red Gate Software Limited. All rights reserved


