Creating an anonymization treatment
Published 27 November 2025
Step 1: Navigate to Your Database Model
- Go to Database models in the left sidebar
- Click on the database model you want to create a treatment for
- Click + Create treatment
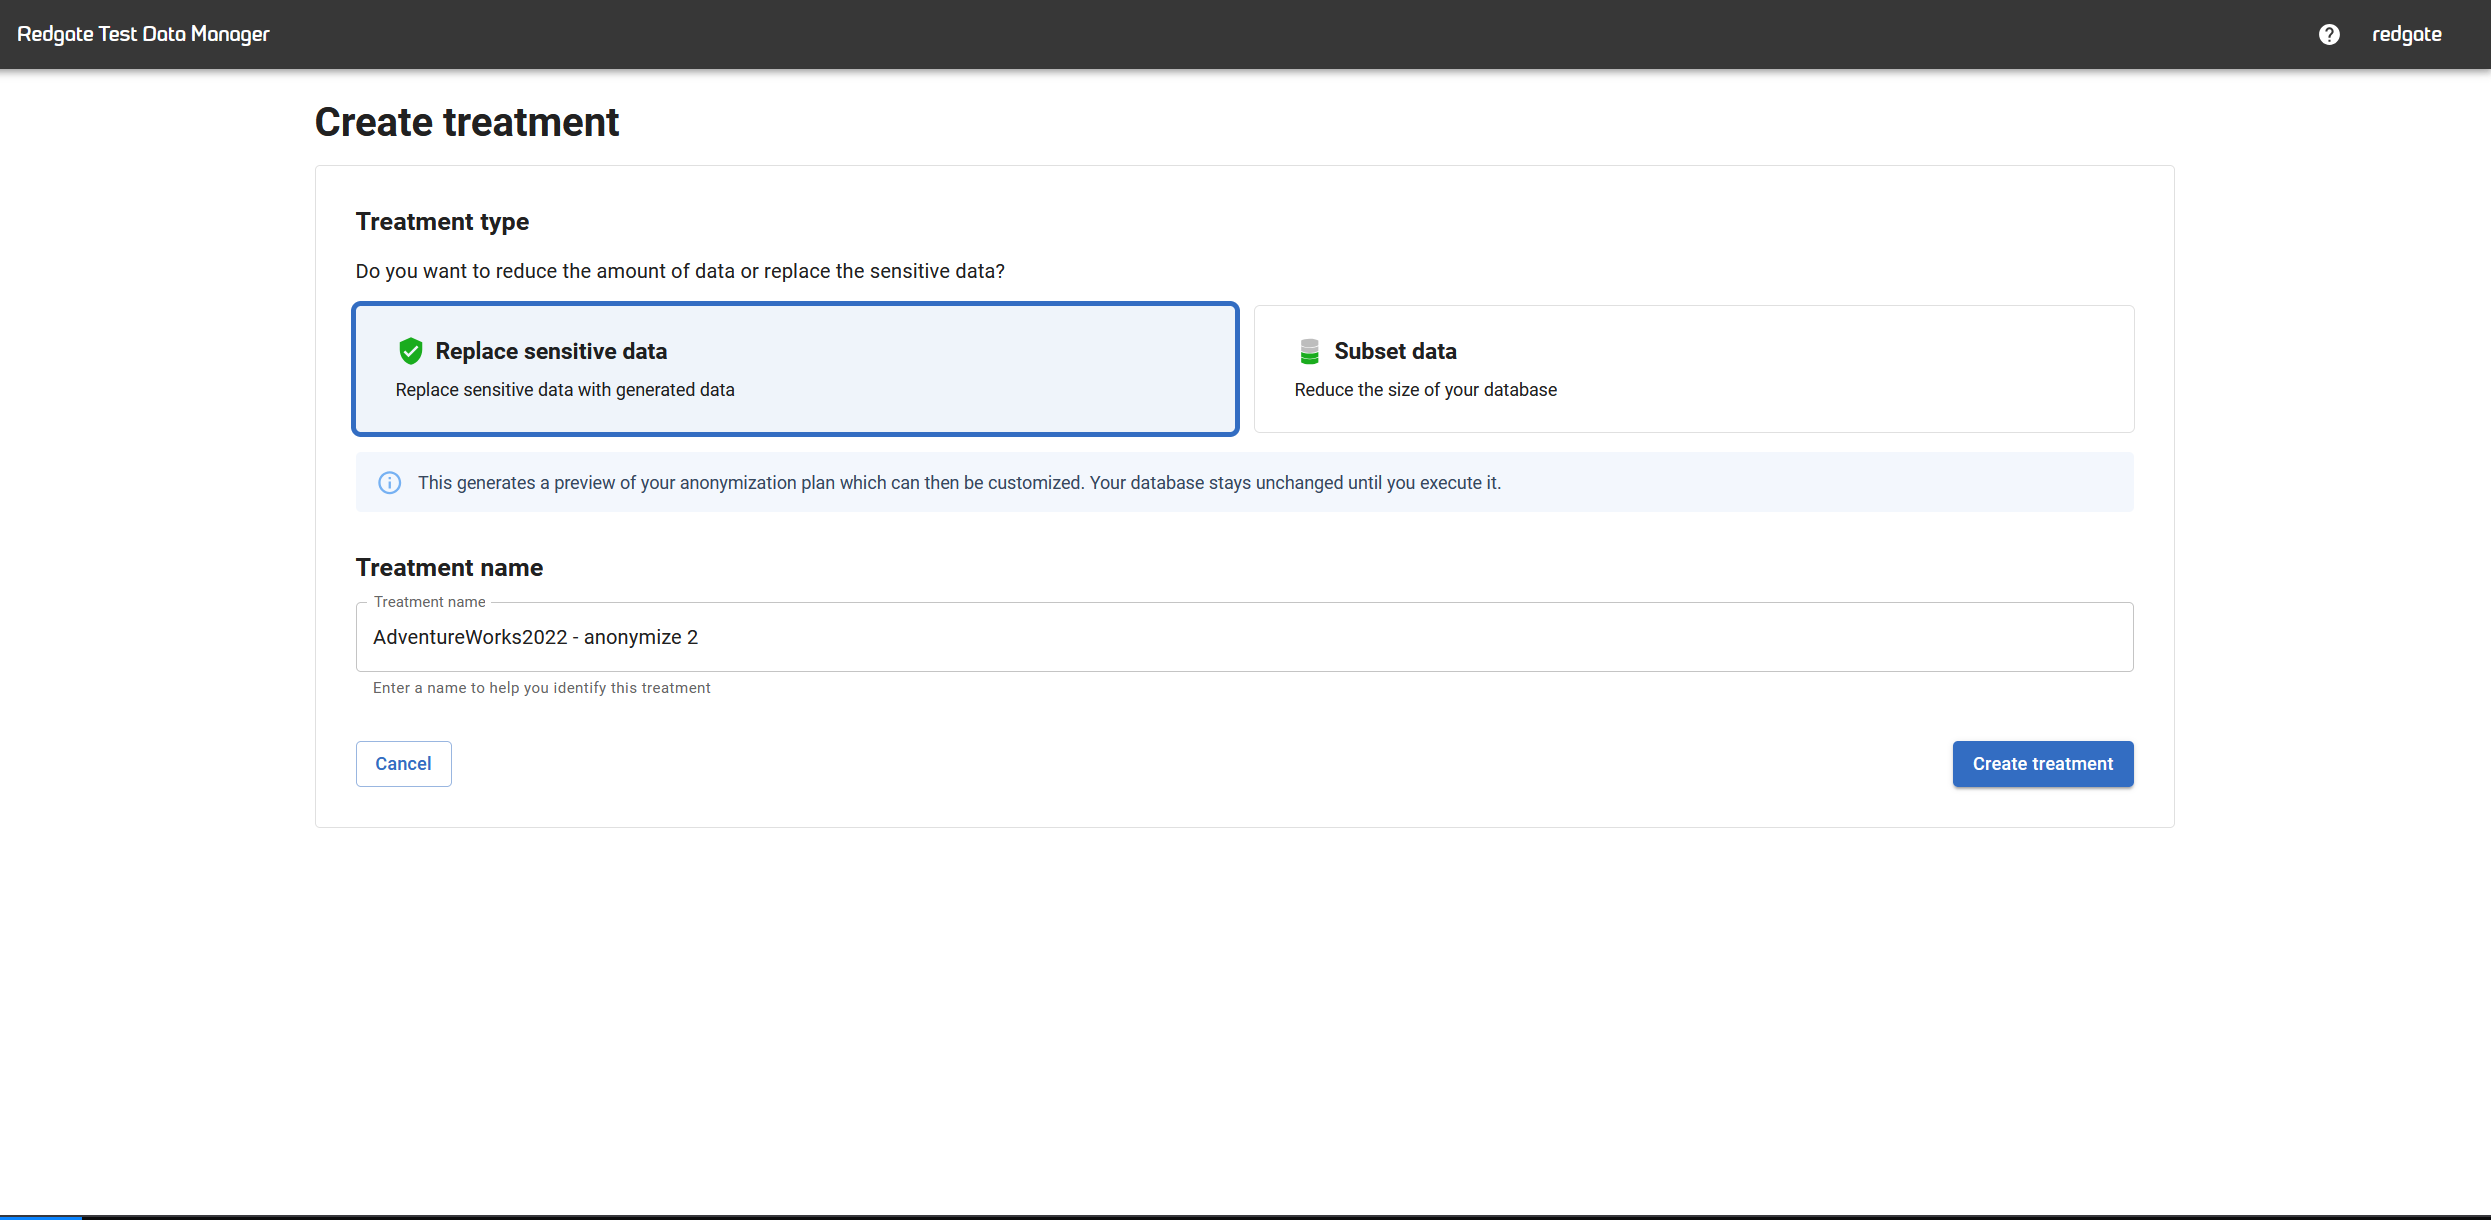
Step 2: Configure the Treatment
- Treatment name: Enter a descriptive name (e.g., "Customer_Data_Anonymization")
- Treatment type: Select Replace sensitive data
- Replace sensitive data: Anonymizes PII by replacing it with generated data
- Subset data: Reduces database size (see Subsetting treatments)
- Click Create treatment
Step 3: Wait for Initialization
After creating the treatment, Test Data Manager automatically:
- Scans your database structure
- Identifies columns containing sensitive data
- Assigns appropriate masking datasets based on column names and data types
This process usually takes a few seconds but may take longer for large or complex databases.
What's being detected? Test Data Manager uses built-in classification rules to identify common PII types like names, addresses, email addresses, phone numbers, and dates of birth. See Default classifications and datasets for the full list.
What Happens Next
Your treatment will show a Summary tab, a Columns tab (to review the detected columns and datasets assigned to them), a Code tab (to view the treatment JSON), and a Runs tab.
Next step: Review the detected columns
→ Reviewing and Editing Masking Rules
Related Pages
← Back to Anonymization Treatments Overview
→ Reviewing and Editing Masking Rules
→ Default classifications and datasets
This documentation contains proprietary information and is protected by copyright law.
Copyright © 2026 Red Gate Software Limited. All rights reserved


