Customizing your image
Published 18 June 2024
Quick edit
While an image is in preview you may modify how columns are masked.
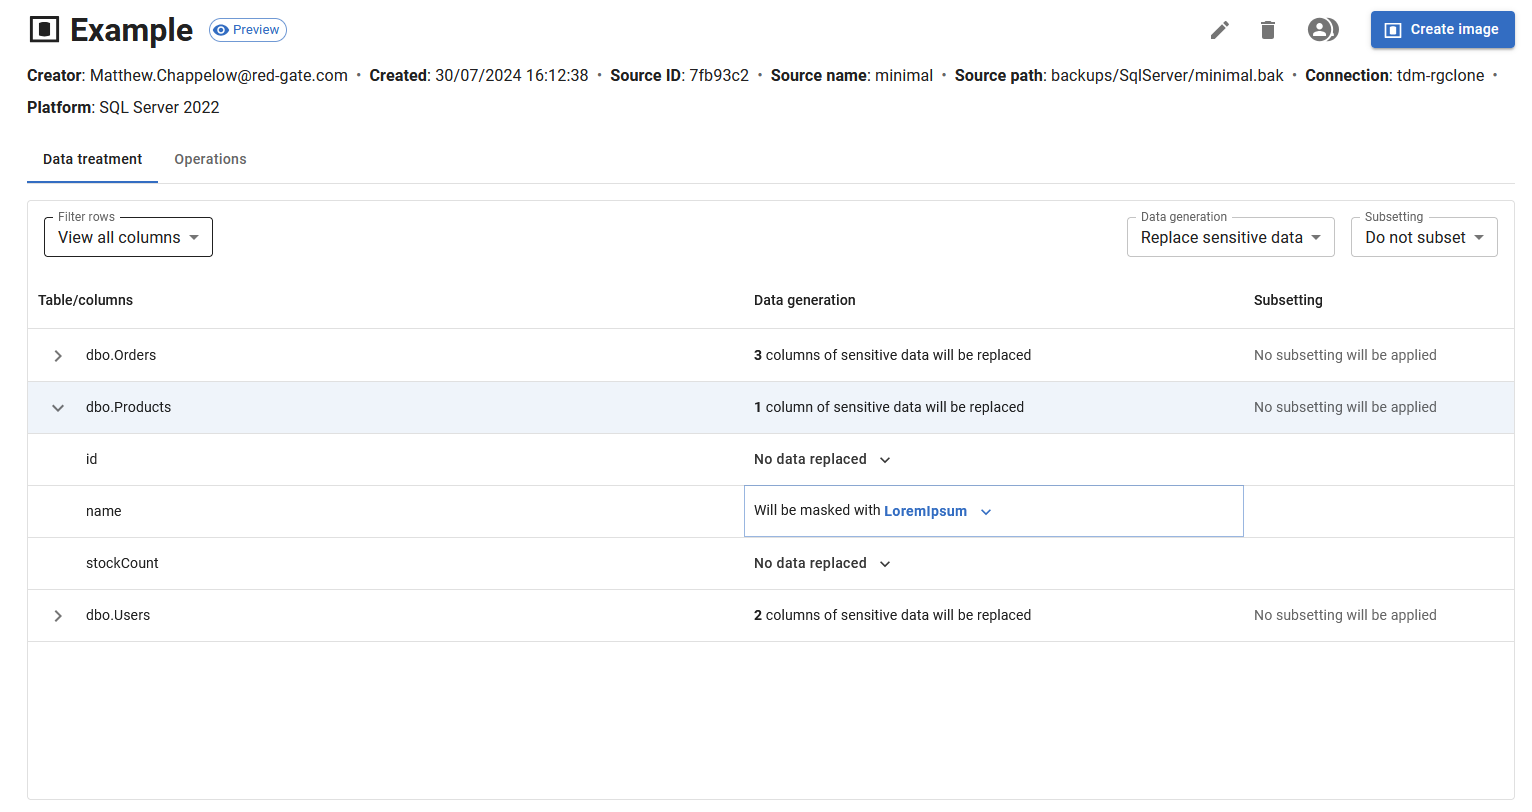
This is done by finding the table and column you are interested in customizing, and clicking the button shown under the Data generation column.
Doing so will open a drop-down containing the full list of datasets.
Selecting one of these will change what dataset is used to mask your column, modifying the generated options file that will be passed to Anonymize.
Creating a new dataset
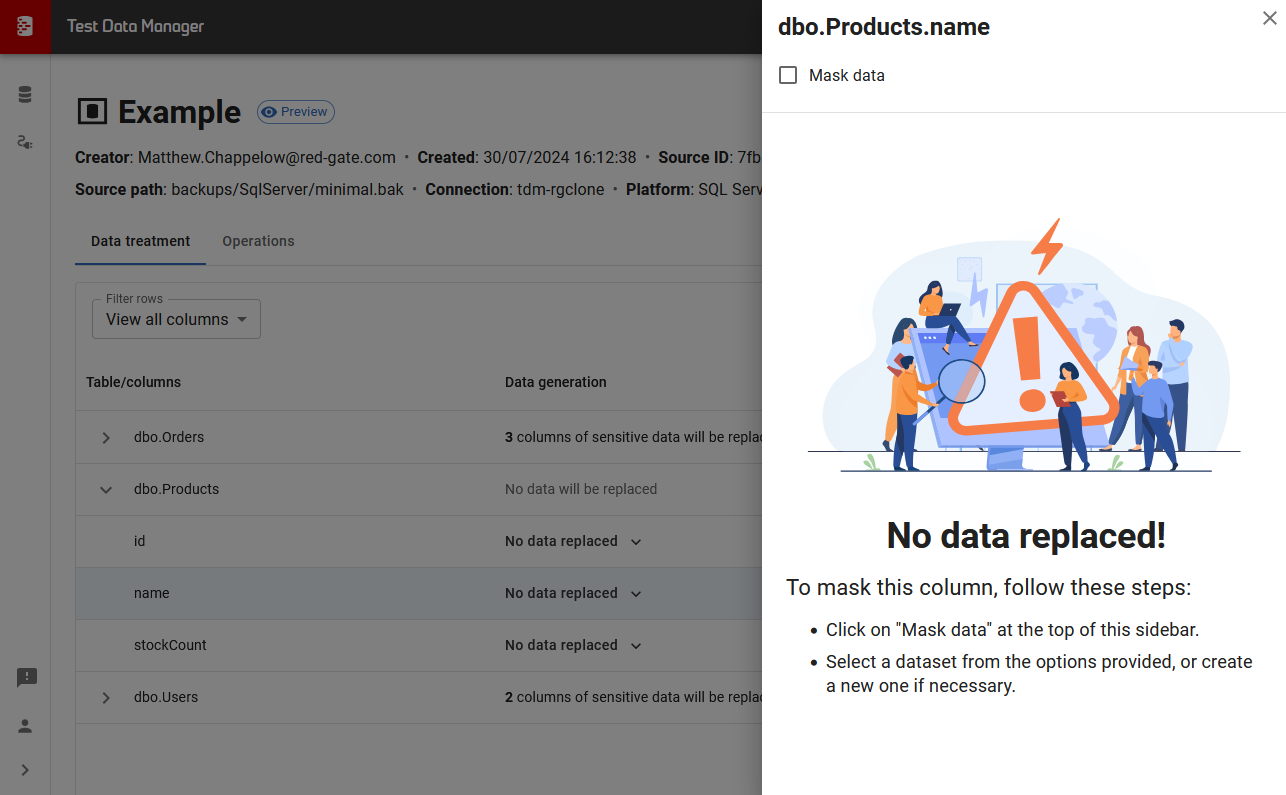
In the event that the existing datasets are insufficient for the masking you are able to add another dataset to the image. Start by clicking on a column row to open the side panel:
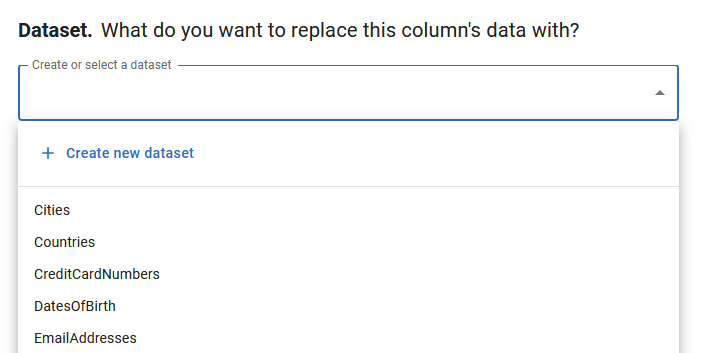
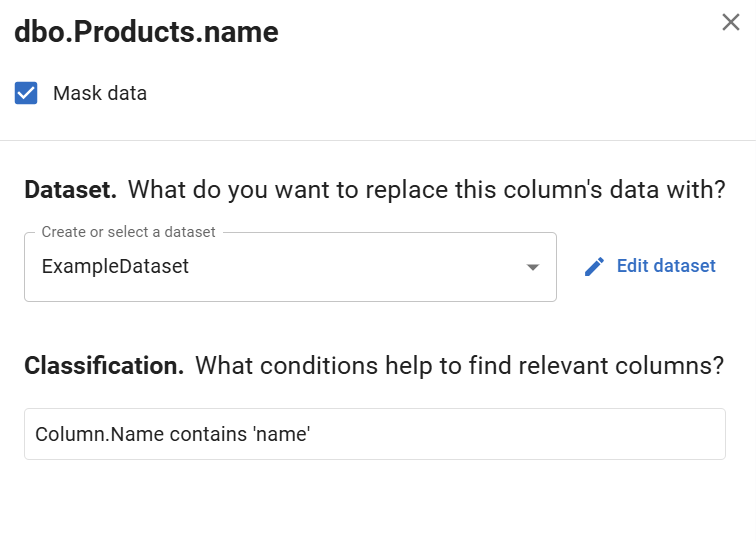
From here you can toggle whether the column should be masked. When doing so you will be able to use the drop-down to select an existing dataset or select the create new dataset button.
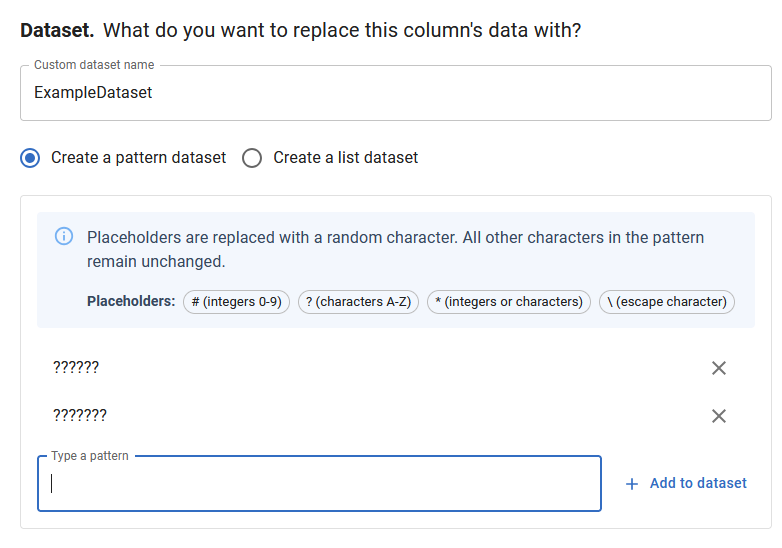
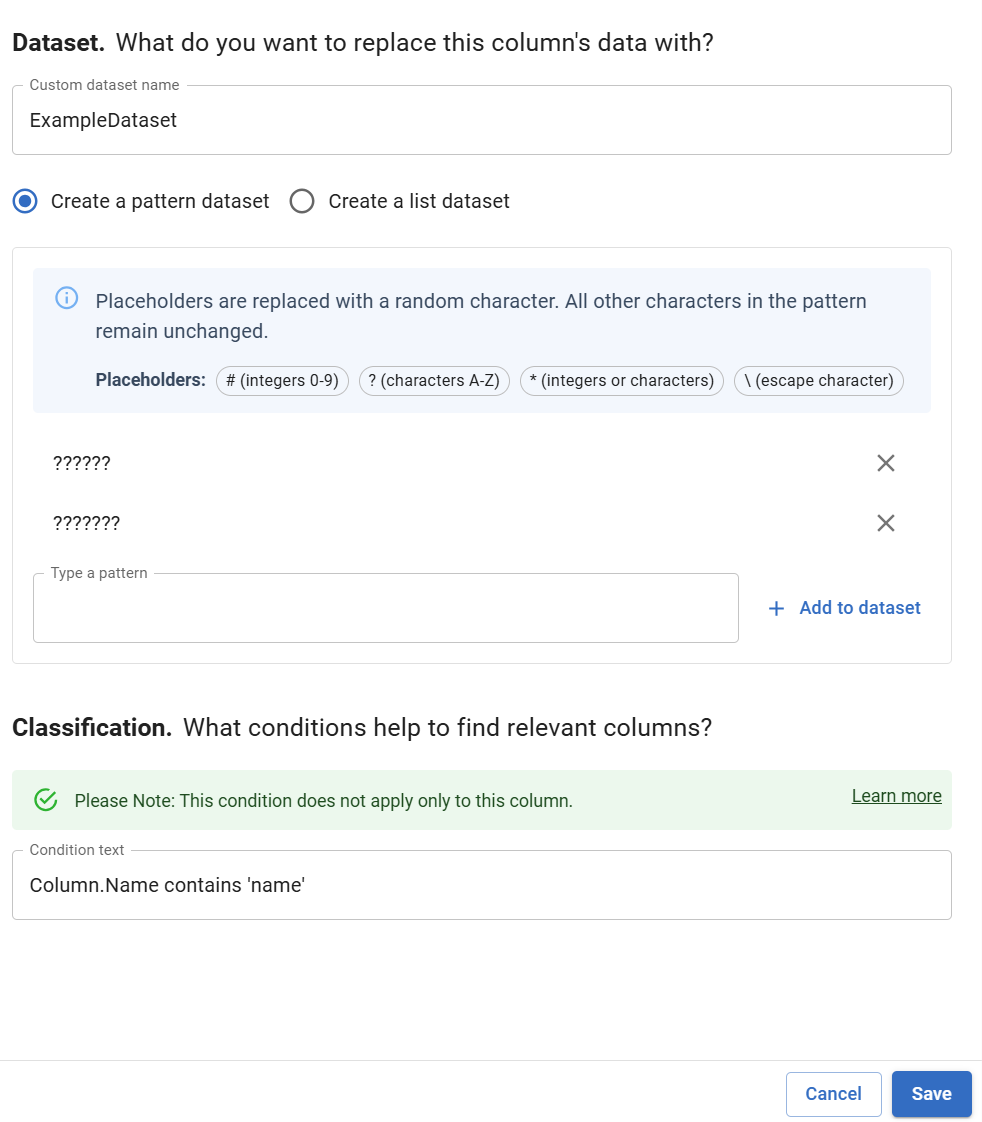
You will then be prompted to add a name, select whether the new dataset should be a set of patterns or a list of values and then asked to enter those values. Once you are happy click the save button to apply to the image, this new dataset will
Adding Custom Classification Rule
For a comprehensive detail on custom classification rules see Writing Custom Classification Rule Conditions
To add a condition to your custom dataset just add your classification rule in the condition text field as shown:
and then hit save! Afterwards, your dataset should look something like this:
