Configuring a client secret
Published 17 October 2024
You do not need to configure a client secret for secure authentication, but Microsoft Entra's audit logs and conditional access policy evaluation may show inaccurate location data for non-interactive sign-ins. To avoid this, you can configure a client secret by following the steps below.
Before you begin
Before you continue with the steps below, make sure you can log into the Portal as an Organization admin. You need to keep the Portal open while making the changes in Entra, otherwise the changes you make in Entra will prevent you from logging in. If you're not able to log in to the Portal then you may need to use the SSO recovery mechanism described on the troubleshooting page.
Configure your app registration
Visit entra.microsoft.com.
Expand the Applications section in the menu on the left and select App registrations.
Choose the app registration you previously created.
Choose Authentication from the menu on the left.
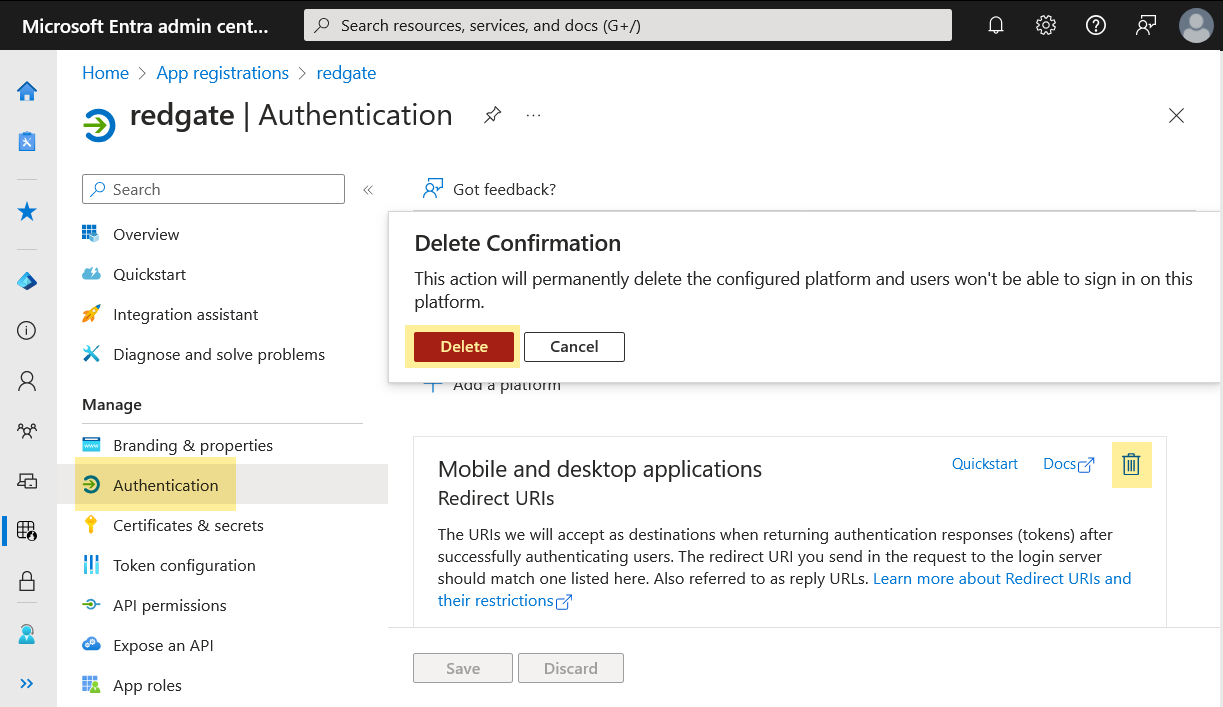
Click the delete icon for the existing platform configuration.
Click Delete in the confirmation dialog.
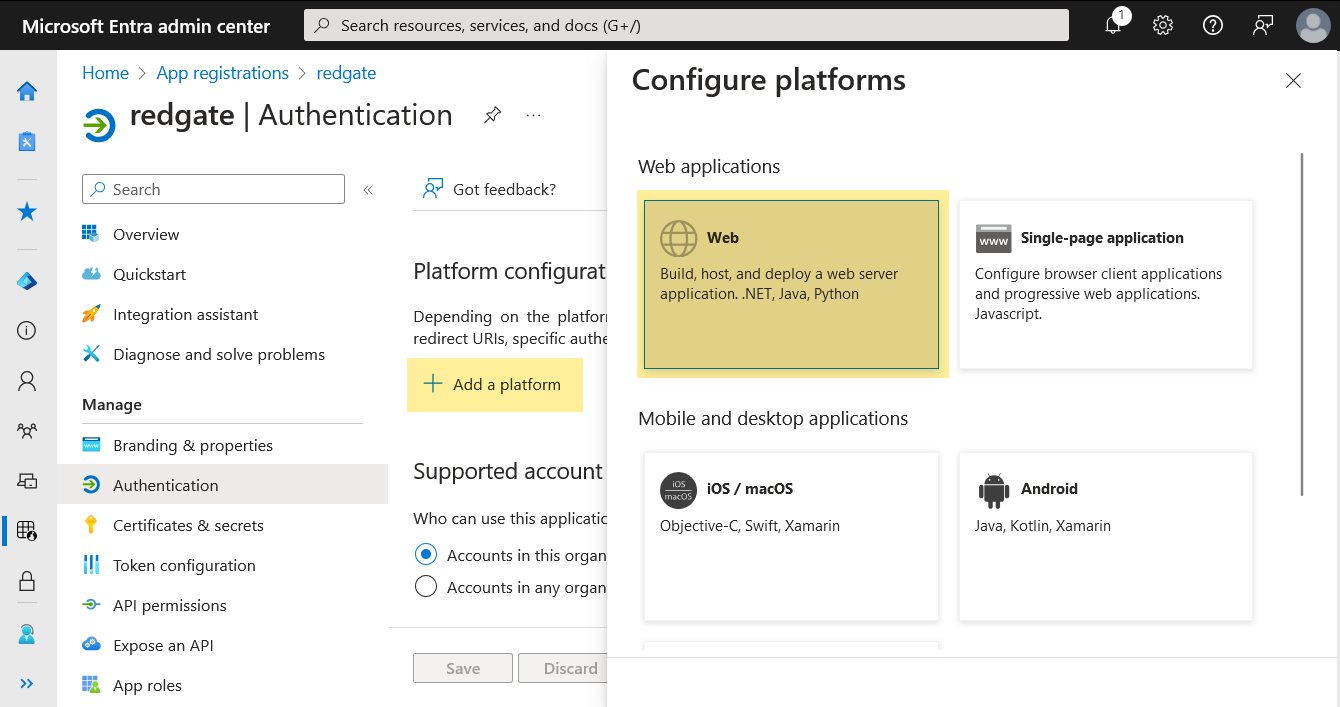
Click the Add a platform button and then the Web button.
Enter https://identityprovider.red-gate.com/singlesignon/signin-oidc as the Redirect URI.
Click Configure.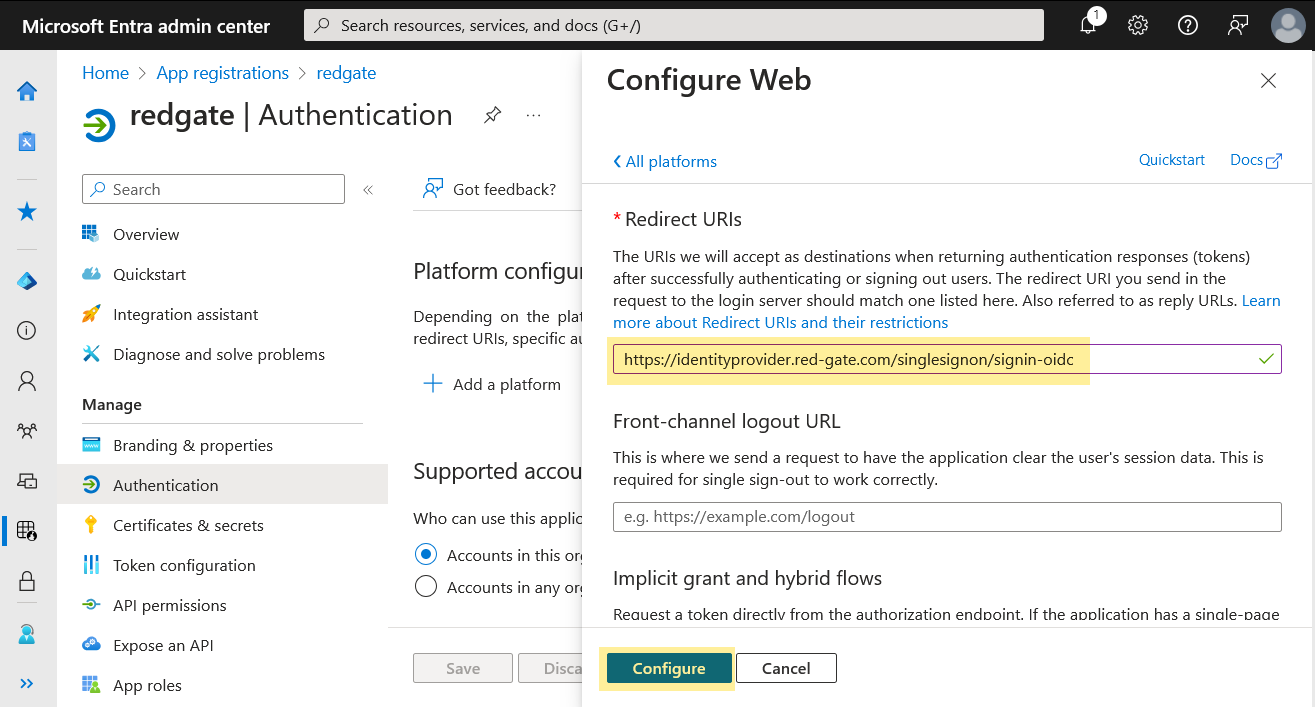
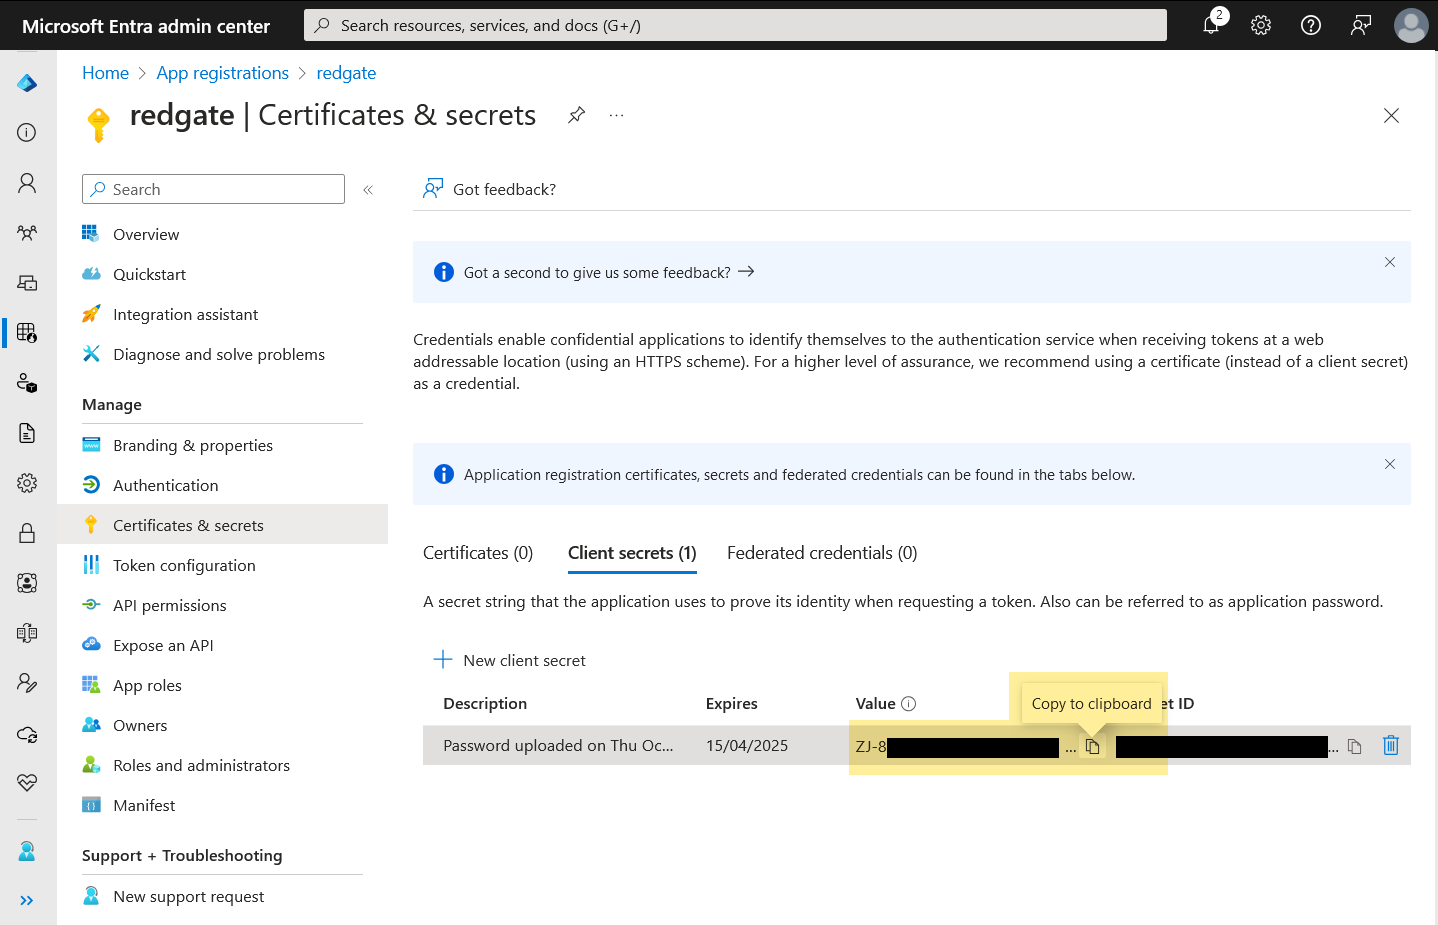
Choose Certificates & secrets from the menu on the left.
Click the New client secret button.
Enter a description and then click the Add button.

Copy and retain your client secret value for a later step.
Configure SSO in the Redgate Portal
Navigate to the settings page and create a new configuration (or edit an existing one).
Enter the Authority URL from Entra as the Issuer URL and the Application (client) ID from Entra as the client_id.
Ignore the Entra information displayed below the Issuer URL.
Click the Optional section and enter the client secret you previously generated within Entra.
Click the Test without saving button.
You may be prompted to login.
If the test is successful click the Activate single sign-on button to apply these changes.
This documentation contains proprietary information and is protected by copyright law.
Copyright © 2026 Red Gate Software Limited. All rights reserved


