Set-up an existing project
Published 08 May 2019
This page will help you get started with developing databases using the SQL Change Automation SSMS Extension.
In this scenario, we’ll set up a new SQL Change Automation project for an existing database. Specifically, we’ll:
- Set up an example database, AdventureWorks
- Create a new SQL Change Automation project within SSMS
- Set up a new development database
- Baseline the development database from AdventureWorks
- Make changes to the development database, and import the changes into the SQL Change Automation project
Setting up AdventureWorks
Run set-up-adventure-works.sql on your SQL Server instance to create the AdventureWorks database.
Creating a new project
1. Open SQL Change Automation
In SSMS, start SQL Change Automation by clicking on the SQL Change Automation icon in the toolbar.
![]()
2. Create a new project
Click ‘New database project…’ to create a new project. This will open the project setup wizard.

Click the ‘Select development database…’ button. This will open the database connection dialogue. Select the ‘New’ tab at the top of the dialogue.
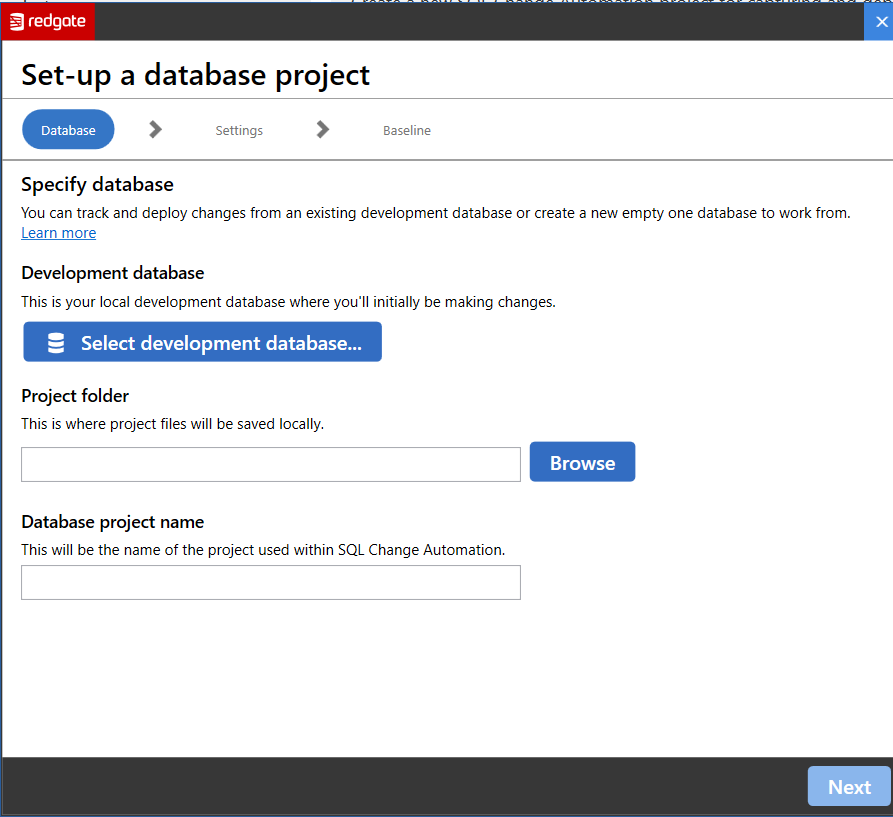
Select the server you would like to create your database on and the appropriate connection credentials. Specify a database name, and click ‘OK’.

Back on the wizard page, specify a project name of your choice and click ‘Next’
The next page will allow you to specify a SQL Compare filter file for your project. We’re going to filter out a DDL trigger from our baseline of the existing database. We have specified a SQL Compare filter file, `filter.scpf`. Import this filter file by clicking the ‘Select filter rules rules’ button for this project.

To find out more about how to set up filters and when to use them see Filtering.
Click 'Next' to continue to the next page of the wizard.

3. Set a baseline
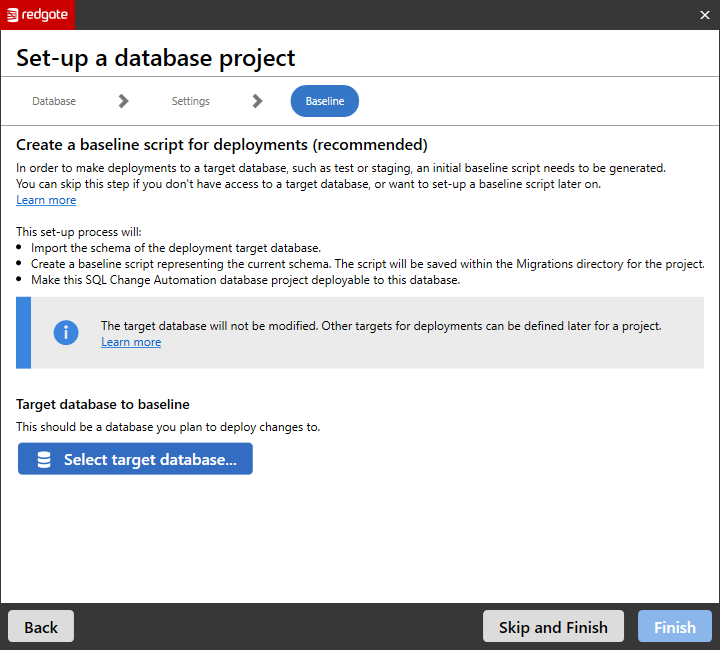
On the last page of the wizard, you can select a database from which to generate a baseline.
We’re going to create a baseline from the AdventureWorks database.
Click ‘Select target database’, and specify credentials for the AdventureWorks database. Click ‘Finish’ to begin the baseline process.
The baseline overview page will appear. Click ‘Apply baseline schema’ to apply the baseline to your development database.
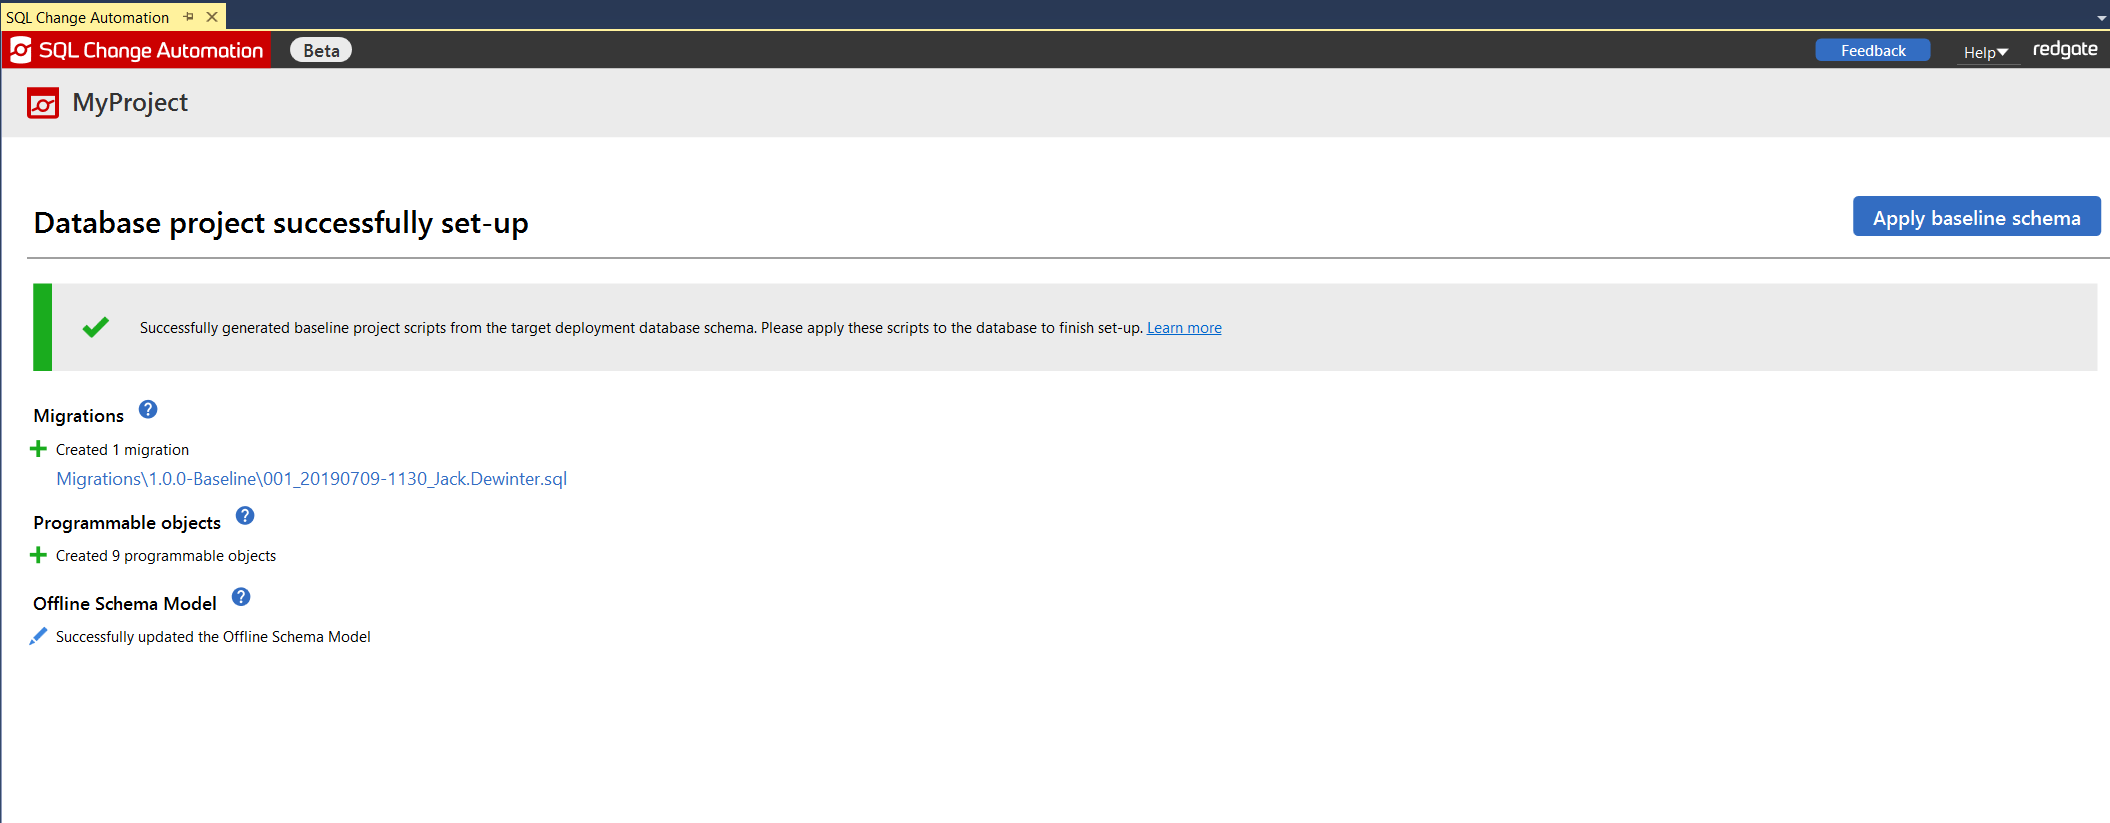
You can now see an overview of all the scripts and programmable objects that will be applied as part of the baseline. Click ‘Apply to database’.
Now you can see all the scripts that have been executed on AdventureWorksDevelopment as part of the baseline process. This means that AdventureWorksDevelopment now reflects the schema of AdventureWorks.

Summary
In this tutorial, we created a project by baselining an existing database.
Next steps
You can now capture changes made to AdventureWorksDevelopment in the SQL Change Automation project. See importing changes.
There’s no need to make any changes to AdventureWorks itself - all development work can occur on AdventureWorksDevelopment.
When you want to deploy your changes on AdventureWorksDevelopment onto AdventureWorks, you can use the PowerShell cmdlets. See Automated Deployment.
This documentation contains proprietary information and is protected by copyright law.
Copyright © 2026 Red Gate Software Limited. All rights reserved


