Installing SQL CI 2.1.3 and earlier versions
Published 04 August 2015
Install SQL CI on your build agents:
- From the DLM Automation Suite app, in the Continuous Integration > SQL CI section, click Open folder:

The installed SQLCISetup.exe is displayed in your file browser.
The install location is C:\Program Files (x86)\Red Gate\DLM Automation Suite 1\sqlCI\Install.
If you're upgrading from the SQL Automation Pack, the location is C:\Program Files (x86)\Red Gate\SQL Automation Pack 1\sqlCI\Install and it'll overwrite your existing .exe file. - Copy the executable file to a folder on the machine running your build agent.
Now you can complete the installation using either a command prompt or the UI.
Installing from a command prompt
Use a command prompt to install SQL CI:
- silently - no UI or prompts
- passively - displaying a single progress UI but no prompts
To run a silent or passive install:
- Open a command prompt with administrator privileges.
- Navigate to the SQLCISetup.exe file location.
Enter
/install /quietor/install /passiveExample
D:\Build_agent_1\CI_tools\SQLCISetup_2.0.1.315.exe /install /quiet
Optionally add the following:
/norestart: prevents your machine from restarting automatically after installation. SQL CI doesn't require a restart, but it may be required by your operating system after installing .NET or LocalDB./log log.txt: creates log files in the same folder as the SQLCISetup.exe. You can specify the name of an existing text file to overwrite, for example:/log WidgetShopInstallLog.txtSENDFUR=0: stops sending feature usage reporting (FUR) data to Redgate. By default, it's set toSENDFUR=1so RedGate can collect data to help understand how you're using SQL CI, and prioritize future development work.SENDERRORS=0
Stops sending error reports to Redgate. By default, this is set toSENDERRORS=1so Redgate can collect data to help understand the problem, and prioritize bug fixes.
For example:
D:\Build_agent_1\CI_tools\SQLCISetup_2.0.1.315.exe /install /quiet /norestart /log log.txt SendFur=1
The install location for SQL CI is: C:\Program Files(x86)\Red Gate\SQL CI
To list every installation command option and the URL for Red Gate's end user license agreement (EULA), enter /help. For example:
D:\Build_agent_1\CI_tools\SQLCISetup_2.0.1.315.exe /help
Installing using the UI
To install on your build agents using the SQL CI installer interface, double-click on the SQLCISetup.exe and follow the instructions in the install wizard. The install location for SQL CI is: C:\Program Files(x86)\Red Gate\SQL CI
Setting up the TFS MSBuild scripts
The TFS MsBuild scripts were installed when you ran the DLM Automation Suite installer. You need to check them into source control:
From the DLM Automation Suite app, in the Continuous Integration > TFS MSBuild scripts section, click Open folder: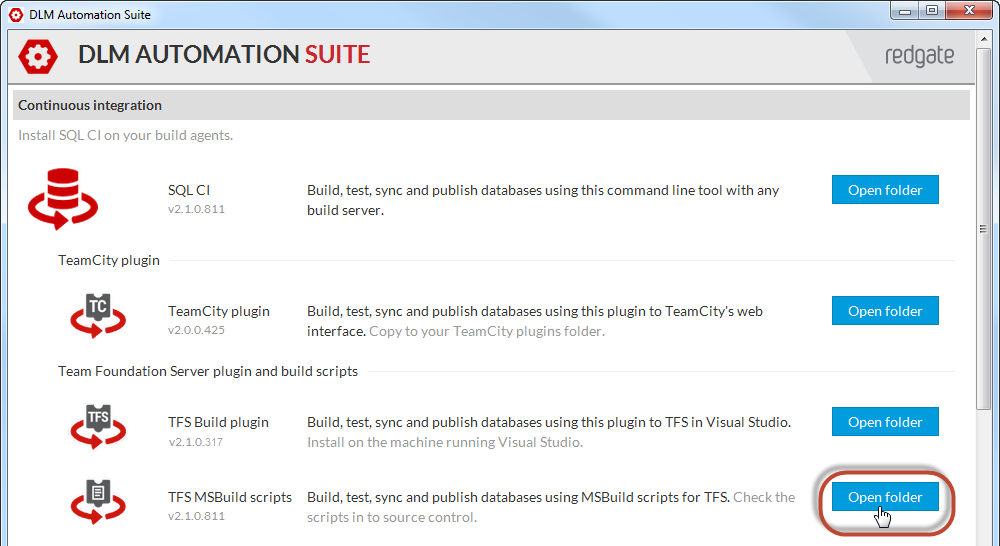
The installed scripts are displayed in your file browser.
The install location is C:\Program Files (x86)\Red Gate\DLM Automation Suite 1\tfs-scripts
If you're upgrading from the SQL Automation Pack, they're copied to C:\Program Files (x86)\Red Gate\SQL Automation Pack 1\tfs-scripts and will overwrite your existing scripts.
If you want to use one of the SQL CI add-ons, you'll need to install those separately. See:
This documentation contains proprietary information and is protected by copyright law.
Copyright © 2026 Red Gate Software Limited. All rights reserved


