See migration scripts for multiple folders in Flyway Desktop
Published 09 February 2023
If you are using multiple folders for your migration scripts (e.g., this script only runs on my test environment, or I have custom data for each client), this article will show you how to see the migrations in different folder locations.
In this example, we have one versioned migrations script in our default migrations folder and we added a data/migrations folder to the root of our project. The data/migrations folder also has one versioned migration script. This contains sample data that should only run on our development database. 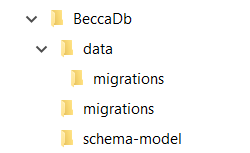
Step-by-step guide
- Open your project in Flyway Desktop.
- Use the folder icon in the upper right
 to jump to your project files on disk.
 - Open flyway.toml in your preferred IDE and search for flyway.locations. Update this value to a specific folder or a or a comma separated list of folders that contain your migration scripts. The value needs to start with filesystem: and then a path relative to your project folder (e.g., flyway.locations=filesystem:migrations,data/migrations). Save the changes to the flyway.toml.
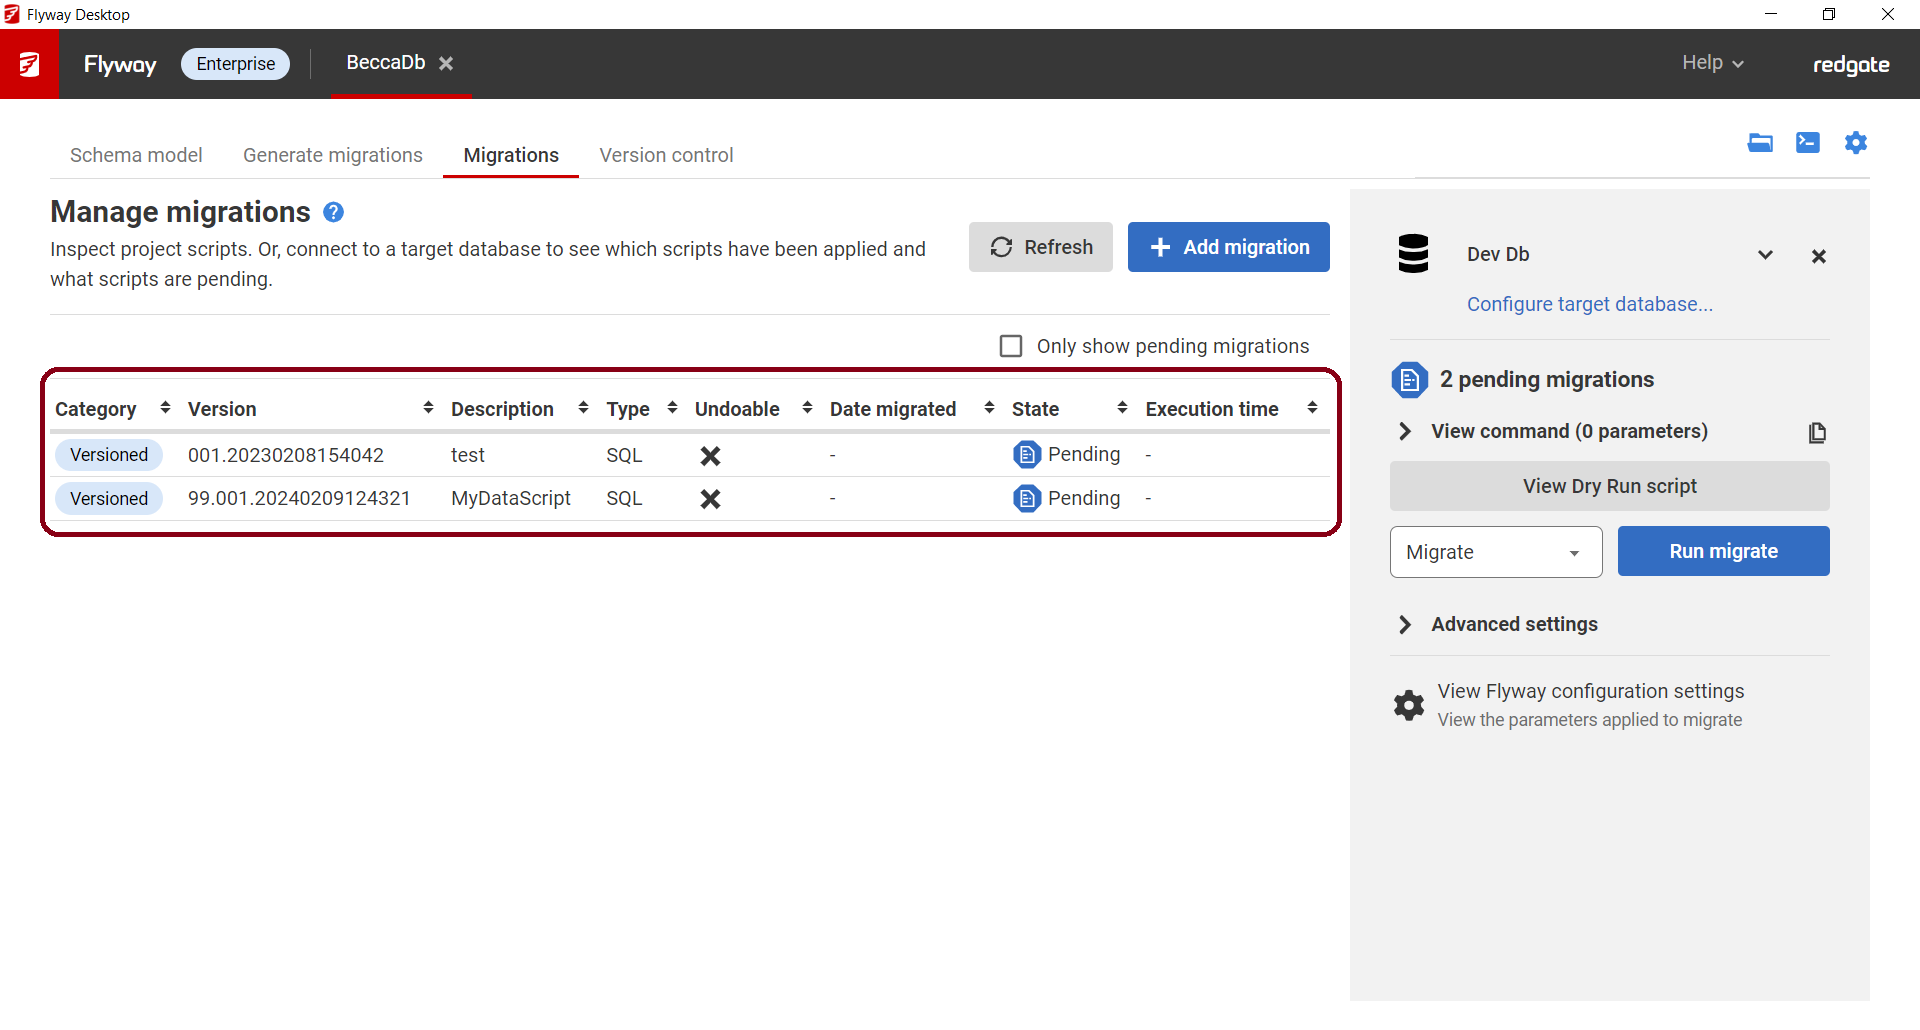
- In Flyway Desktop, go to your Migrations tab. You'll now see all the Migrations across all the different locations you specified.
- If you have different folders for different environments, you'll need to edit the flyway.toml again and then change your target in the Migrations tab.
- Now, migration scripts from all the locations you specified will appear in the table.
Note: Check what happens if you have spaces in your path.
If you need help or have any questions about this, please contact the Database DevOps Team.
Related articles
This documentation contains proprietary information and is protected by copyright law.
Copyright © 2026 Red Gate Software Limited. All rights reserved


