Generating migrations in Visual Studio
Published 19 August 2019
SQL Change Automation projects contain a representation of the schema of your development database. Whenever you make a change to your development database, SQL Change Automation can automatically capture those changes.
1. Make a change to the database
We will create a new stored procedure in the development database by executing the following SQL script:
CREATE PROCEDURE sprTest
AS
BEGIN
    SELECT 1
END
2. Open SQL Change Automation in Visual Studio
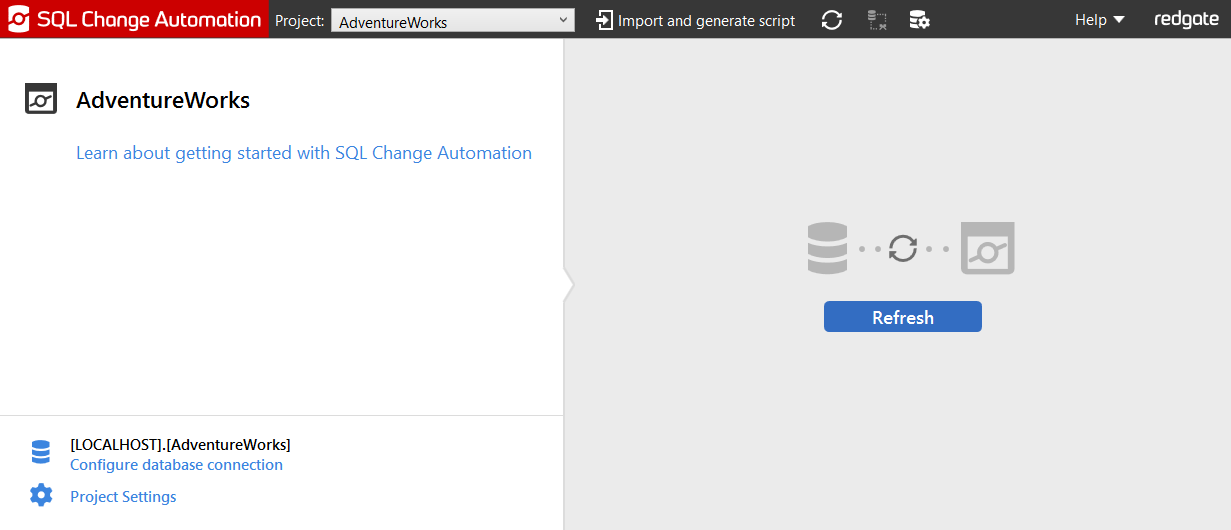
In Visual Studio, open SQL Change Automation, and load your database project. Click the Refresh button, this will check for changes to your development database.
3. Optionally filter the list of changes to import
If you have a significant amount of pending changes, but do not wish to import them all, you may wish to filter the list.
- While viewing the list of changes pending import, simply start typing your filter text
- The filter will be applied as you type
- If you wish to change the filter, the 'Backspace' key will clear the filter
This video demonstrates the filter in action.
4. View the difference
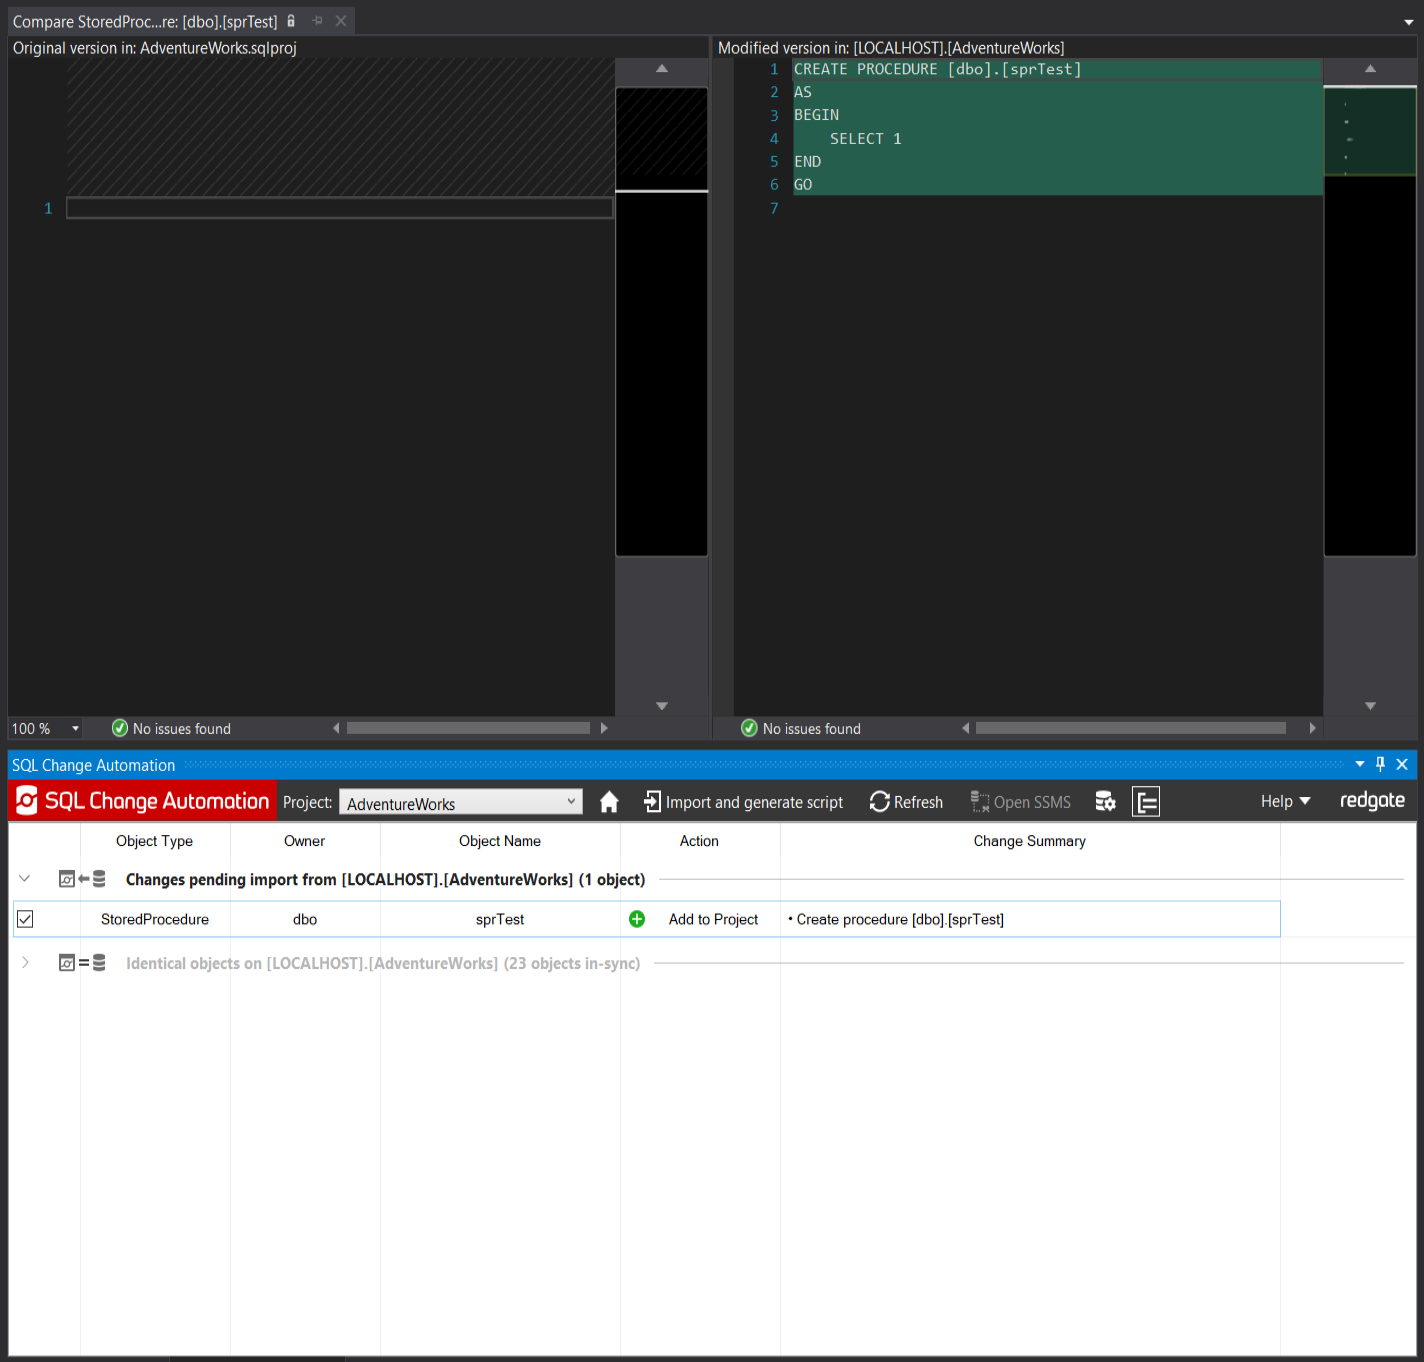
Double-clicking on the stored procedure in the change list will show the differences between the development database and the SQL Change Automation Project.
5. Generate the migration
Click on Import and generate script. This will capture the changes in the project.
6. Verify the script
Once the migration has been generated, click Refresh (Verify Scripts). This will verify that your development database and SQL Change Automation project are now in sync.
Next steps
- Commit your new file to version control.
- When you want to deploy your new change to production, you can use the PowerShell cmdlets. See automated deployments.


