Using Git to share your changes in SSMS
Published 13 January 2020
Git allows your share your committed changes with the rest of your team through by using Push and Pull with a remote. A remote is a shared git repository - for example, a repository hosted on Github.
- Push will send your commits to a remote
- Pull will take commits from the remote
Pushing changes
After you have created one or more commits, you can press the Push button to share these commits with the rest of your team. A push may fail if other members of your team have pushed changes before you. In order to resolve this, you will need to first Pull your team's changes before attempting to push again.
Pulling changes
If another member on your team has pushed their commits you will need to use the Pull button to get the changes locally. In order to pull, you should not have any uncommitted changes. If you have uncommitted changes you can:
- Finish the changes you are working on and create a commit
- Temporarily Stash your changes using the 'git stash' command in the command line (advanced)
If you have already pushed all your local commits, the pull operation will succeed and you will now have your team's changes locally.
If you have unpushed commits, then Git will attempt to automatically generate a merge commit for your unpushed commits with the pulled commits. If you have edited the same file as somebody else you may enter a merge conflict as the changes cannot be merged automatically. Merge conflicts will need to be resolved manually or the merge cancelled in order to continue.
Resolving merge conflicts
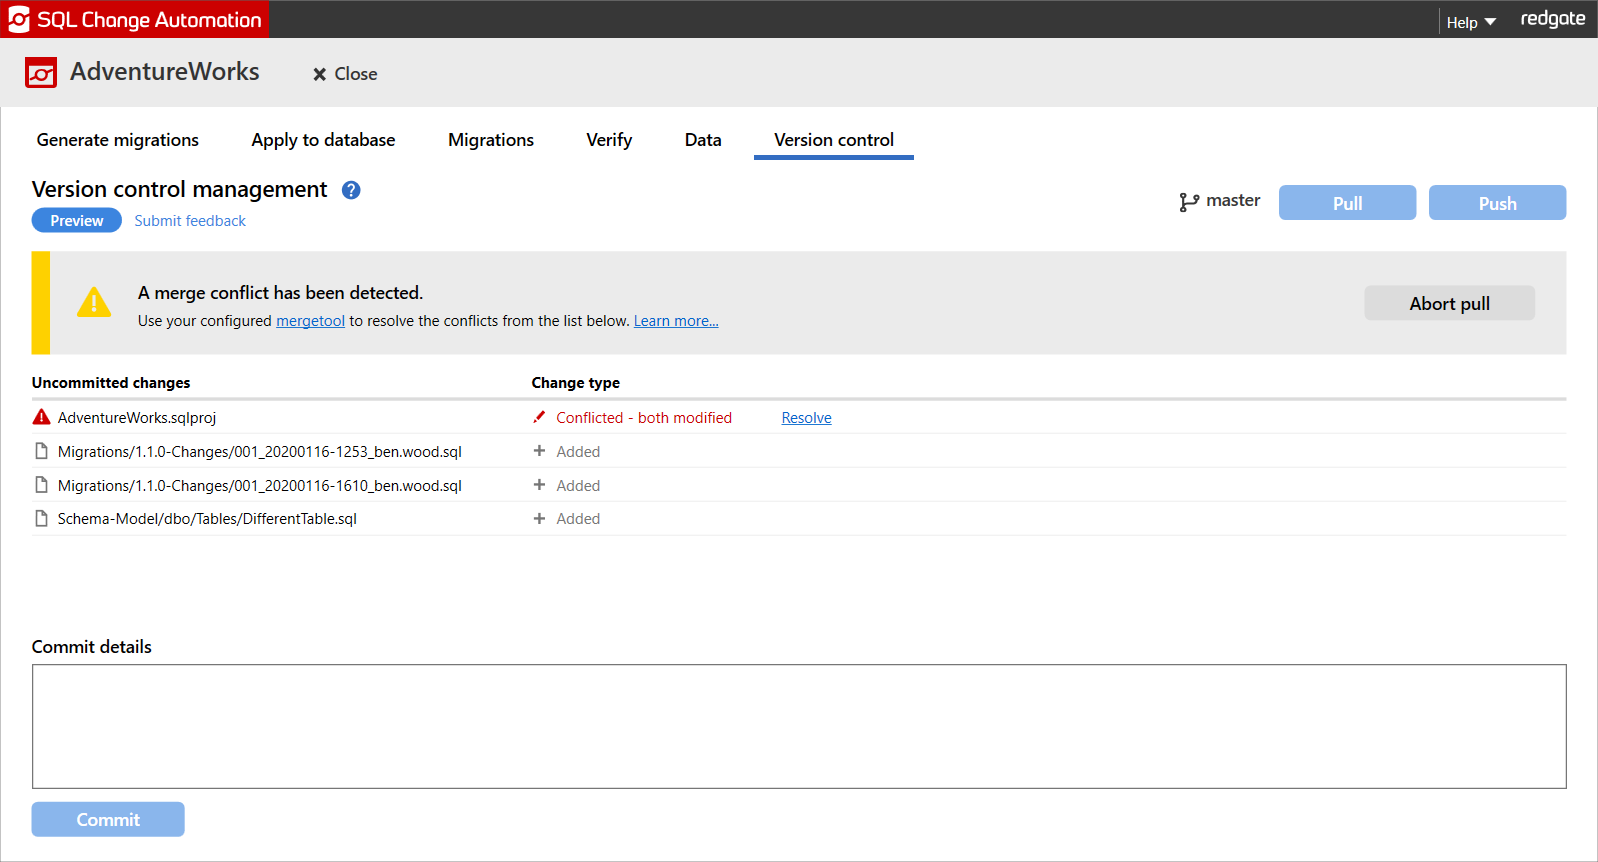
In the example above both us and a teammate have edited the project file. SQL Change Automation gives you the option at this point to either:
- Resolve the conflicted file
- Abort the pull
If you choose to abort the pull, then your local checkout of the repository will be rolled back to the state of the commit before you attempted to pull. If you choose to resolve the conflict in the file SQL Change Automation will open your mergetool for that file, and let you chose how to resolve the conflict.
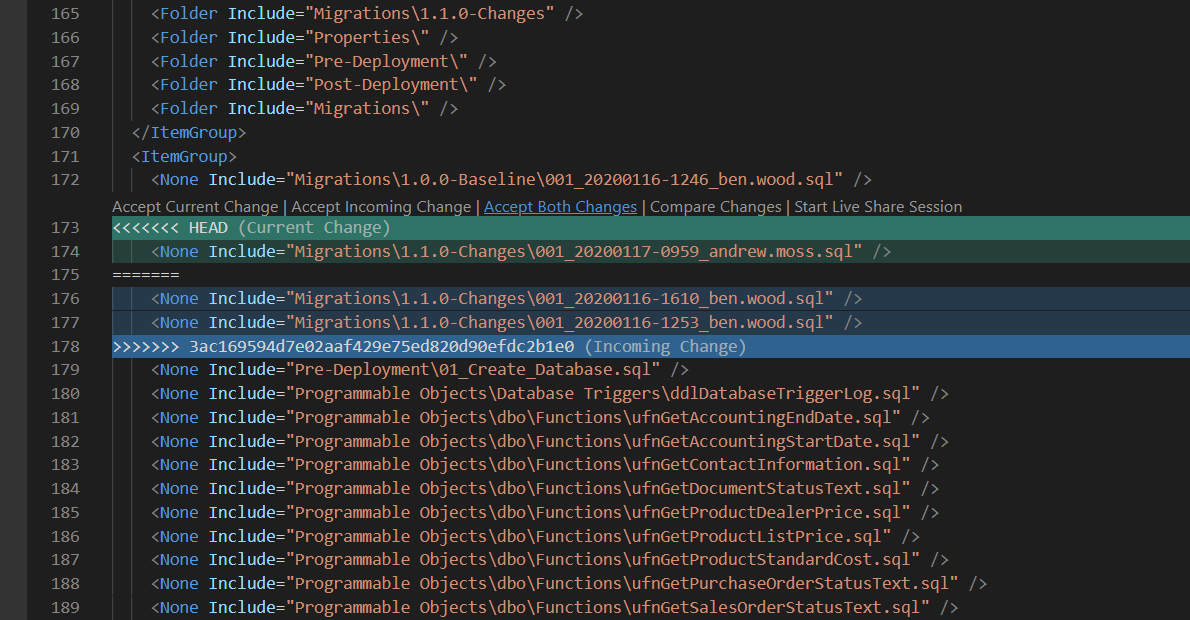
In this example we chose to resolve the conflict using Visual Studio Code, and we can see that our teammate has also made a change to the project file. We will need to choose how to merge these lines. For this scenario we want to Accept both changes, but for other scenarios you may need to manually combine your changes with the changes made by the rest of your team.
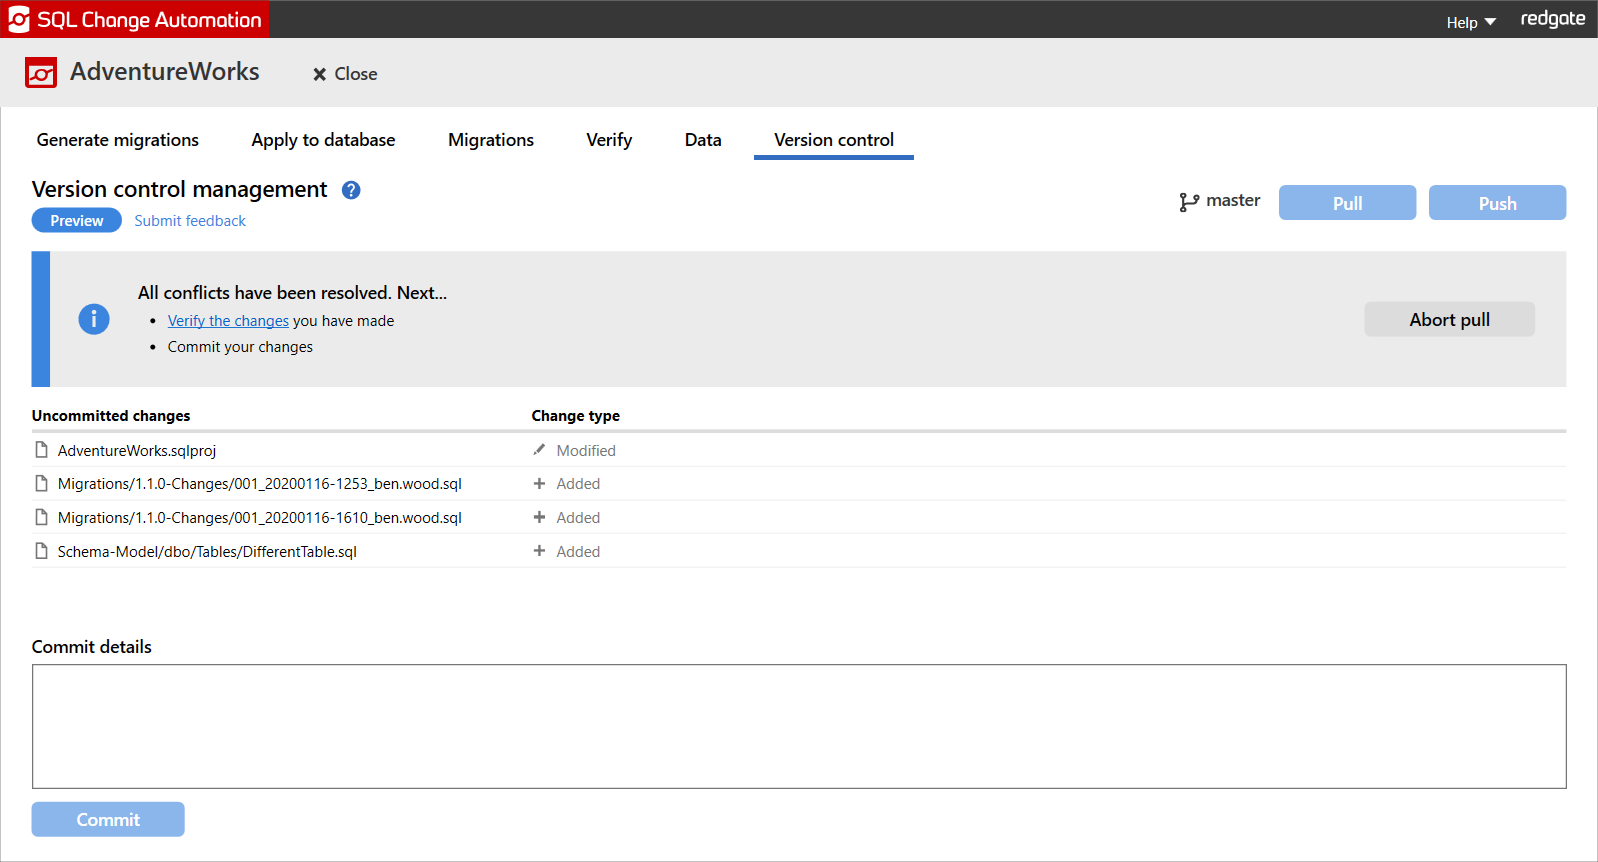
After all conflicts are resolved it is recommended that you Verify your changes to check that the project still builds successfully. In some scenarios, you may still need to make additional changes in order for the project to build (e.g. a merged migration may have modified an object used in a later migration). When you are happy with all the changes, you can commit your resolution to the conflicts. Git will create a merge commit for the changes and the merge operation will be completed.
Resolving conflicts in the offline schema model
The offline schema model provides an automatically generated, read only, object level description of your SQL Change Automation project. The offline schema model can be used to help you keep track of the history of objects using your version control system. However, as a result of this changes made to the same object in different migrations may cause a merge conflict in the offline schema model. You can use one of two strategies for resolving these conflicts:
- Manually merge the changes to generate an object which is correct
- Regenerate the offline schema model by either generating migrations or applying changes after resolving all other merge conflicts
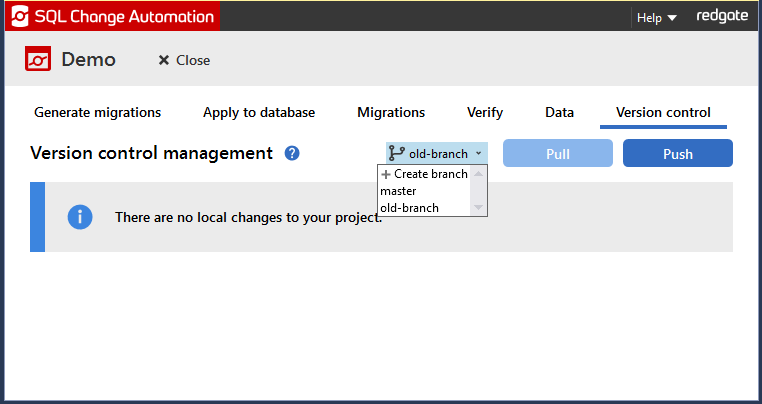
Creating new branches
If you want to want to work on a new feature, you may wish to switch to a new branch using git. The default branch for a code base is usually named 'master'. Making changes on a separate branch ensures that your code base on master branch is safely isolated from changes to be made. In order for you to create a new branch you can select the combo box in the upper right corner and select Create branch.
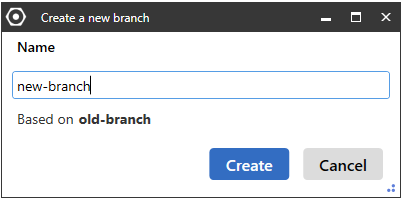
In the opened dialog, you can specify the name of your new branch.
Subsequently, you may switch between the different branches. However, in order to do this you have to commit all your uncommitted changes first.
This documentation contains proprietary information and is protected by copyright law.
Copyright © 2026 Red Gate Software Limited. All rights reserved


