Setting up a project with a SQL Clone image as a baseline in Visual Studio
Published 22 July 2020
Projects are the primary artifact used when developing and deploying databases using SQL Change Automation. They contain a database's state, and a set of scripts that describe how to get to that state. Learn about SQL Change Automation projects.
This page will help you get started with developing databases using the SQL Change Automation Visual Studio Extension.
We’ll set up a new SQL Change Automation project which can be deployed against a new database. Specifically, we’ll:
- Create a new SQL Change Automation project within Visual Studio
- Set up a new development database
- Configure a SQL Clone image to use as a baseline
- Make changes to the development database, and use SQL Change Automation to generate migrations from the changes
Note that configuring SQL Clone currently involves manually editing the project file in this tutorial. This is handled via the UI in the SSMS plugin. It may be more convenient to set up the project in the SSMS plugin and then open it in Visual Stusdio.
Creating a new project
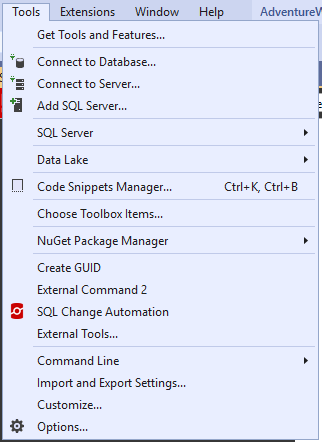
1. Open SQL Change Automation
In Visual Studio, start SQL Change Automation by clicking on SQL Change Automation in the Tools drop-down menu.
This will open the SQL Change Automation window if it is not already open.
2. Create a new project
Click Create Project… to create a new project. This will open the Visual Studio project configuration wizard.
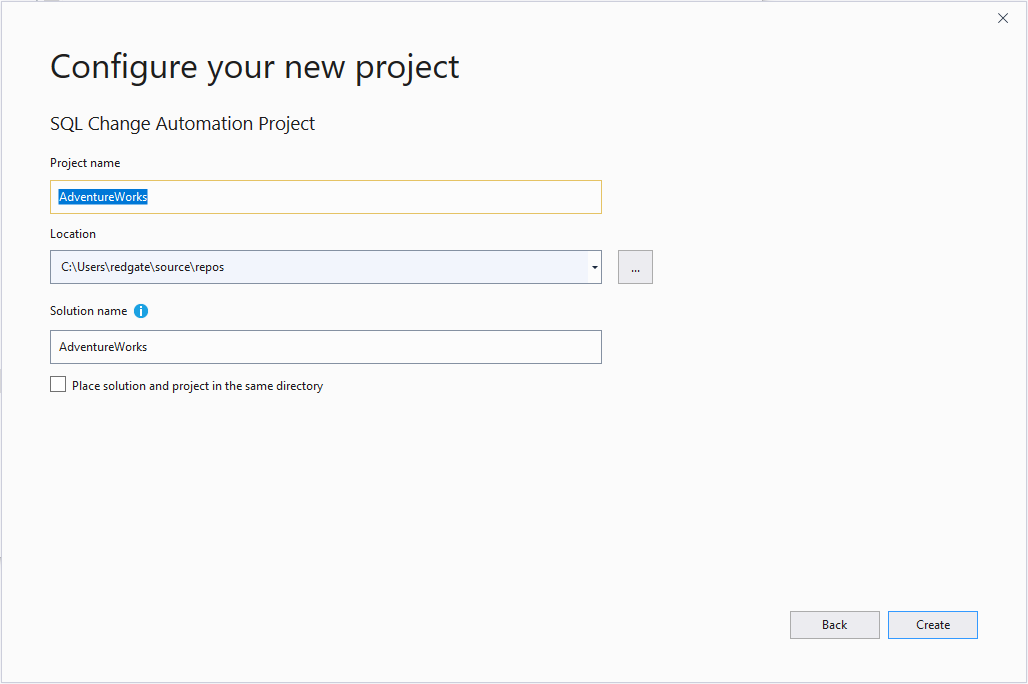
Once this project is created the SQL Change Automation setup wizard will open. Click the cross in the top right corner for now
3. Configure project to use SQL Clone as a provisioner
For now click the X in the top right corner of the wizard as we need to set a couple of settings before completing the setup wizard.
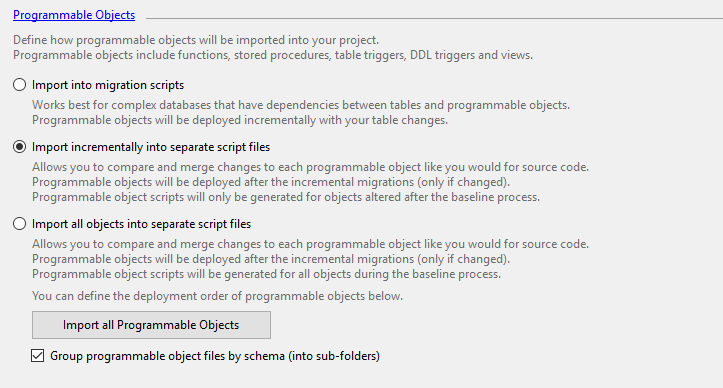
Open the properties pane for the project, scroll down to the Programmable Objects section, and select Import incrementally into separate script files. This is the recommended approach for scripting programmable objects when using a SQL Clone image as a baseline.
Next we need to configure SQL Clone:
- Unload the project
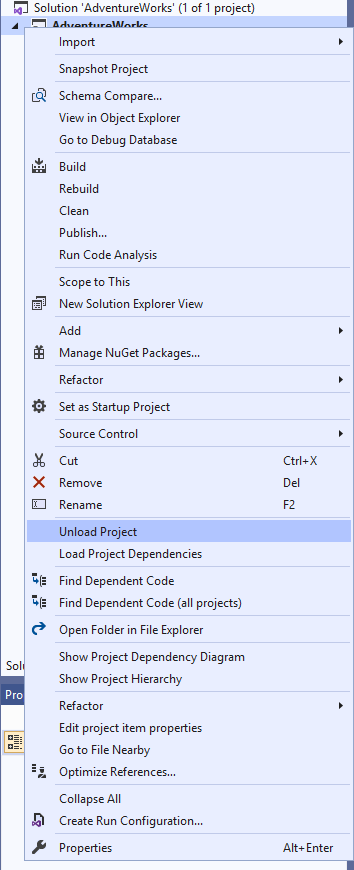
- Open the project file
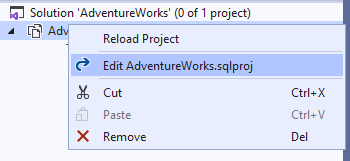
- Replace
<Provisioner>CustomScripts</Provisioner>with your SQL Clone configuration which might look like:<Provisioner>Clone</Provisioner><CloneServerUrl>http://localhost:14145</CloneServerUrl><CloneImageName>AdventureWorks</CloneImageName>
The clone server URL and clone image name must be valid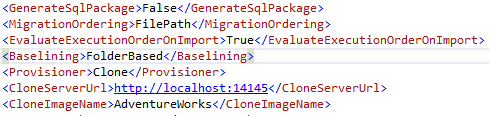
- Save the project file and close it
- Reload the project
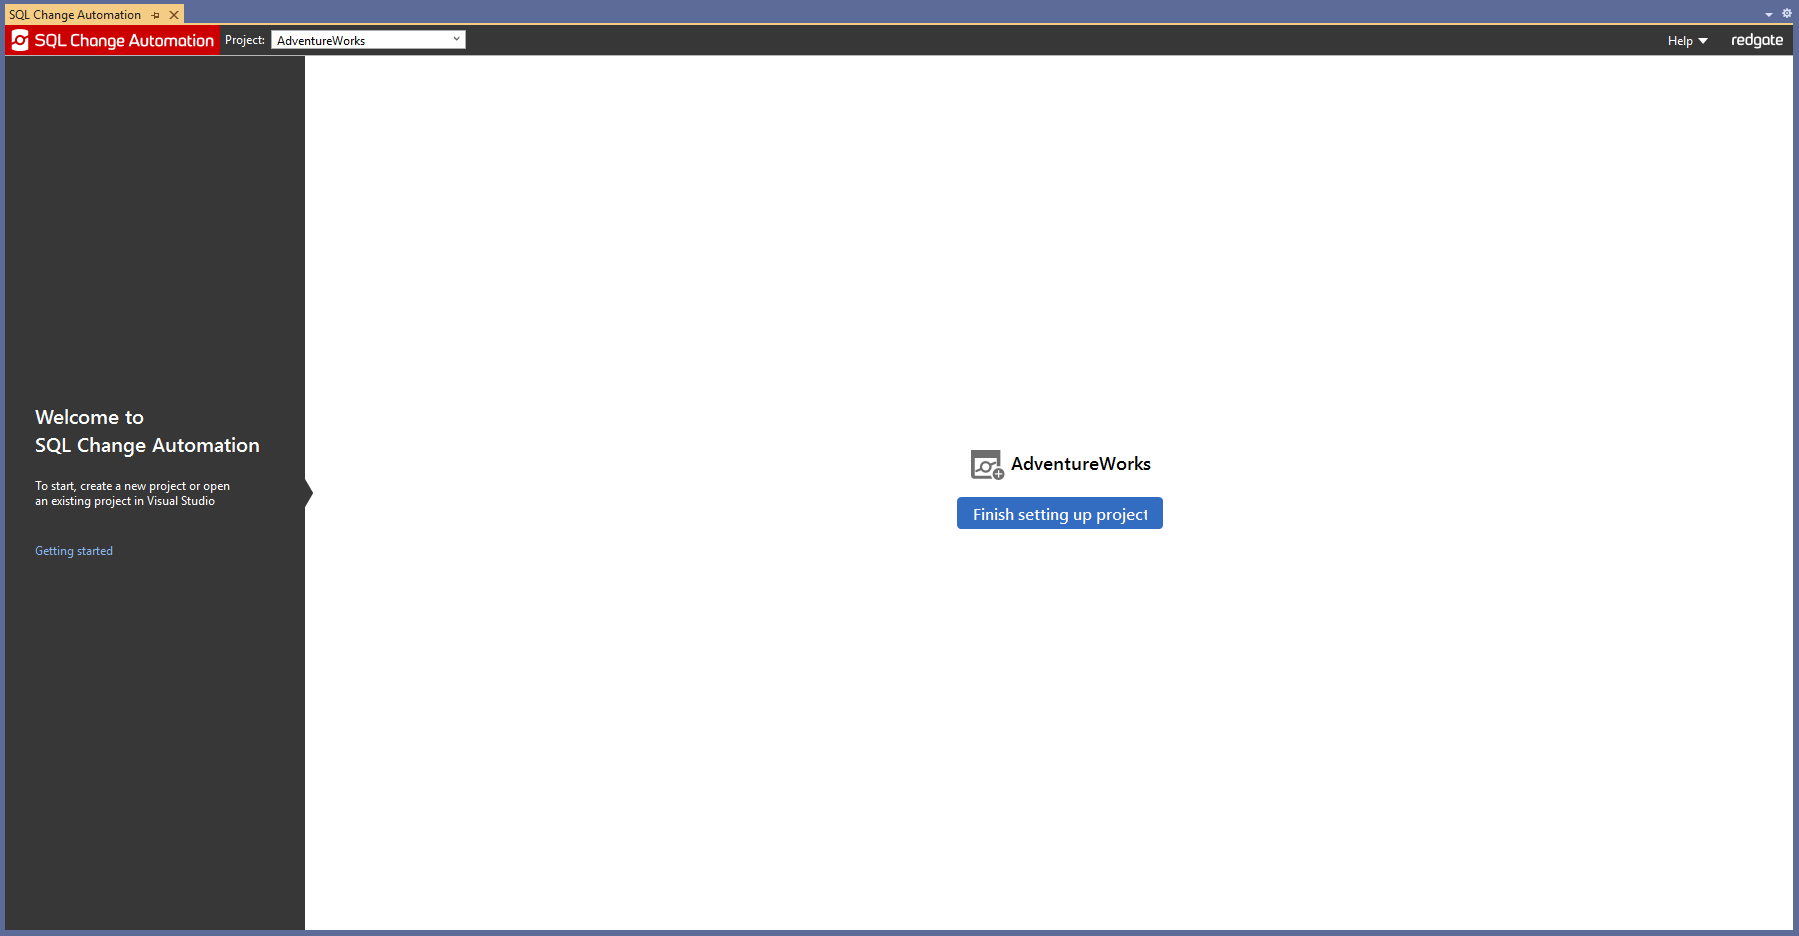
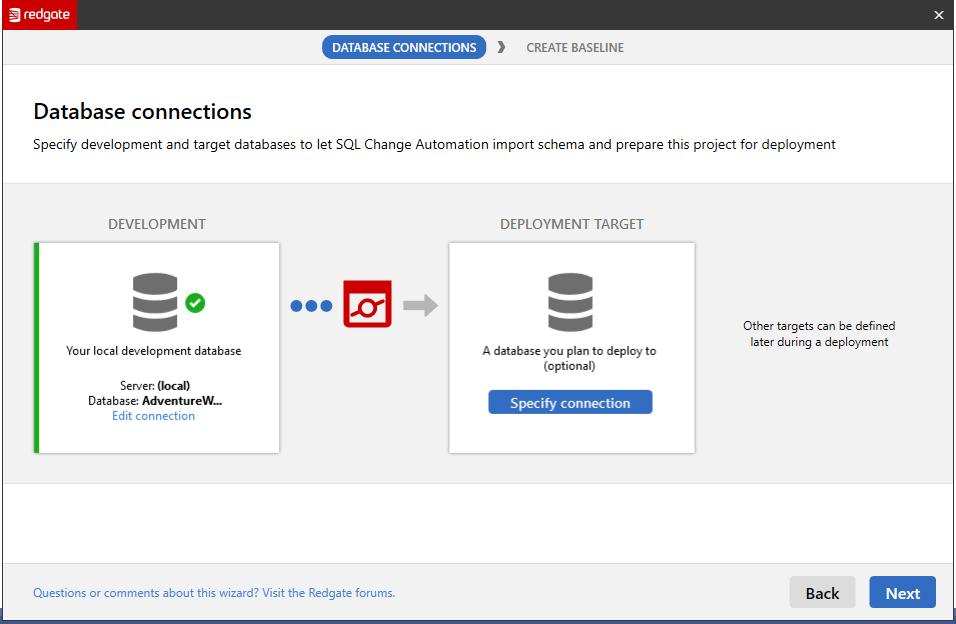
4. Database connection configuration
Now we are ready to finish setting up the project. In the SQL Change Automation tool window click Finish setting up project.
Click Get Started. Then specify a connection for your development database. Note that you cannot use the new database option here or specify a database on (localdb) as that is not supported by SQL Clone.
Note
Click Next, then click Finish on the final screen.
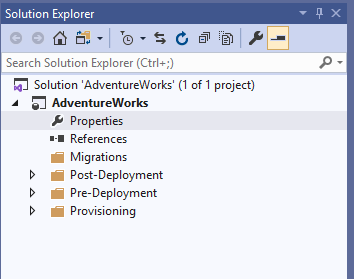
Your project will appear in the Solution Explorer window. You should notice scripts generated in the Schema Model folder but no Migration scripts or Programmable objects for now.
Next steps
- Commit the SQL Change Automation project to version control
- Make your first development changes and generate migrations for them in the SQL Change Automation project
- Set up a continuous integration pipeline to deploy these changes to another environment (for example, production)
Related worked examples
- Getting started with SQL Change Automation in Visual Studio for an existing project
- Setting up a project with a SQL Clone image as a baseline in SSMS
This documentation contains proprietary information and is protected by copyright law.
Copyright © 2026 Red Gate Software Limited. All rights reserved


