Managing images
Published 13 November 2023
This page explains how to manage images within the GUI. It covers topics such as viewing the list of images and deleting images. If you haven't already, see Creating images. See also Creating clones from images and Managing image permissions.
Contents
Managing images within the GUI
Viewing the list of images
The GUI list of images is the central place where you can manage your images. Here is how to access the list of images.
In the left-hand navigation drawer in the GUI, click on the Images option. If the left-hand panel is collapsed, the option will be shown as a image icon .
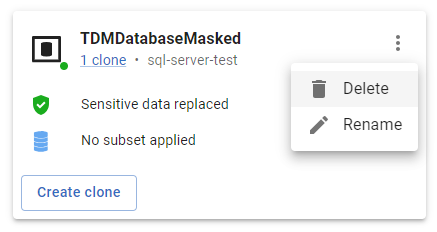
The screen shows a list of image cards with the names and details of the images.
Creating new images
Step-by-step instructions are given under Creating images.
Creating clones from images
Step-by-step instructions are given under Creating clones.
Managing permissions
Step-by-step instructions are given under Managing image permissions.
Deleting images
Deleting images is a permanent action and cannot be undone.
An image can only be deleted if there are no clones from that image. You will need to delete all clones for an image before you can delete the image itself.
- Go to the list of images, as described above.
- Find the card for the image you wish to delete. Then either:
- Click the actions (⁝) button, then Delete
- Or Click the card itself to navigate to the image details, then click the bin icon
- Click the actions (⁝) button, then Delete
- You will be prompted to confirm that you wish to delete the image. This is a permanent action and cannot be undone. Click Delete image to delete the image.
- You will be returned to the list of images. The card for your image will display Deleting image until the image deletion is complete.


