Tutorial - Import projects from SQL Source Control
Published 20 September 2023
To make the transition from SQL Source Control to Flyway as easy as possible we'll preserve all your settings (comparison options, filters, static data configuration) and your Git history.
Before importing your project, make sure you have a backup of your local repo.
After importing, you should no longer use SQL Source Control to capture changes on your development database.
If you are using Pre & Post Deployment scripts in SQL Source Control, please get in touch with our Development Team.
Team Leader
- Communicate upgrading to Flyway with your team. Only one person will import the SQL Source Control project into Flyway.
- Make sure everyone has committed and pushed any of their outstanding database changes into the remote Git repository.
- Pull all the latest changes from the remote repository to a local repository on disk. If there are any changes, apply them to your development database to make sure your environment is up to date.
- Tag or create a branch of the state of the repository at this point in case you need to revert back.
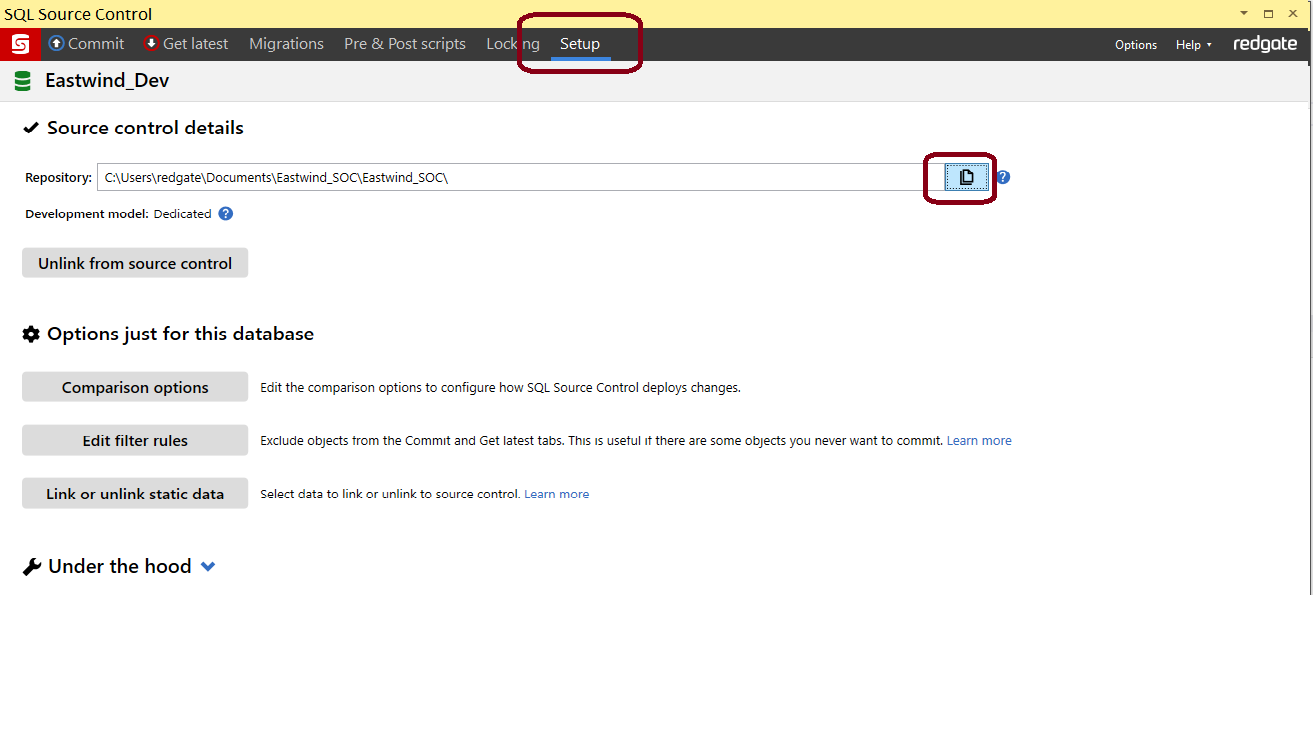
- In SQL Source Control, go to the Setup tab and copy the repository folder.
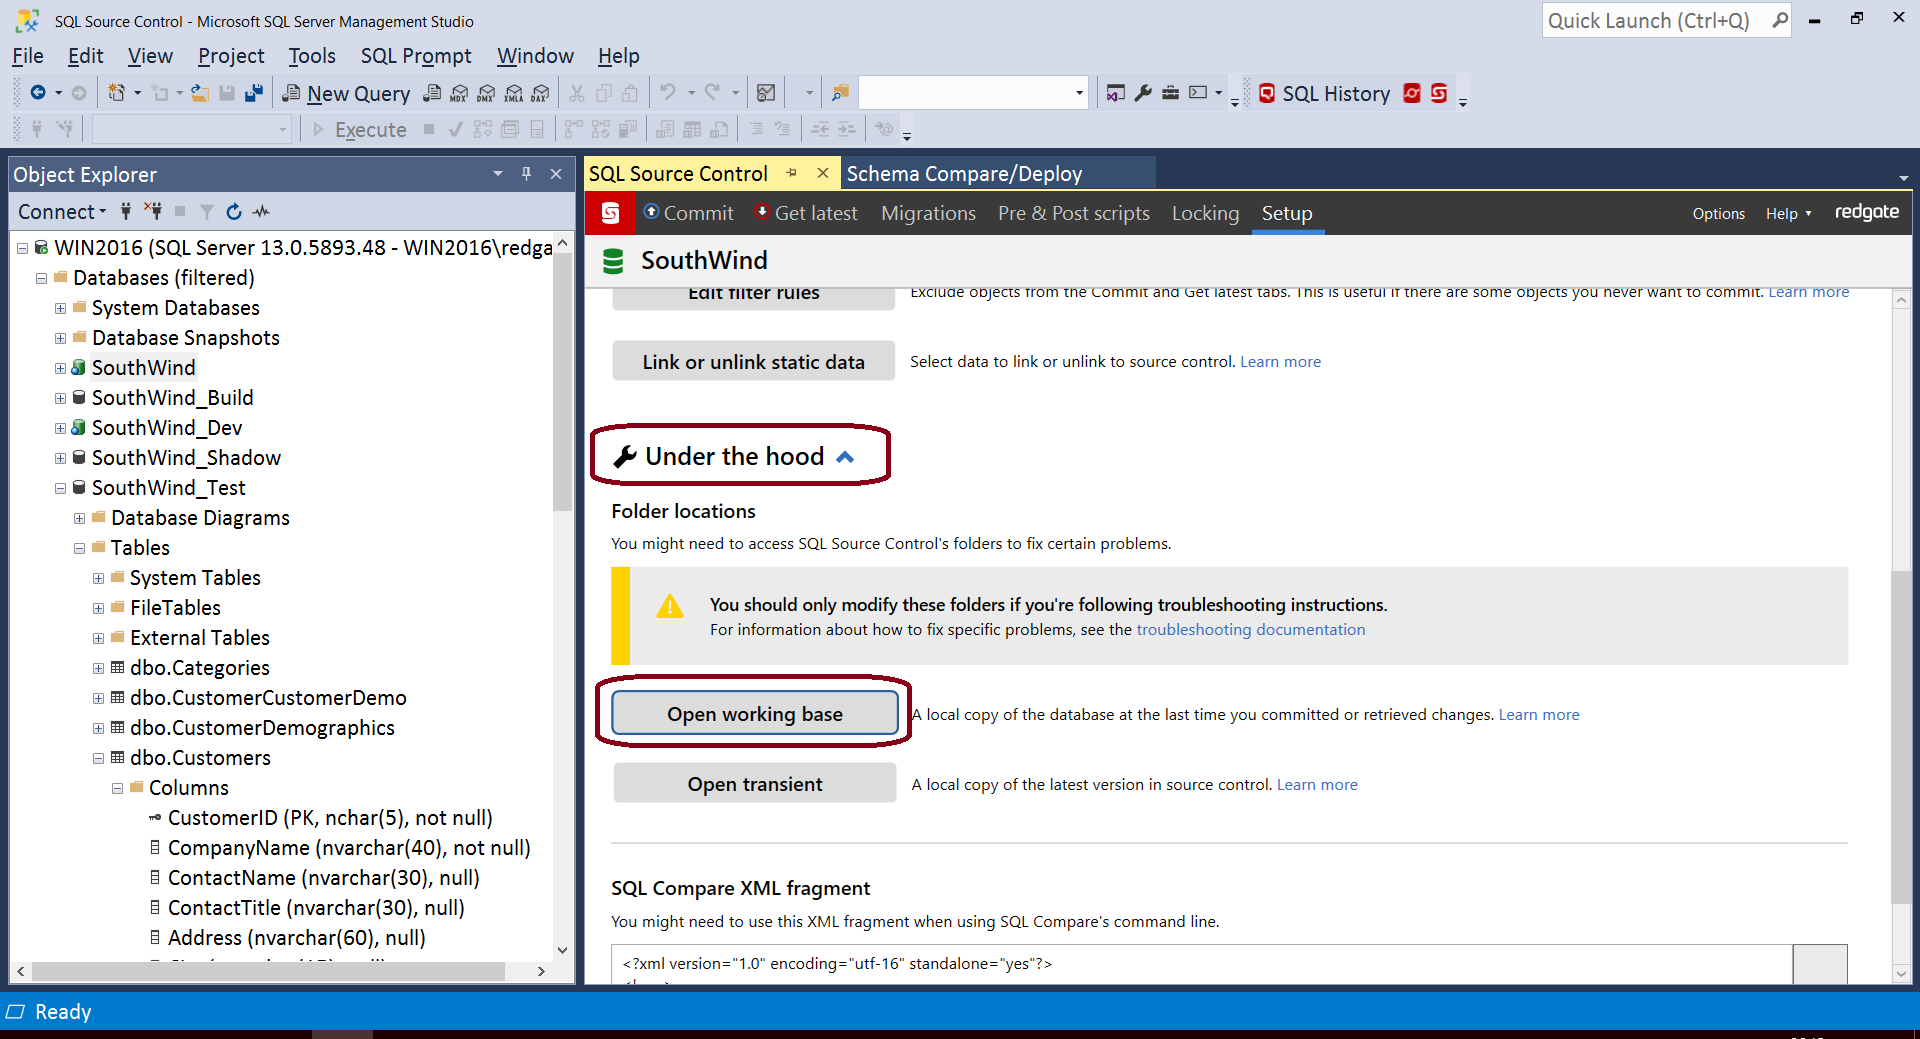
- Note: This only works for Git. If you are using Subversion or Team Foundation System Version Control, then you'll need to get the repository path from Under the hood > Open working base. Learn more about Working with other version control systems.
- Note: This only works for Git. If you are using Subversion or Team Foundation System Version Control, then you'll need to get the repository path from Under the hood > Open working base. Learn more about Working with other version control systems.
- Install Flyway Desktop on your desktop (developer's machine).
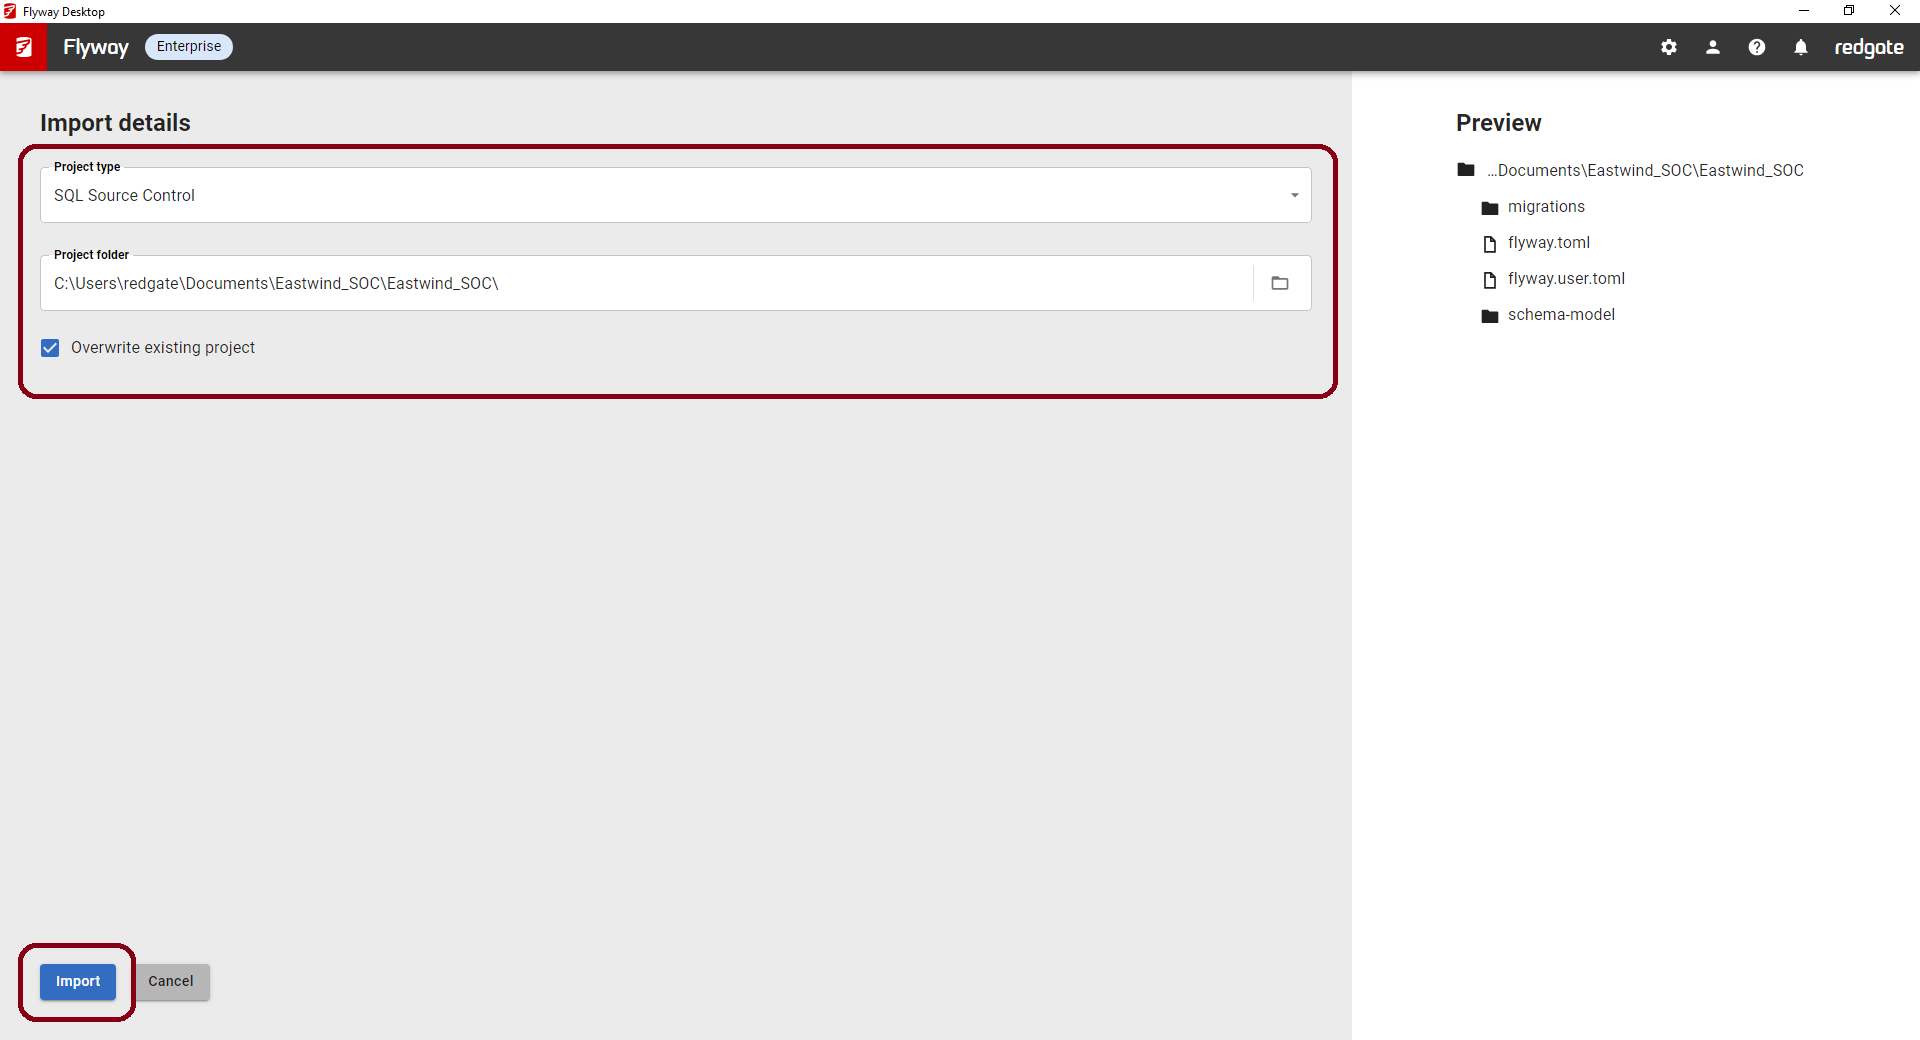
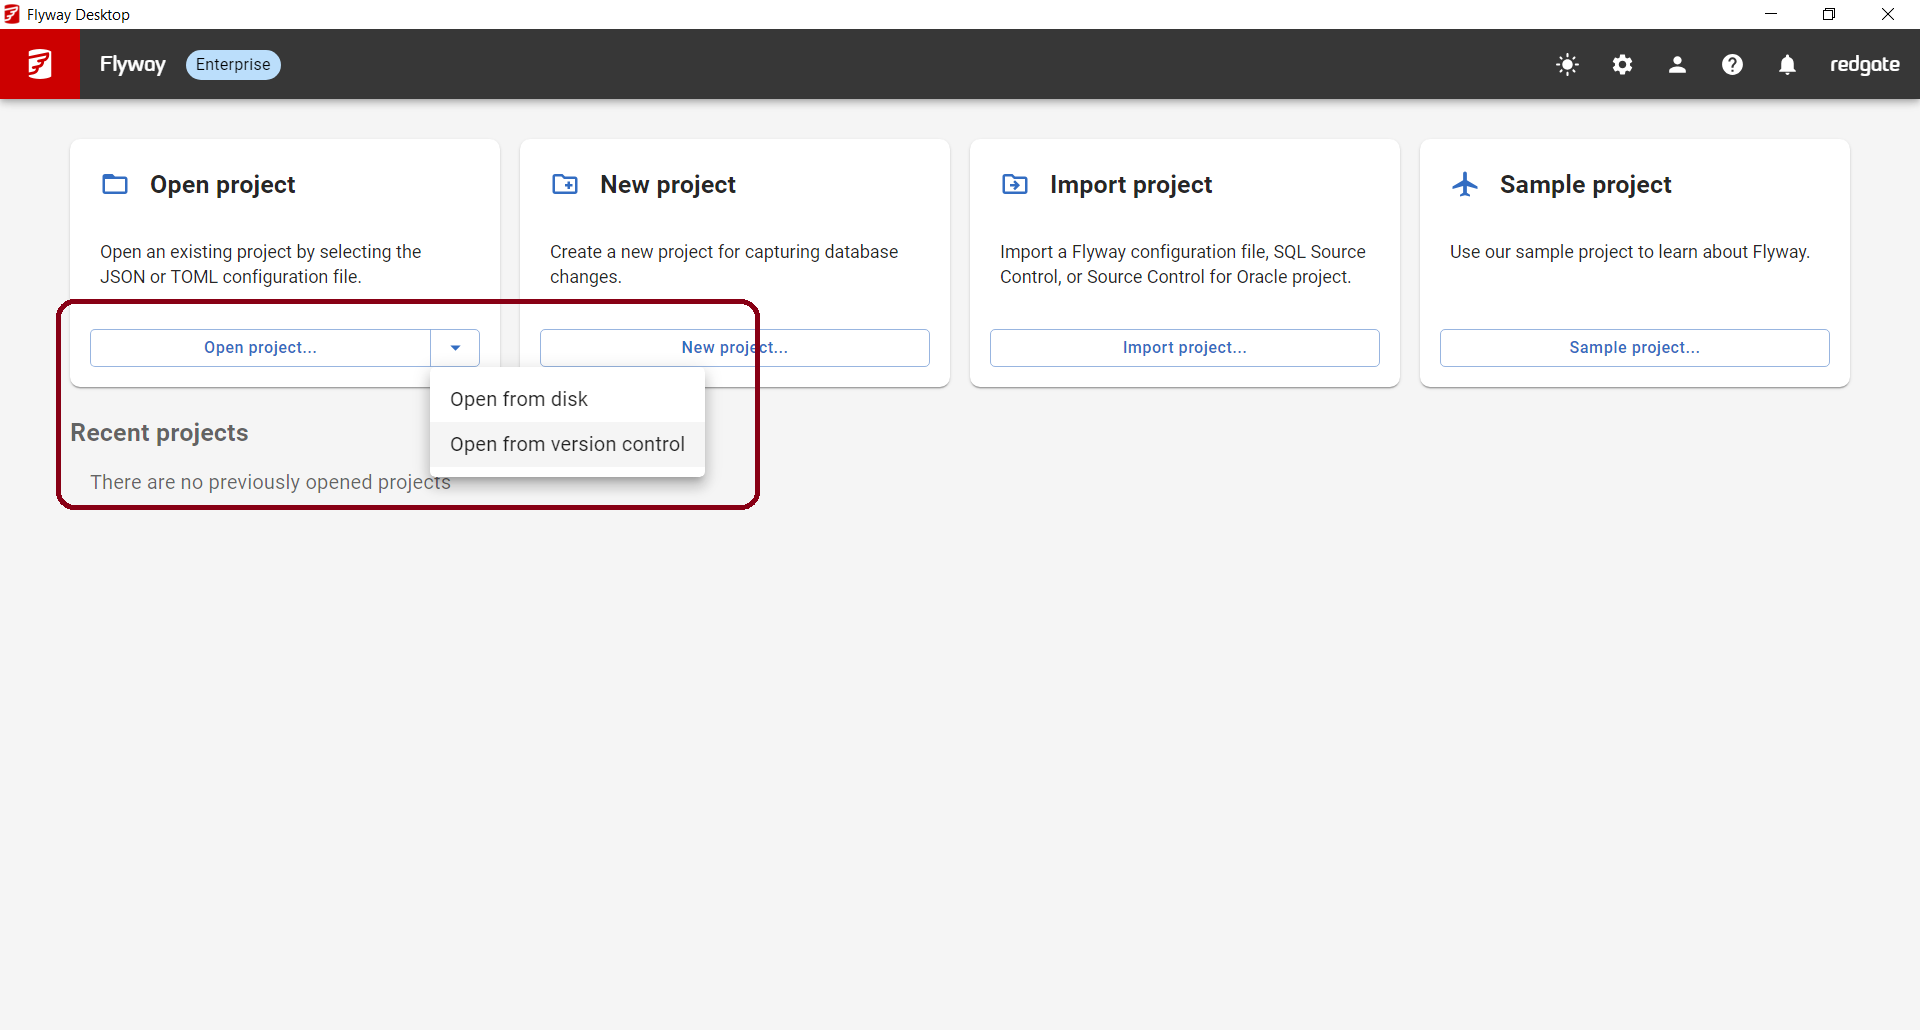
- Launch Flyway Desktop from the Start Menu and click Import project...

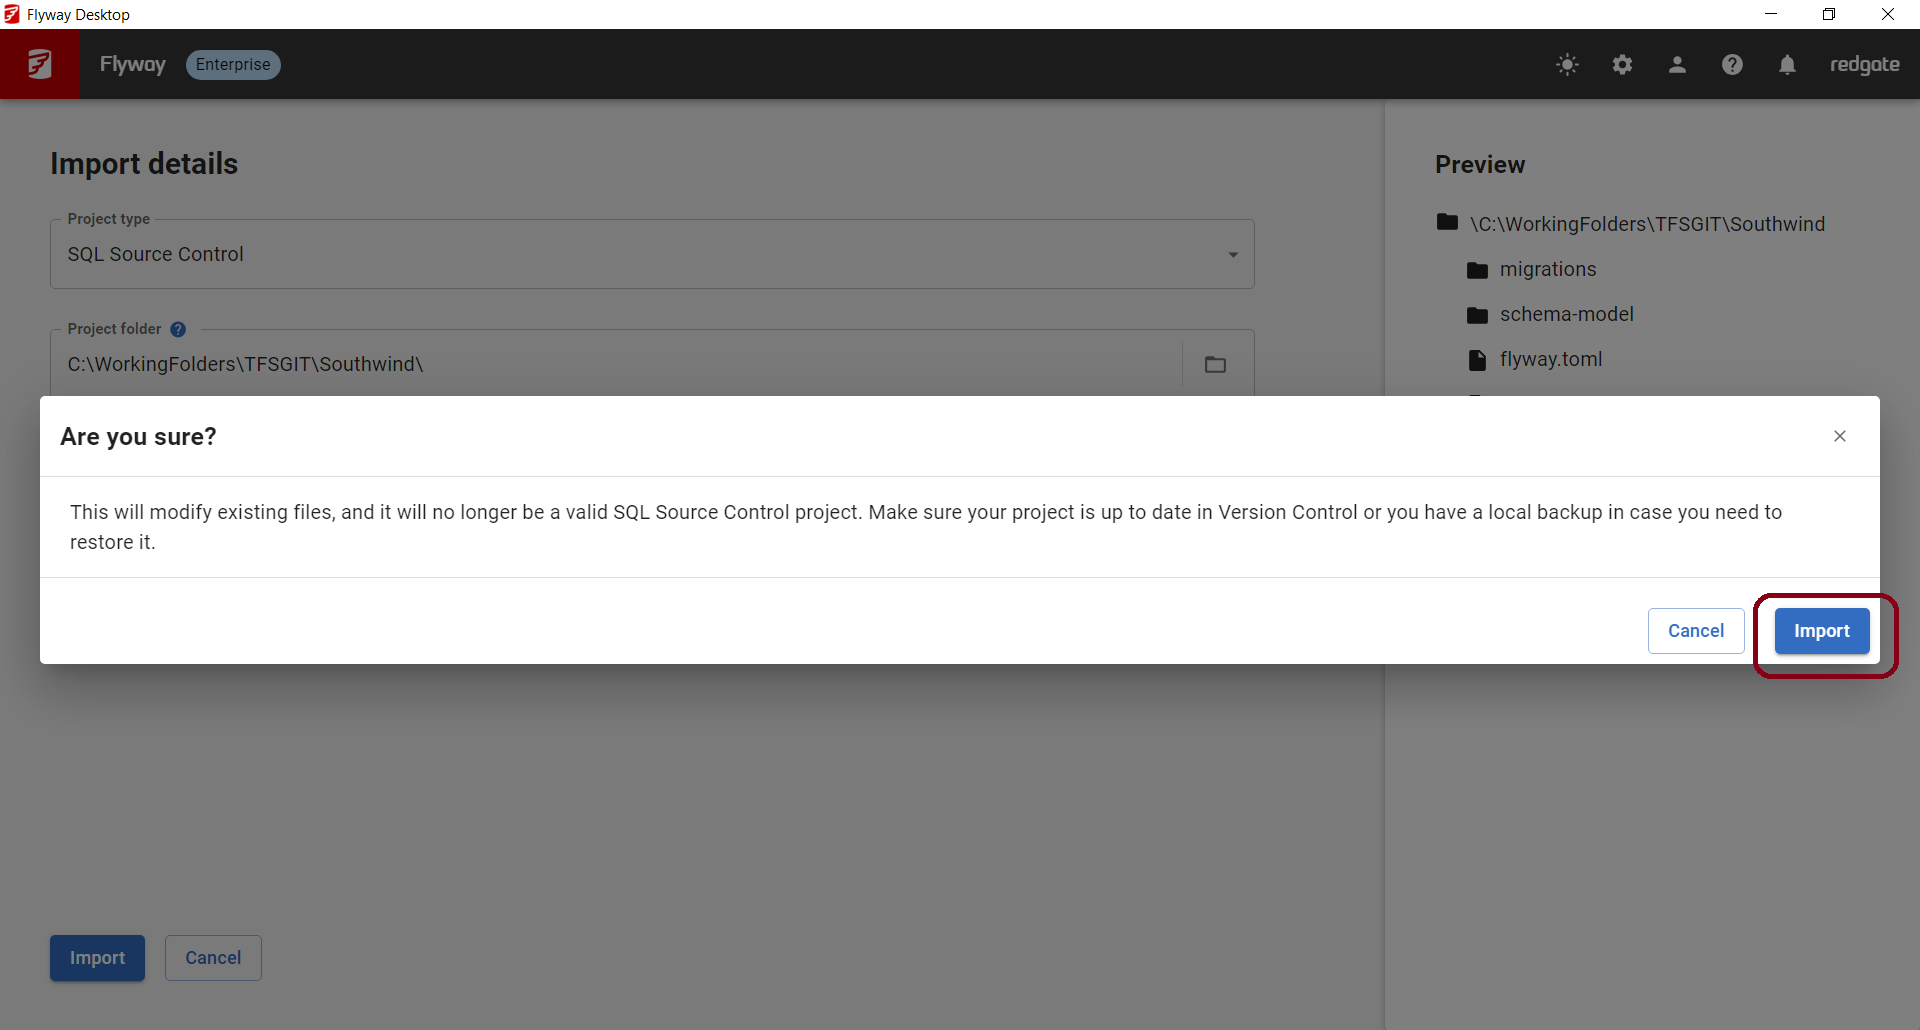
- Choose SQL Source Control, paste the directory you just copied into the Project folder, and click Import. Agree to the confirmation prompt by clicking Import again.
 →
→ 
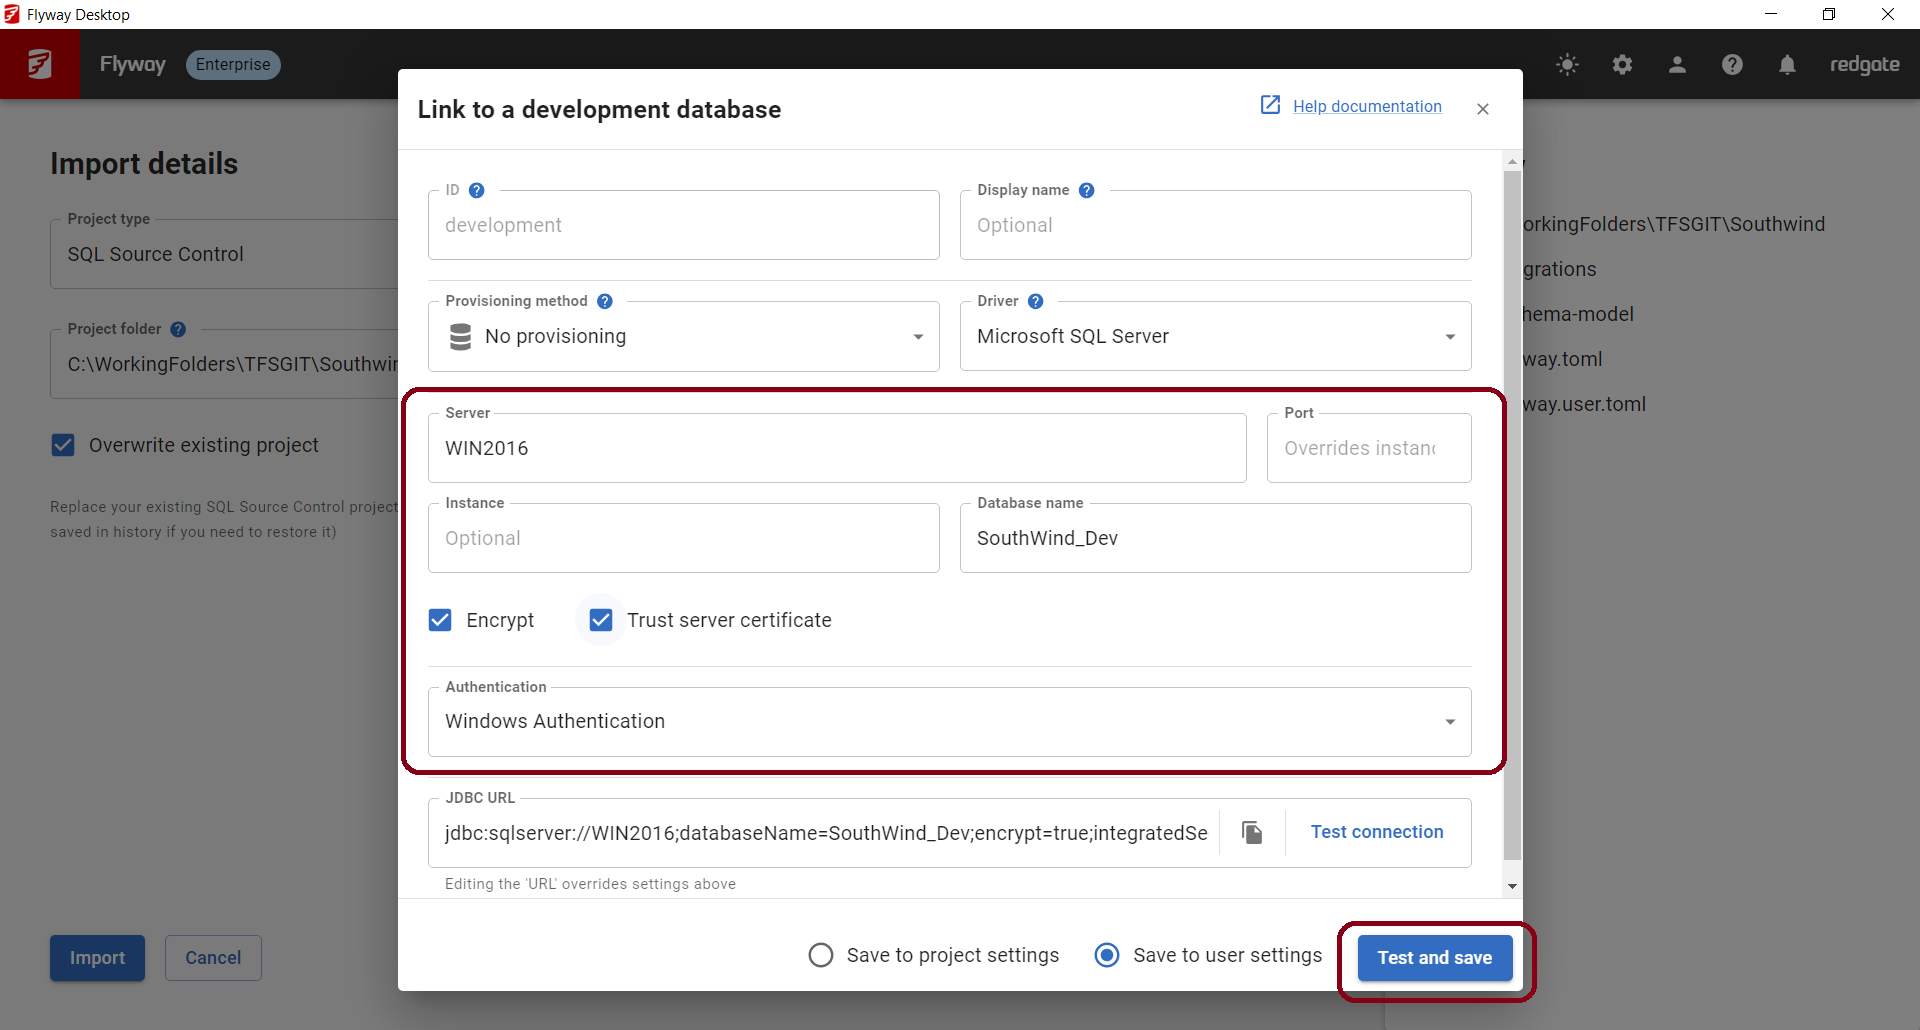
- Confirm your development database connection details and click Test and save. For more information. see configuring your development database.
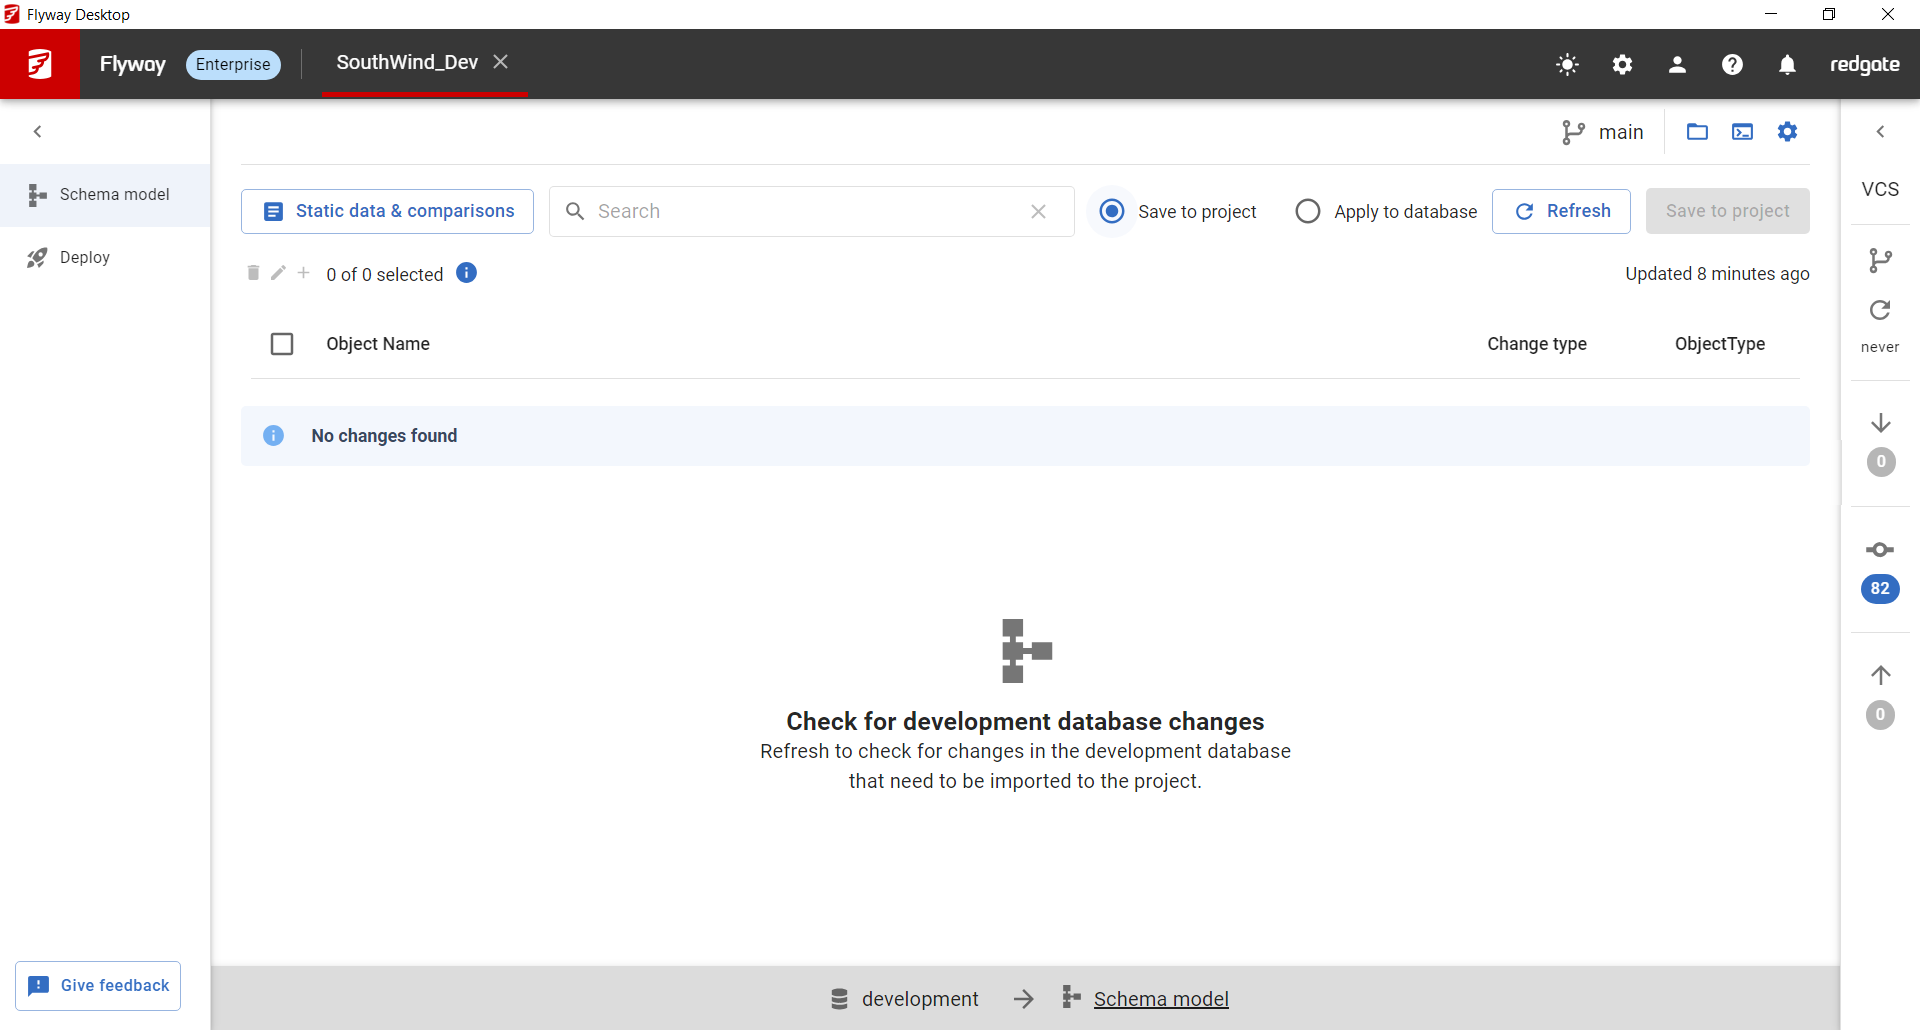
- You're now on the Schema model tab. This compares the objects and static data from the Development Database to the Schema model folder on disk. If your database was in synch with your repository, then you won't see any changes.
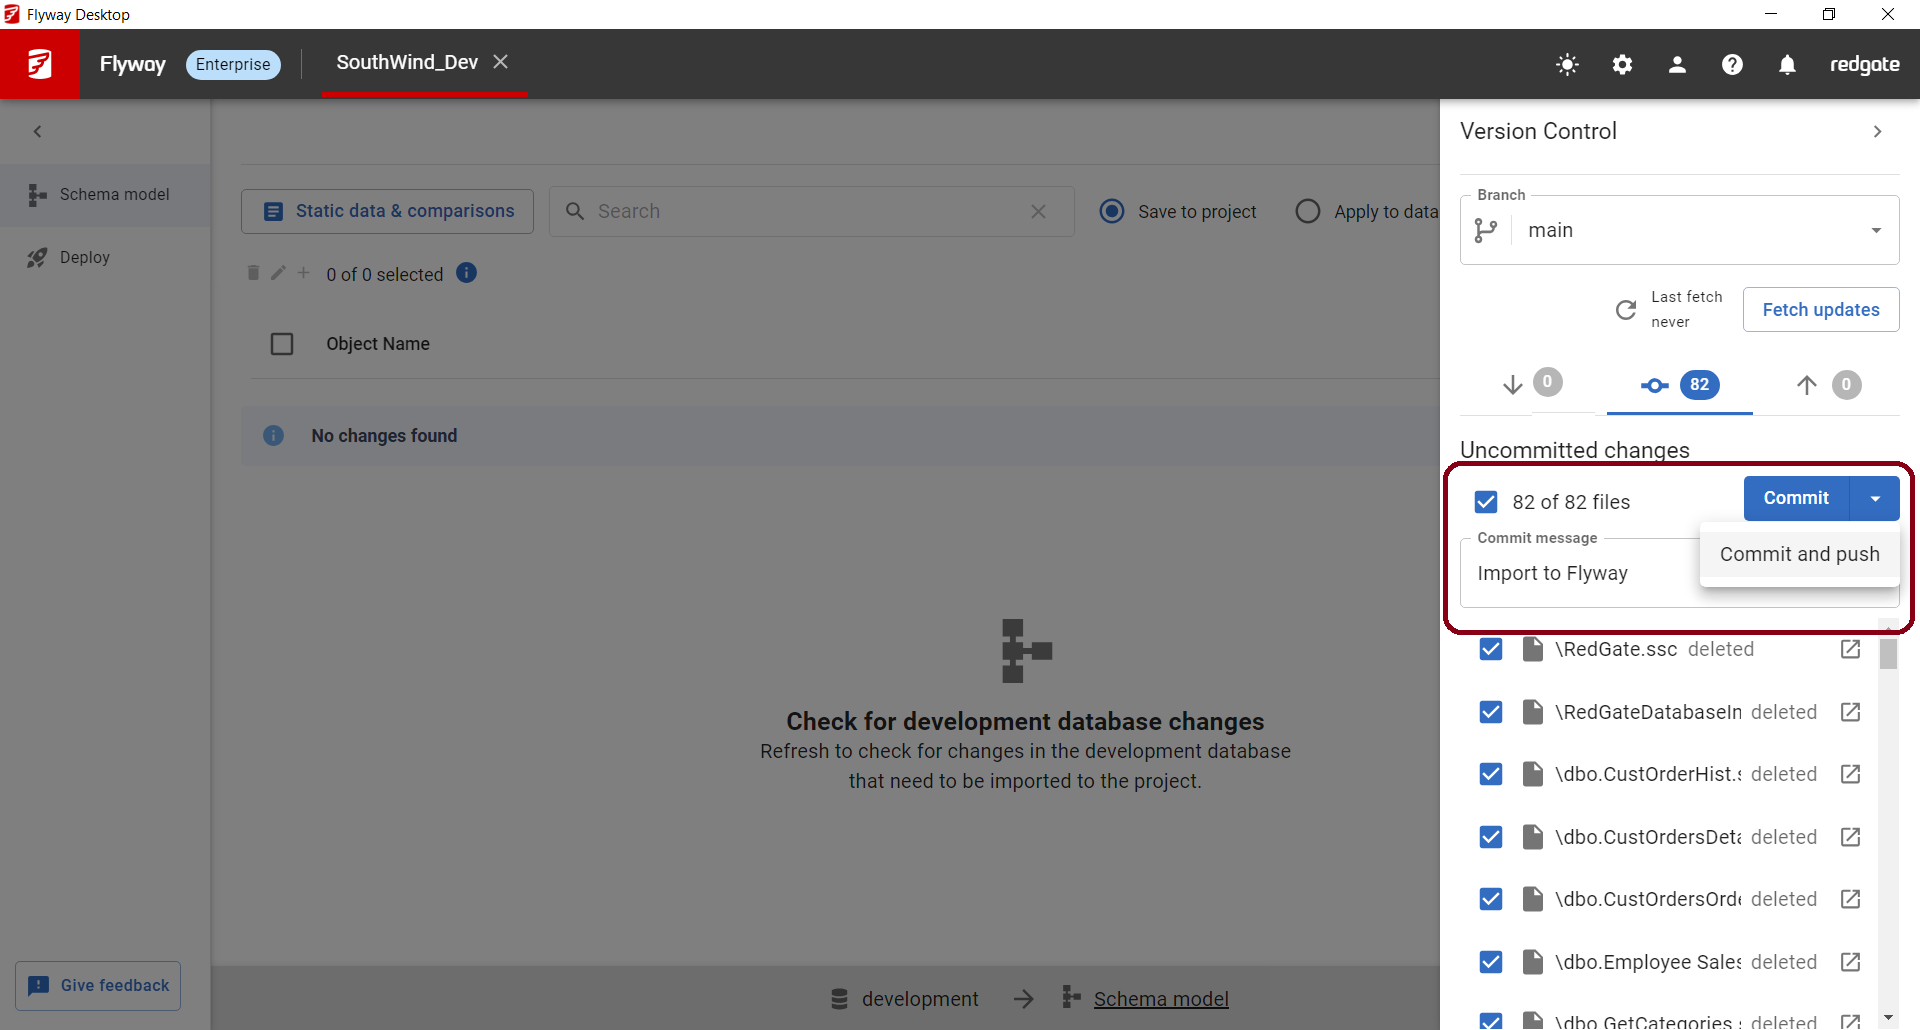
- Expand the Version Control side panel. You may see a lot of added/deleted files. This is just how Git works. After entering a commit message (e.g., Converted to Flyway), Commit, and Push the changes to the remote repository. You should be able to see all the history of the objects in the schema-model folder in Git.
 →
→ 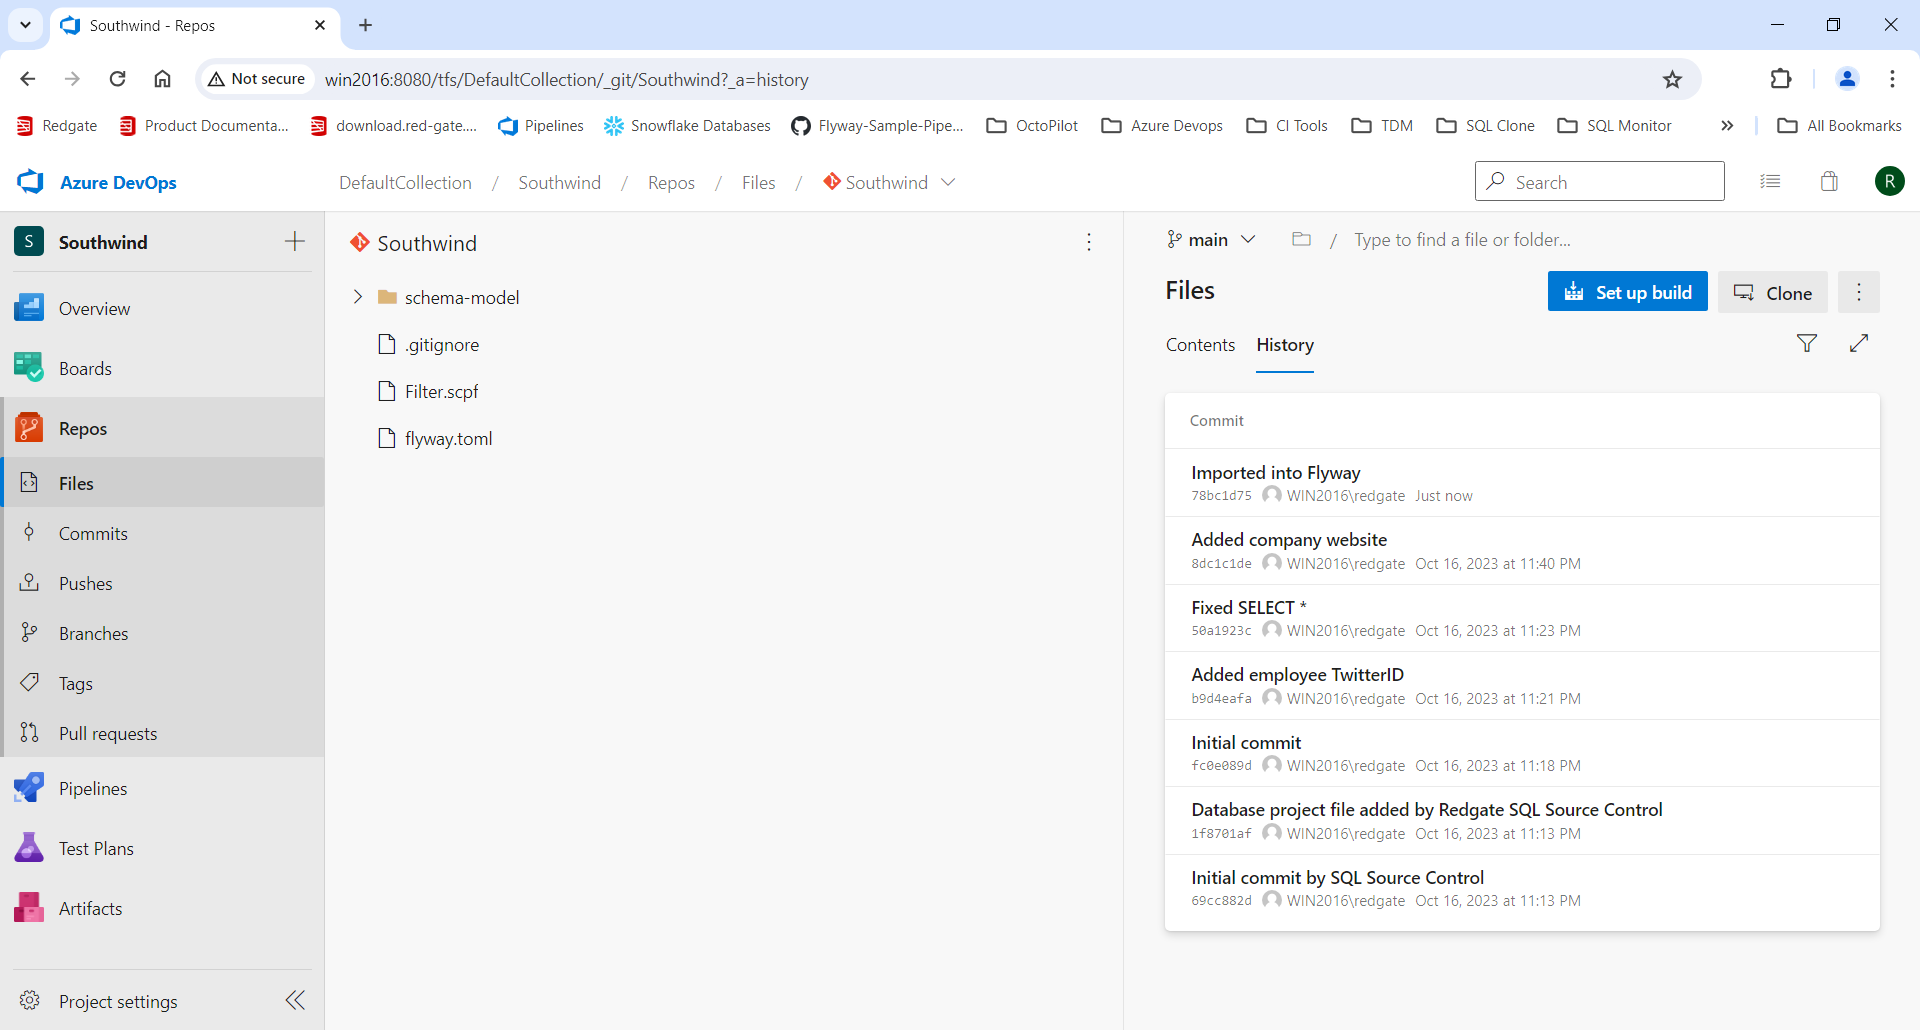
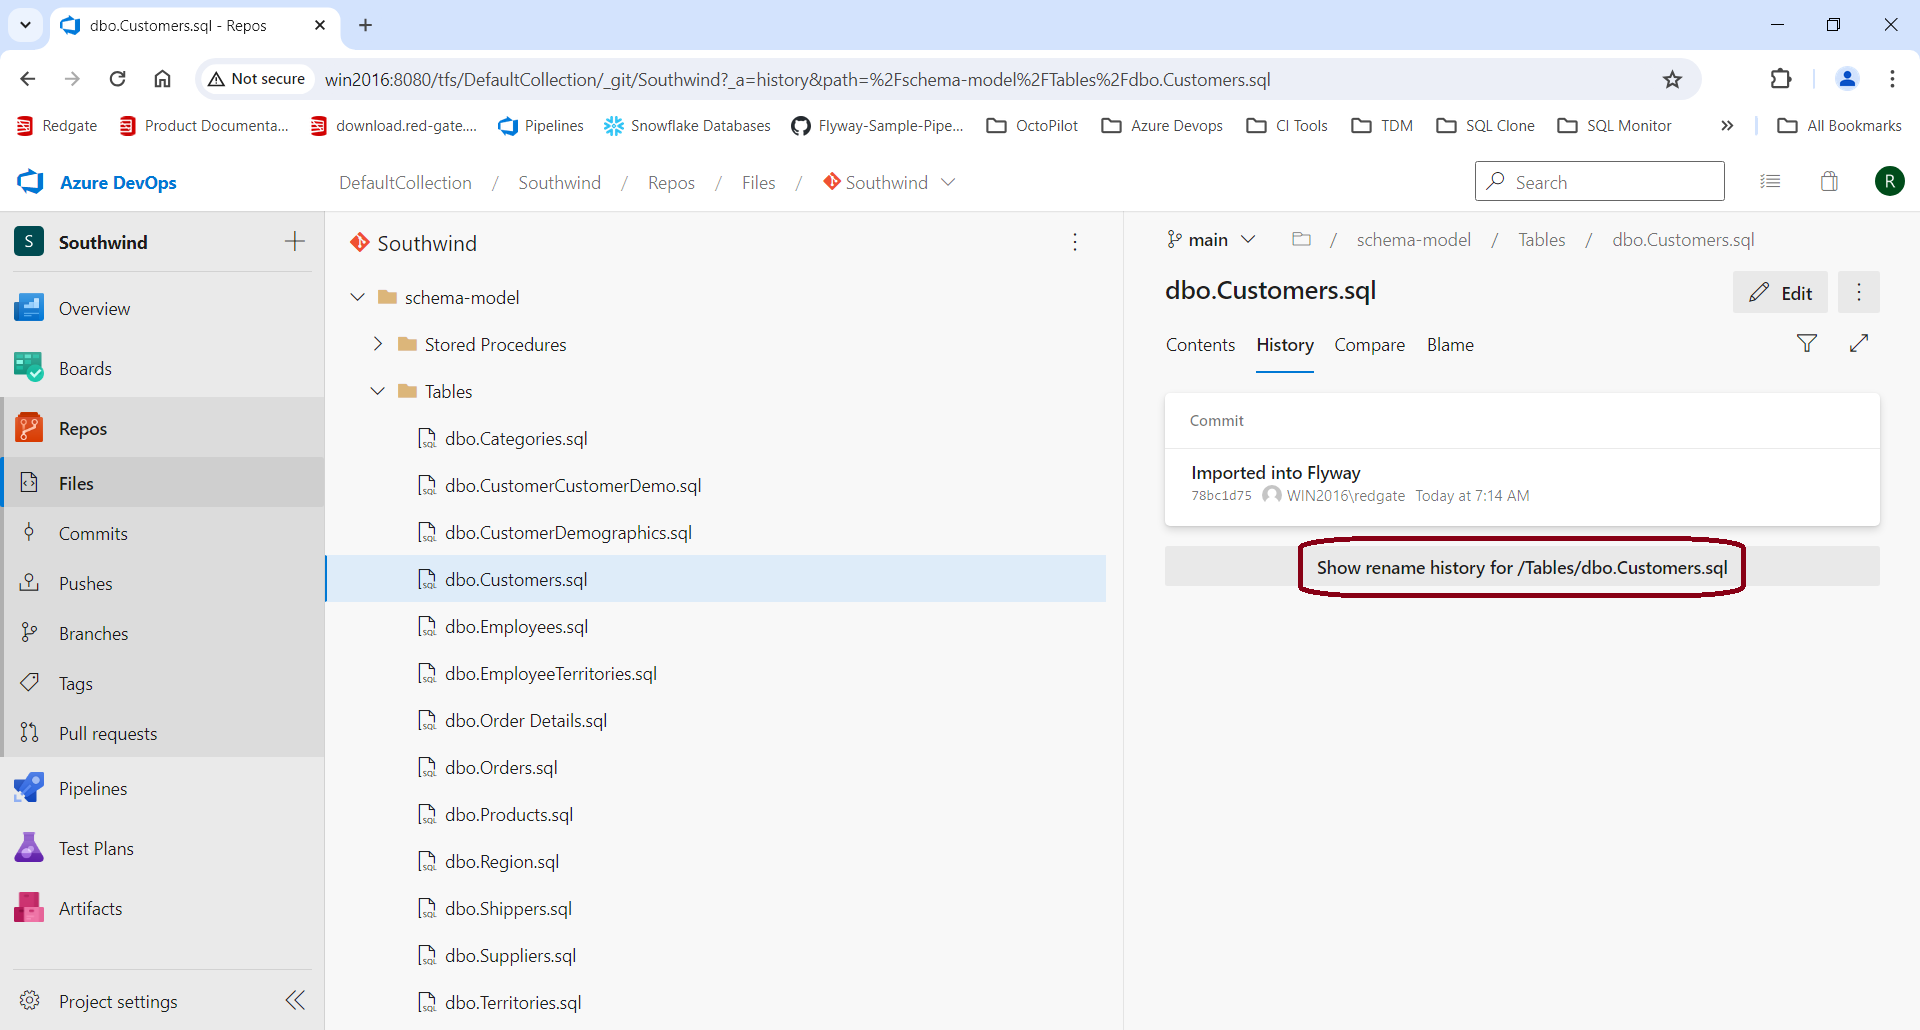
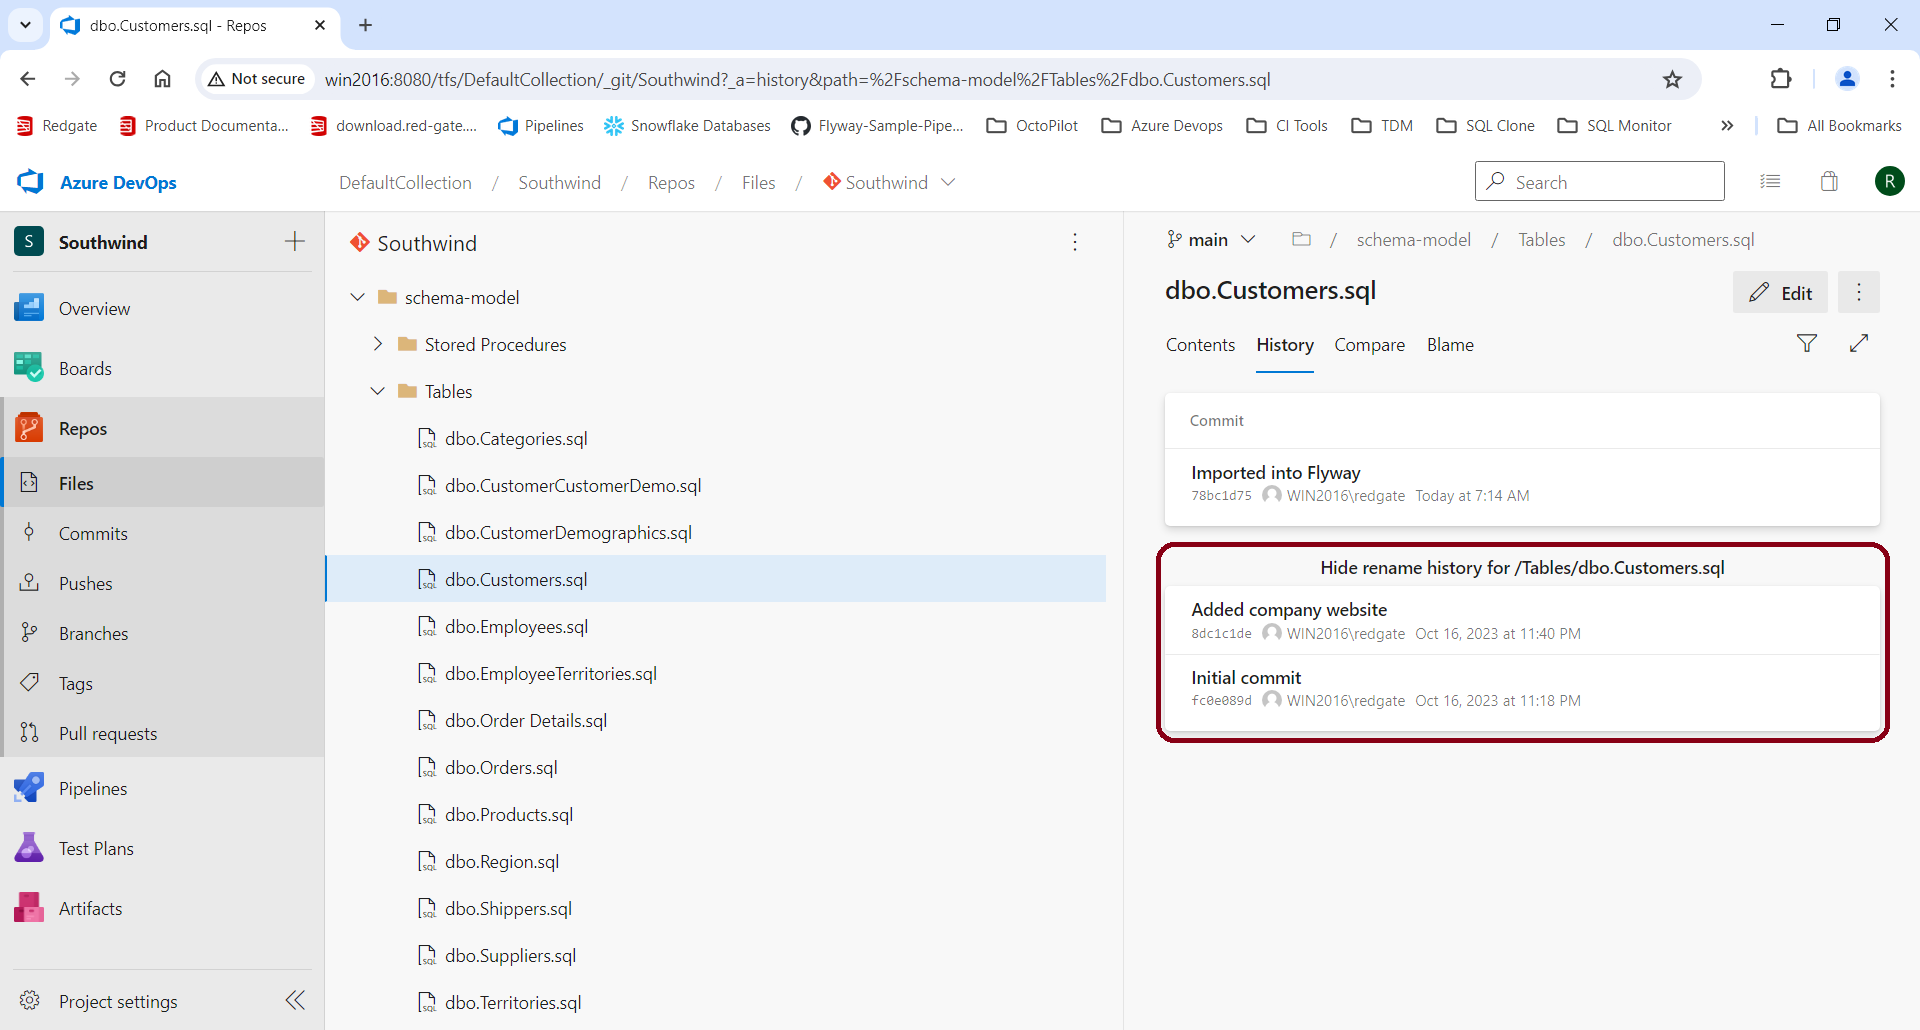
- To see all the history for an object, you may need to show the rename history. In Azure DevOps, this is called Show rename history.
 →
→ 
- To see all the history for an object, you may need to show the rename history. In Azure DevOps, this is called Show rename history.
- Use the init command within Flyway CLI, specifying
SqlSourceControlas thefromTypeand specifying the location on disk of the SQL Source Control project you want to upgrade (pasting the directory path you copied).
flyway init -projectName=MyProject -databaseType=Sqlite -from=C:\somePath\MySqlSourceControlProject -fromType=SqlSourceControl
- Install Flyway Desktop on your desktop (developer's machine).
Other team members
- Install Flyway Desktop on your desktop (developer's machine).
- Launch Flyway Desktop from the Start Menu and click Open project... > From VCS.
- Navigate to the remote repository and select the project folder that contains the flyway.toml settings.
- You may be prompted to setup your development database connection details.
Next steps
- Ensure that you can Connect to your development environment, as the connection information may be incomplete
- Save development database changes to the schema model. Then use the Version Control side panel to Commit your changes and Push your changes.
If you want to start using migrations, Generate migrations
This documentation contains proprietary information and is protected by copyright law.
Copyright © 2026 Red Gate Software Limited. All rights reserved


