Tutorial - Use different data migration locations for your different targets
Published 24 January 2025
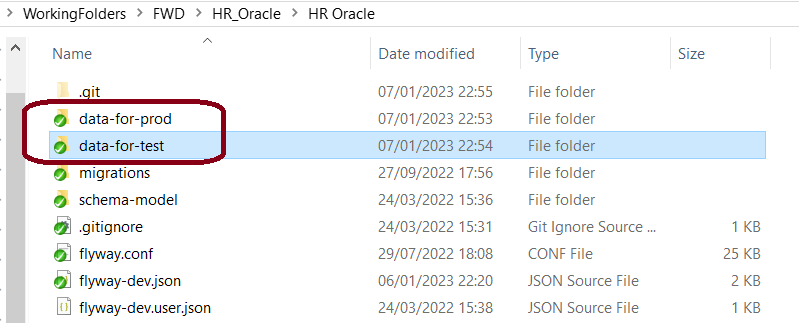
- Create additional folders (e.g., data-for-test and data-for-prod at the root of your project folder). Note - Do not put the folders under the migrations folder since Flyway will execute the migrations and any sub-folders in the migrations folder.
Learn about adding a new versioned migration script to the project folder. Create a V script for test, then copy and paste this into the prod folder. Change the values for the script in prod as needed.
For deploying, make sure you update your pipeline so that when you deploy to your test environments it includes all the locations for the migration scripts that you want to go to this environment. Do the same for production.
# When using the flyway commands on Test environment
flyway info -locations="filesystem:C/project/migrations", "filesystem:C/project/data-for-test"
flyway migrate -locations="filesystem:C/project/migrations", "filesystem:C/project/data-for-test"
flyway info -locations="filesystem:C/project/migrations", "filesystem:C/project/data-for-test"
# When using the flyway commands on Prod environment
flyway info -locations="filesystem:C/project/migrations", "filesystem:C/project/data-for-prod"
flyway migrate -locations="filesystem:C/project/migrations", "filesystem:C/project/data-for-prod"
flyway info -locations="filesystem:C/project/migrations", "filesystem:C/project/data-for-prod"
Learn more about the flyway -locations parameter.
See more examples of using locations to organize your migrations.
This documentation contains proprietary information and is protected by copyright law.
Copyright © 2026 Red Gate Software Limited. All rights reserved


