Version control
Published 29 July 2021
In v5, Redgate Change Control has been renamed to Flyway Desktop. Check out the latest documentation at https://documentation.red-gate.com/fd
Redgate Change Control helps you share your changes with the rest of your team by using the Version control tab. This is done through integration with Git. In this tab you can:
- Pull commits made by your team members into your local repository from the remote. These migration scripts can then be applied to your development database.
- Commit local changes containing migration scripts into your local Git repository.
- Push these commits to the remote repository to share with your team. Note: This will push everything that has been committed if you have committed other changes outside of Redgate Change Control.
- Create new branches and switch branches for feature work.
Setting up Git
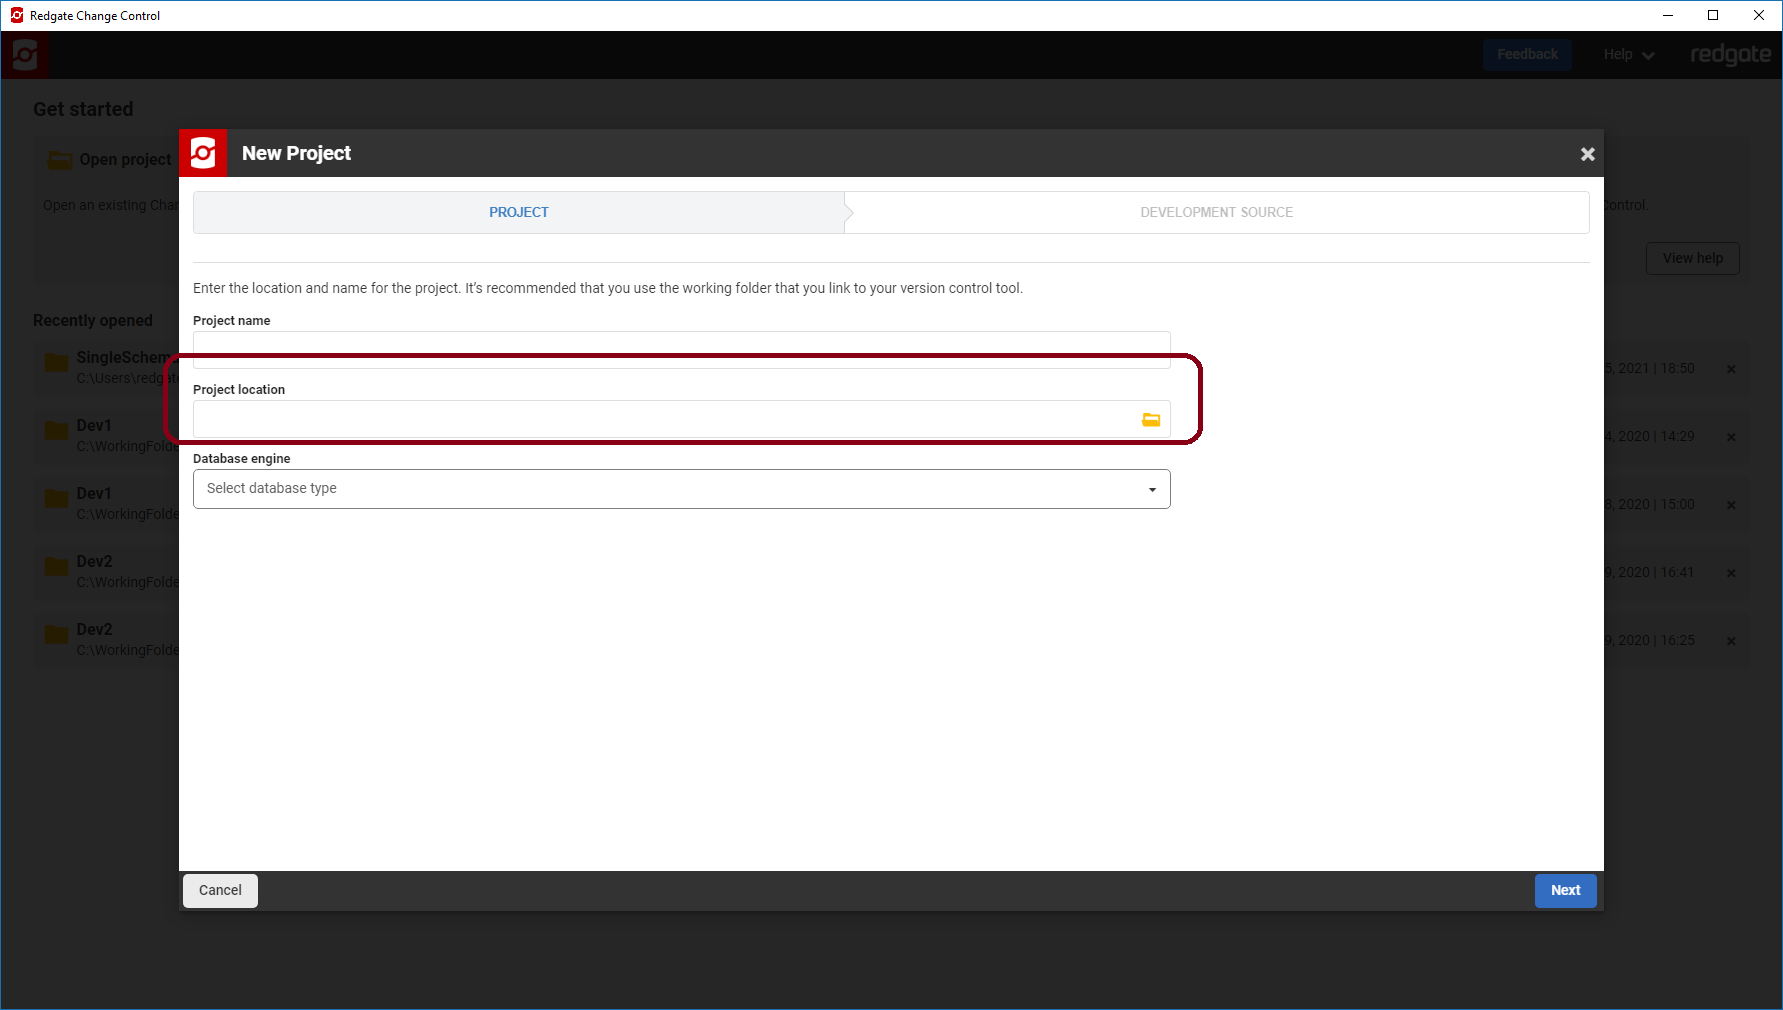
The easiest way is to clone an existing Git repository to your machine first. Once you do this, then use a folder or create a new folder in your local repo to hold your database scripts. When you Create a new project, use browse to this folder as the Project location in the New Project wizard.
If you already created your project using a folder that is not in a Git repository, then you'll see this on the Version control tab.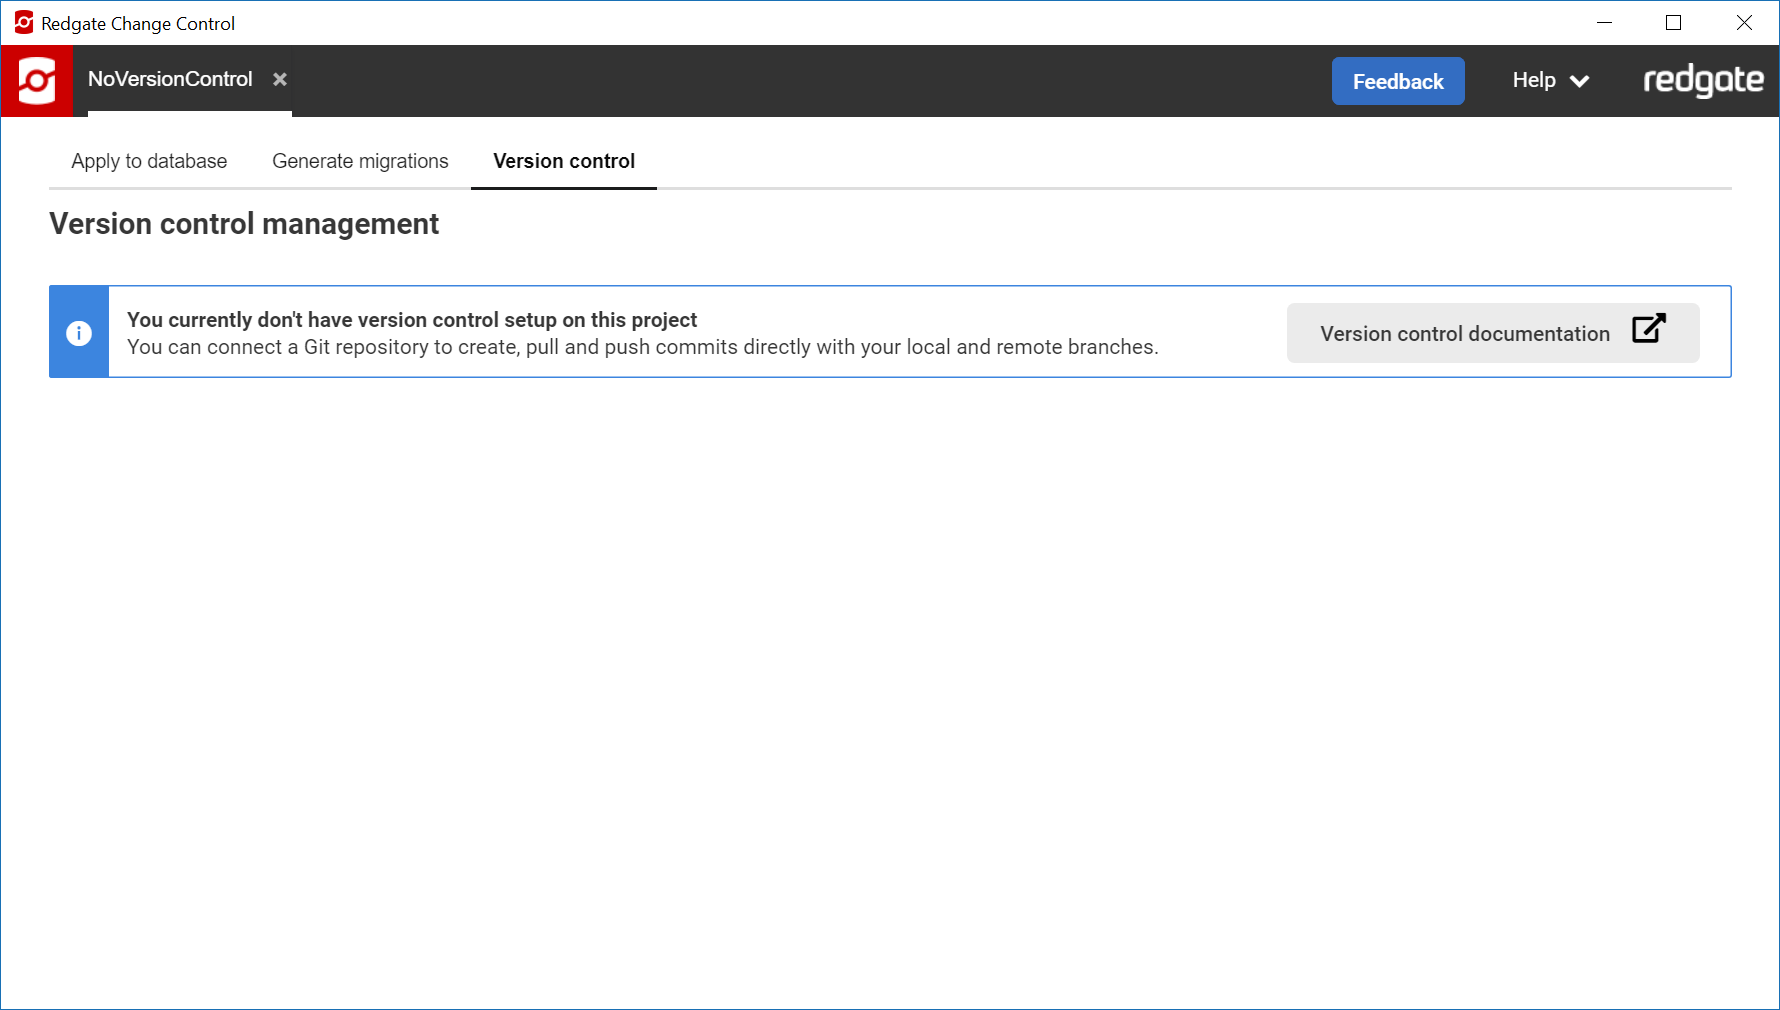
To use Git through Redgate Change Control, you have to initialize your Project Folder to be a git repository.
- You can jump to this folder from the link out on one of the other tabs:
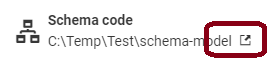
- Go to the main project folder (you may need to go up one from the schema-model or migrations folder) and type cmd in the path at the top to jump to the command line. Make sure you're in the Project Folder and type git init.
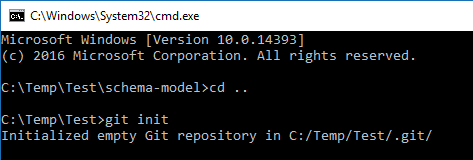
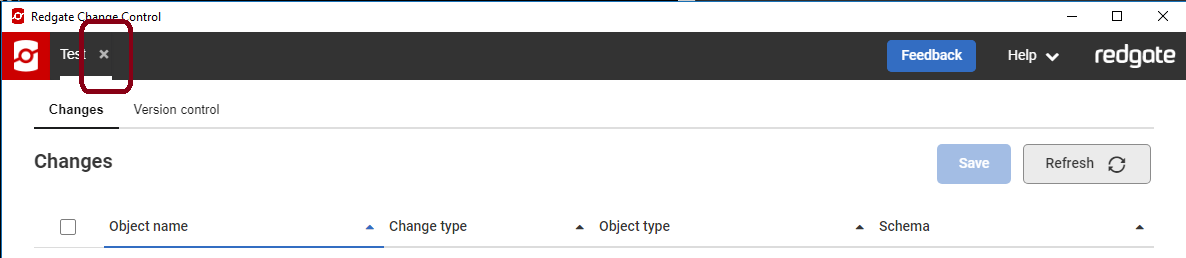
- Close your project using the X near the project name and re-open it.
You should now be able to Commit changes on the Version control tab to your local Git repository that you just setup. If you want to push your changes, you'll need to setup a remote. You can learn more about this at https://git-scm.com/docs/git-remote.
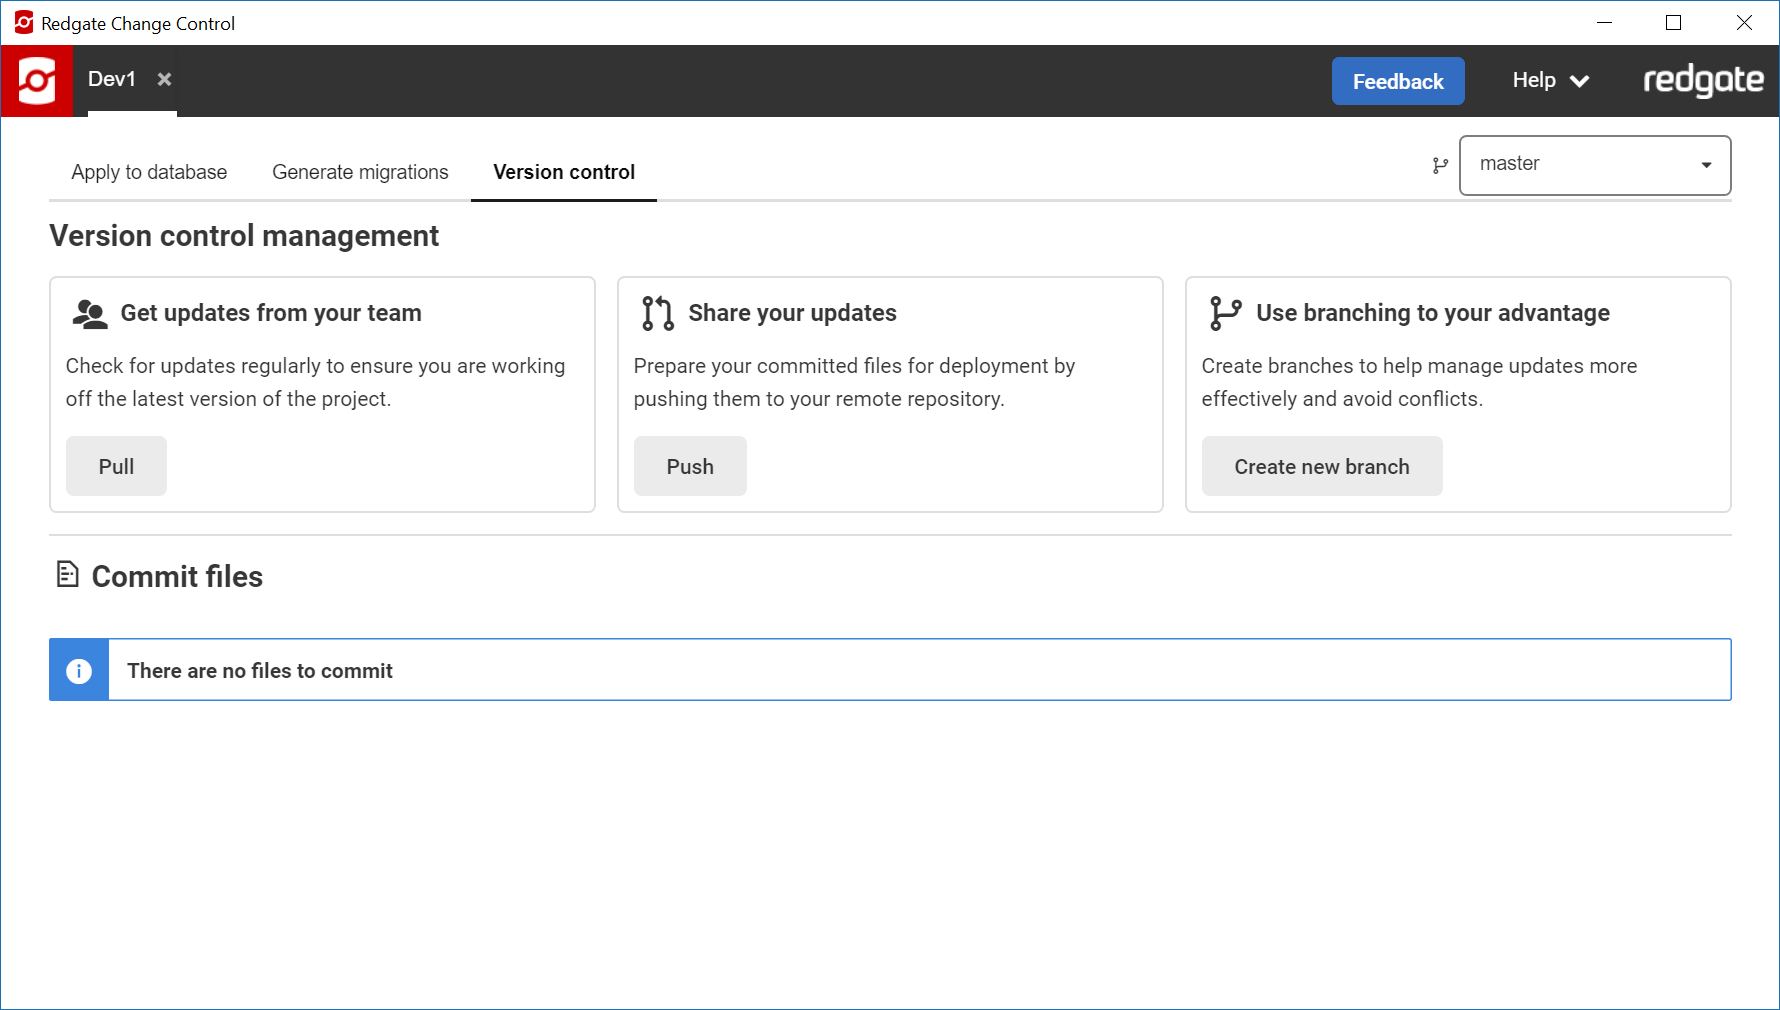
Version Control Tab
If you don't have any local changes to your project, the Version control tab will inform you that there's nothing to commit. However, you can still view the currently checked-out branch, or pull changes that have been committed to the remote by your team members.
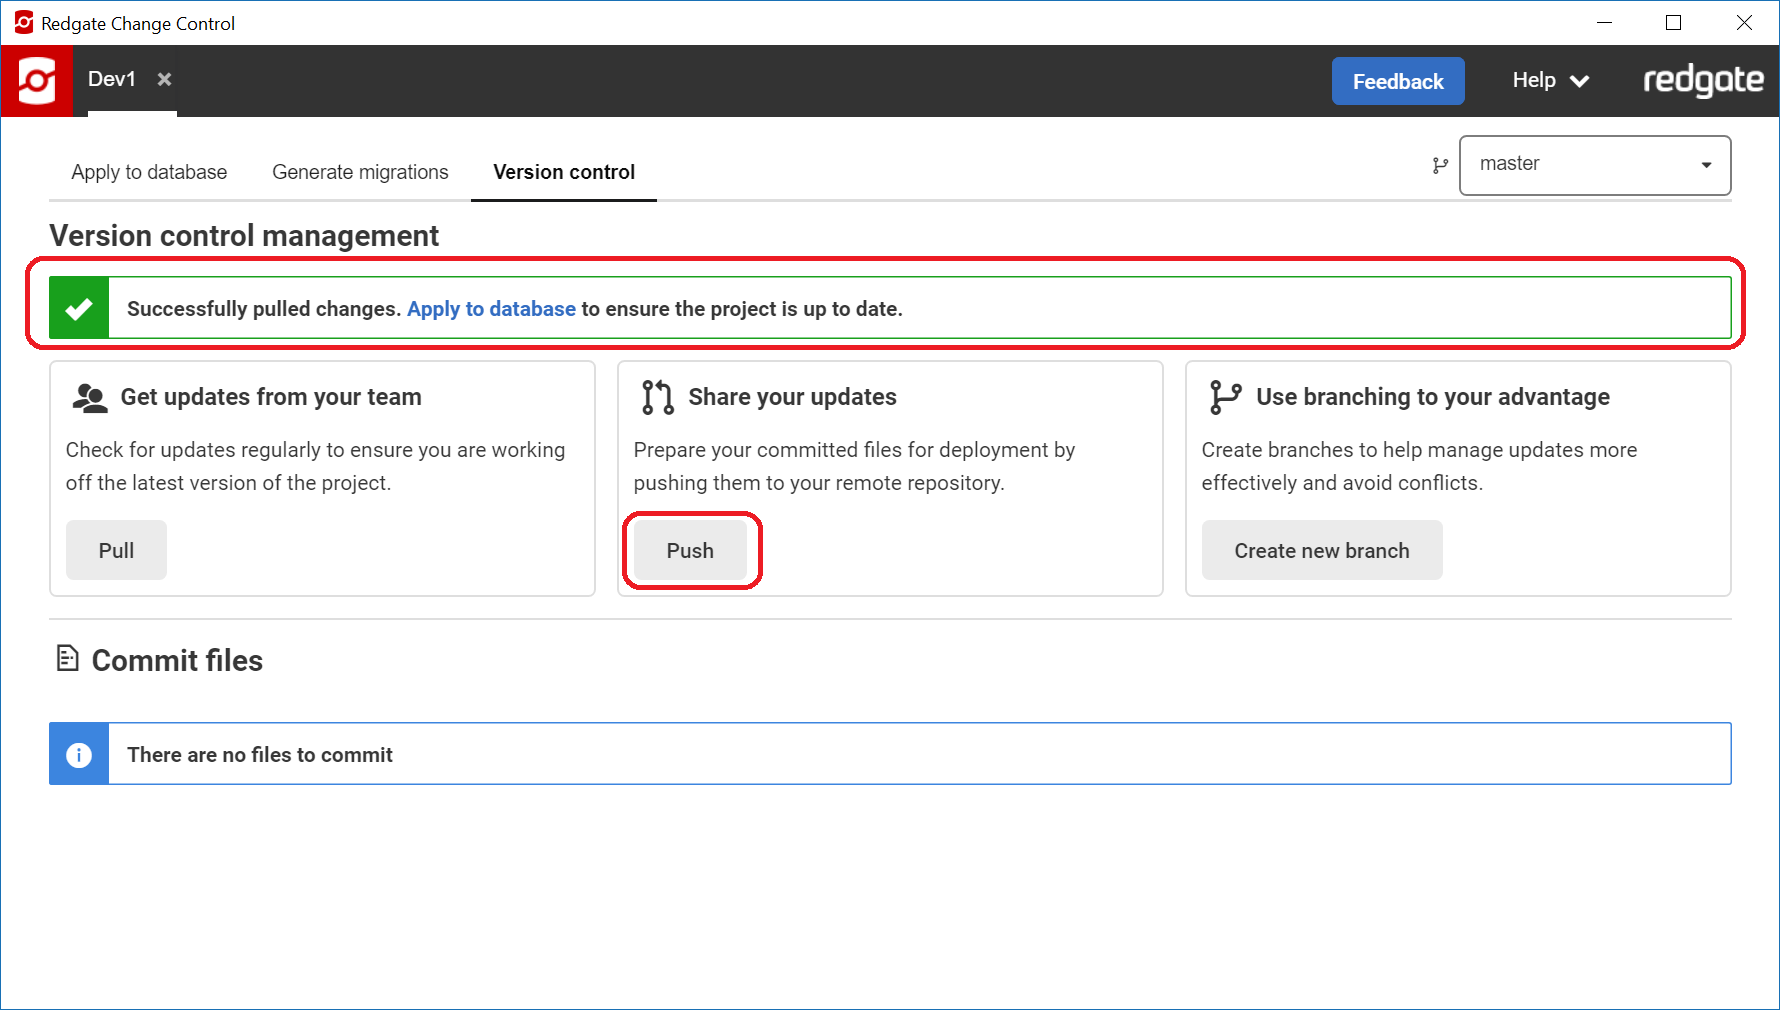
Pulling Changes
Click Pull to get all changes from the currently configured remote branch. Redgate Change Control does not configure what remote branch your local branch points to unless pushing without a tracking configuration set (see below). If you need to clone a repository, you will need to perform these operations using your preferred Git client tool or the Git command line.
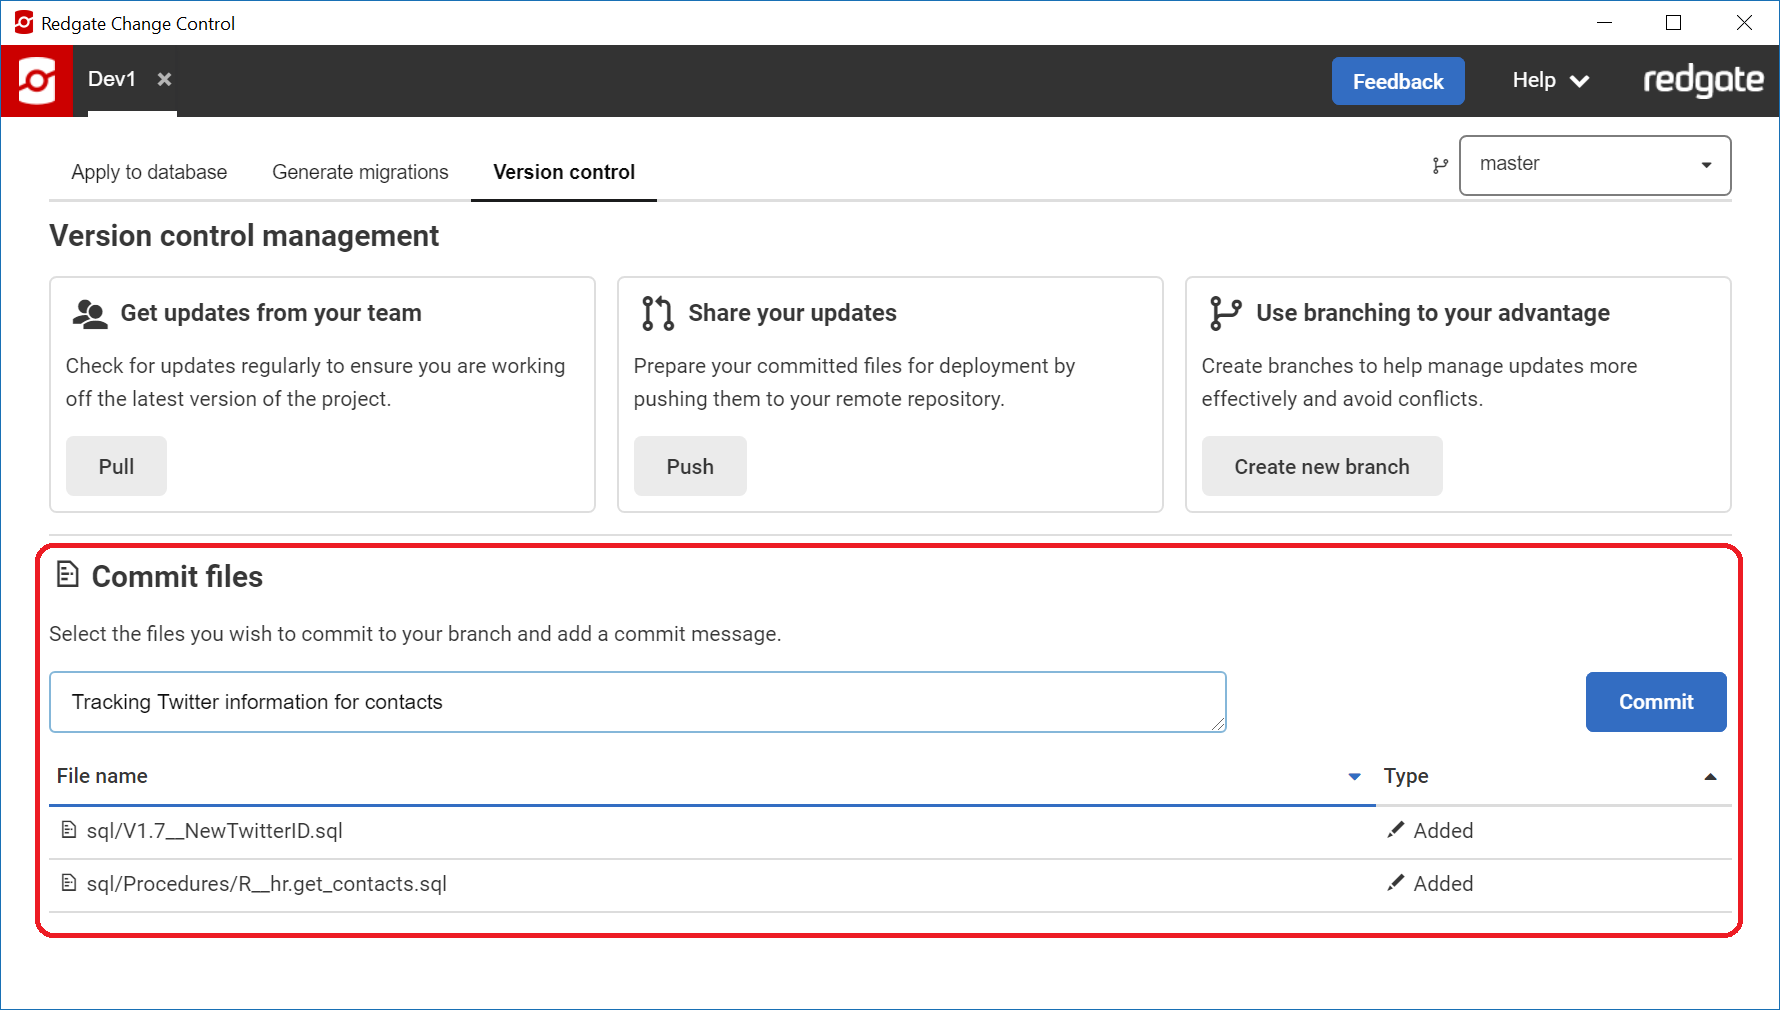
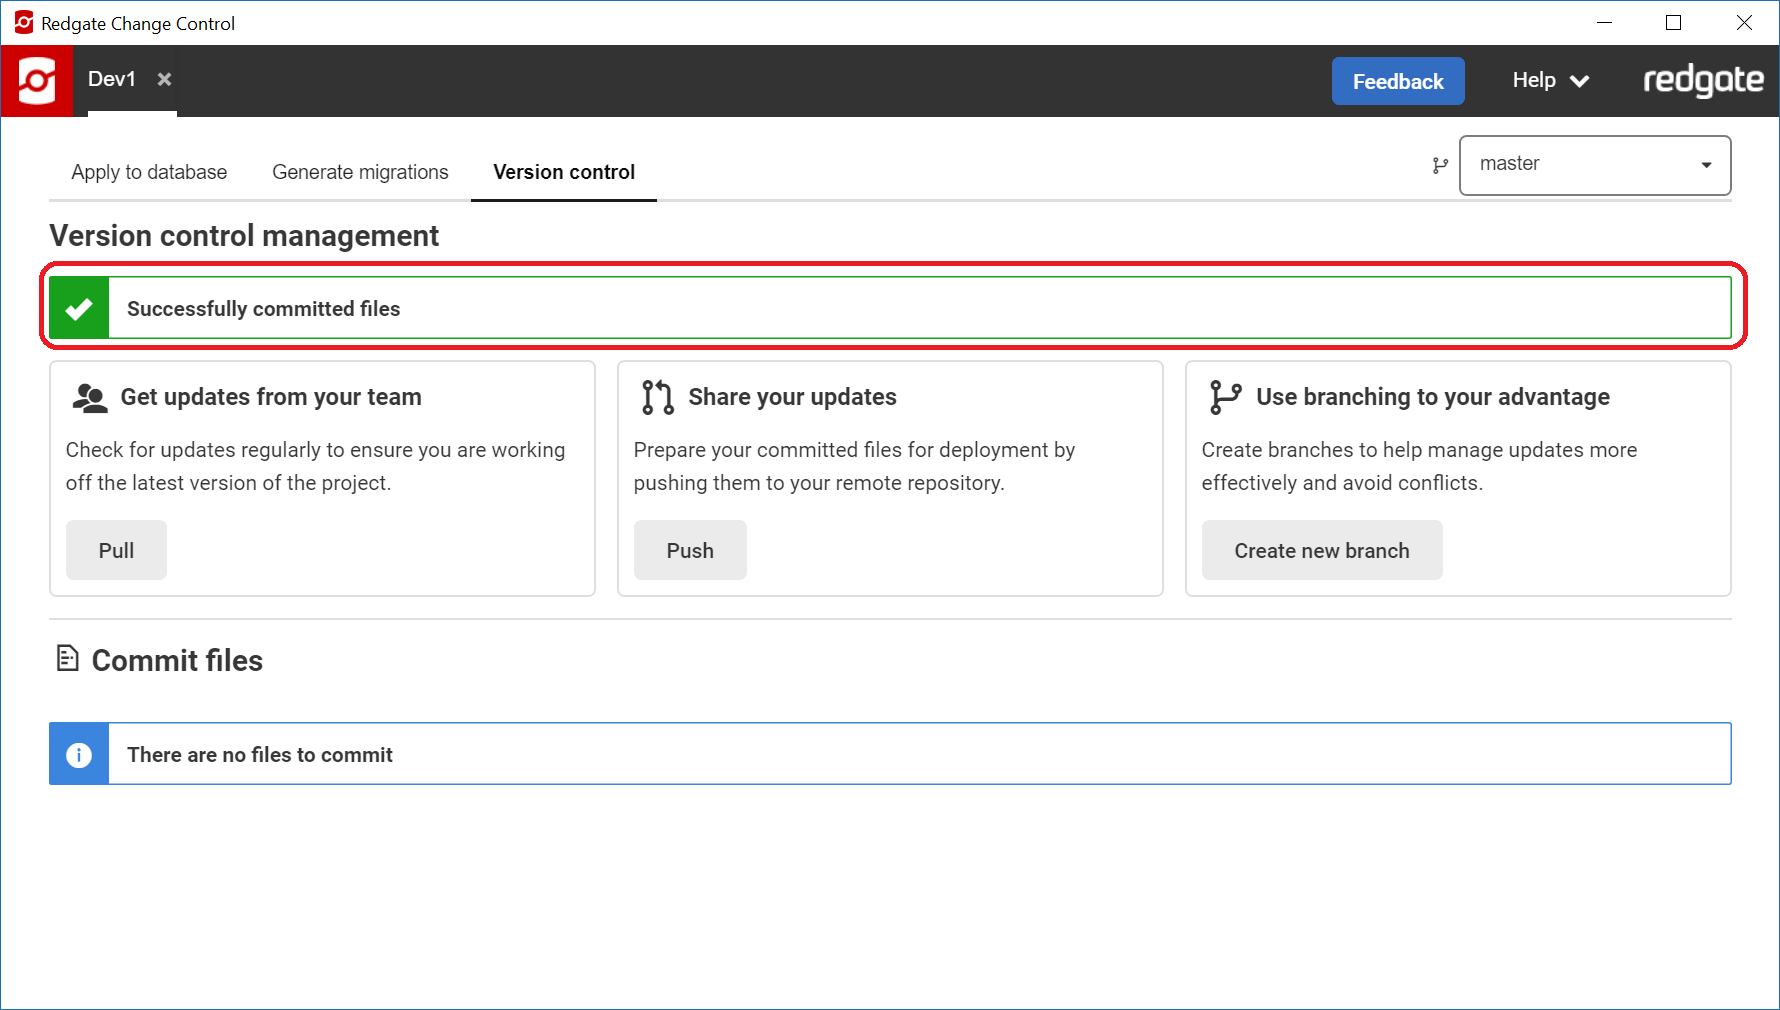
Committing Changes
After you save your database changes when you Generate migratons, migration script files will be added, updated, or removed from your project. Redgate Change Control will show these files to be committed, as well as a description of the change type.
If you wish to commit these changes to version control, then enter an appropriate commit message under "Commit details" and press Commit .
This commits your changes to your local repository, however you may still need to push these changes to the remote repository.
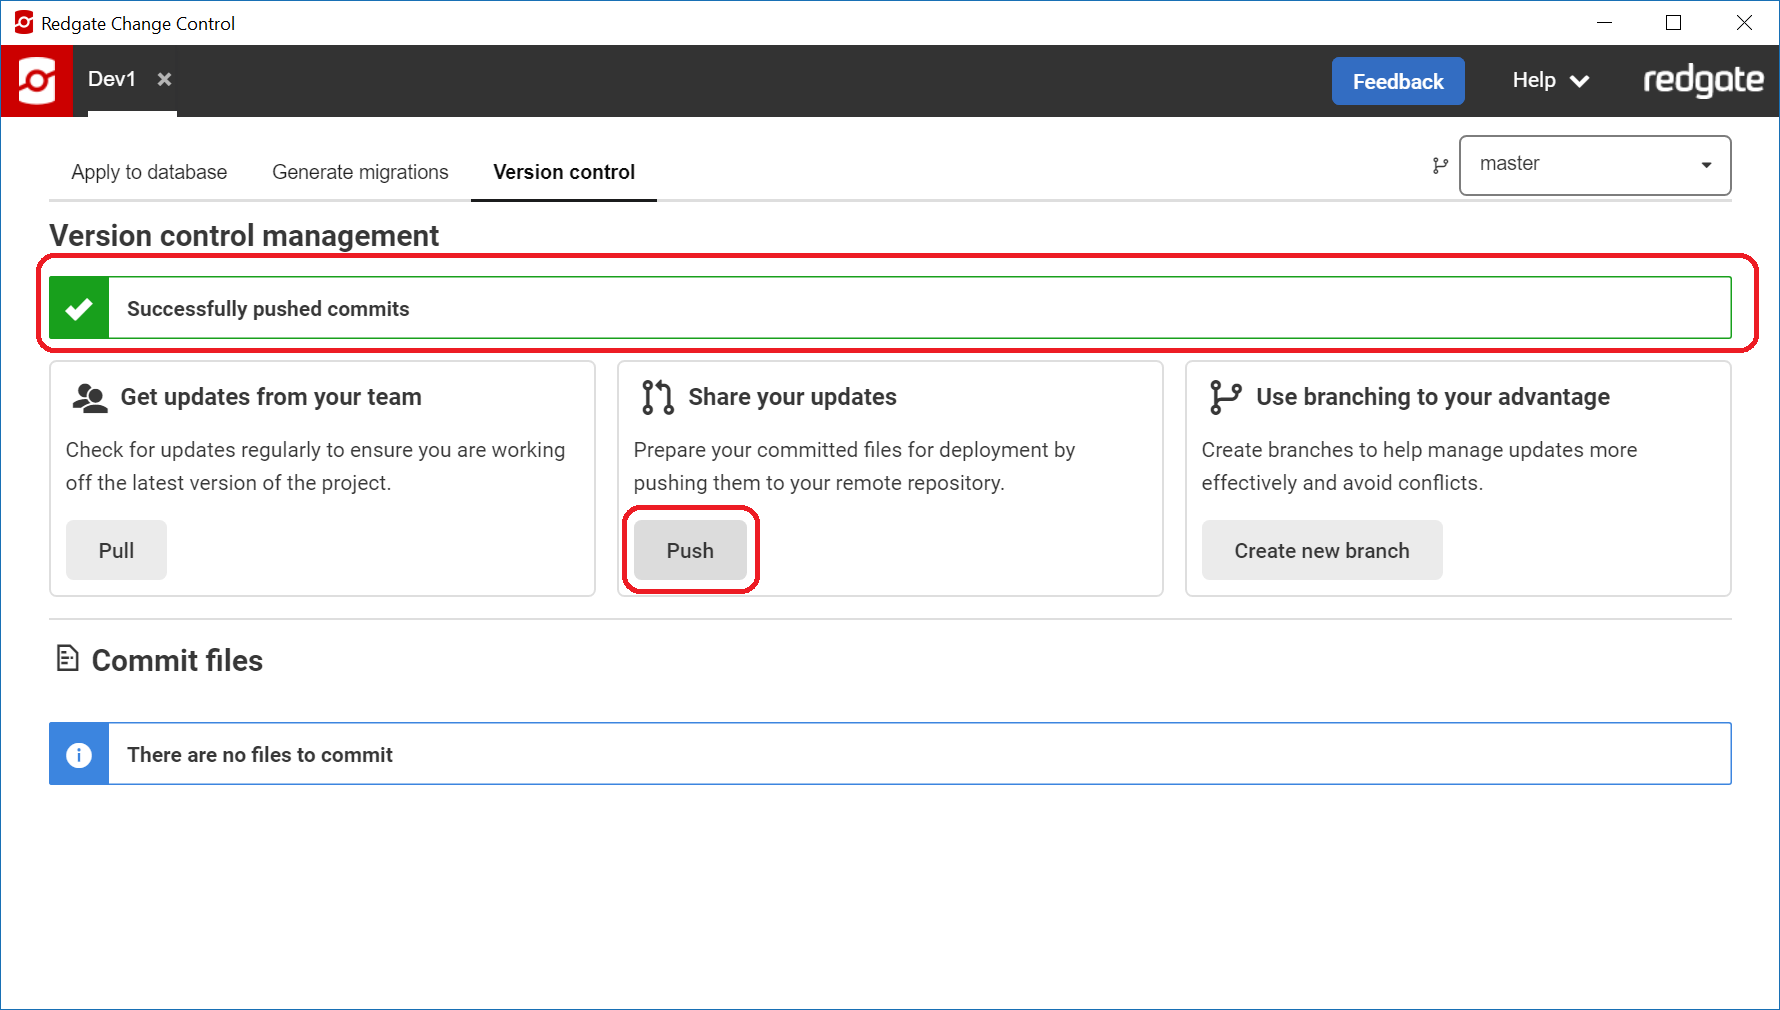
Pushing Changes
Click Push to share your local commits to the configured remote repository. This will push all commits currently existing in the local repository to the remote - including commits performed outside of Redgate Change Control if your project is sub-folder.
If the local branch has no currently configured remote branch to track, Redgate Change Control will attempt to create the branch in the remote repository using the command git push --set-upstream origin HEAD .
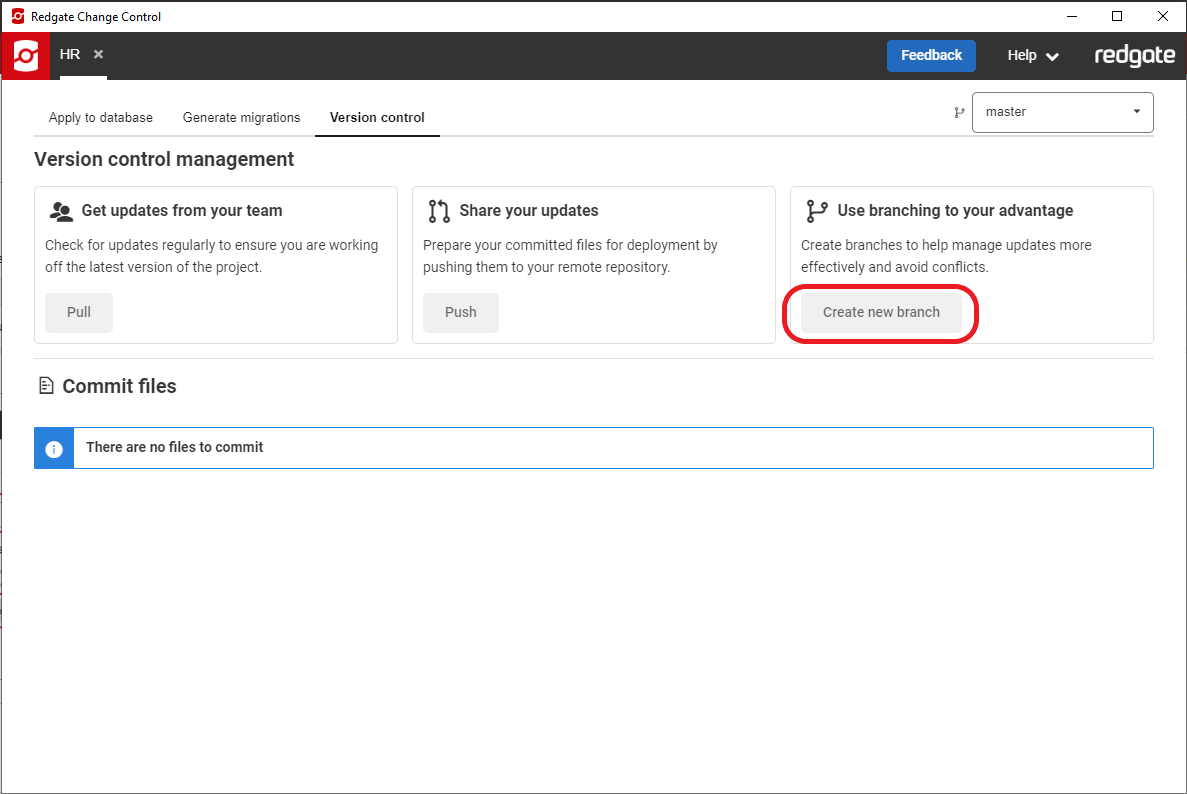
Creating new branches
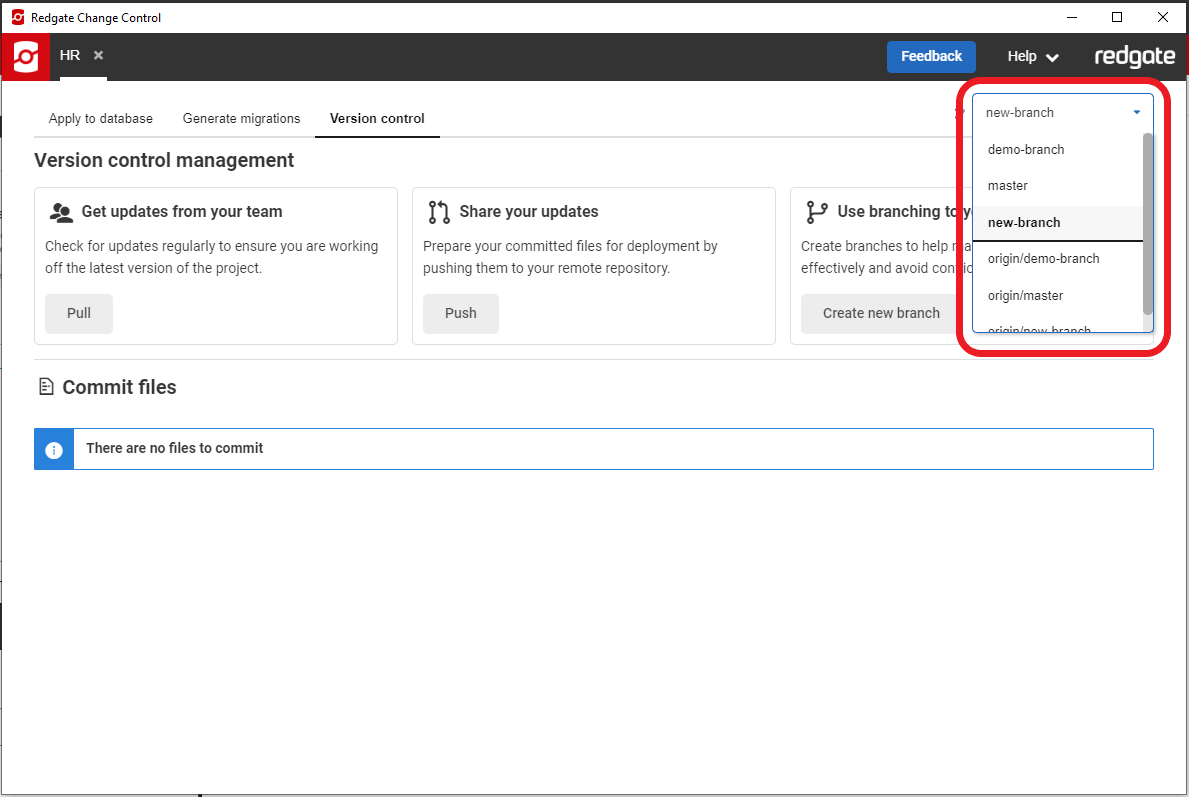
If you are working on a new feature and wish to isolate your changes from the default or main branch, you can start working on a new branch by clicking Create new branch.
In the opened modal, you can specify the name of your new branch.
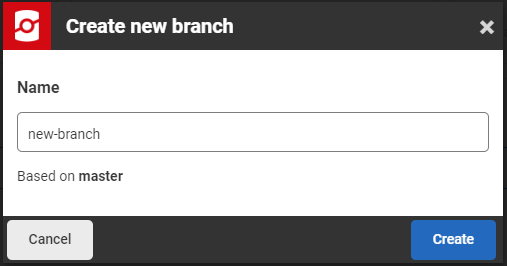
Once switched to a new branch, you may switch between different branches using the drop-down at the top right corner.
Resolving merge conflicts
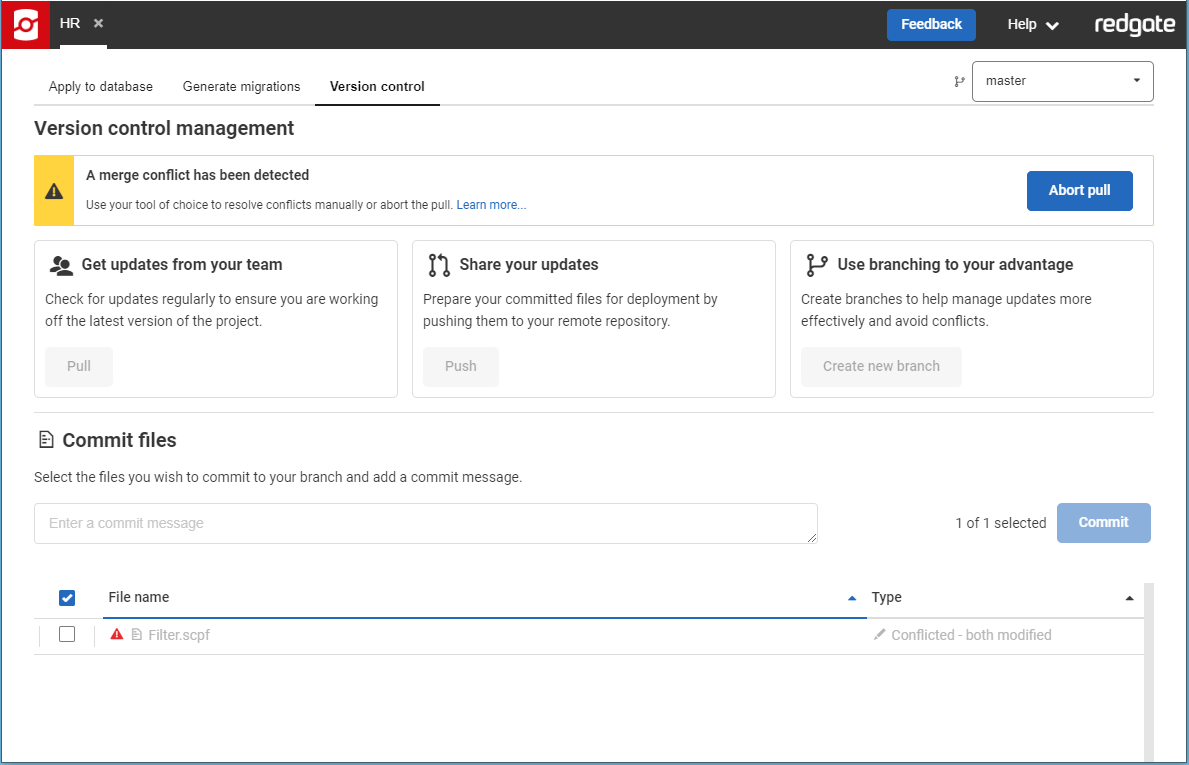
Conflicts generally occur when two people try to edit the same lines in a file, or if one user deleted a file while another user was modifying it. In the example above both us and a teammate have edited the Filter.scpf file. Redgate Change Control gives you two options in this state:
- Abort the pull
- Use a tool of your choice to manually resolve the conflict
If you choose to abort the pull, then your local checkout of the repository will be rolled back to the state of the commit before you attempted the pull.
Redgate Change Control currently does not provide any features to resolve conflicts from within the tool. You will need to resolve the conflicts using an external tool of your choice, for instance here is an example of how to resolve conflicts using the git command line. Once the conflicts have been resolved and you switch back to Redgate Change Control, you should no longer see the warning message above.
Errors
If Git encounters any errors when attempting to perform an action triggered in Redgate Change Control, the error will be caught and displayed to the user with additional information to help resolve the problem. If you encounter a Git error that is described as unexpected or if the message shown does not help resolve the issue, then please let the development team know so we can improve our error handling and make it easier for you to get going again. Common errors that you may hit include:
- Failed to checkout branch or unable to pull changes - this is usually because you have uncommitted changes and have attempted to switch to a new branch or pull from the remote branch.
- Branch already exists or invalid branch name - this probably indicates that you are trying to create a new branch, but that name already exists or that you are using invalid characters in the name (e.g. spaces).
This documentation contains proprietary information and is protected by copyright law.
Copyright © 2026 Red Gate Software Limited. All rights reserved


