Managing user roles
Published 03 December 2012
User roles allow Administrators to control user access to certain features in SQL Monitor. There are three user roles available; Administrator, Standard and Read-only. Each role is activated by creating a single password and then sharing it with relevant users. The following restrictions apply:
- Administrators have unrestricted access and can configure every feature in SQL Monitor.
- Standard users can manage and configure alerts, but cannot configure custom metrics, custom alerts or alert email settings. They can view most pages except the Manage user roles, Licensing and Base Monitor connection pages.
- Read-only users cannot make any configuration changes, but they can view most of the pages in SQL Monitor except the Manage user roles, Licensing and Base Monitor connection pages.
There are no complexity restrictions for the passwords.
Creating the Administrator role
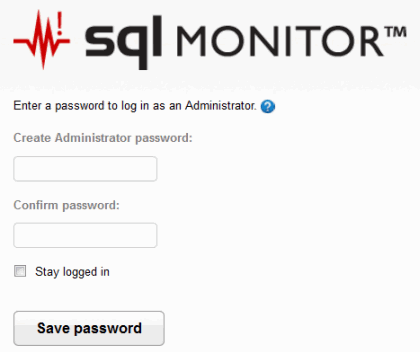
The initial page displayed after upgrade or installation prompts you to create a password to log in as an Administrator:
This password automatically creates the Administrator user role. Share this password with other users requiring full access to every feature in SQL Monitor. Once you've logged in, you can configure Standard and Read-only user roles.
Configuring user roles
Go to the Configuration tab. Under Application options, select Manage user roles:
The Manage user roles page can only be accessed by Administrators. It allows Administrators to change their own password, and create or change passwords for Standard and Read-only user roles.
Create Standard and Read-only user roles
To create the Standard and Read-only user roles, you need to create passwords for each.
- Click the Create password button for the role you want to create:
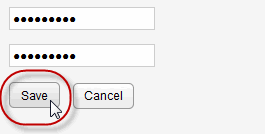
- Enter a password in the first text box, then reenter it in the second to confirm. Click Save to create the user role.
The message confirms that the password has been created successfully. Share this password with users that require restricted access to SQL Monitor. For details, see User roles explained.
Editing user roles
To edit an existing user role, click the Change password button, enter the new password into each of the text boxes displayed, then click Save.


