Tutorial - Generate migration scripts without a shadow database
Published 02 January 2025
Users can create migration scripts by comparing the schema model and a selected target database environment. The comparison will run and display a list of schema differences, and you can select those which you would like to have in a migration script.
Flyway Desktop now has a preview feature which allows you to generate migration scripts without a shadow database in the Generate migrations tab.
Prerequisites
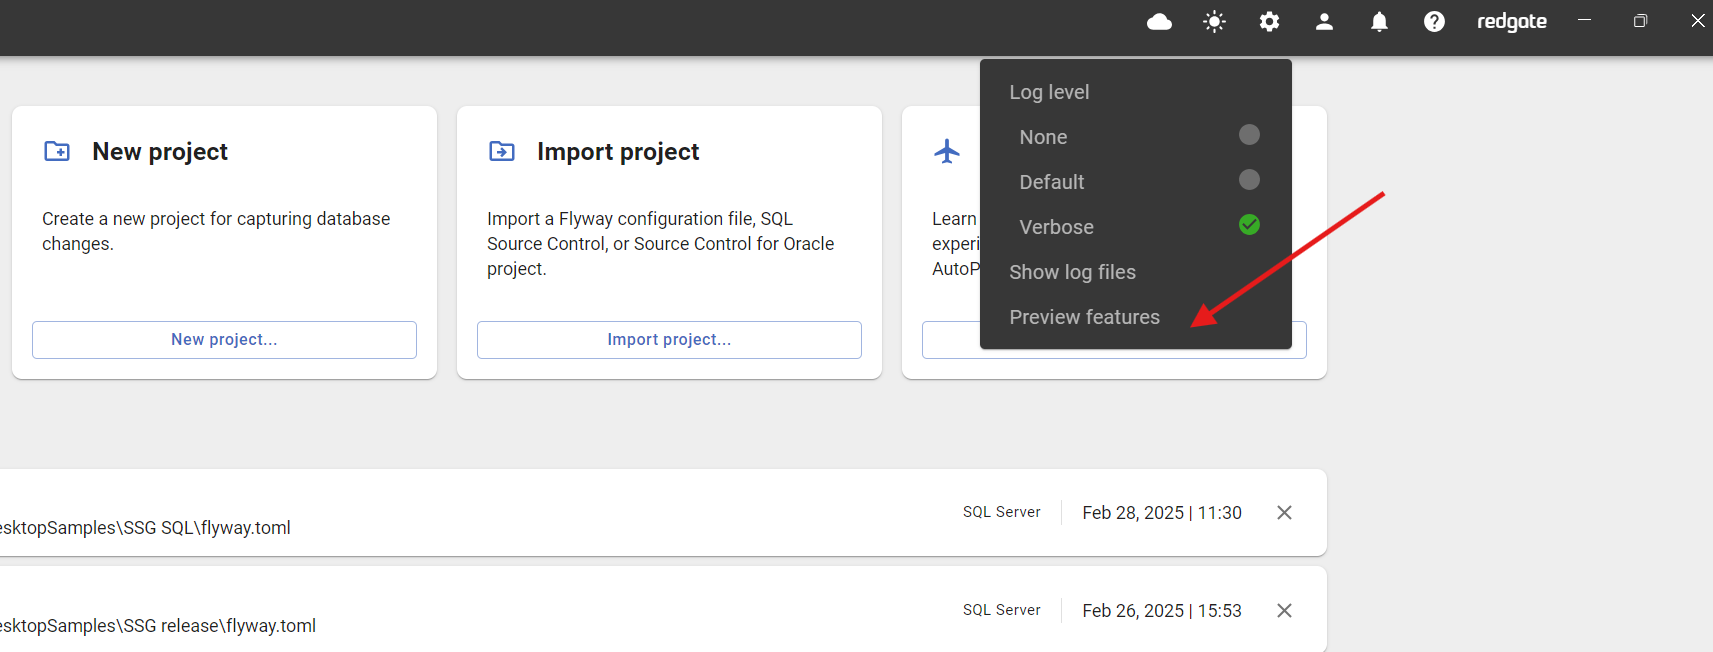
- Open the preview feature dialog from the Flyway desktop settings and ensure the Generate migrations without shadow database feature is enabled.

2. For this tutorial please ensure you do not have a shadow database configured in your project.
1) Click the 'Compare to target database' button
Upon navigating to the Generate migrations tab, you will be prompted to either configure a shadow database or perform the comparison against your target environment. We will be clicking the Compare to target database button in the right hand card for this tutorial.

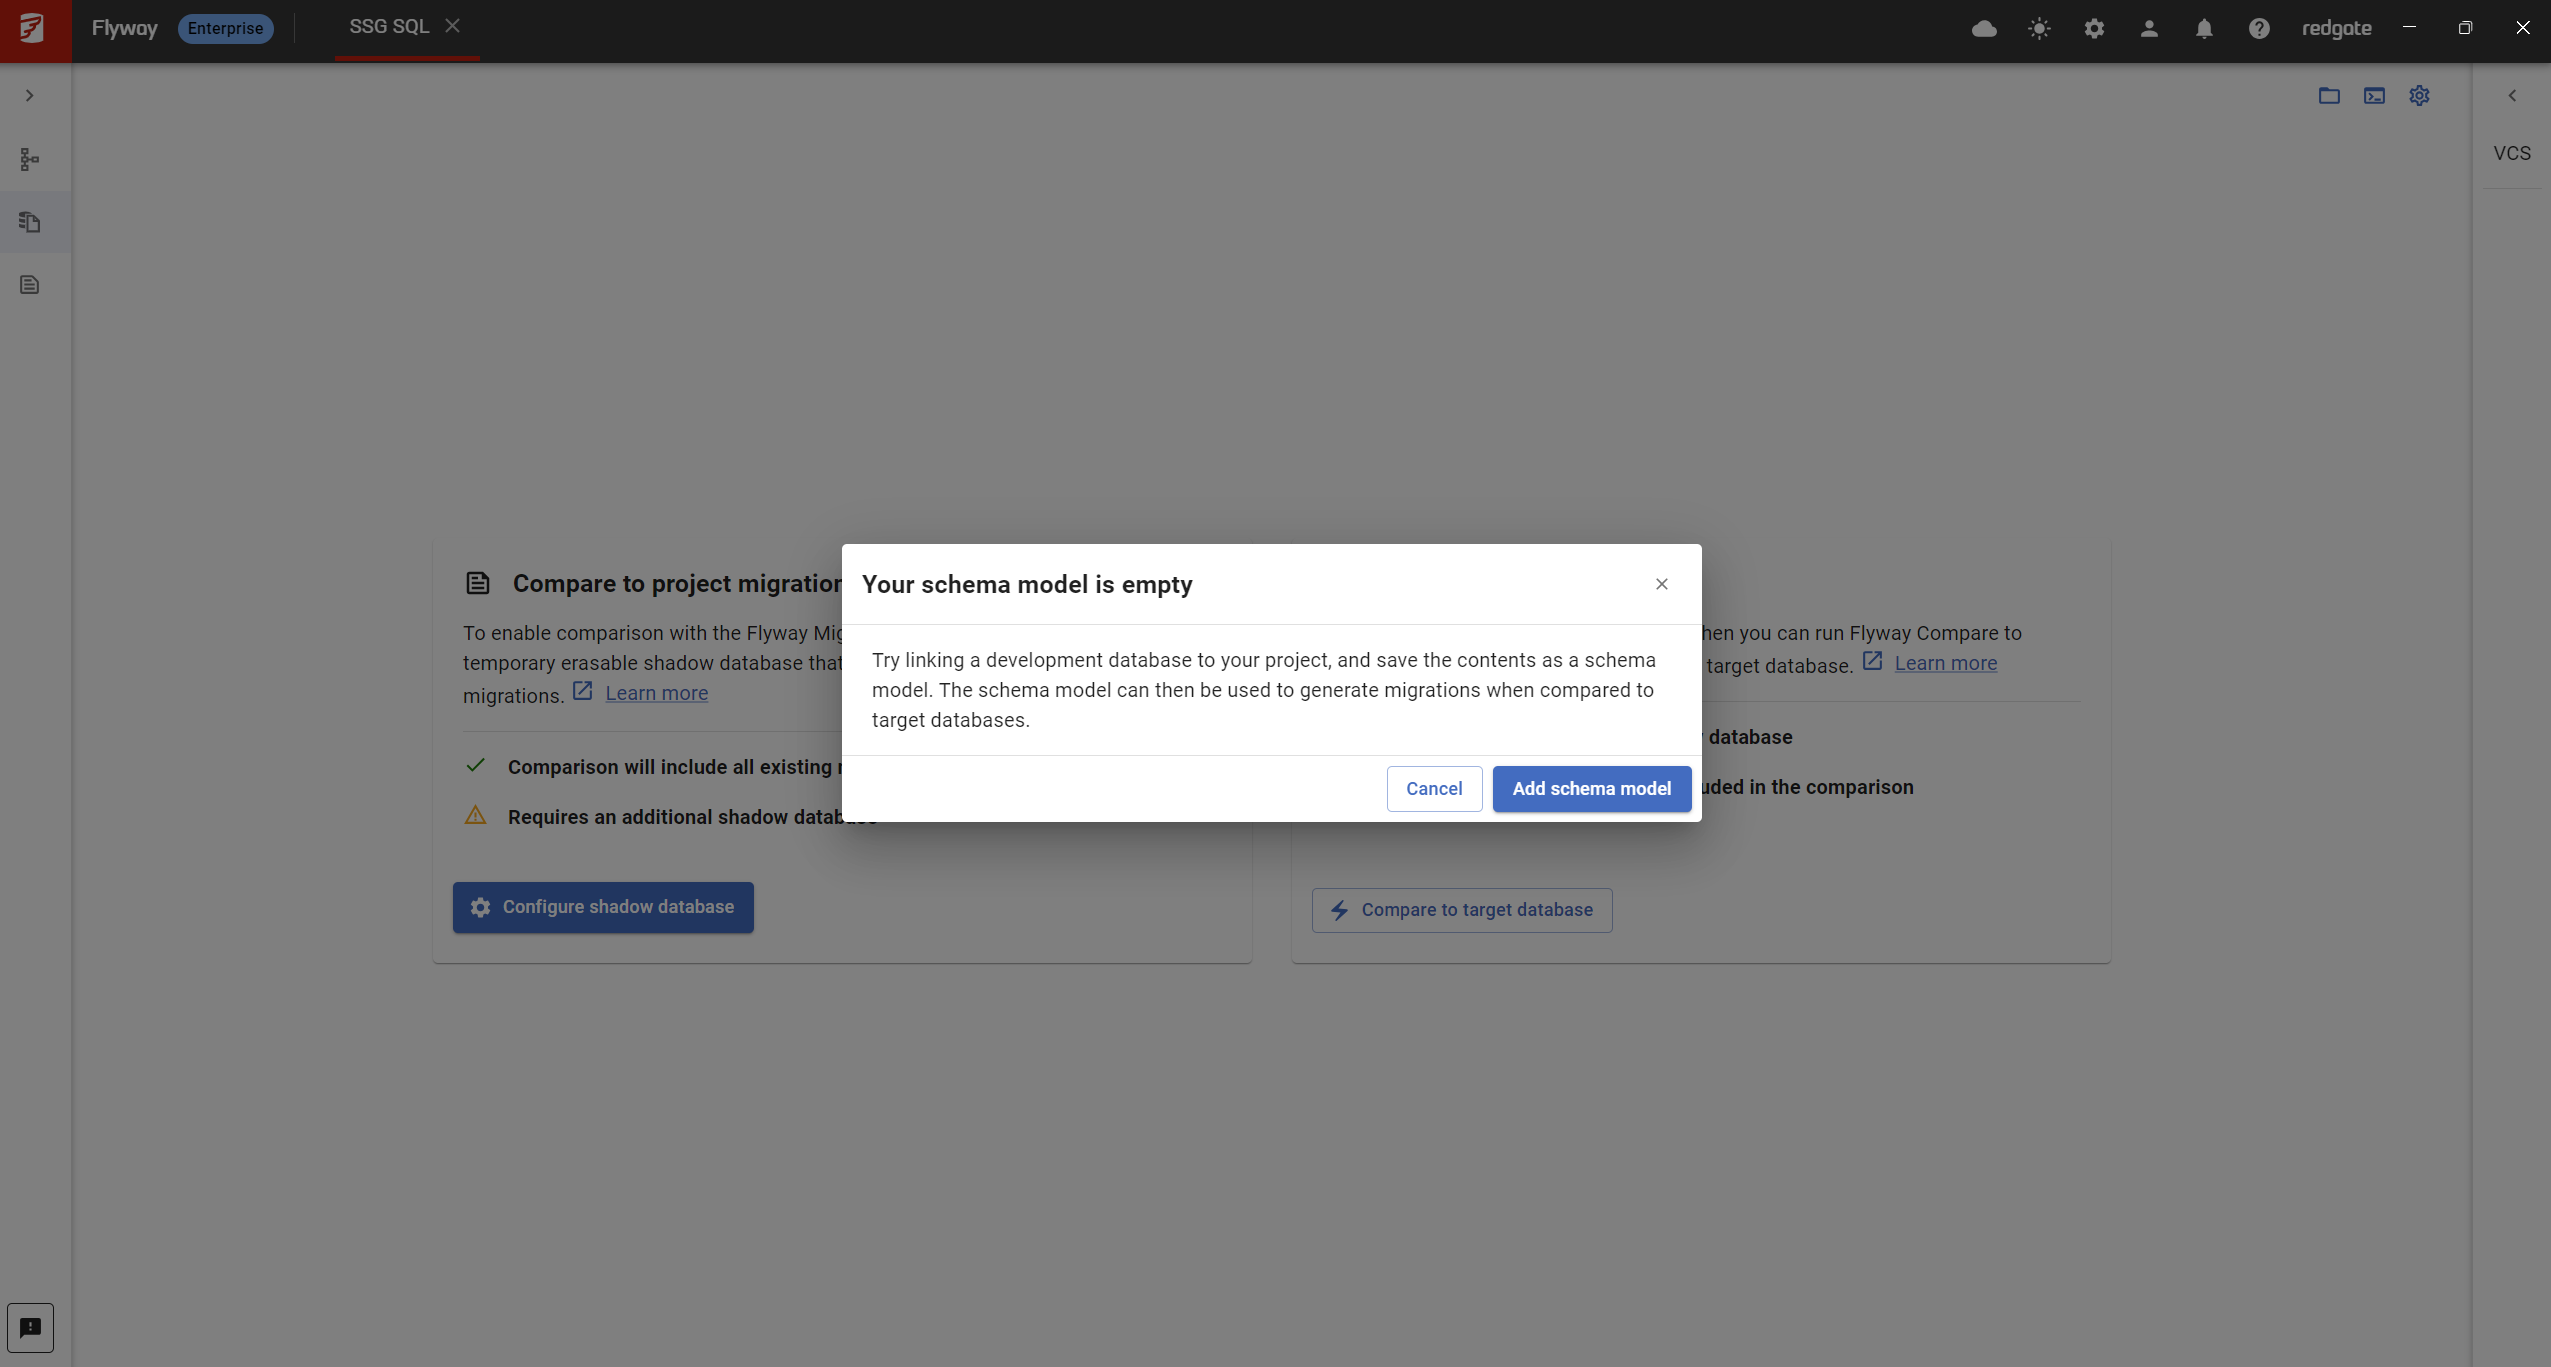
- Note: Upon navigating if your schema model is empty you will encounter the following dialog prompting you to update your schema model to perform the comparison.
2) Select the target environment that will be compared against your schema model
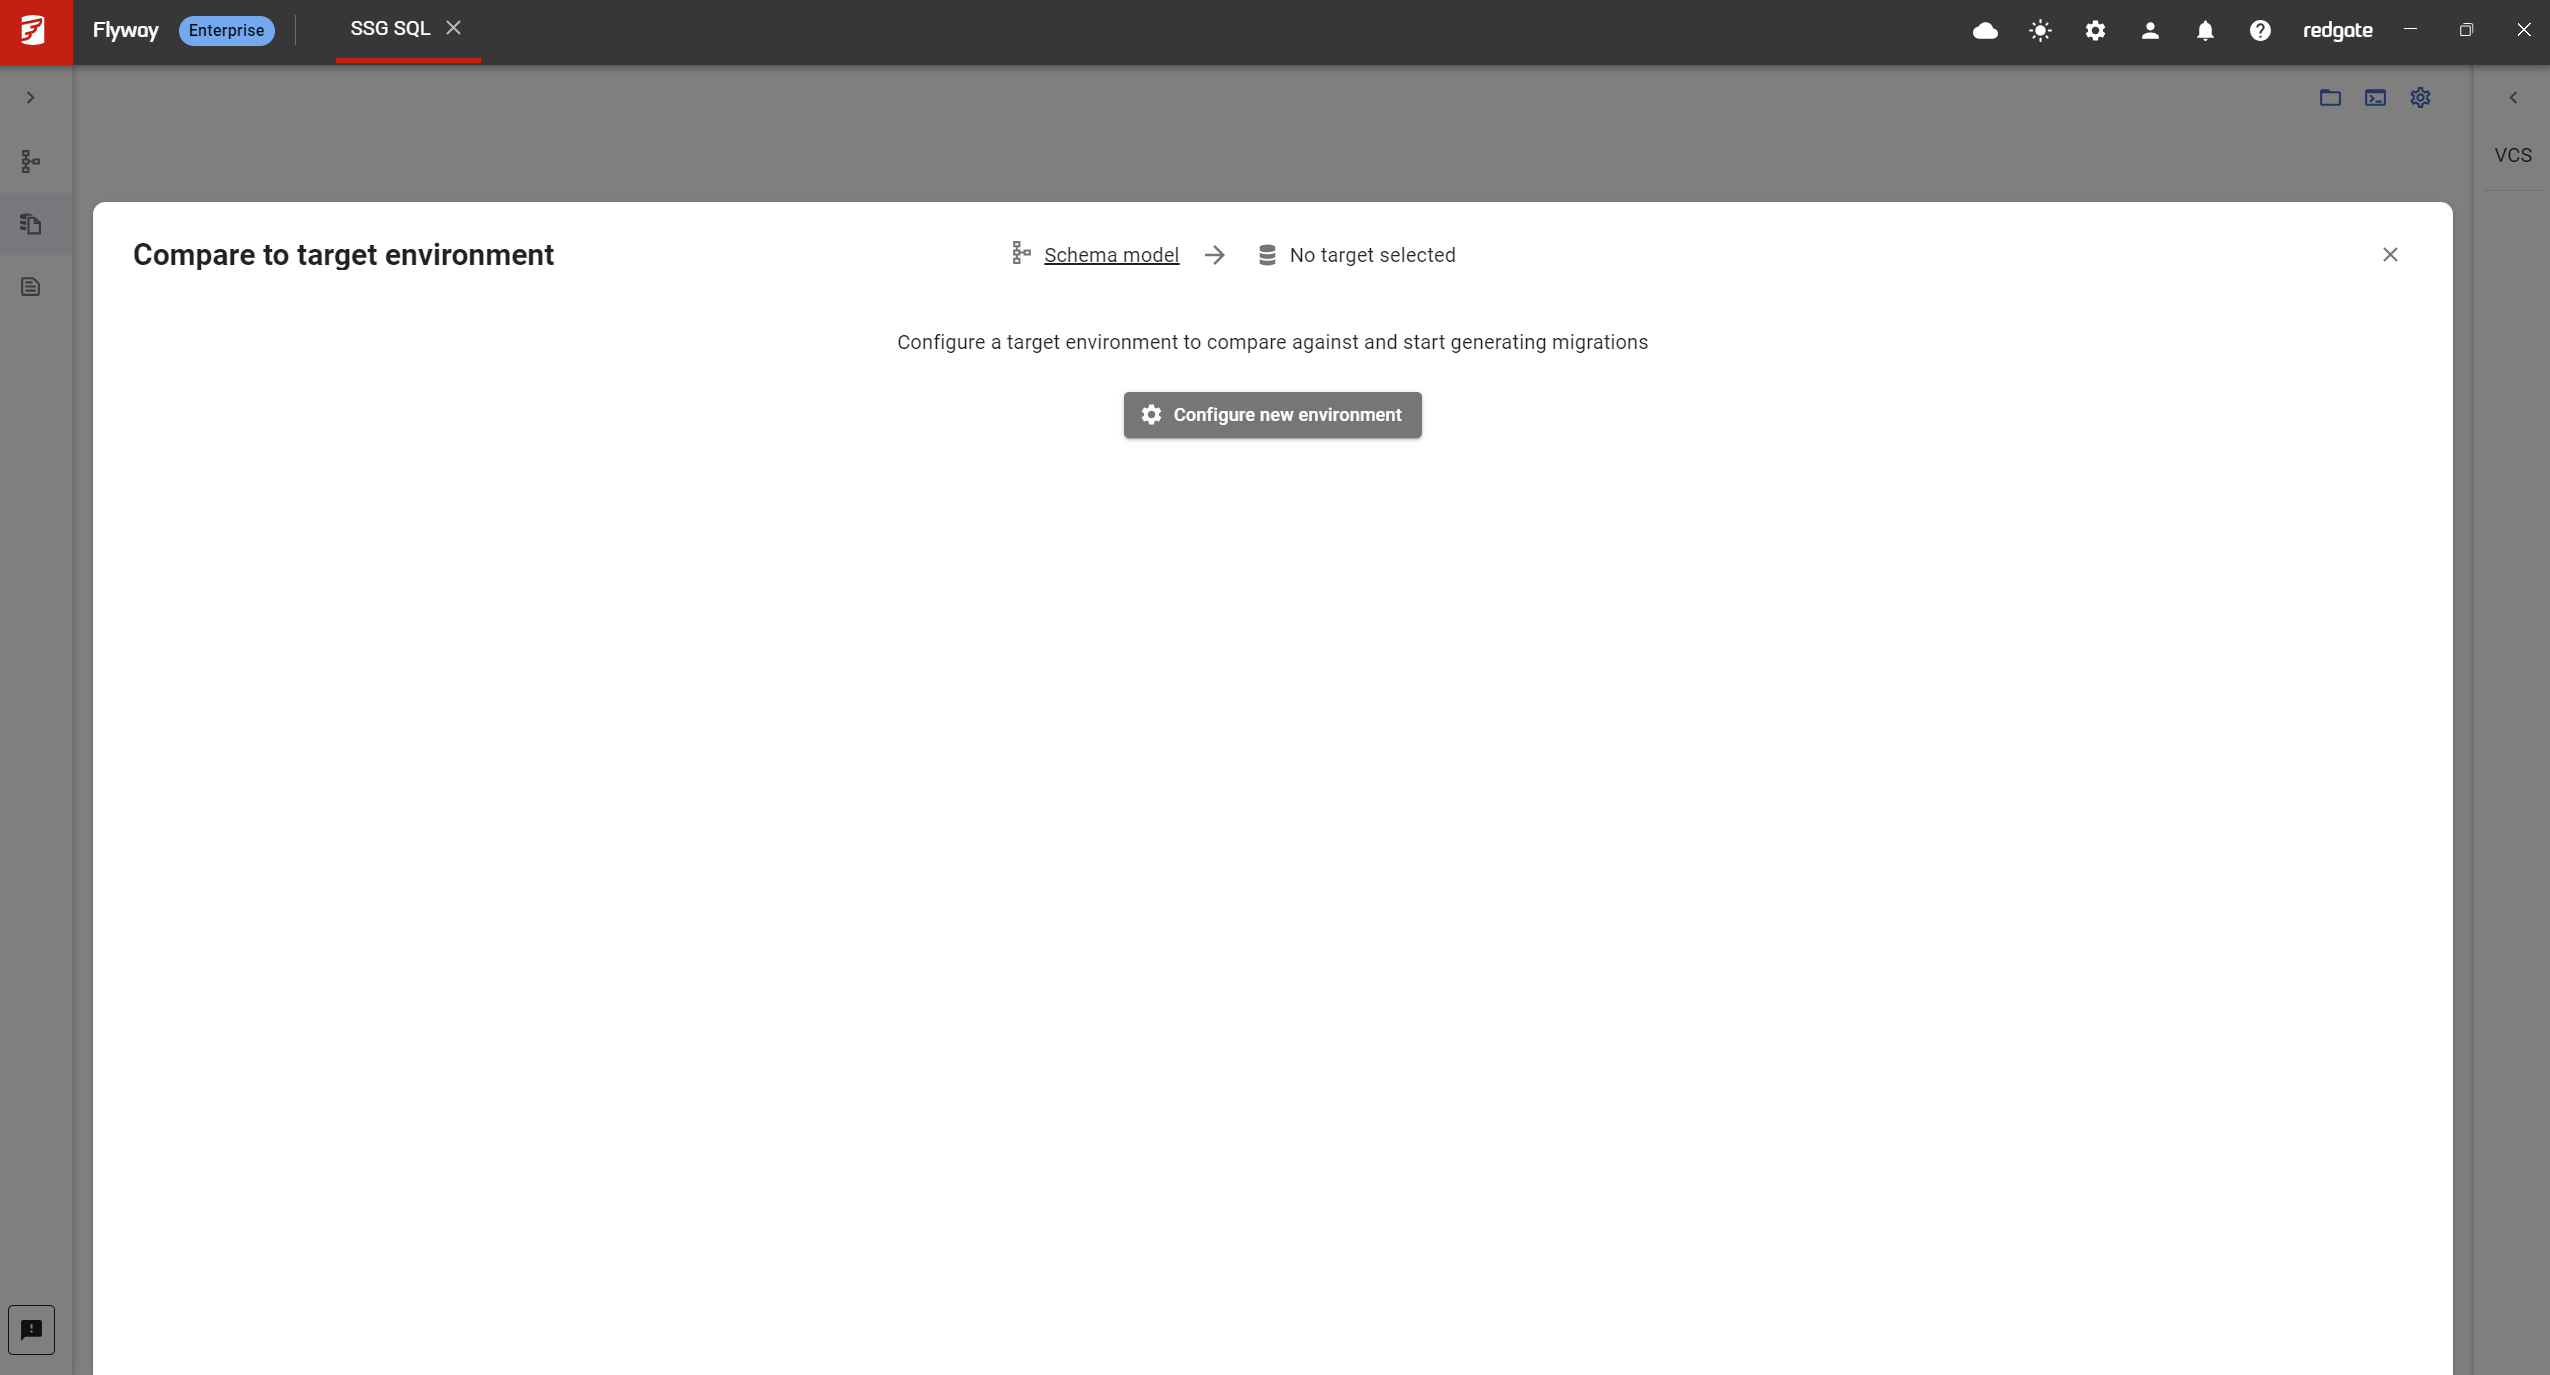
A drawer will open up prompting you to select your target environment or configure a new target environment if your project doesn't currently have one.
No target environments configured
- You may have started a new project or not yet configured database environments into your flyway project
- A drawer will appear, click the Configure new environment button and test and save the connection to a target environment
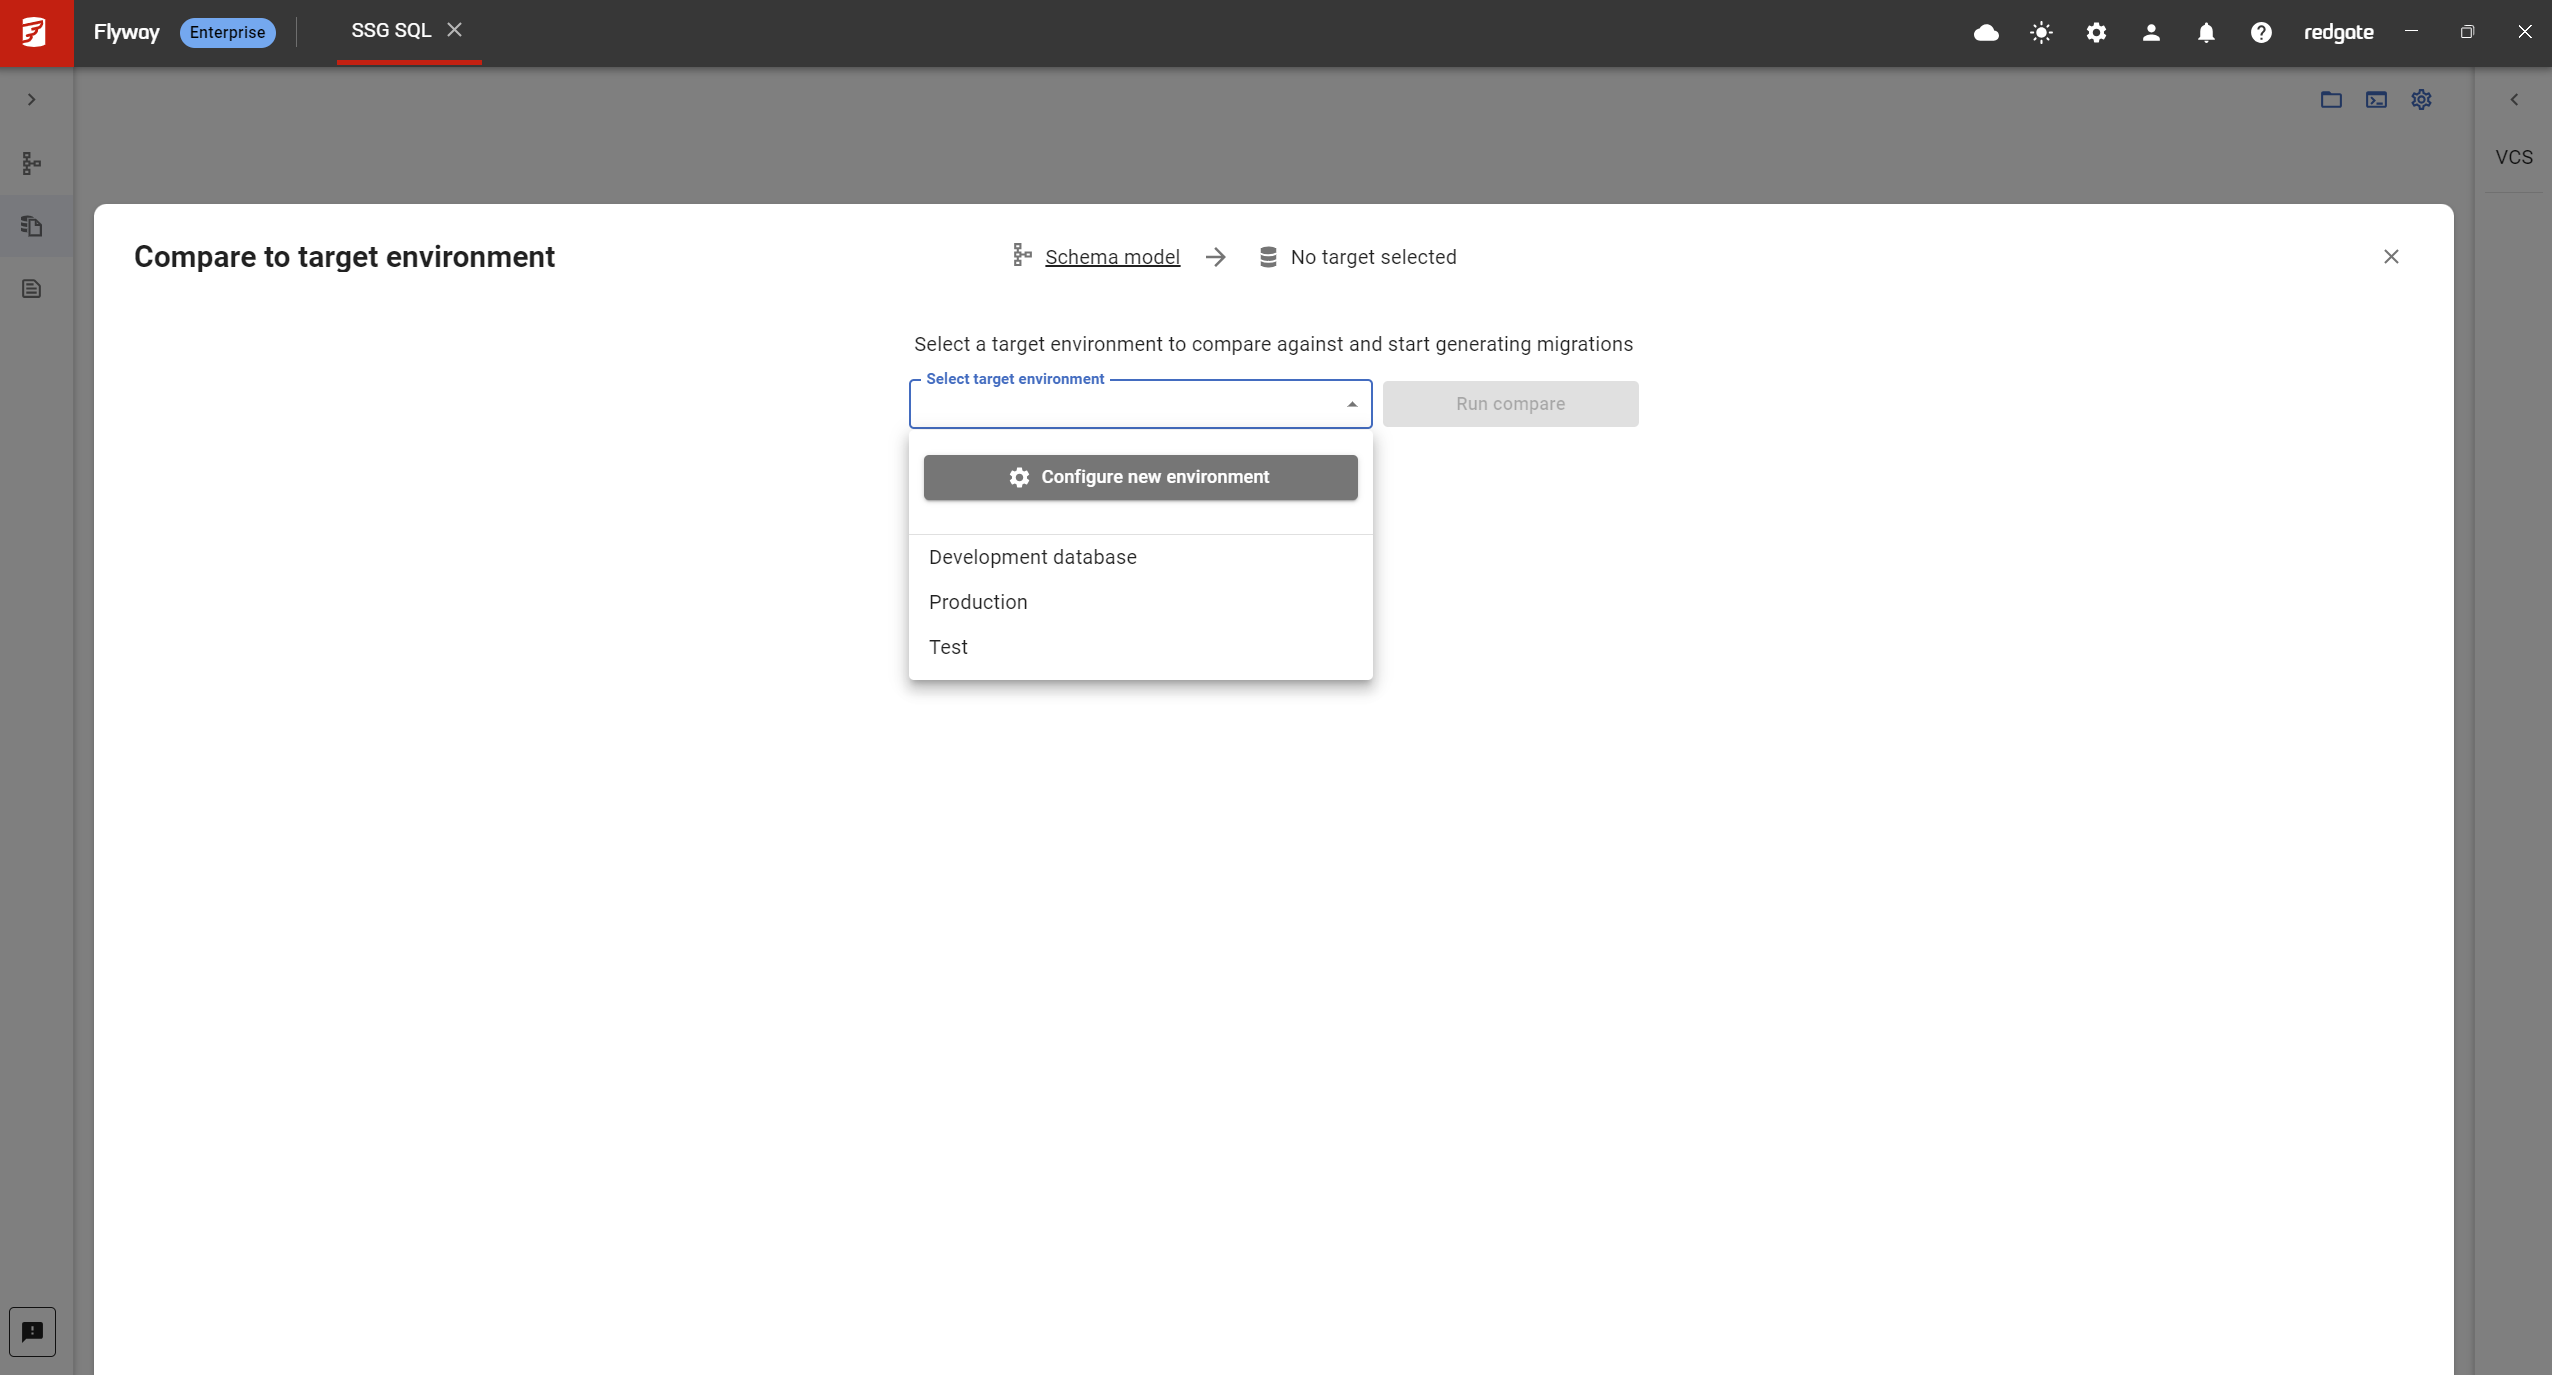
Existing target environments configured
- You may already have targets configured in your project
- In this case, click on the Select target environment drop down and select your target environment, or alternatively you can also configure a new target environment using the Configure new environment button
3) Checking the state of the selected target environment
Upon selecting or configuring a new target environment a few checks will be run on your target against the migrations folder in your project if you have any migrations scripts. This is to make sure all migration scripts in your project has been successfully deployed against your target environment which will ensure the migration scripts you generate using this feature will not duplicate objects or changes which could cause failure while deploying the scripts. If you don't have any warnings then you can proceed to click the Run Compare button.
For example: You might be creating a new migration script A, with changes that already exist in your pending migrations B. So upon generating the migration script A with this feature, when you attempt to deploy both the scripts A and B the operation would fail due to creating the same object twice (create the same table twice)
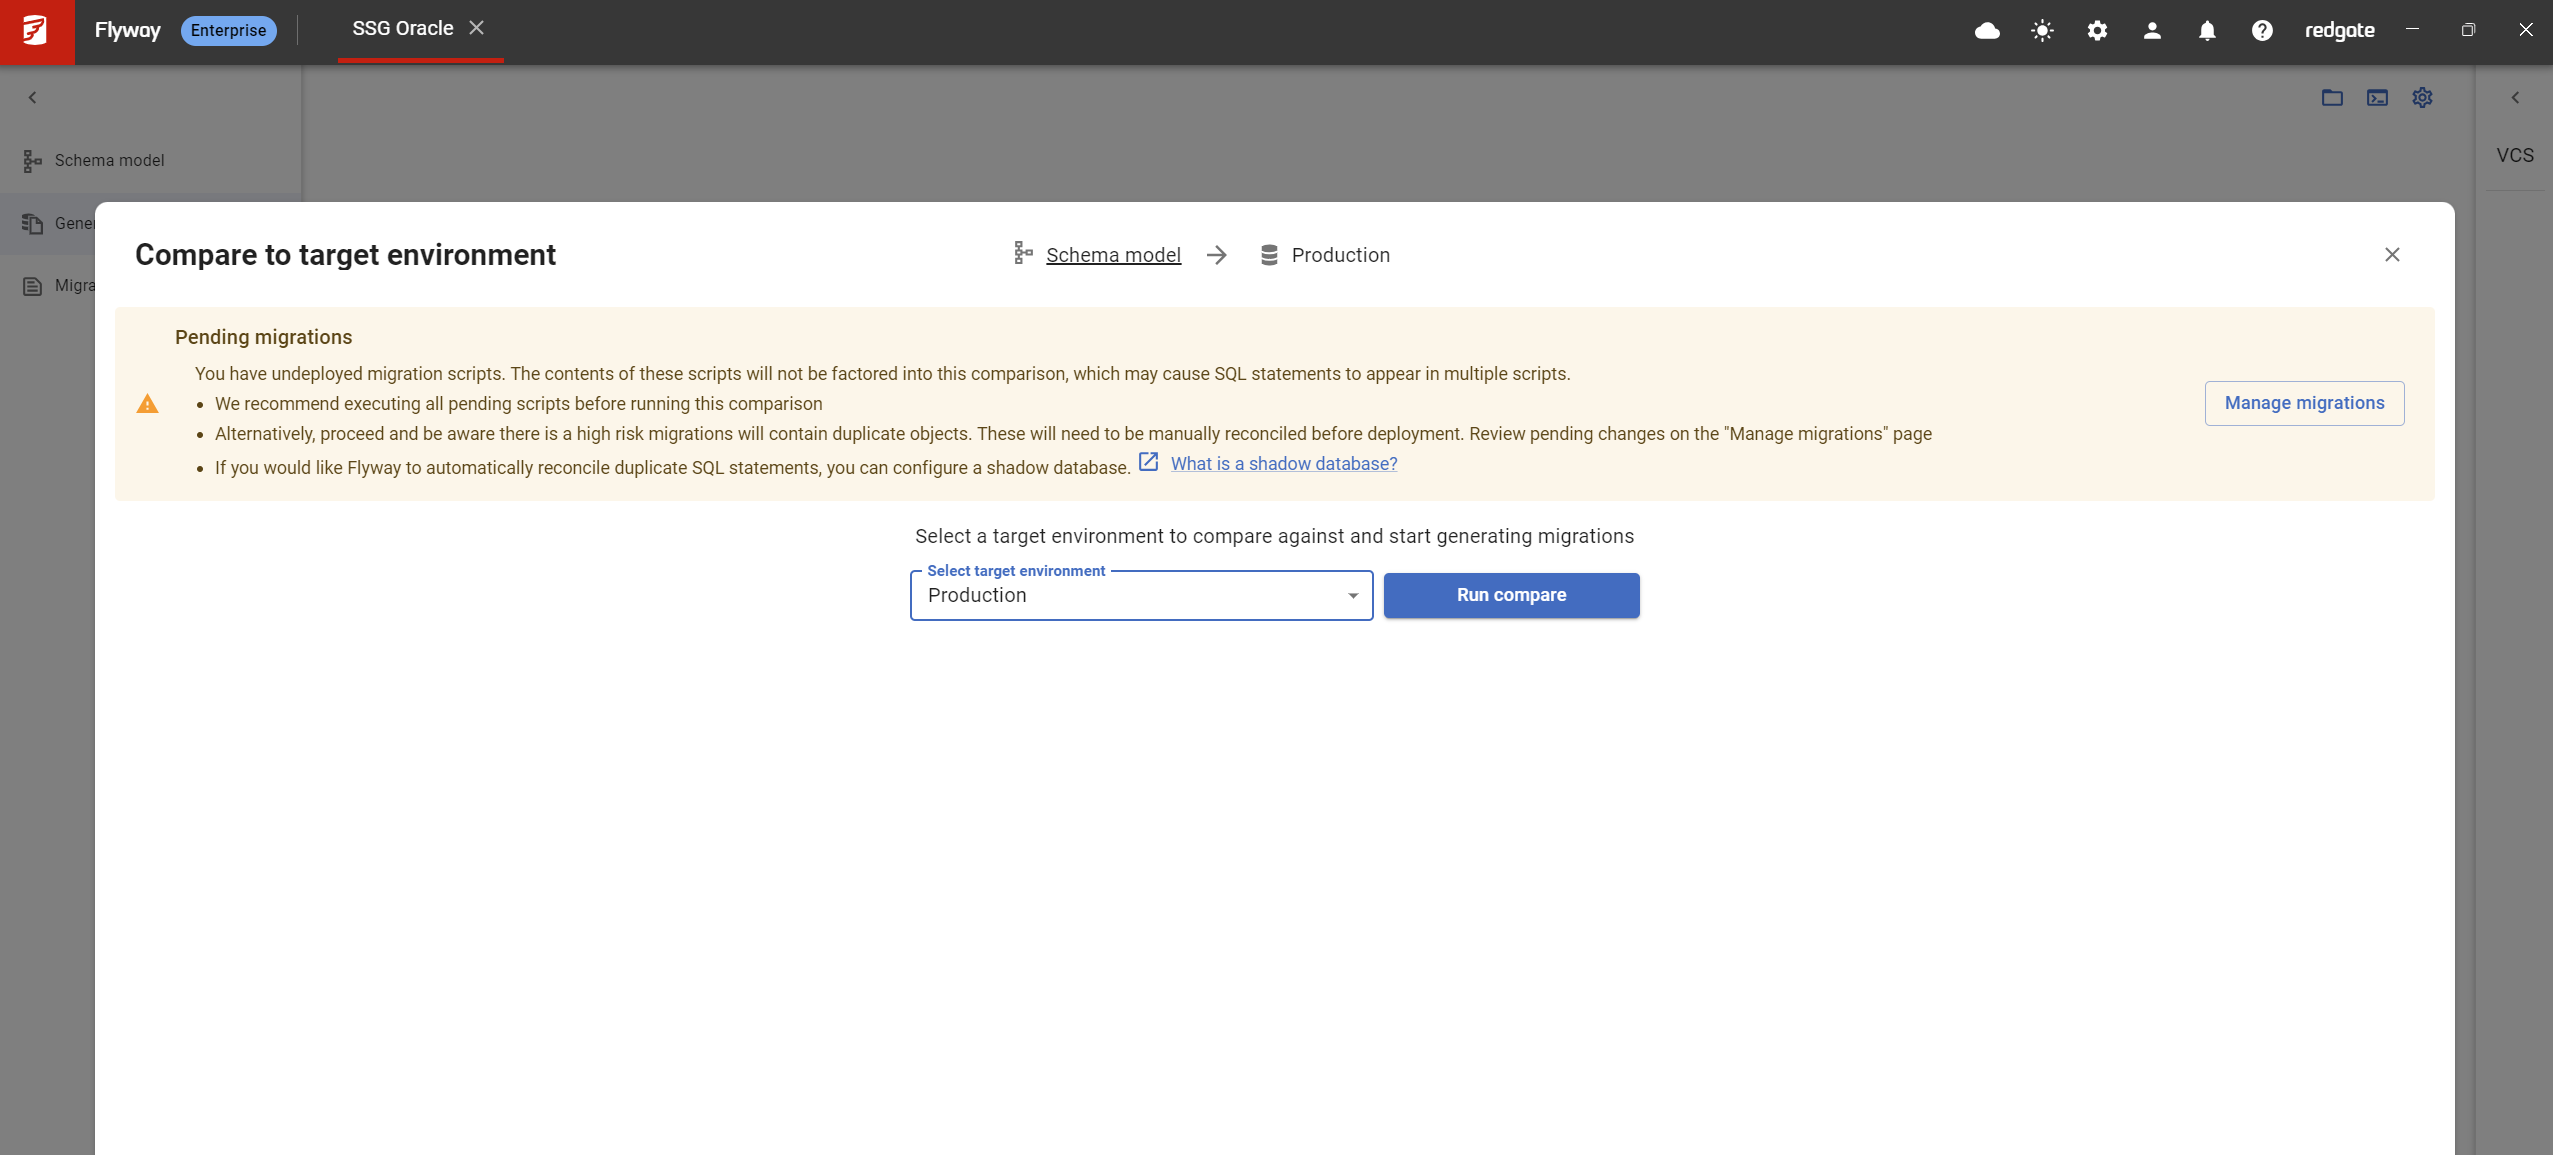
The GUI may display 3 different warnings depending on the deployed state of the migration script against your target environment. Please note; none of these warnings will stop you from generating a migration script if you do wish to continue, proceed with caution to avoid generating scripts with duplicate changes. Duplicated object changes will have to be manually reconciled prior to deployment or alternatively you can switch back to configuring a shadow database to automatically reconcile these duplicate changes.
- Pending migrations
This warning will be encountered if the migrations in the user's project has not yet been deployed against the target environment. You can resolve this warning by navigating to the Manage migrations tab and deploy the scripts using the migrate command.
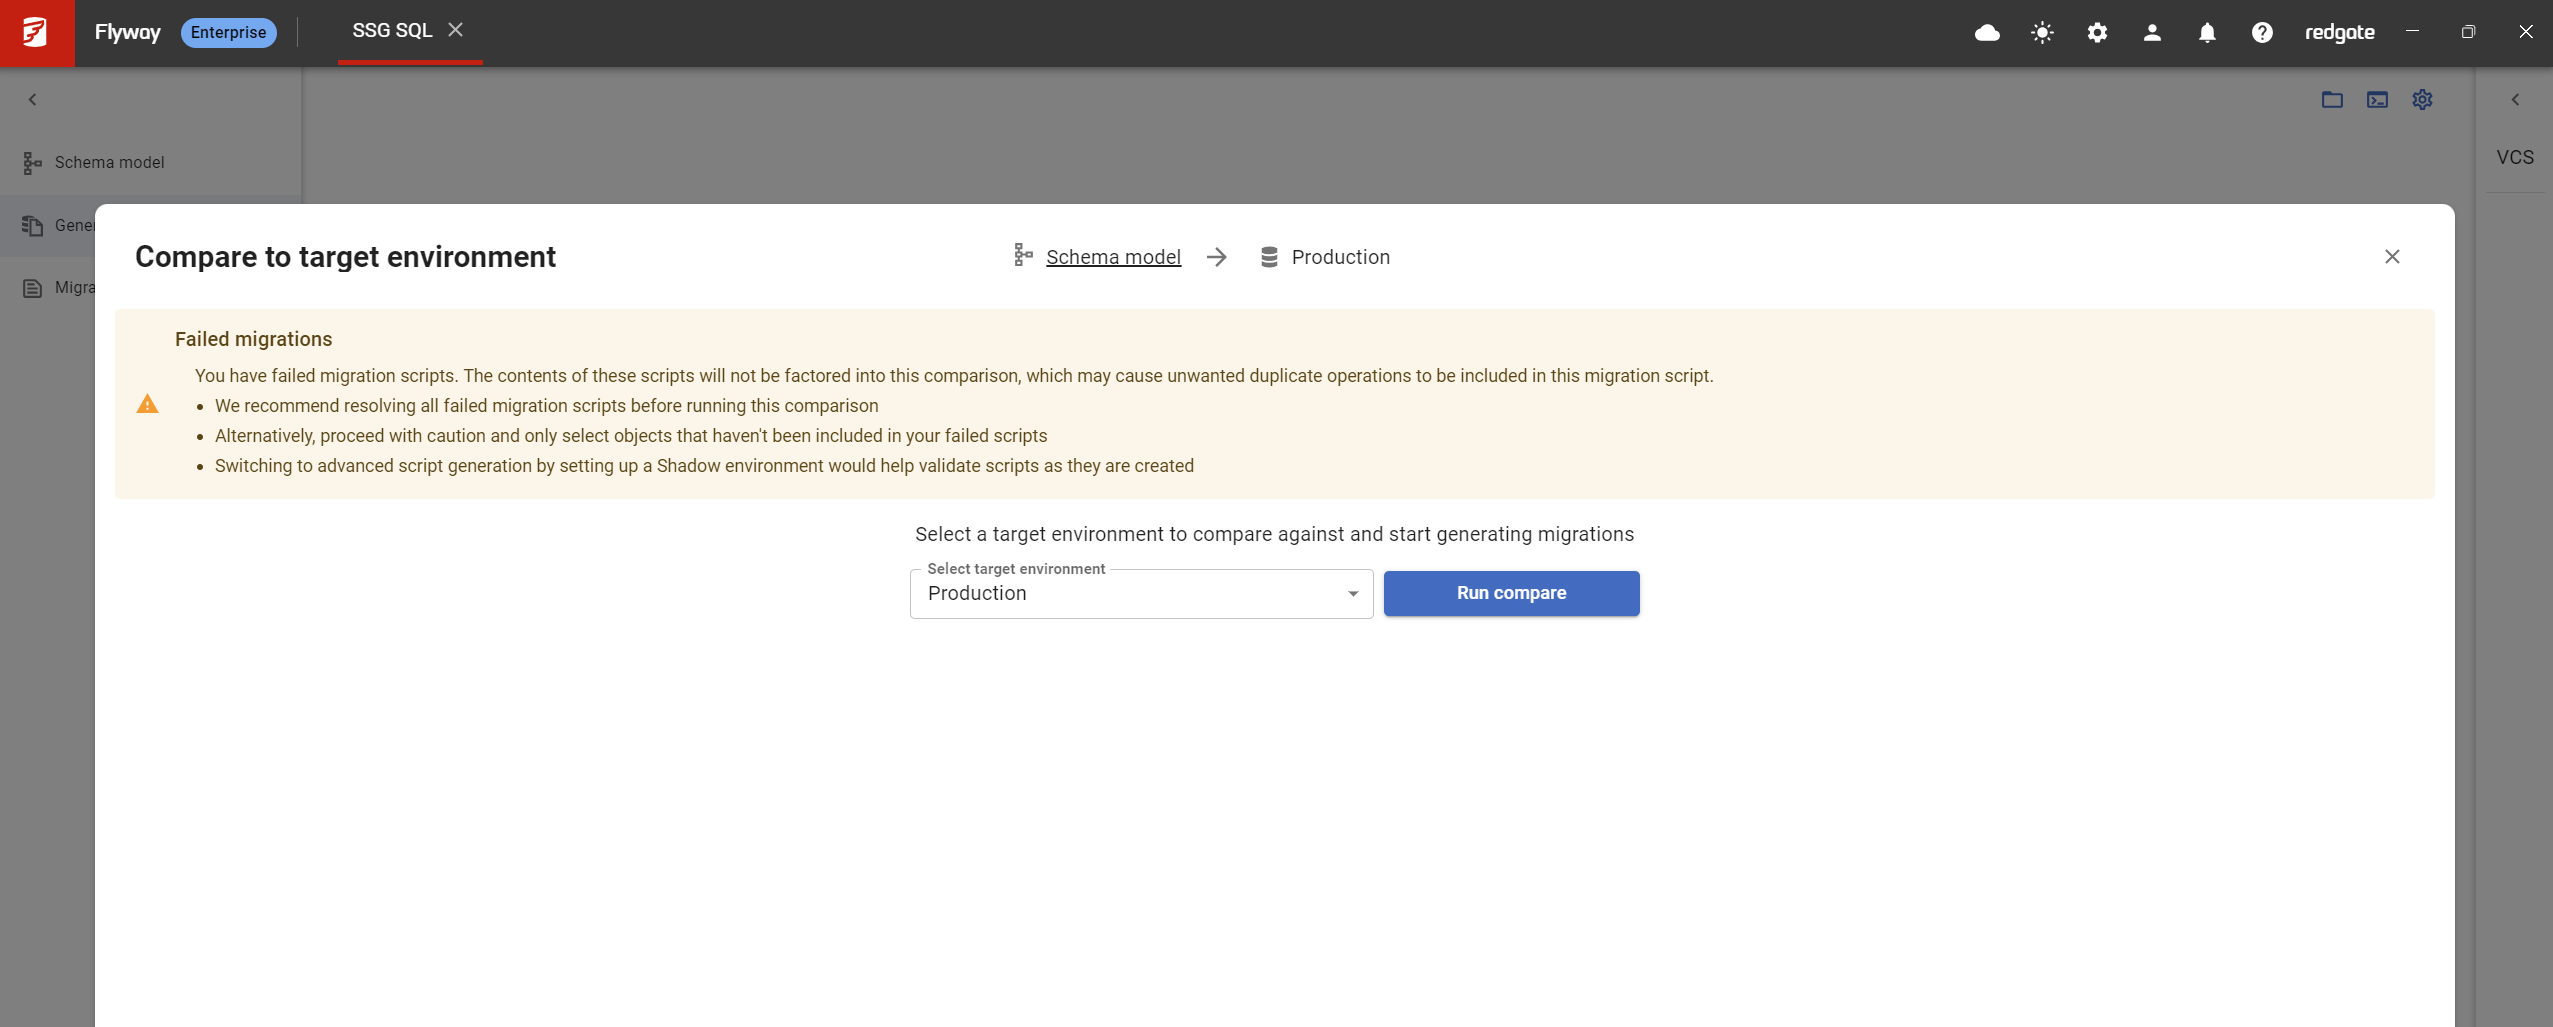
2. Failed migrations
This warning will be encountered if the migrations in the user's project has been deployed but failed against the target environment. Depending on the reason behind the failure, the way to resolve failed migrations would differ.
For example: If the migration failed due to an object already existing you will have to manually delete or change to alter the object creation from the script the failed on.
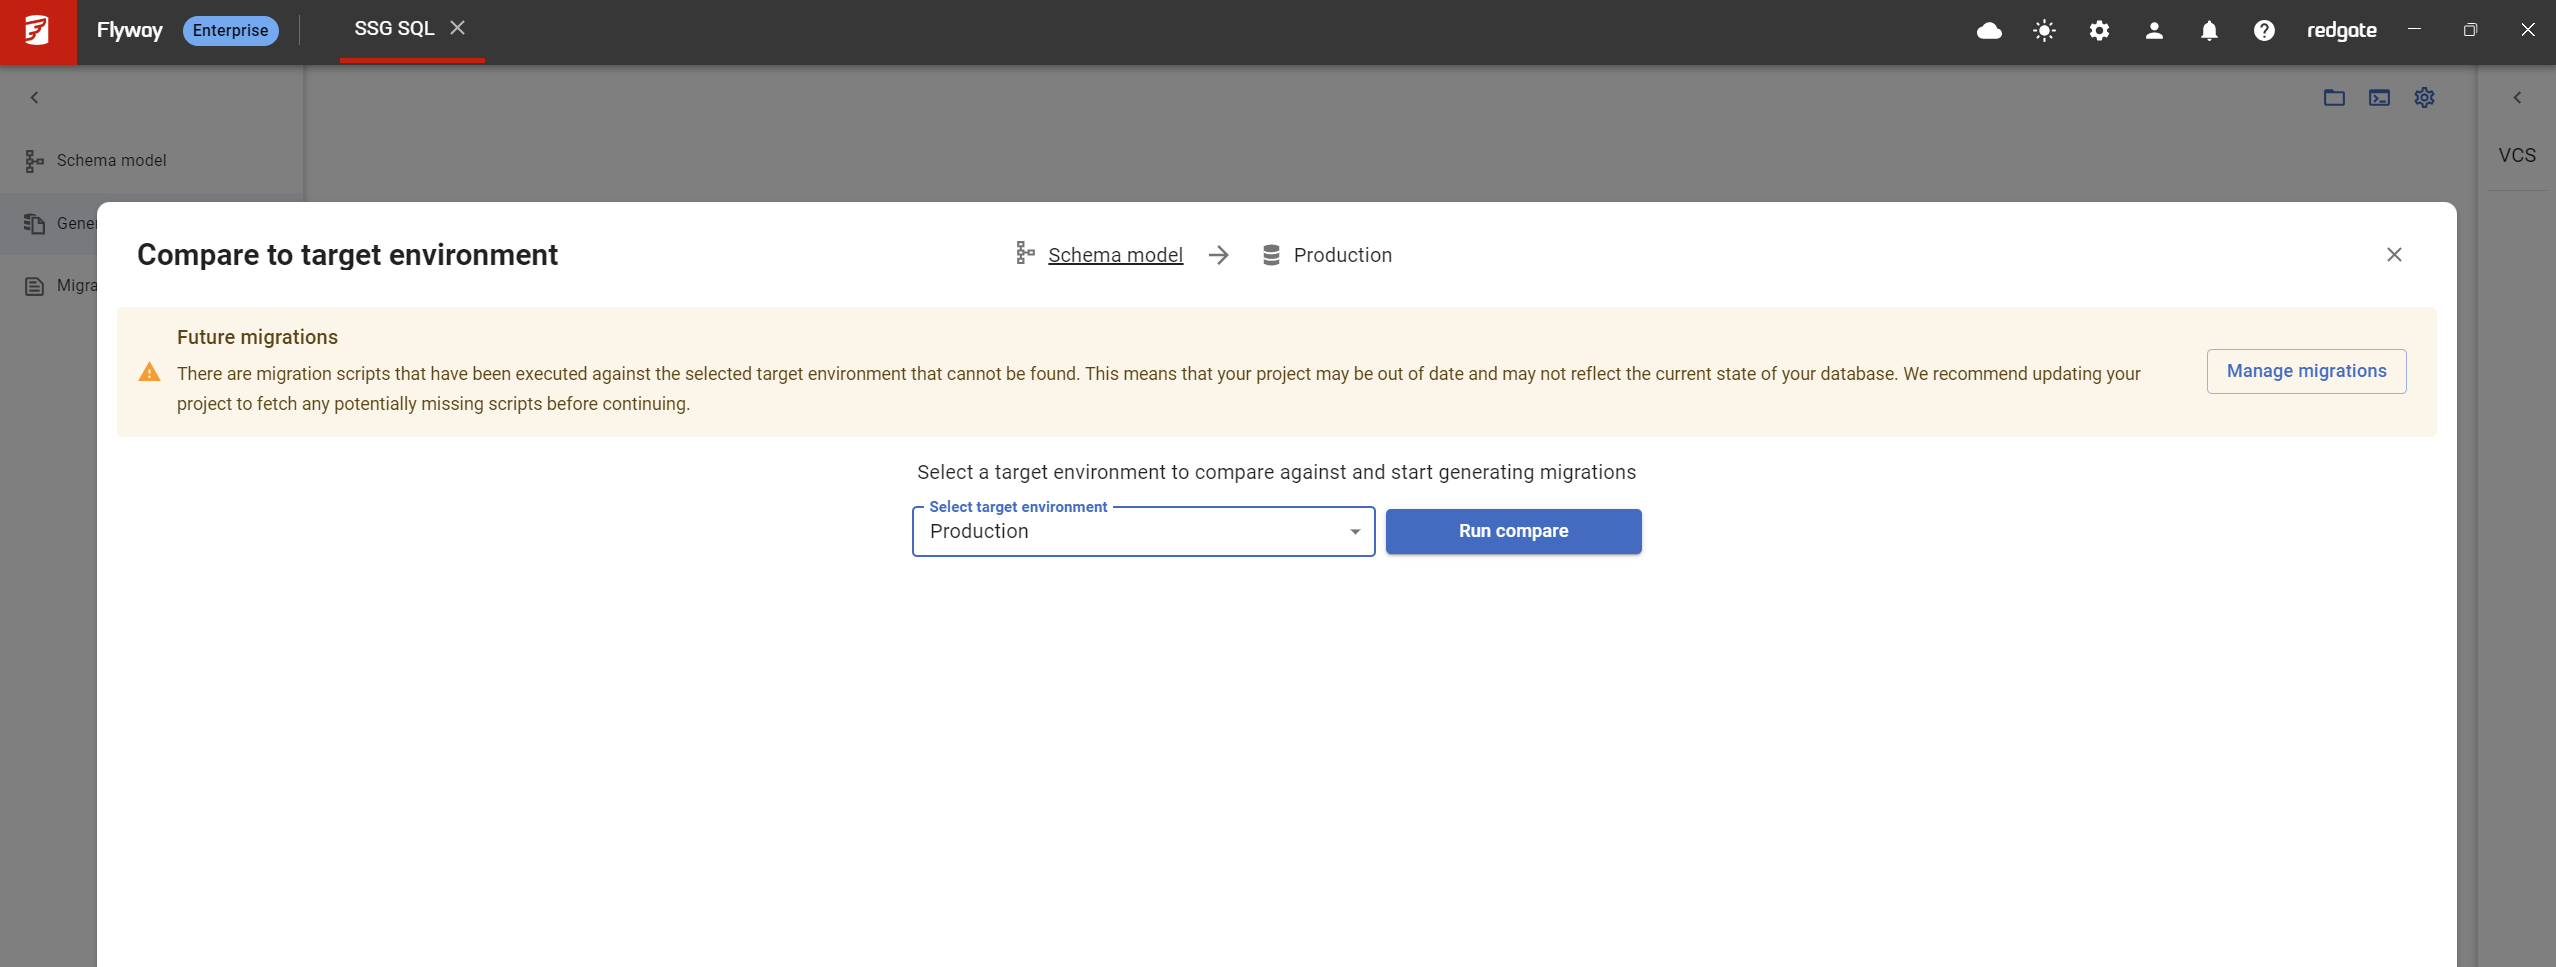
3. Future migrations
This warning will be encountered if there are migration scripts that has been executed against your target environment that cannot be found in your project currently. This could either mean you have deleted a migration script accidently after executing or your project is out of date which you could resolve by performing a pull to update your project if its being version controlled.
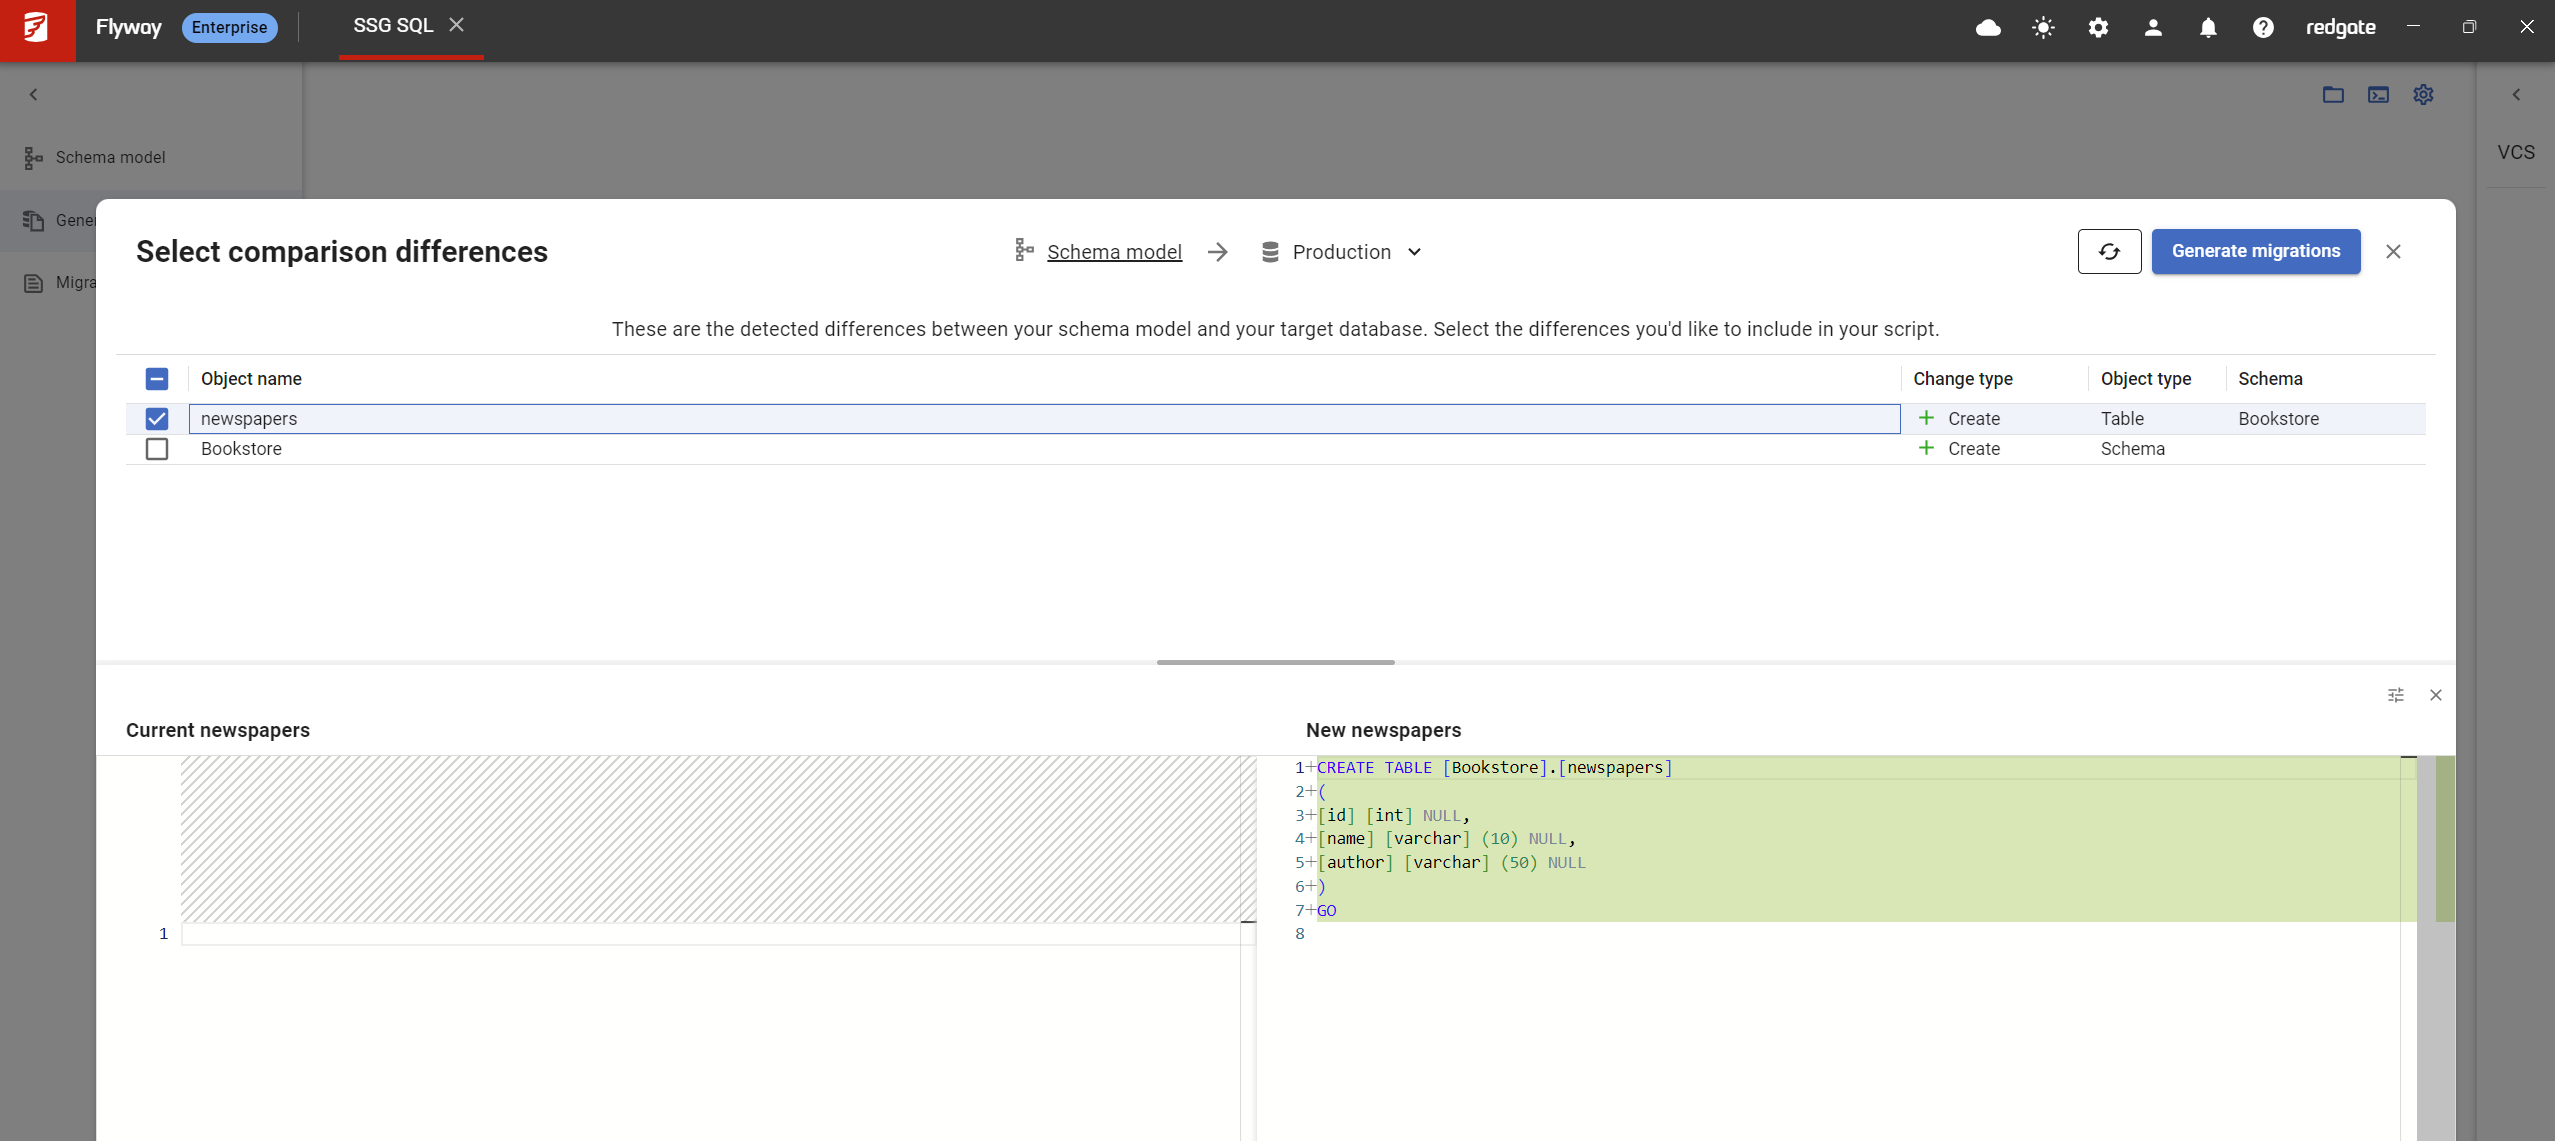
4) Select changes to include in migration script
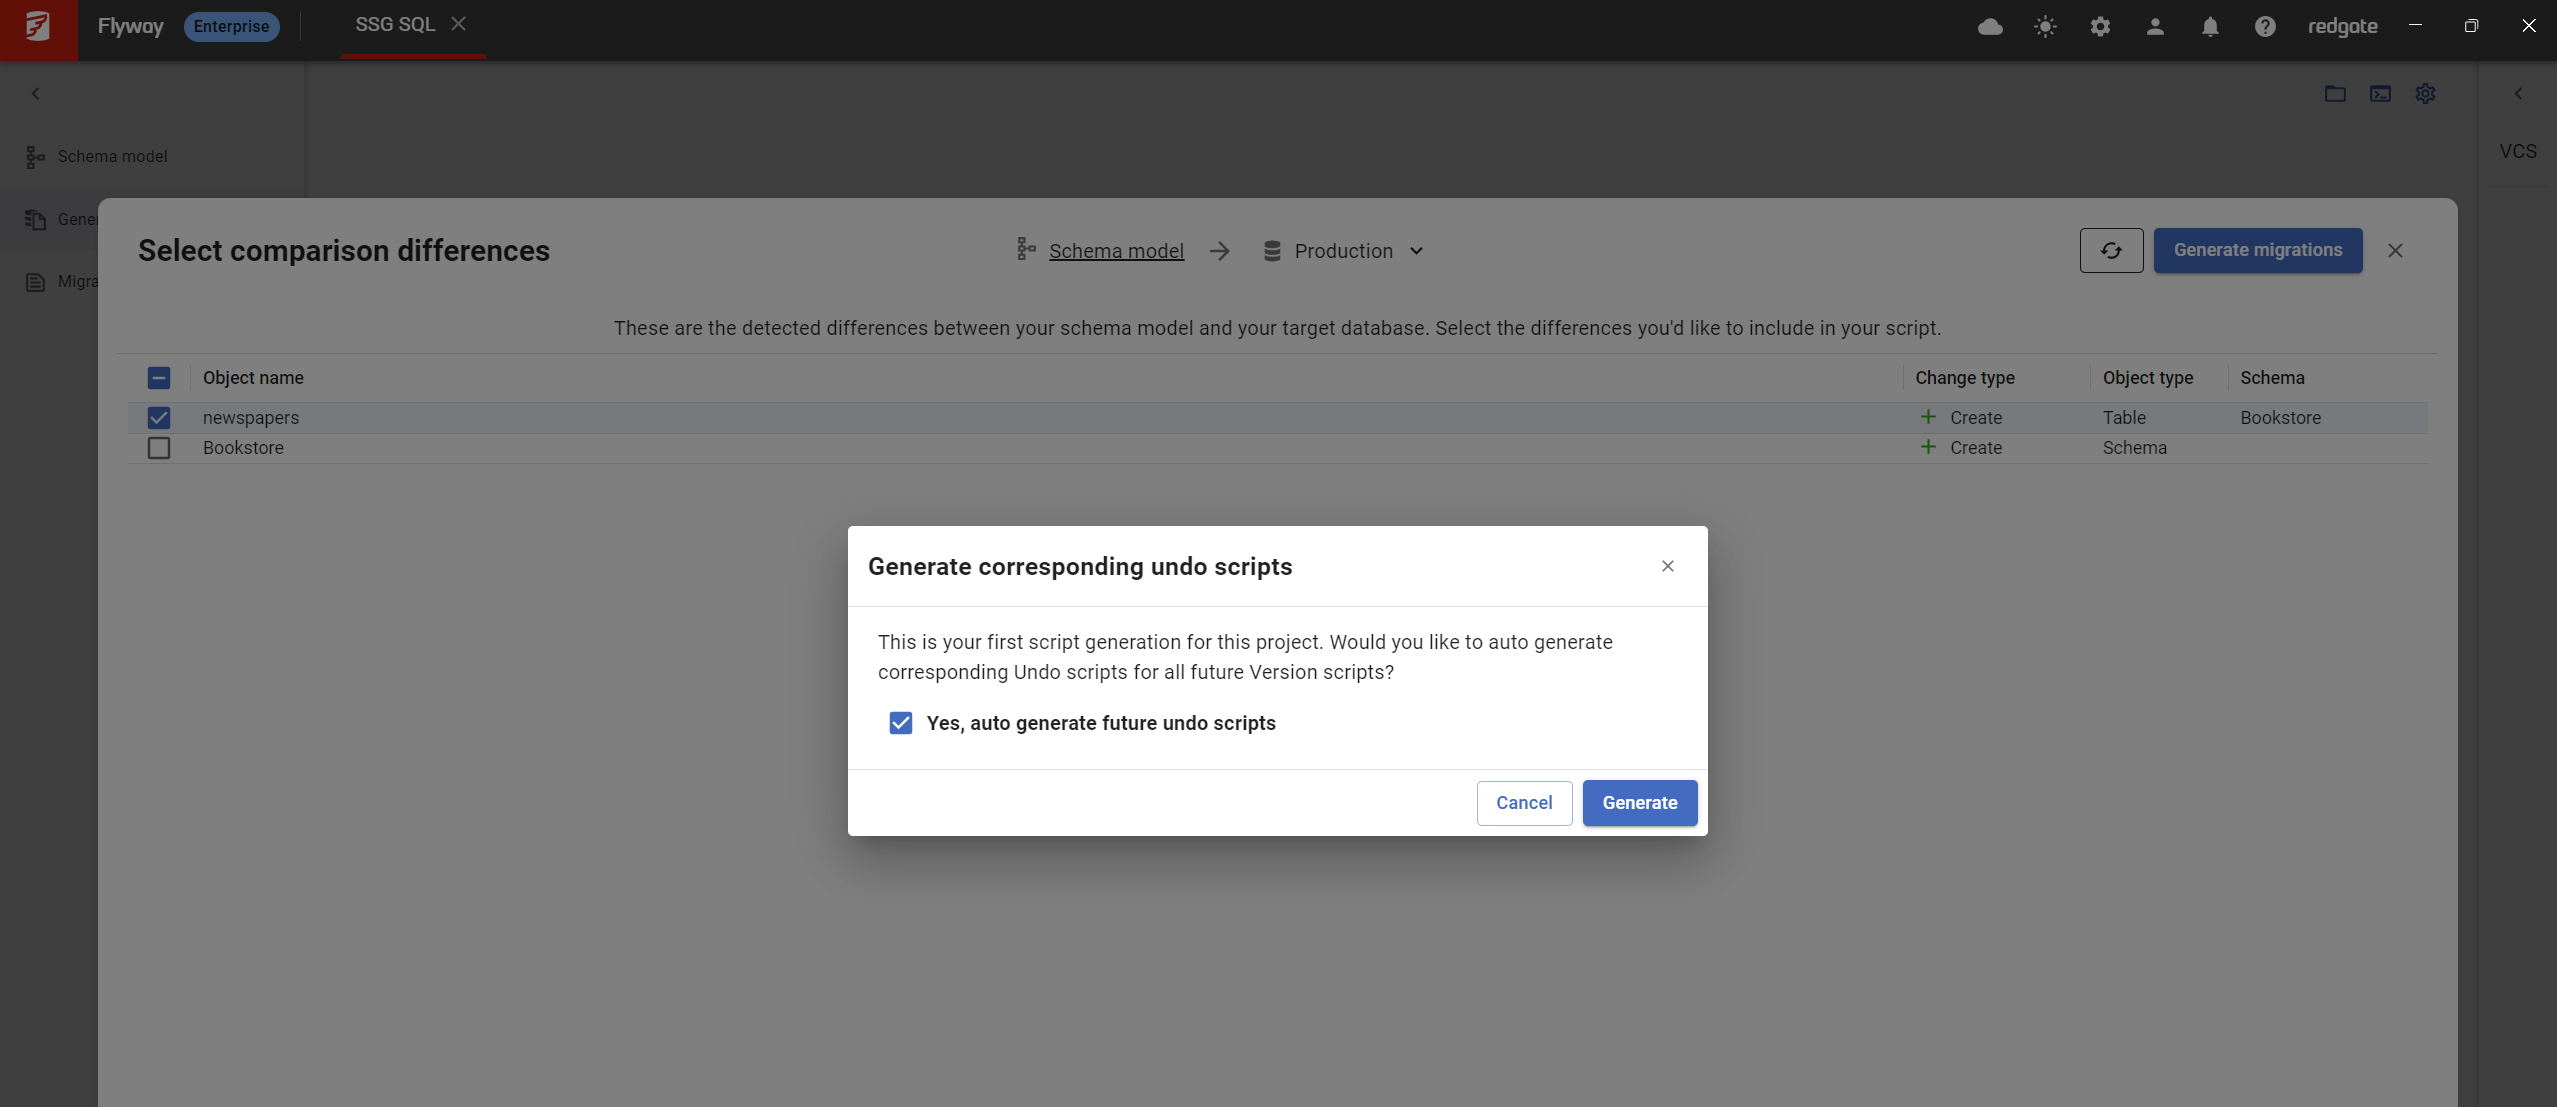
Upon comparing the GUI will now display the differences between your schema model and your target environment in the table. You can select the changes you would like to include in the migration script by clicking the check box and click the Generate migrations button. If you wish to see a little more detail of the change you selected, click the row of the change in the table which will then show you the SQL of your selected difference as below.
- If this is the first migration script you are generating in this project, you will be prompted to generate the corresponding undo script if you wish to with a dialog as follows. If you change your mind later on and want to change your settings you can update your undo settings through the project settings in the top right.
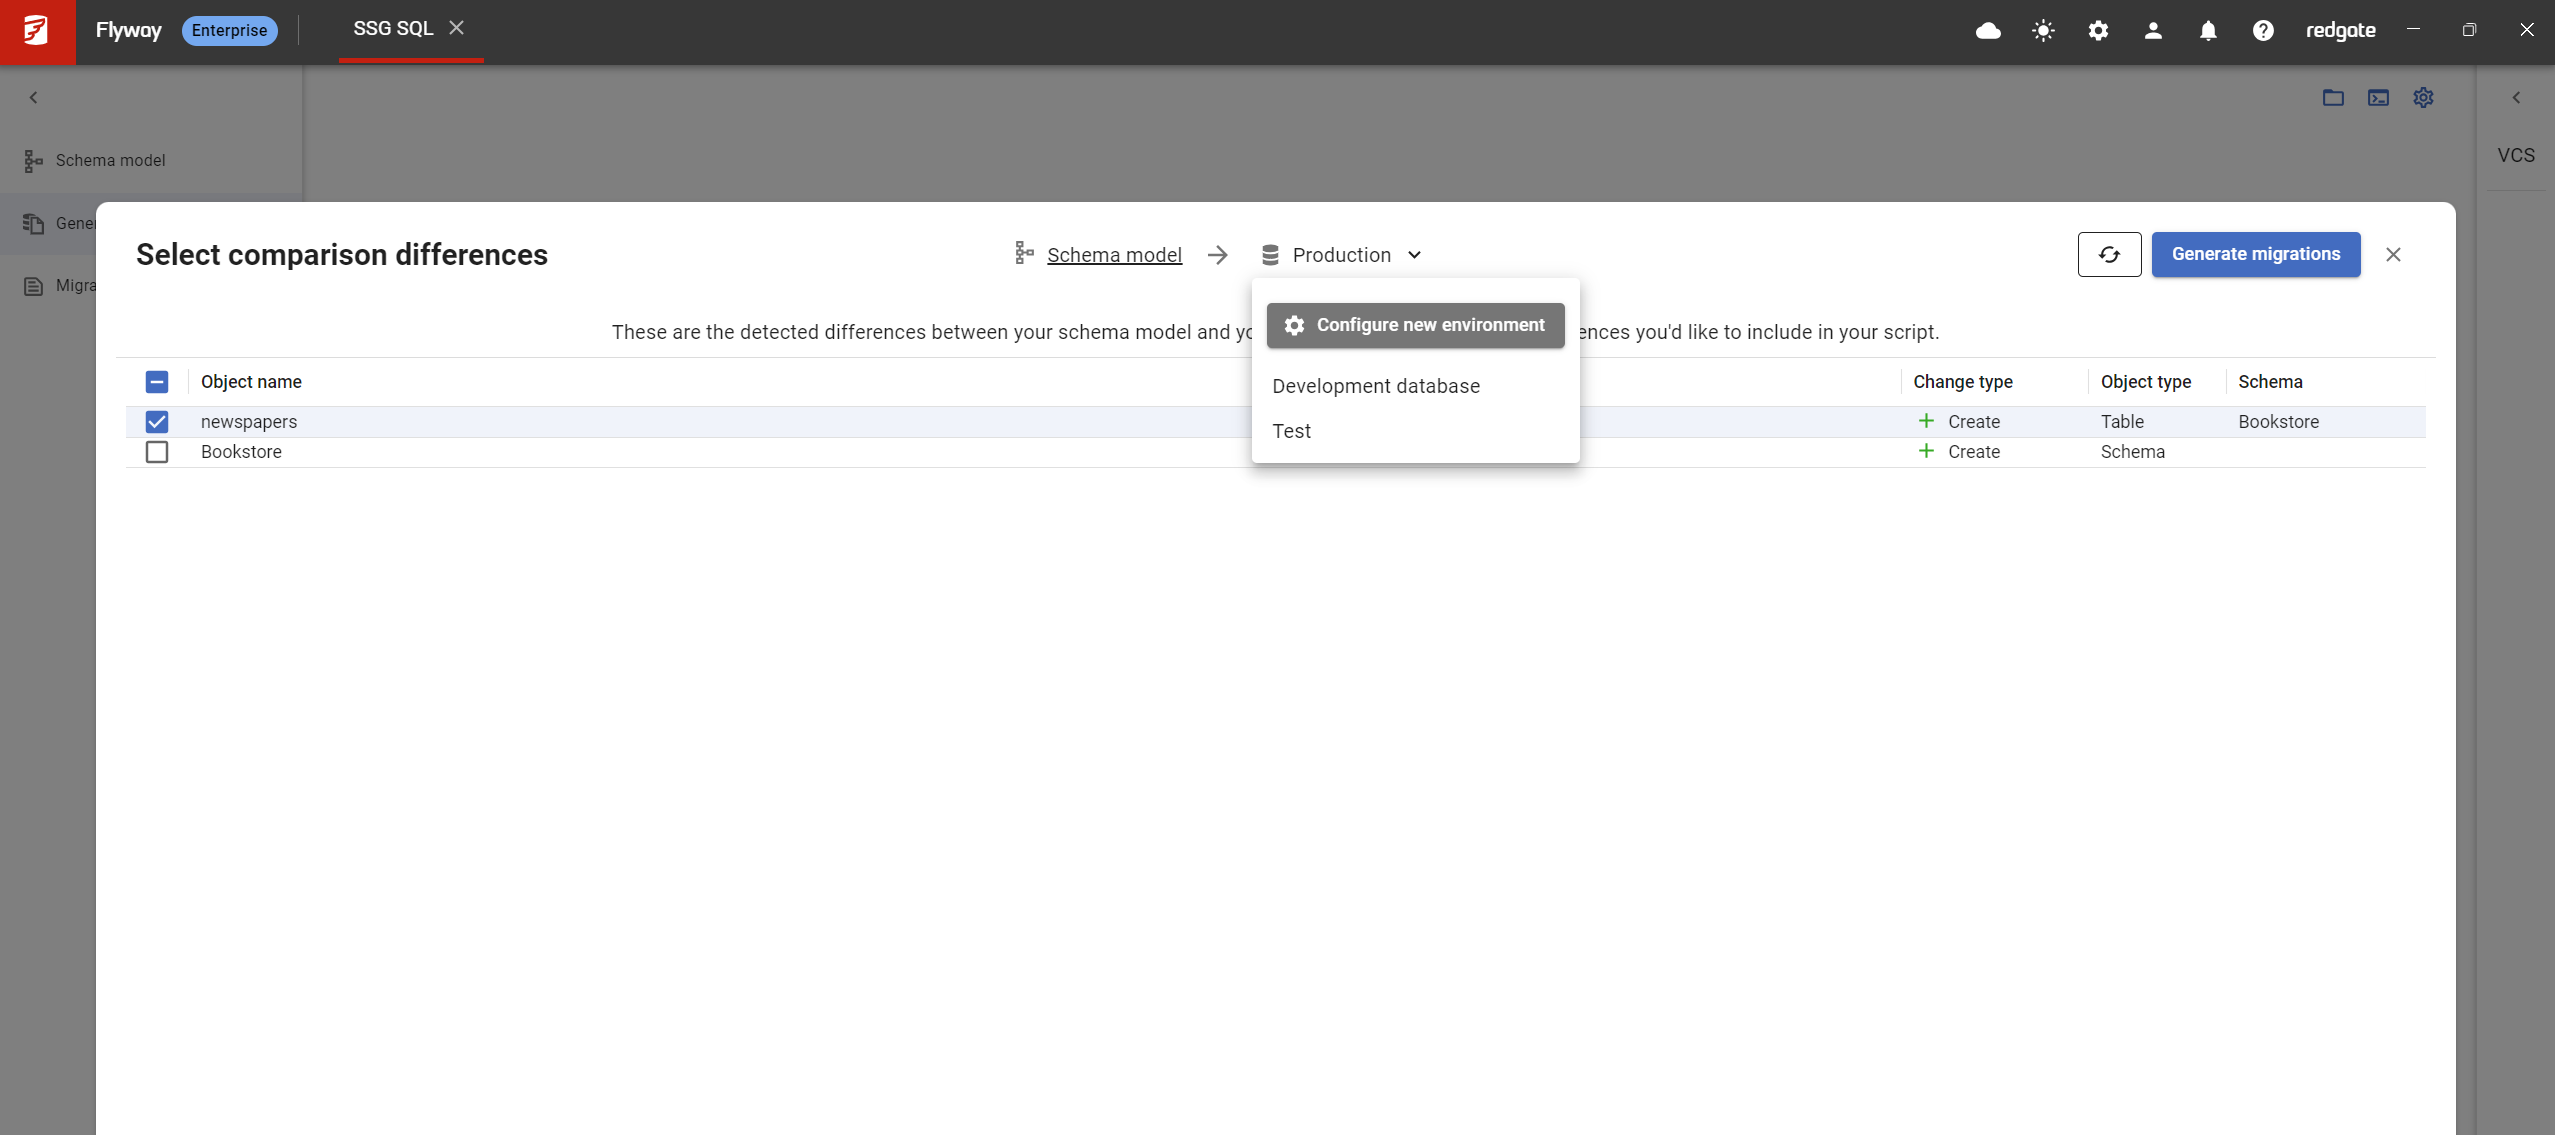
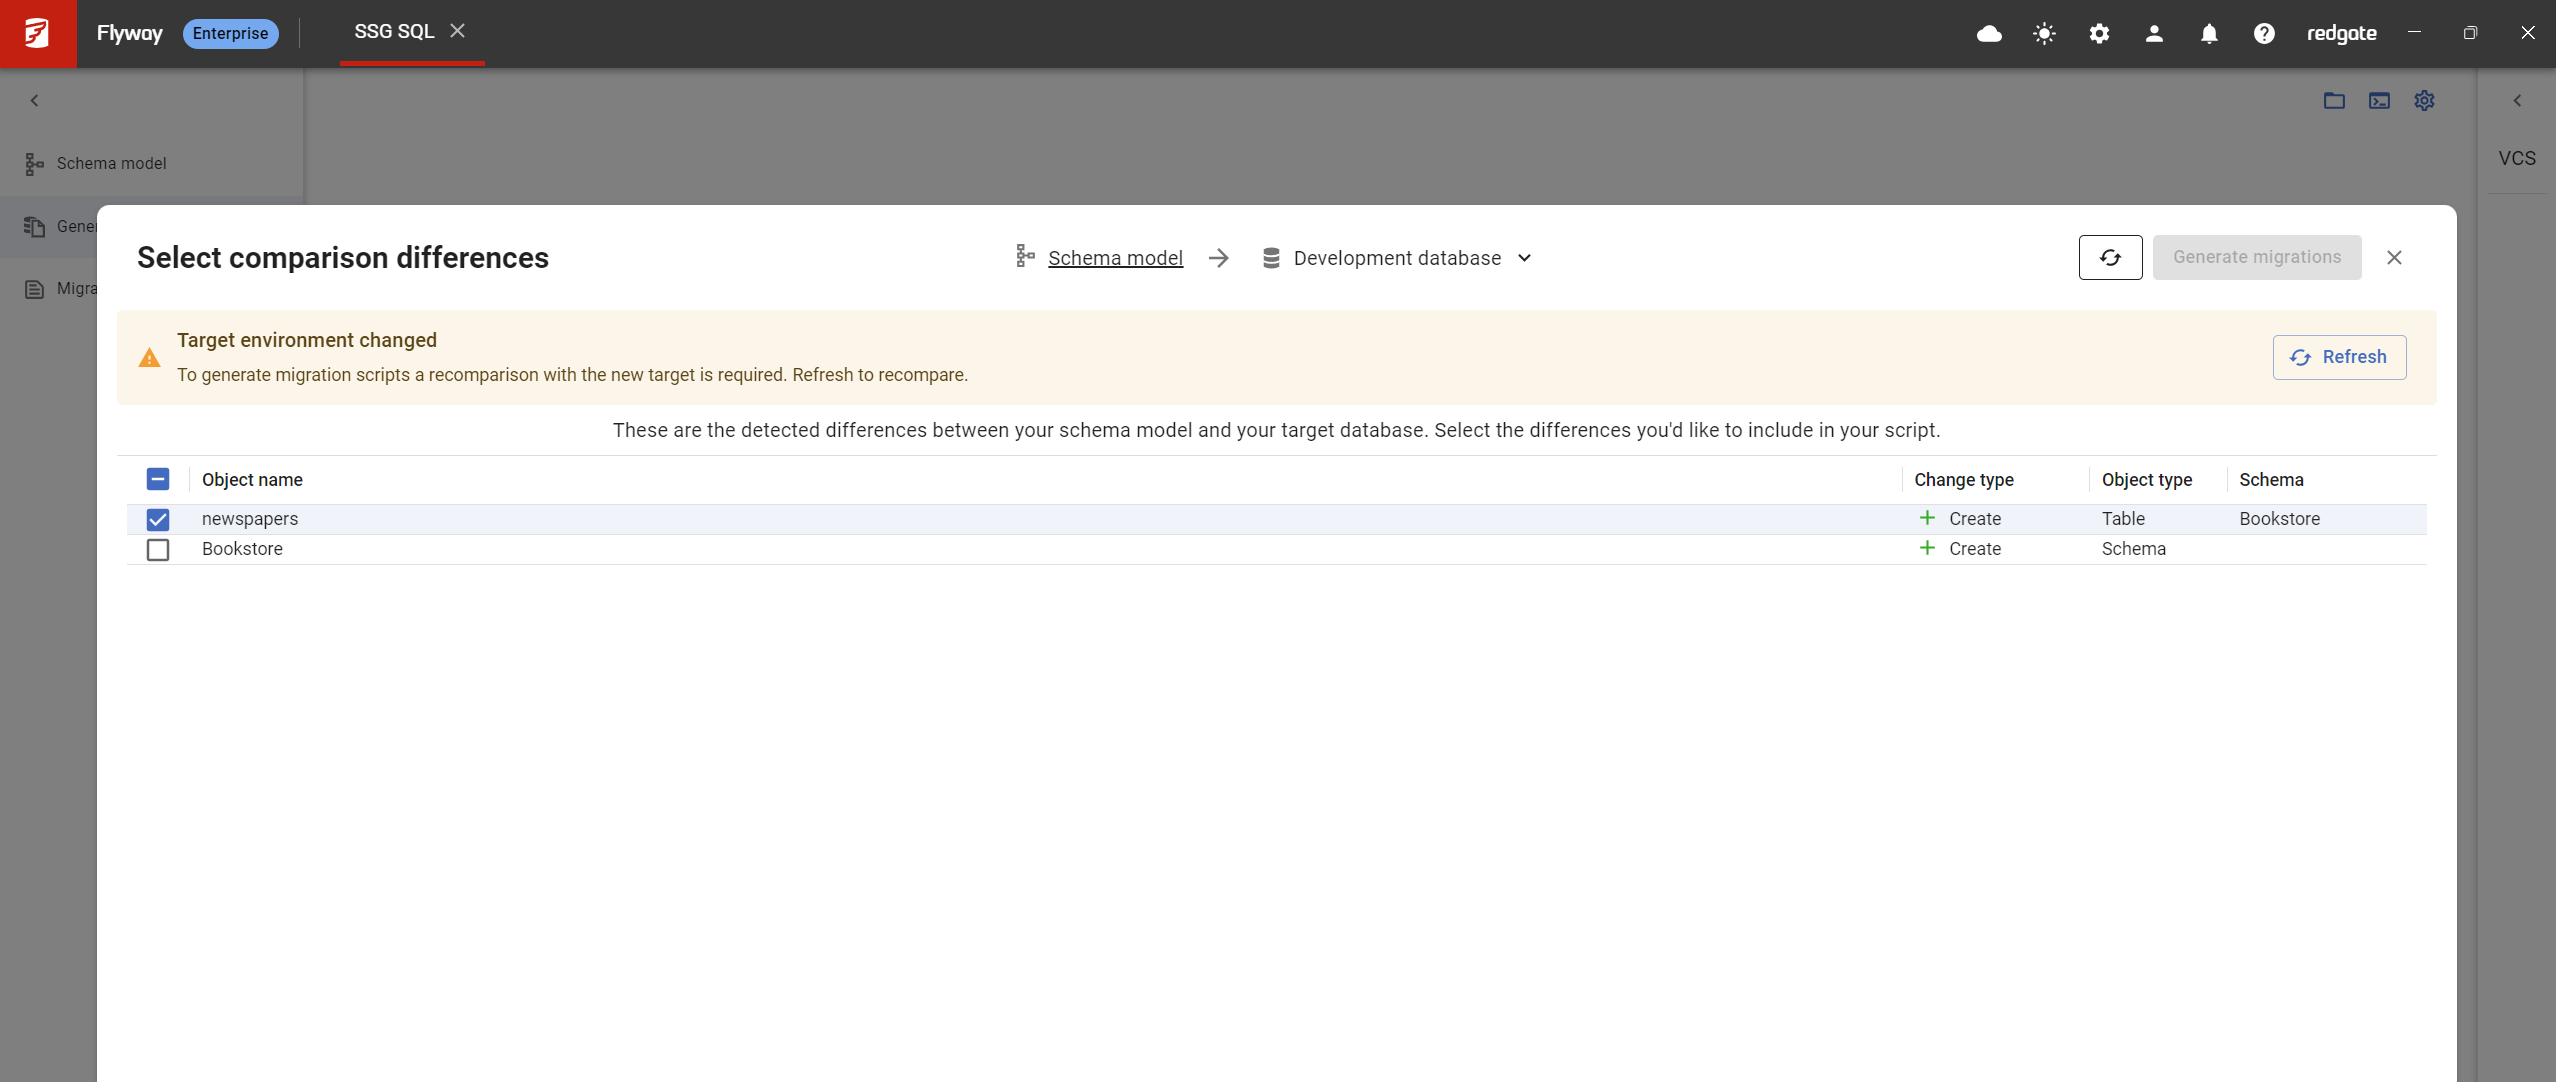
- It is also possible for you to change your target environment at this point and rerun the comparison:
- Click on the target environment you have currently selected in the header bar and a dropdown will show up where you can select a different environment or alternatively you can configure a new environment.
- Click the Refresh button to rerun comparison against the newly selected target environment.
5) Review dependencies (if any)
If there are any objects which weren't selected which selected objects have dependencies on, you will be prompted to select these dependencies at this point, though you can choose to deselect them. If there are no unselected dependencies this step won't happen.
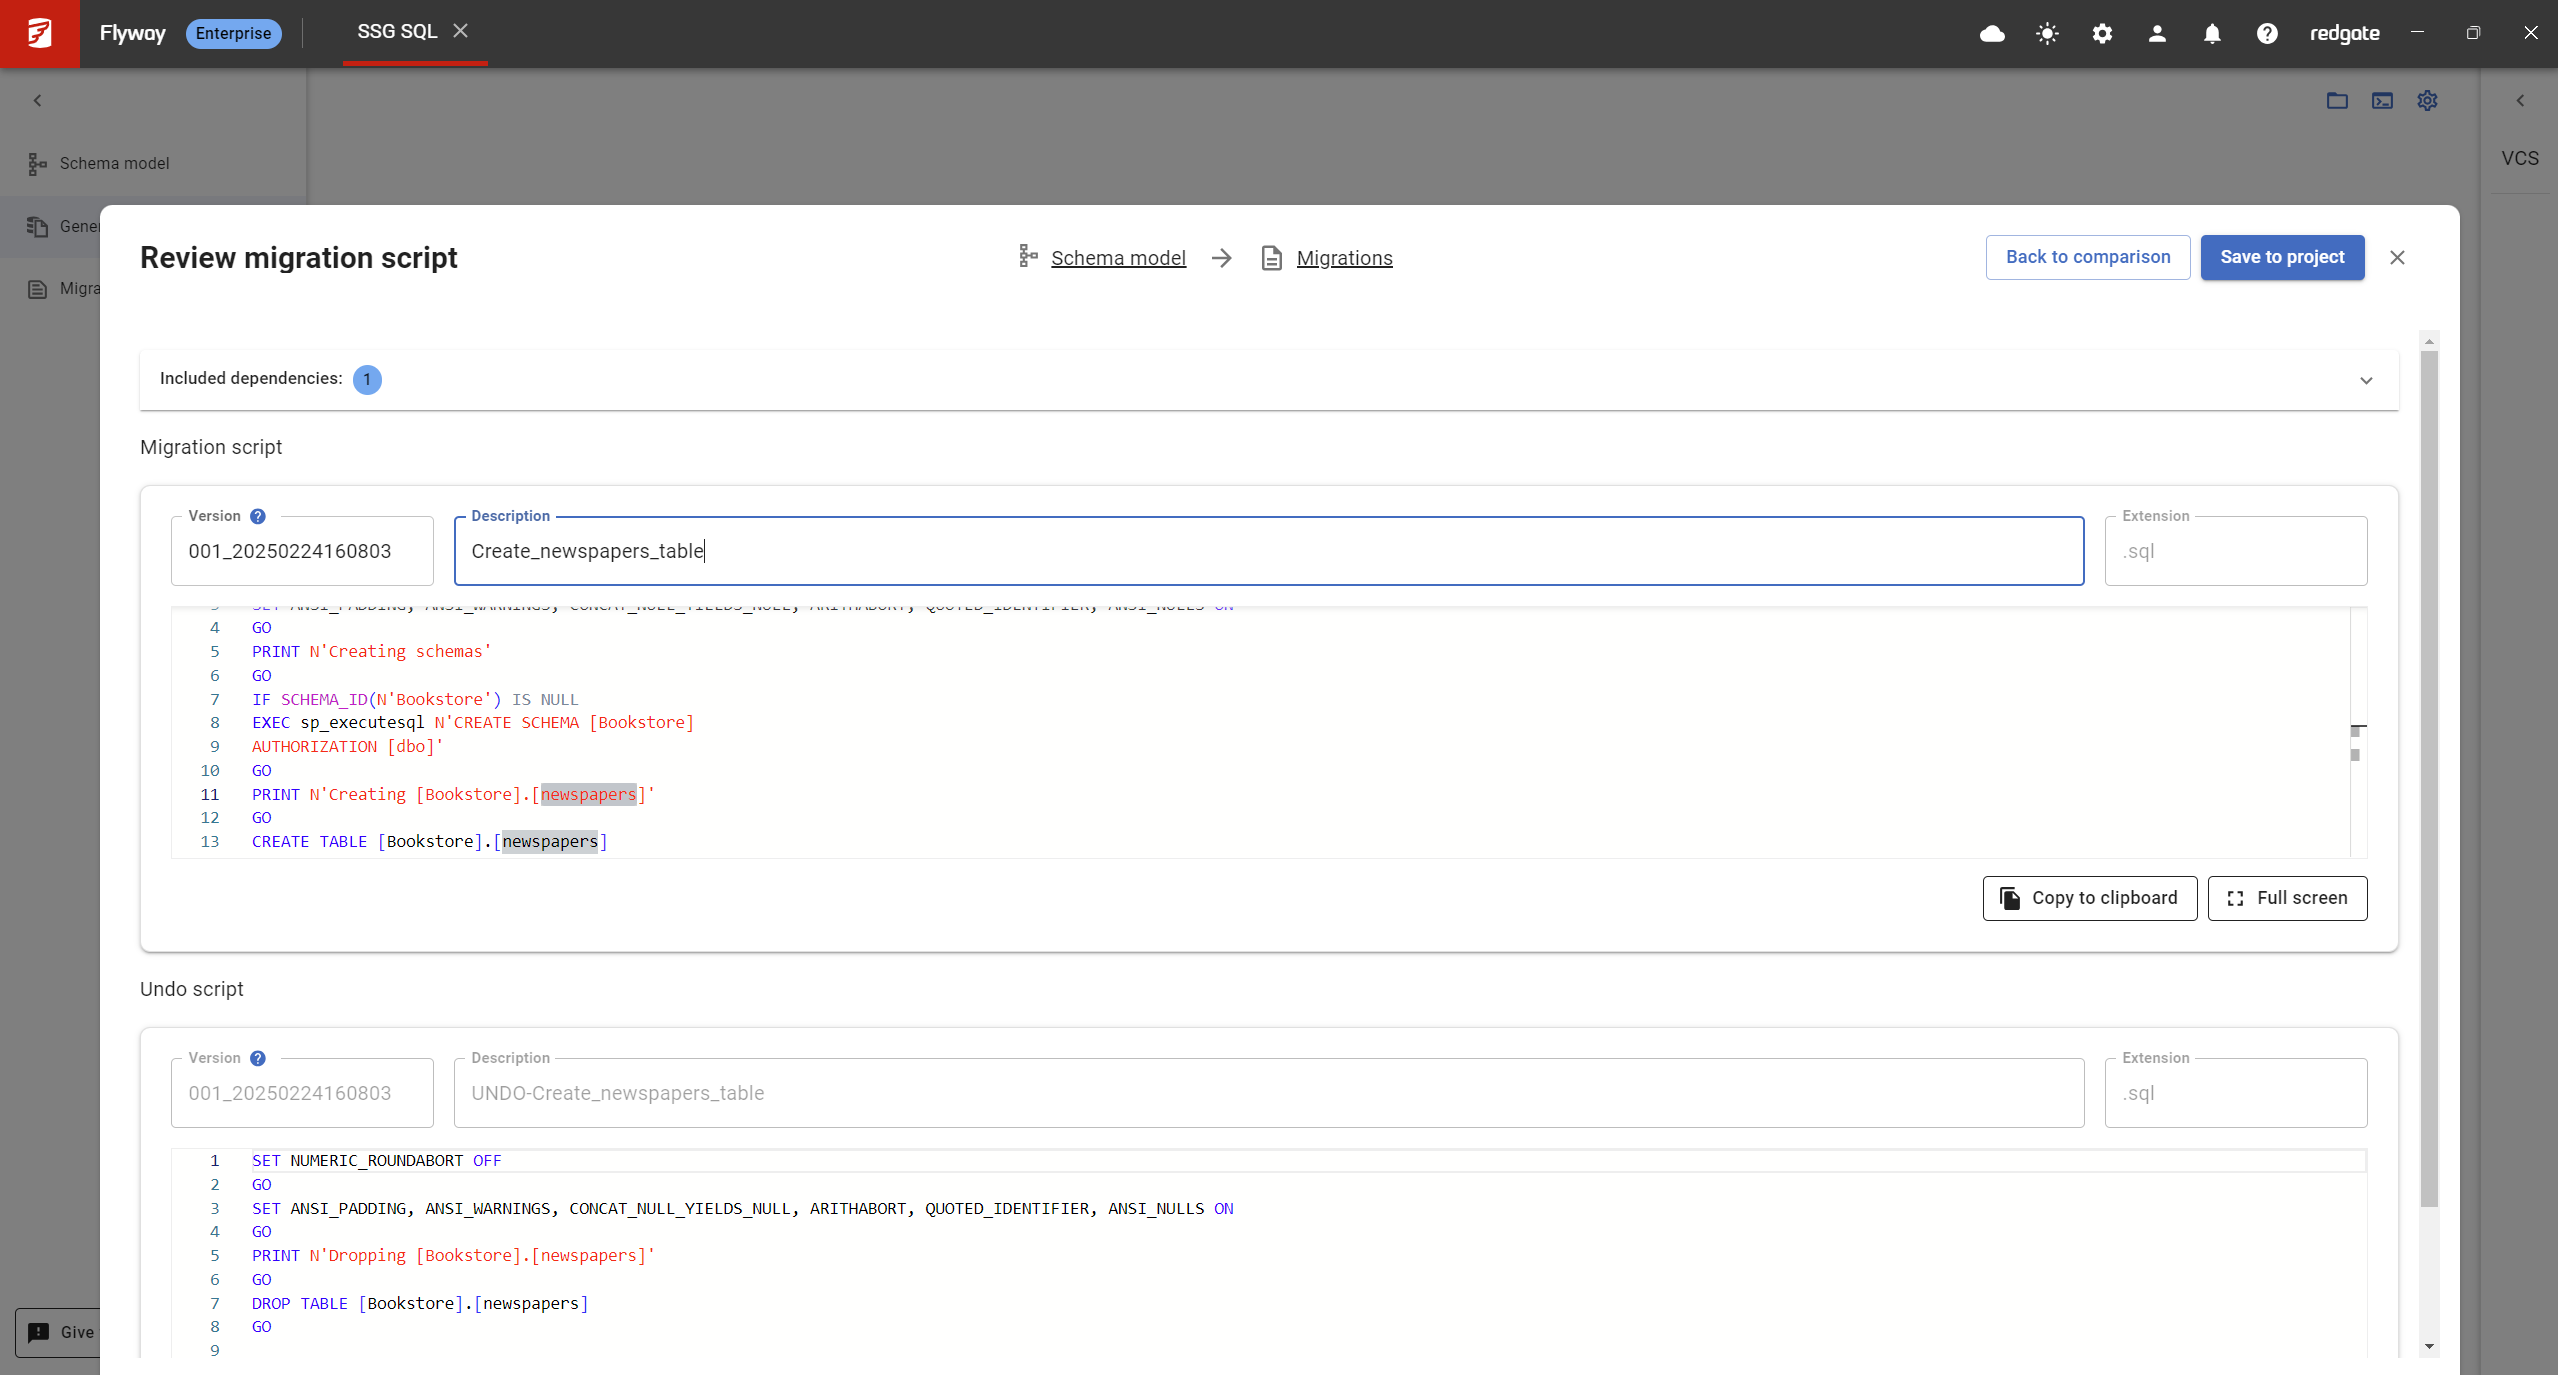
6) Review migration script
You can review both your versioned script and undo script if you enabled undo script generation in this pane and update the script, version and description as you wish and save the script on to your migrations folder in the project by clicking the Save to project button.
Alternatively, if you want to go back to the comparison screen to select different object changes to bring into your migration script, click the Back to comparison button.
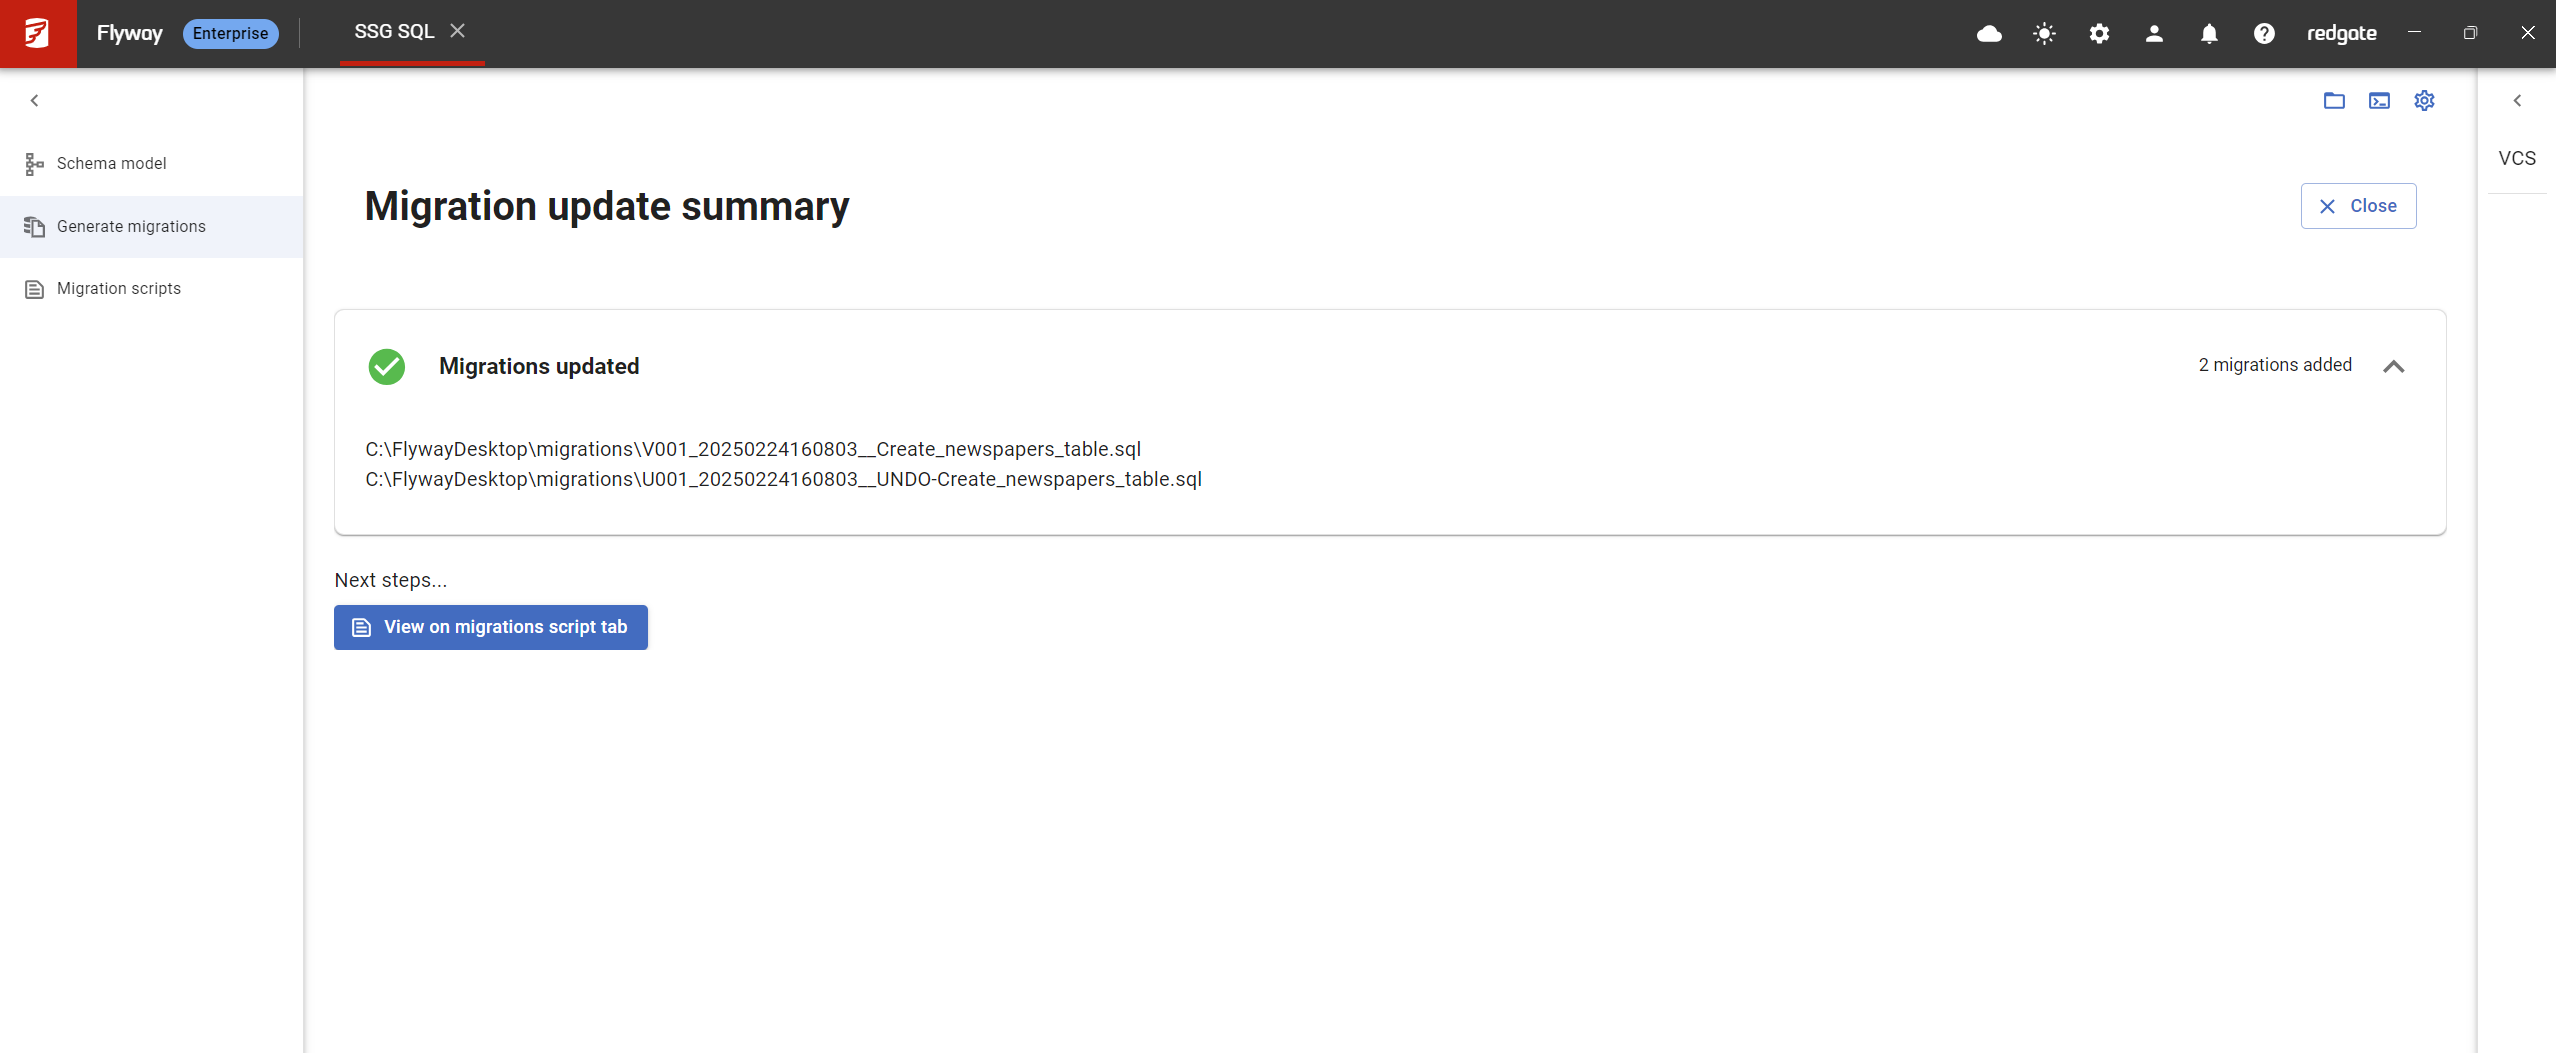
7) View migration scripts
The migration script(s) are created and can be viewed in the Migration scripts tab or by clicking the View on migration scripts tab button. Alternatively you can proceed to the first screen by clicking the Close button.
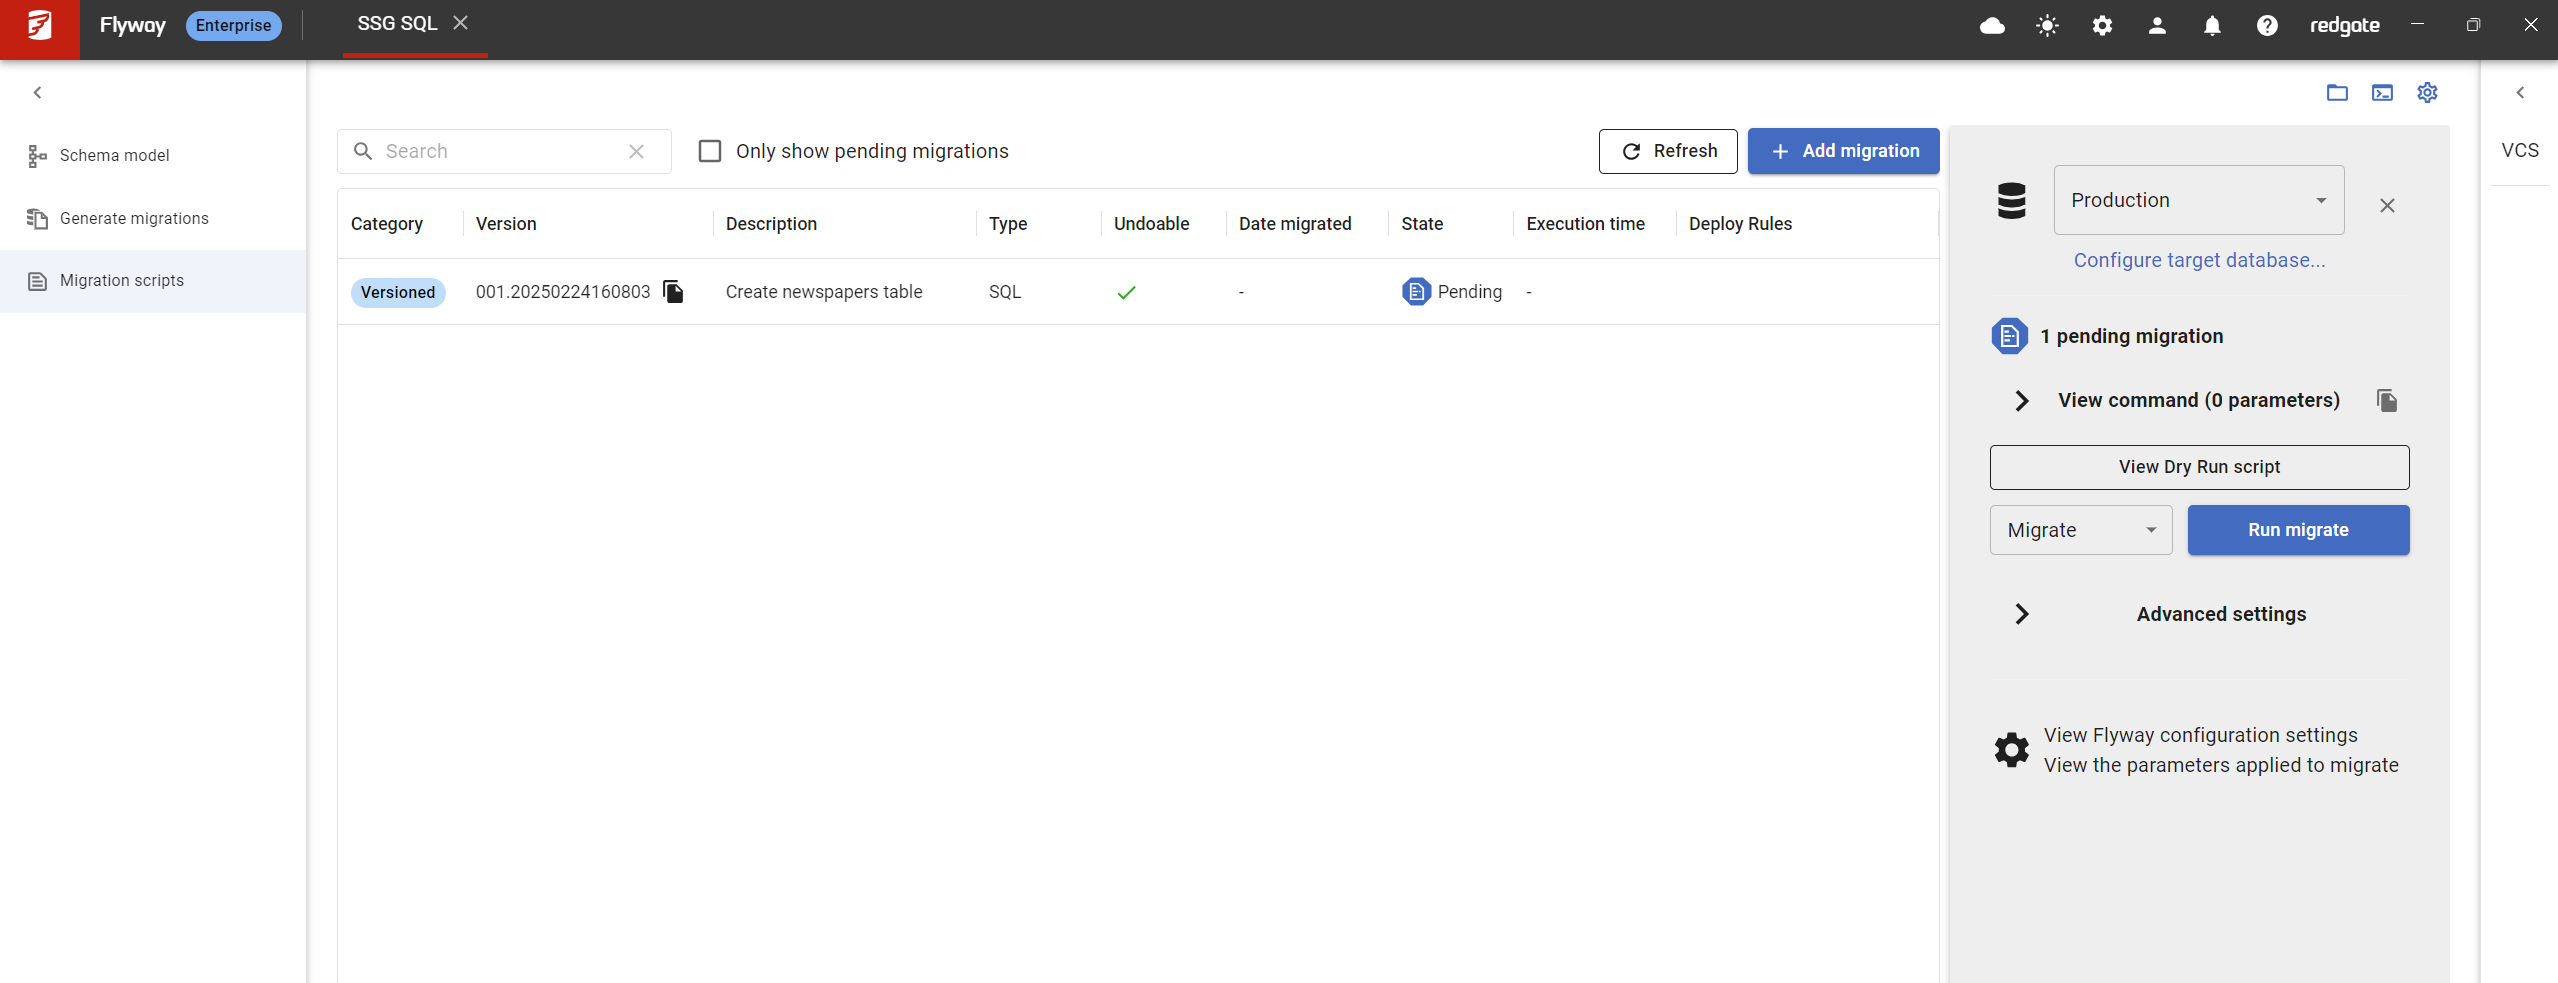
8) Run migration scripts
Upon navigating to the Migration scripts tab you can observe the newly generated migration script appears in the pending state against our selected target environment. You can click Run migrate to apply the script on to your target environment.
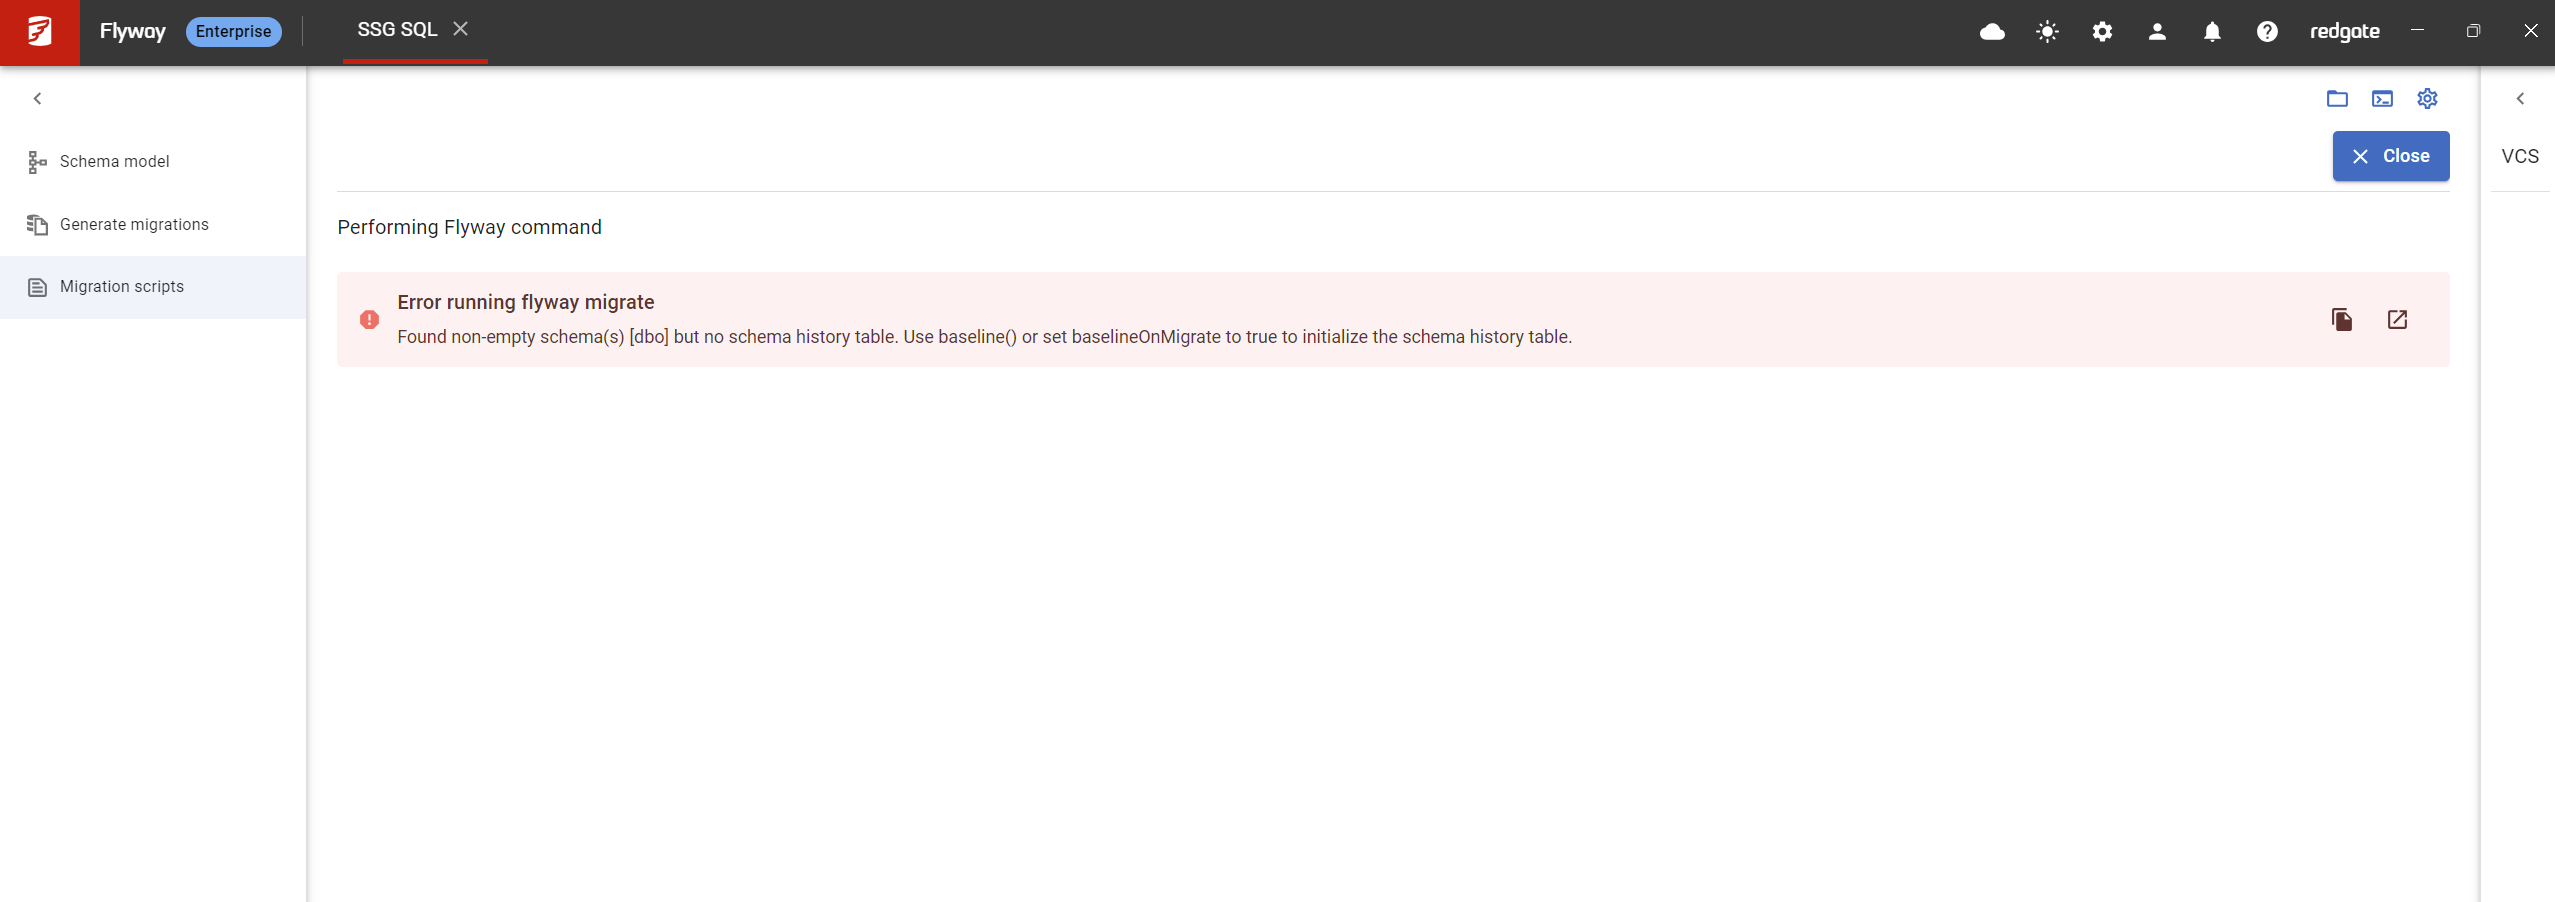
- Note: If your target environment has a non empty schema and no schema history table, you may encounter the following warning after clicking Run migrate. The warning would prompt you to use baseline or set baselineOnMigrate to true to create the scheme history table. We recommend performing the later which would resolve the warning and create the schema history table as required when you run migrate.
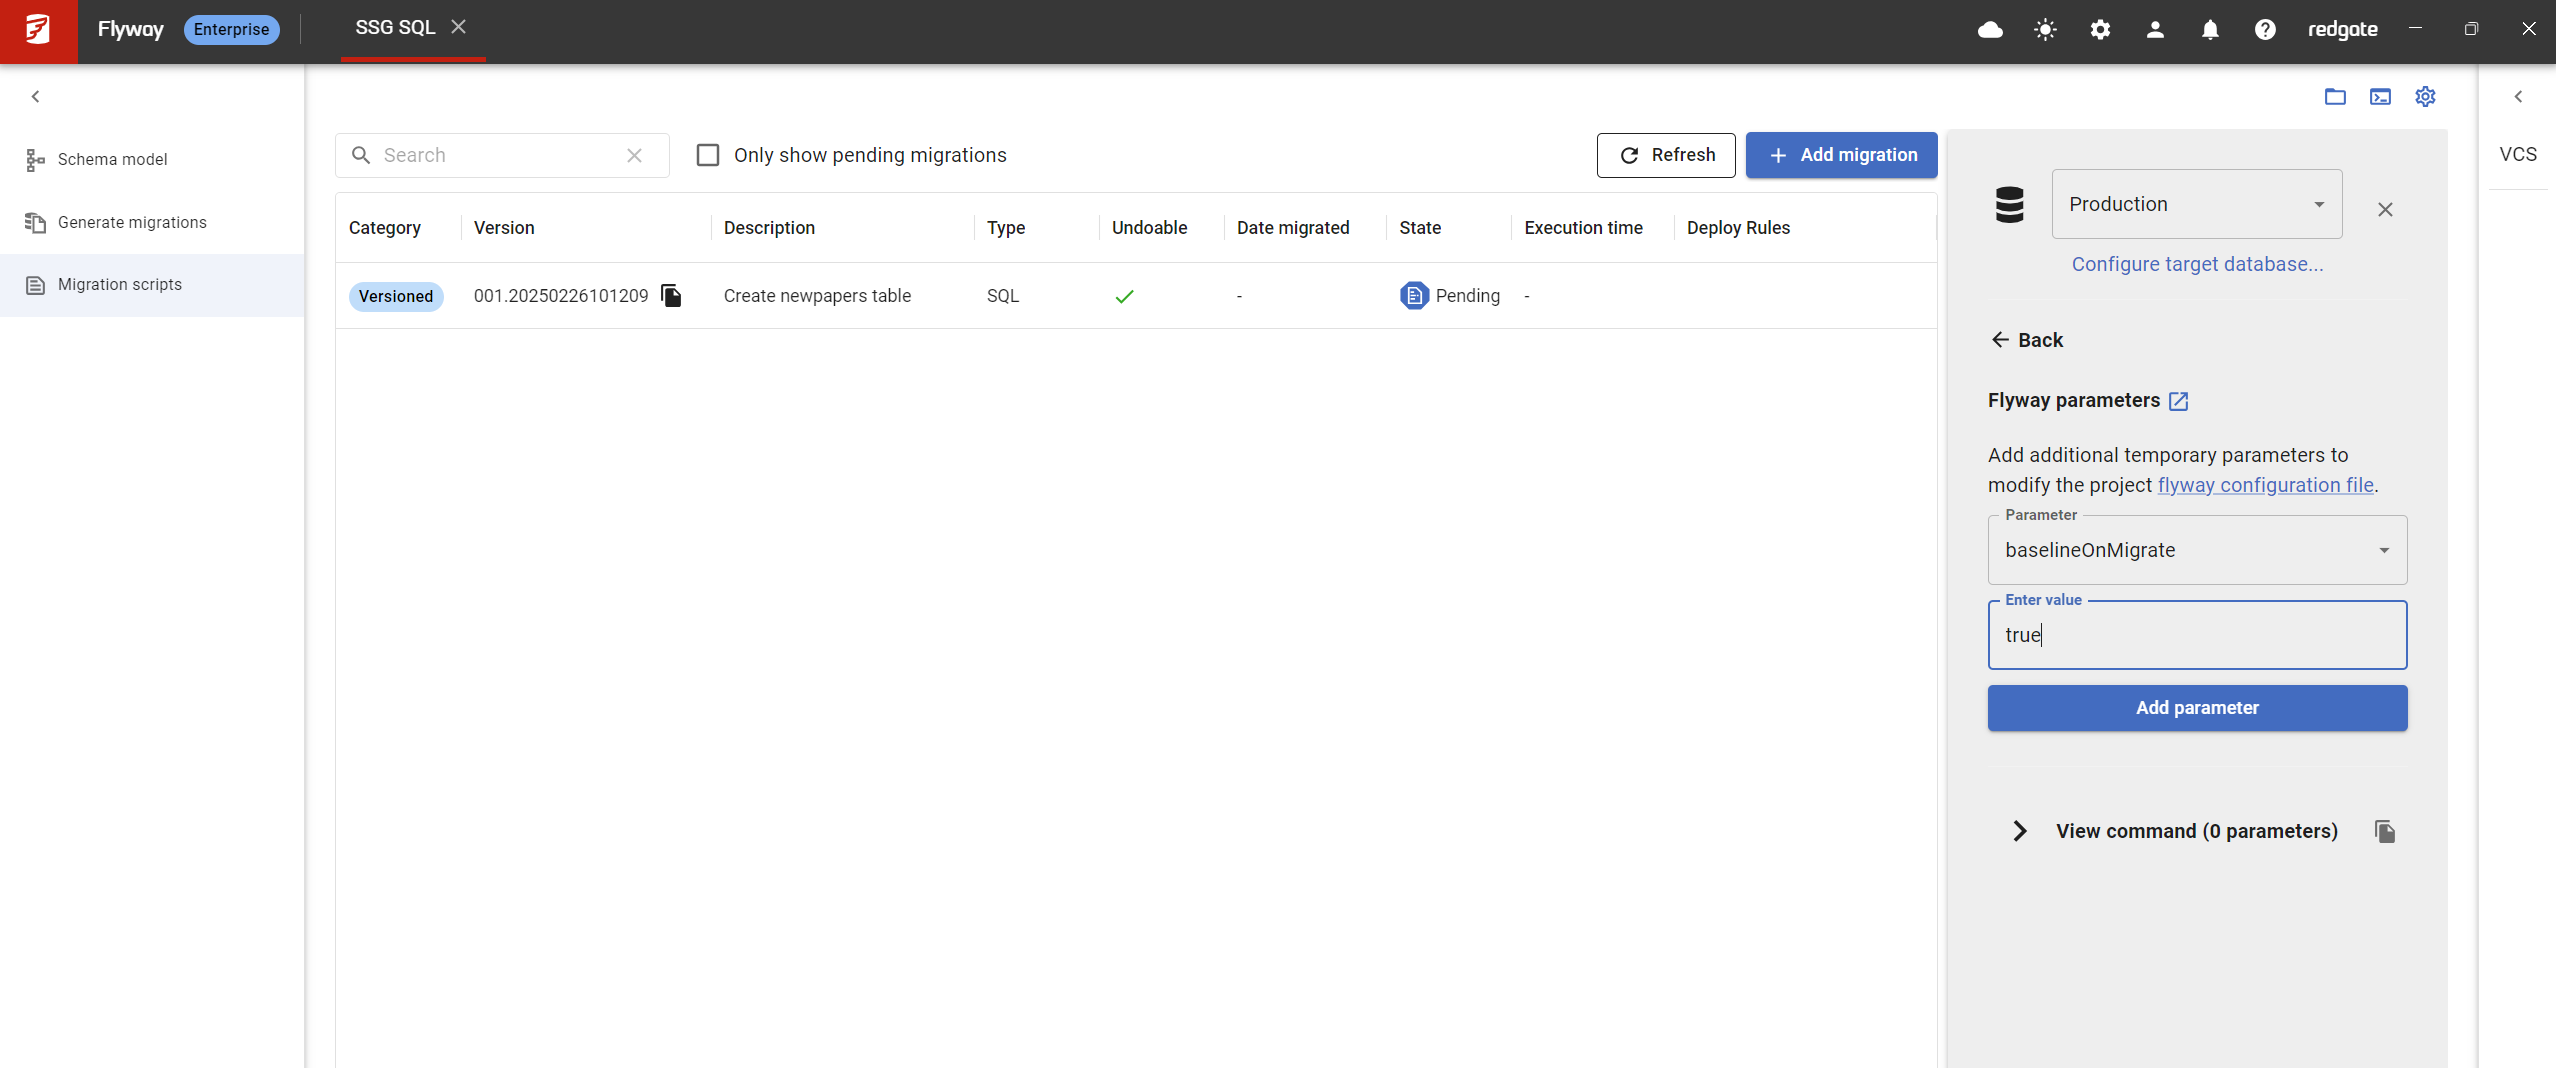
baselineOnMigratecan be configured as an advanced parameter in operations on the Migrations page and then you can click Run migrate to apply your migrations on to your target environment.
1) Check for pending migrations
Run the following command and check the output to verify there are no pending migrations against target1, to prevent creating a script during this workflow that contains duplicate db changes
flyway info -environment=target1
2) Select changes to include in script
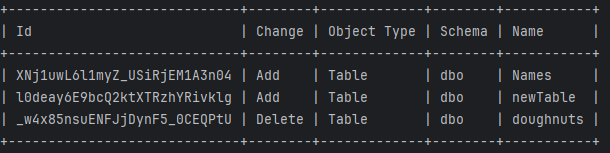
Run flyway diff to compare your schema model to your target, to generate a diff artifact. The changes will be displayed in a table
flyway diff -diff.source=schemaModel -diff.target=target1
3) Generate migrations
Run flyway generate to create a migration script that contains all differences between the source and target
flyway generate -description="Add Names,newTable, delete doughnuts"
If you want to select specific changes to include in your migration script, you can run generate with specified changes IDs:
flyway generate -description="Add Names,newTable" -changes=XNj1uwL6l1myZ_USiRjEM1A3n04,l0deay6E9bcQ2ktXTRzhYRivklg
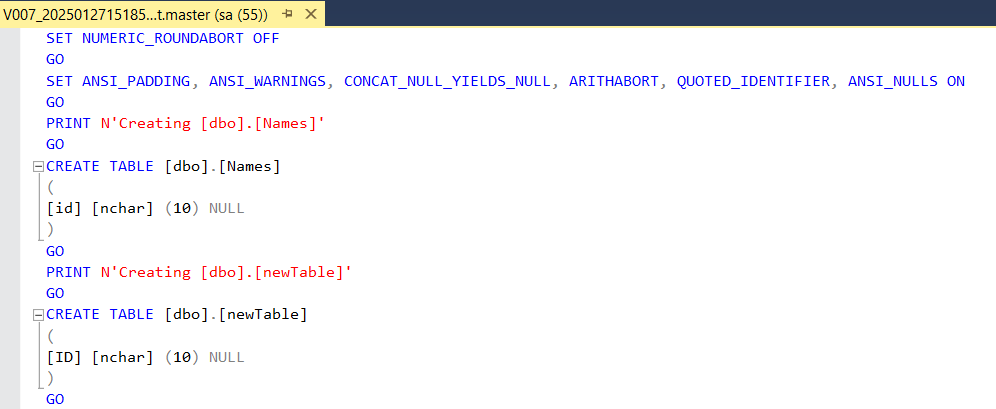
The above screenshot shows that this migration script is only creating 'Names' and 'newTable', not also deleting the 'doughnuts' table
You can also view and change the script in your file system.
4) Run migration scripts
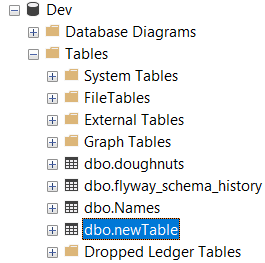
Run flyway migrate to apply the generated migration script, and optionally use 'baselineOnMigrate=true' to initialise the schema history table
flyway migrate -environment=target1 -baselineOnMigrate=true
We can see that this adds the Names and newTable tables
Next steps
Optionally save your new project to Version Control:
Then pick one of the following:
- Manually deploy your migrations to a database
- Configure your CI/DC pipeline to validate and deploy your changes whenever you push to Version Control
This documentation contains proprietary information and is protected by copyright law.
Copyright © 2026 Red Gate Software Limited. All rights reserved


