Adding servers to monitor
Published 08 March 2018
Once you've installed SQL Monitor and created the Administrator login password, choose the SQL Servers you want to monitor. See Supported platforms for a list of supported servers.
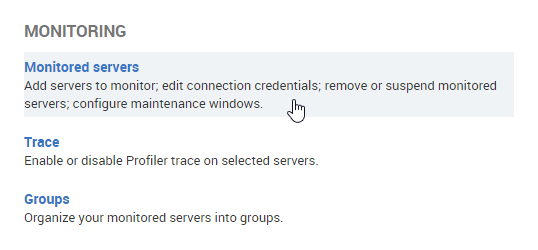
- Go to the Configuration tab and under Monitoring, select Monitored servers.
- Click the Add SQL Server button. The Add SQL Server panel expands:
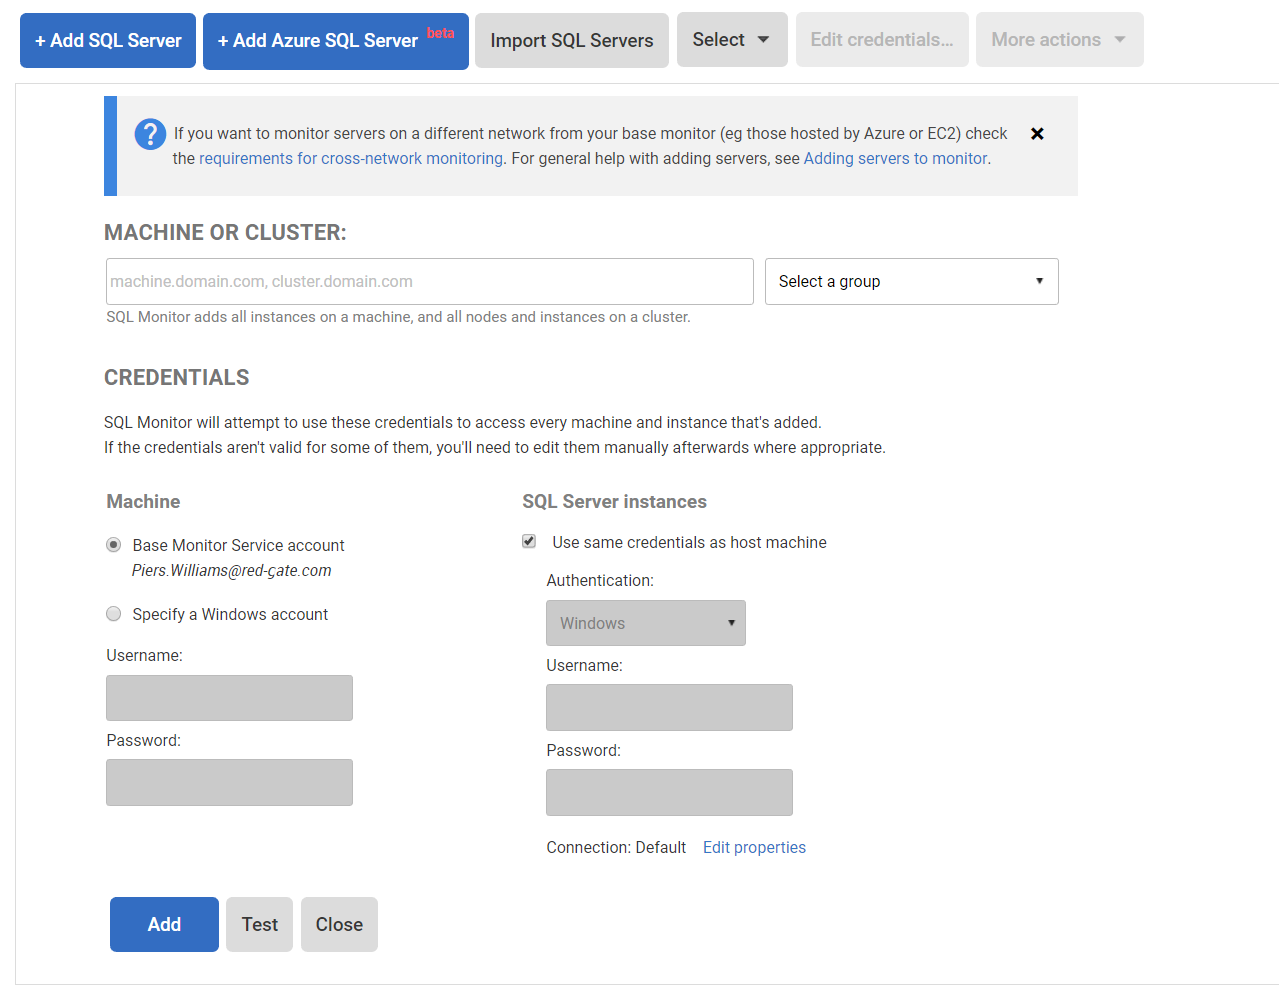
In the SQL Server field, enter the server(s) you want to monitor.
Adding instances on non-clustered machines
- To add instances on a non-clustered machine, enter the machine name.
SQL Monitor adds all the instances that are running on the machine (it doesn't add instances that are disabled or not started).
Adding failover cluster instances and standalone instances on clusters
To add instances on a cluster, including standalone instances installed on the cluster's nodes, enter [cluster-name] or [node-name] (where [node-name] is any node in the cluster).
SQL Monitor adds all the failover cluster instances on a cluster, but only adds the standalone instances that are running (it doesn't add standalone instances that are disabled or not started).
You can no longer add or remove specific instances. To stop monitoring a specific instance, go to Actions > Suspend monitoring.
When you enter [cluster-name] or [node-name], SQL Monitor will add the cluster andall nodes in the cluster. If you enter [node-name] and the node is in a cluster, make sure the cluster name is routable.
If you add new instances or nodes to a cluster you’re already monitoring, SQL Monitor will automatically detect and monitor these additions.
Availability groups
If you enter [cluster-name] or [node-name], and your cluster contains availability groups, SQL Monitor will also monitor these availability groups. They won’t show up on the Monitored servers page, but you’ll receive alerts for them and you'll be able to see them on the overview pages.
You can also enter an [availability-group-listener] instead of the [cluster-name] or [node-name].
When you enter the availability group listener, you don't need to specify the port number.
- To add instances on a non-clustered machine, enter the machine name.
- You will need to provide two sets of credentials to connect to:
- the host Windows machine on which the instance is running
- the SQL Server instance
By default, SQL Monitor uses the Base Monitor Service account for both sets of credentials. This is the Windows account you specified during installation to connect to the Data Repository (the SQL Server database that stores all collected data). You can specify a different account to use to connect to the host Windows machine and to the SQL Server instance.
SQL Monitor will attempt to use these credentials to access every server you add. If the credentials aren't valid for some servers, you'll need to manually edit them after you've added the servers.
- To set more advanced properties (eg to connect to a SQL on a different port), click Edit properties. The Connection properties box opens:

- Enter the properties you want to change for this instance and click OK. If you change the connection properties, they are identified as Custom:
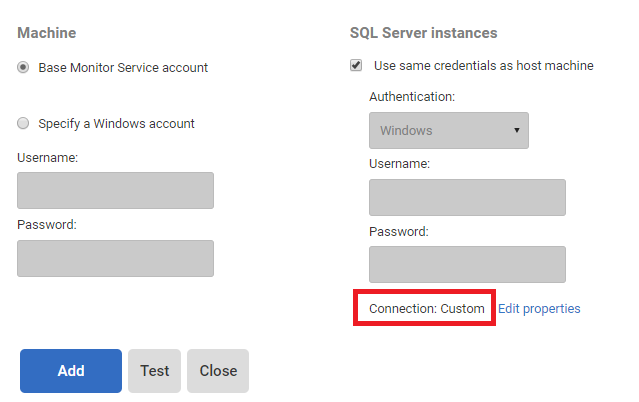
The connection properties persist until you move to a different page in SQL Monitor. If you add more servers, they will use the custom connection properties.
When you click Add, SQL Monitor attempts to add the host machine and instance(s) to the list of monitored servers:
 Once added, server names can't be edited. If you typed the name incorrectly, the server will be added with a status of "Connection failed (Unreachable)". To fix this, remove the server and add it again.
Once a connection is established and a data collection event succeeded, the status is displayed as Monitoring (Connected). If SQL Monitor encounters a problem and displays a different status, see Monitoring status explained.
Editing the credentials or properties of monitored servers
This documentation contains proprietary information and is protected by copyright law.
Copyright © 2026 Red Gate Software Limited. All rights reserved


