Creating a new project
Published 07 December 2019
Deployment Suite for Oracle has been replaced by Redgate Deploy - Oracle. This page is therefore no longer being updated. For the latest documentation, please click here.
A Redgate Change Control project allows you to track changes to a development database or Source Control for Oracle project and generate migration scripts that can be versioned controlled and used for continuous integration and automated deployments. One person on your team should create the project and commit it to your version control system to start working with other team members.
To create a new project, click New project... on the home screen.
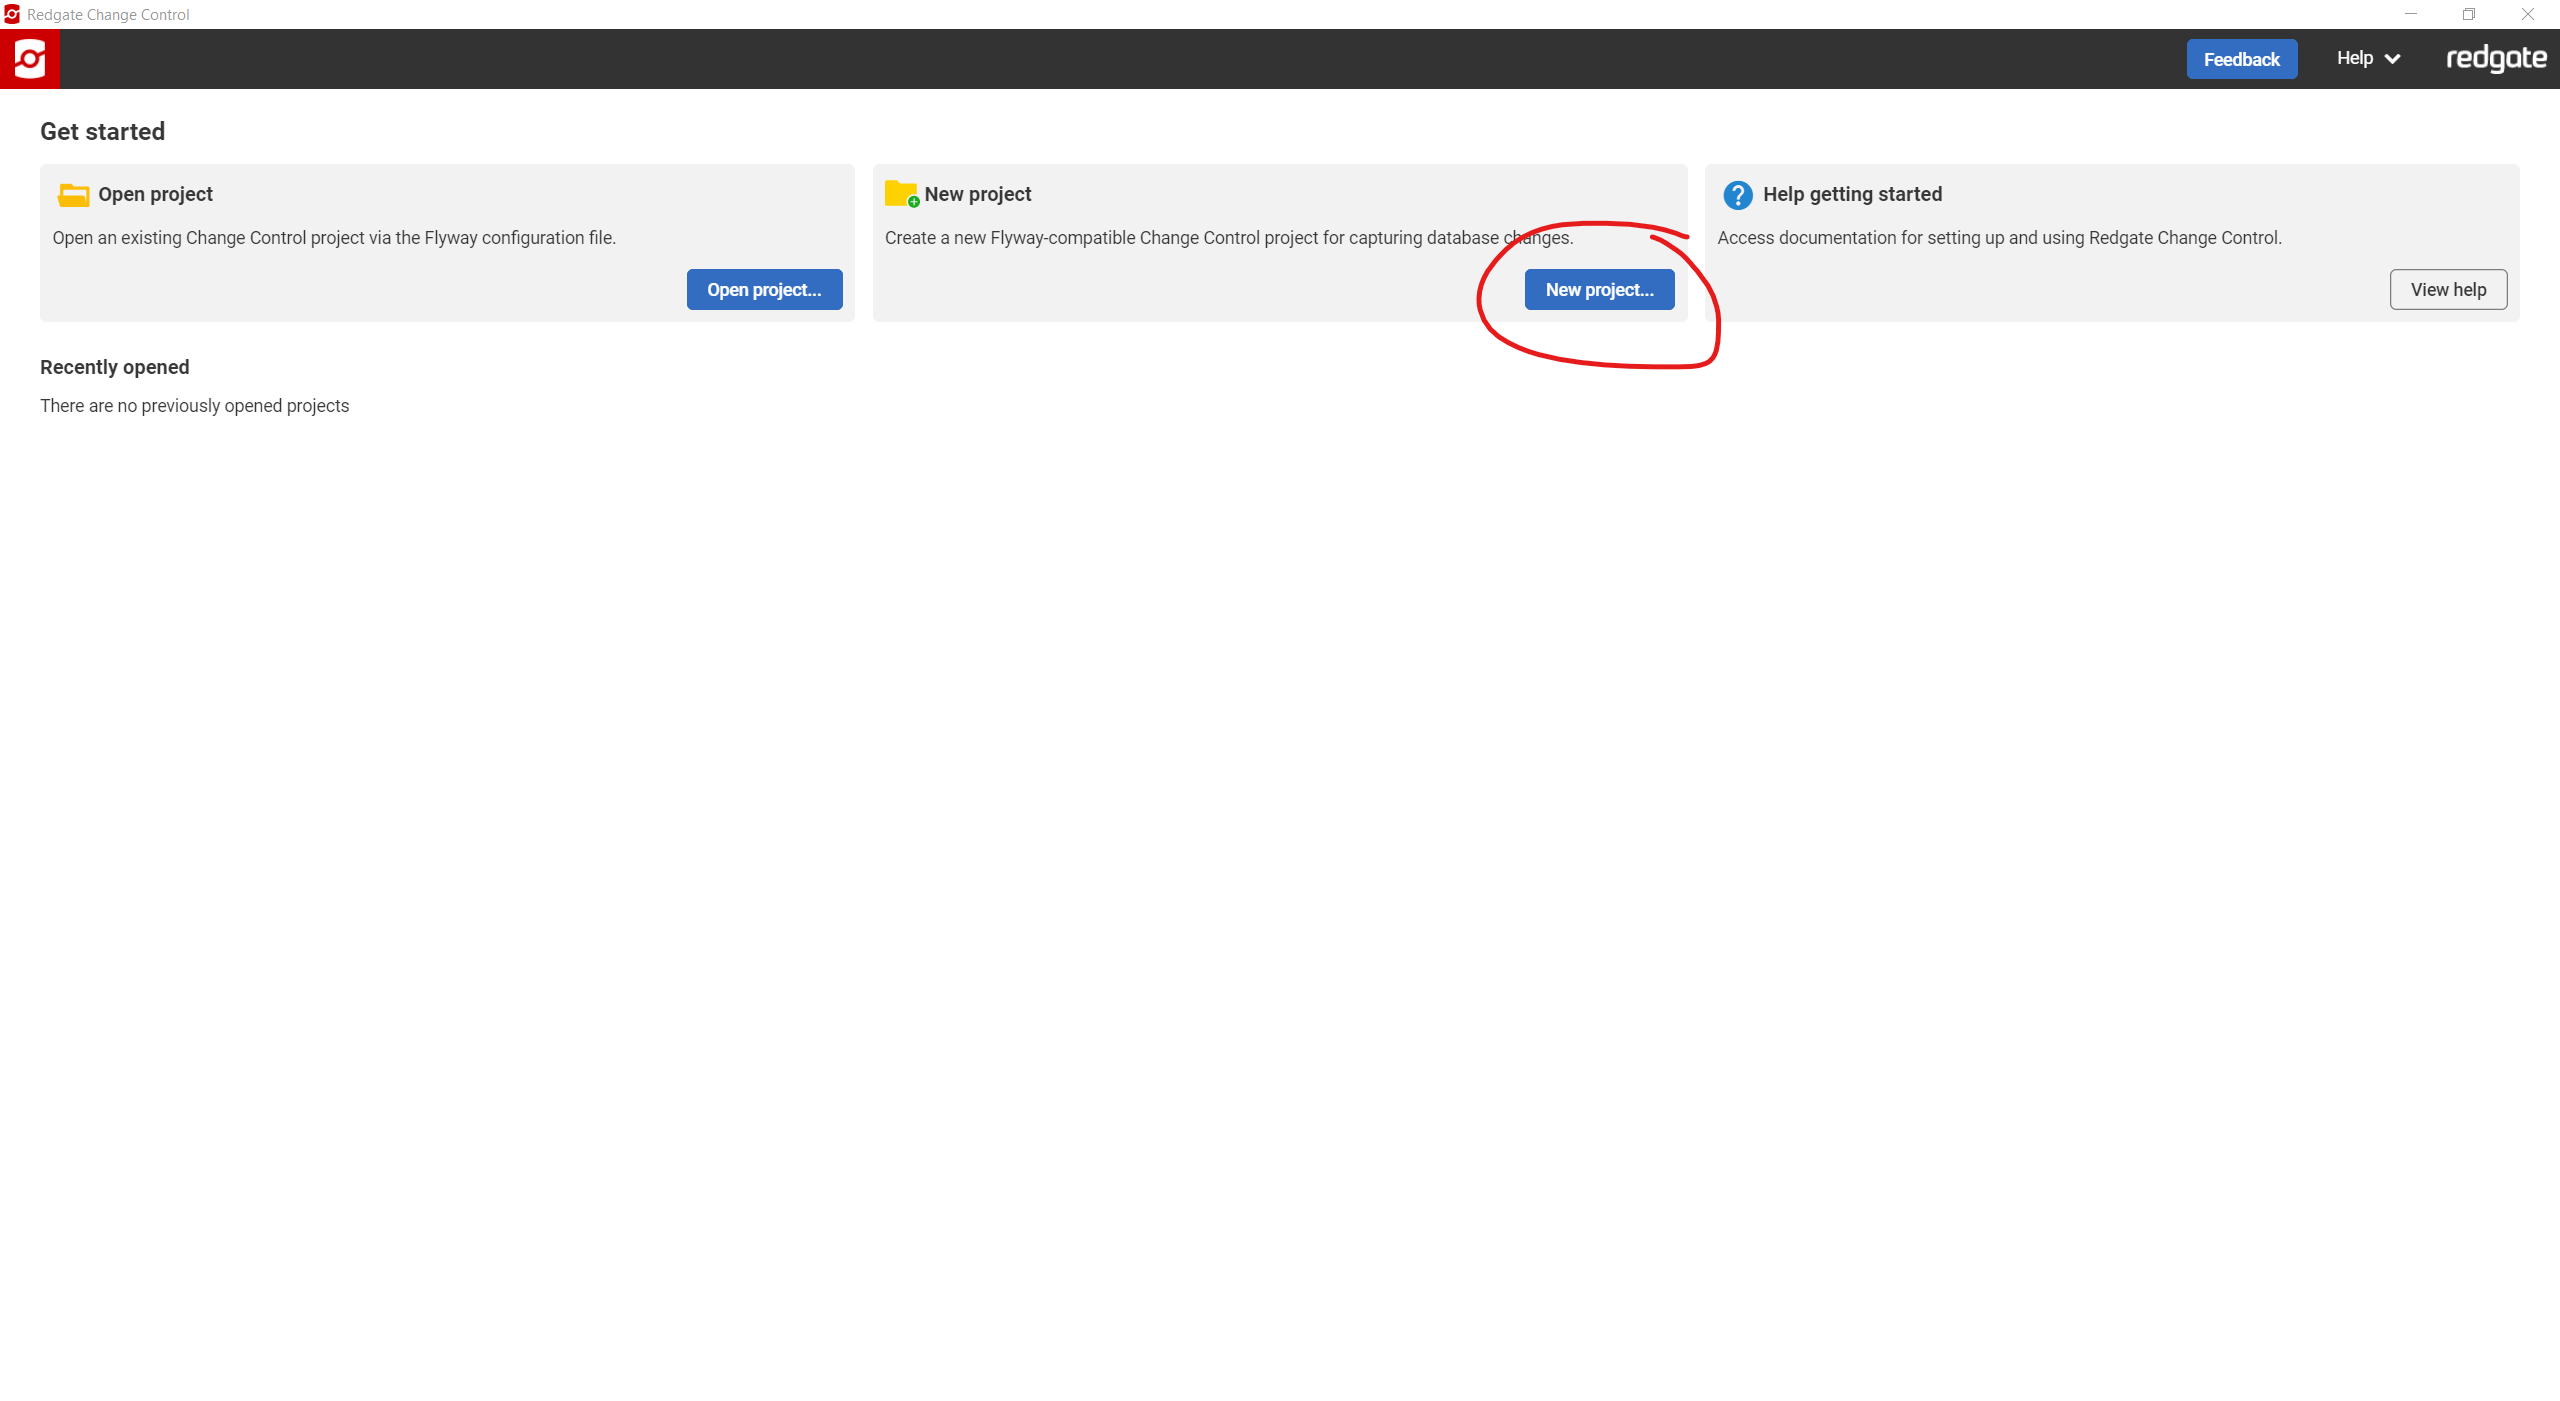
This will bring up a New Project wizard with a number of steps to complete. Some explanatory notes on what is required to create a new project will be shown on the initial page of the wizard. Click Start to begin the process.

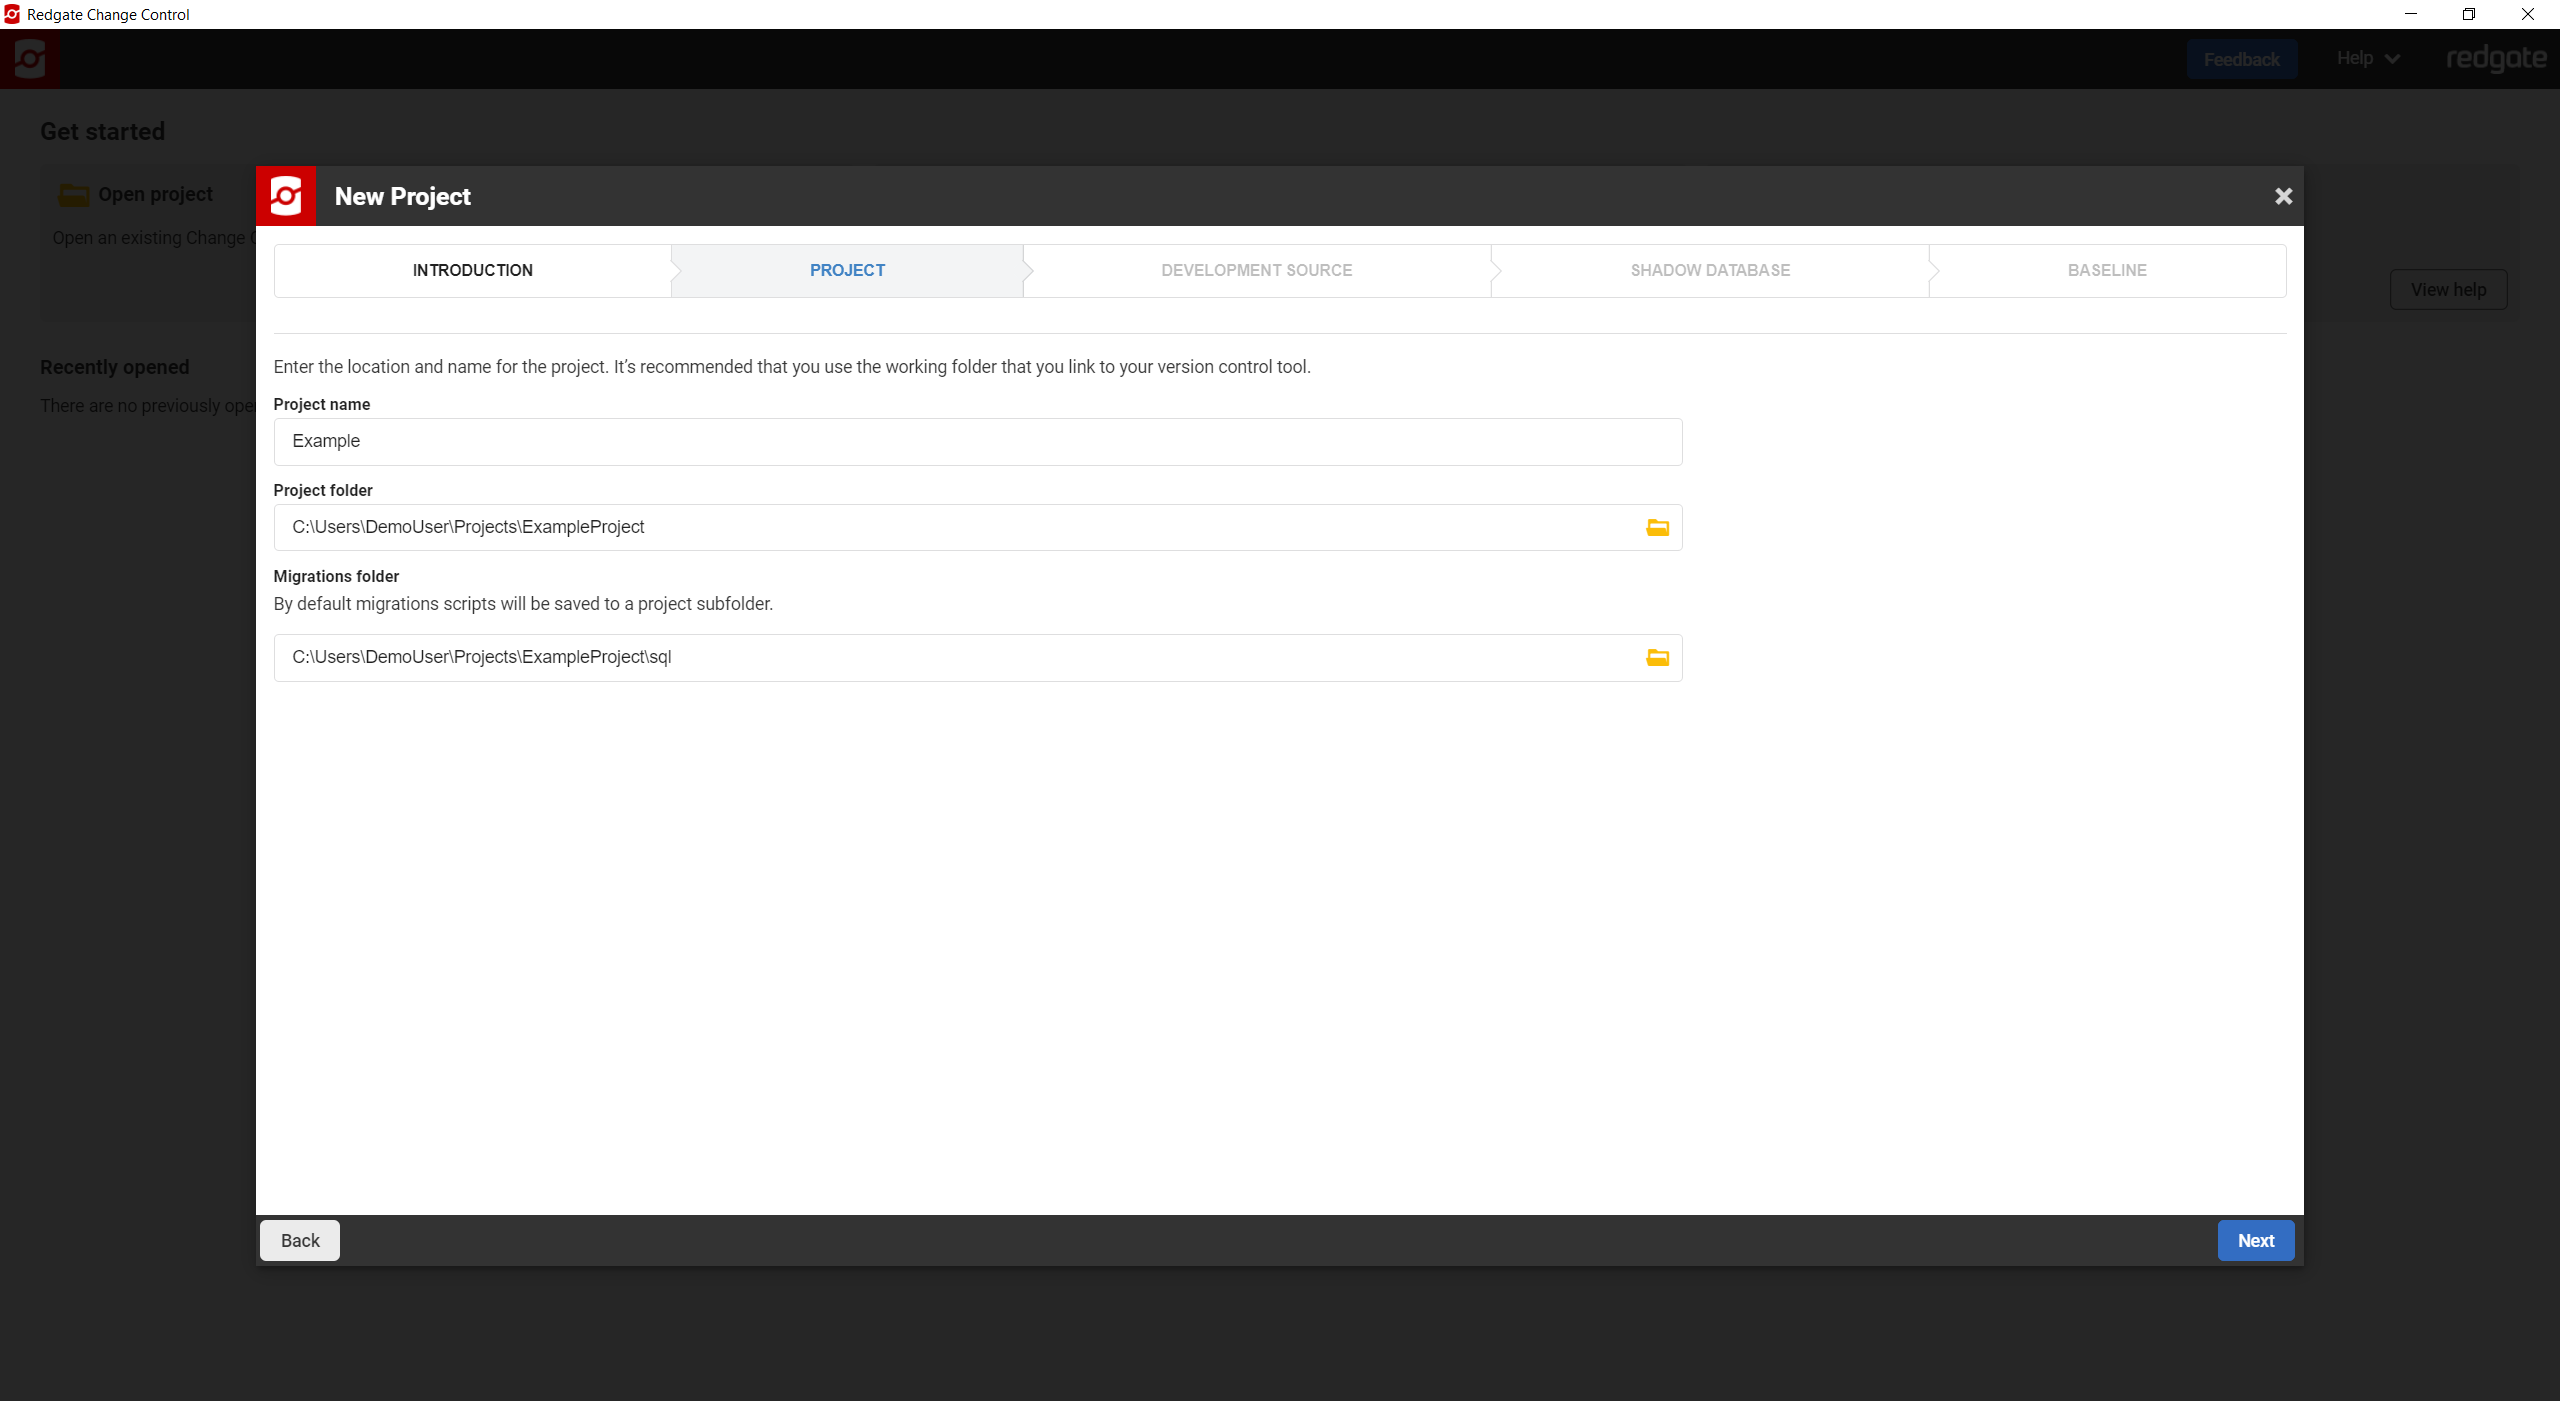
Create the project name and location
Enter a name for the new project and specify the location on disk for the project files that will be created. In addition, the location in which the migration scripts will be saved should also be specified. By default, this will create a subfolder called sql in the specified project location. Click Next.
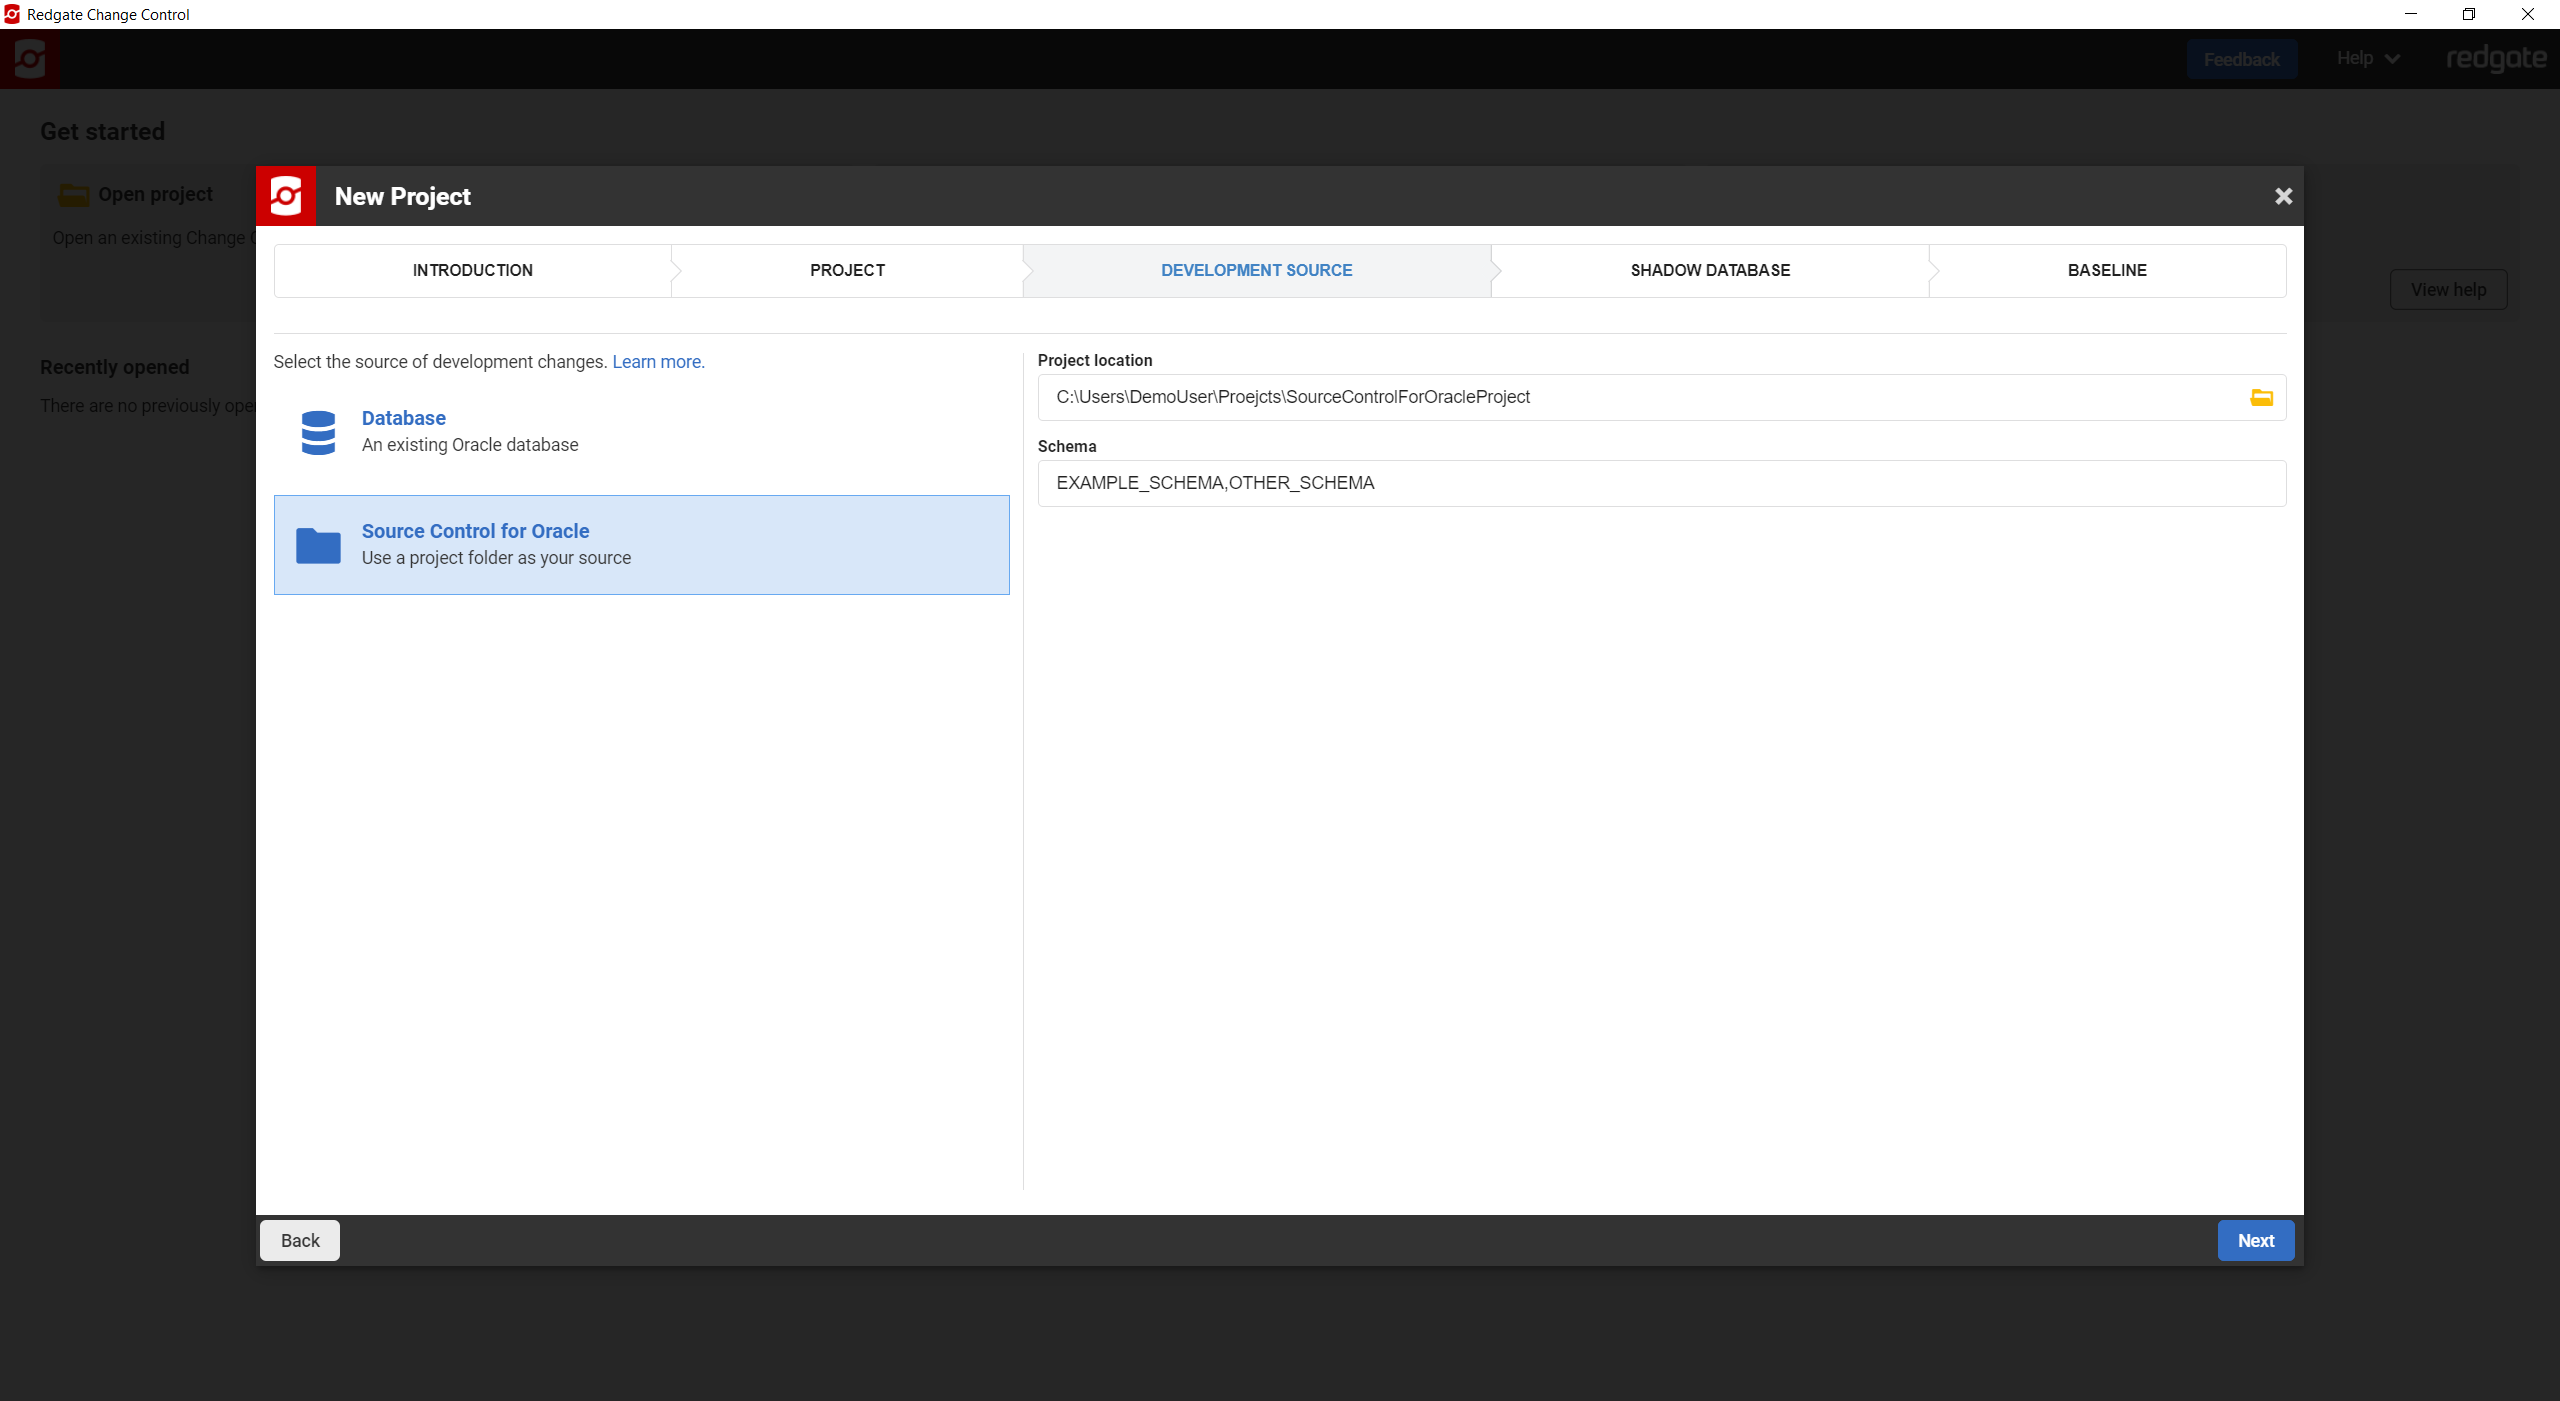
Specify the project type
At this point, you will be required to select which type of development source you're going to use for your project. Currently, two types are supported by Redgate Change Control.
- A database (default).
- A Source Control for Oracle project.
You can learn more about the two currently supported types of development source, and the implications and benefits of using either, here.
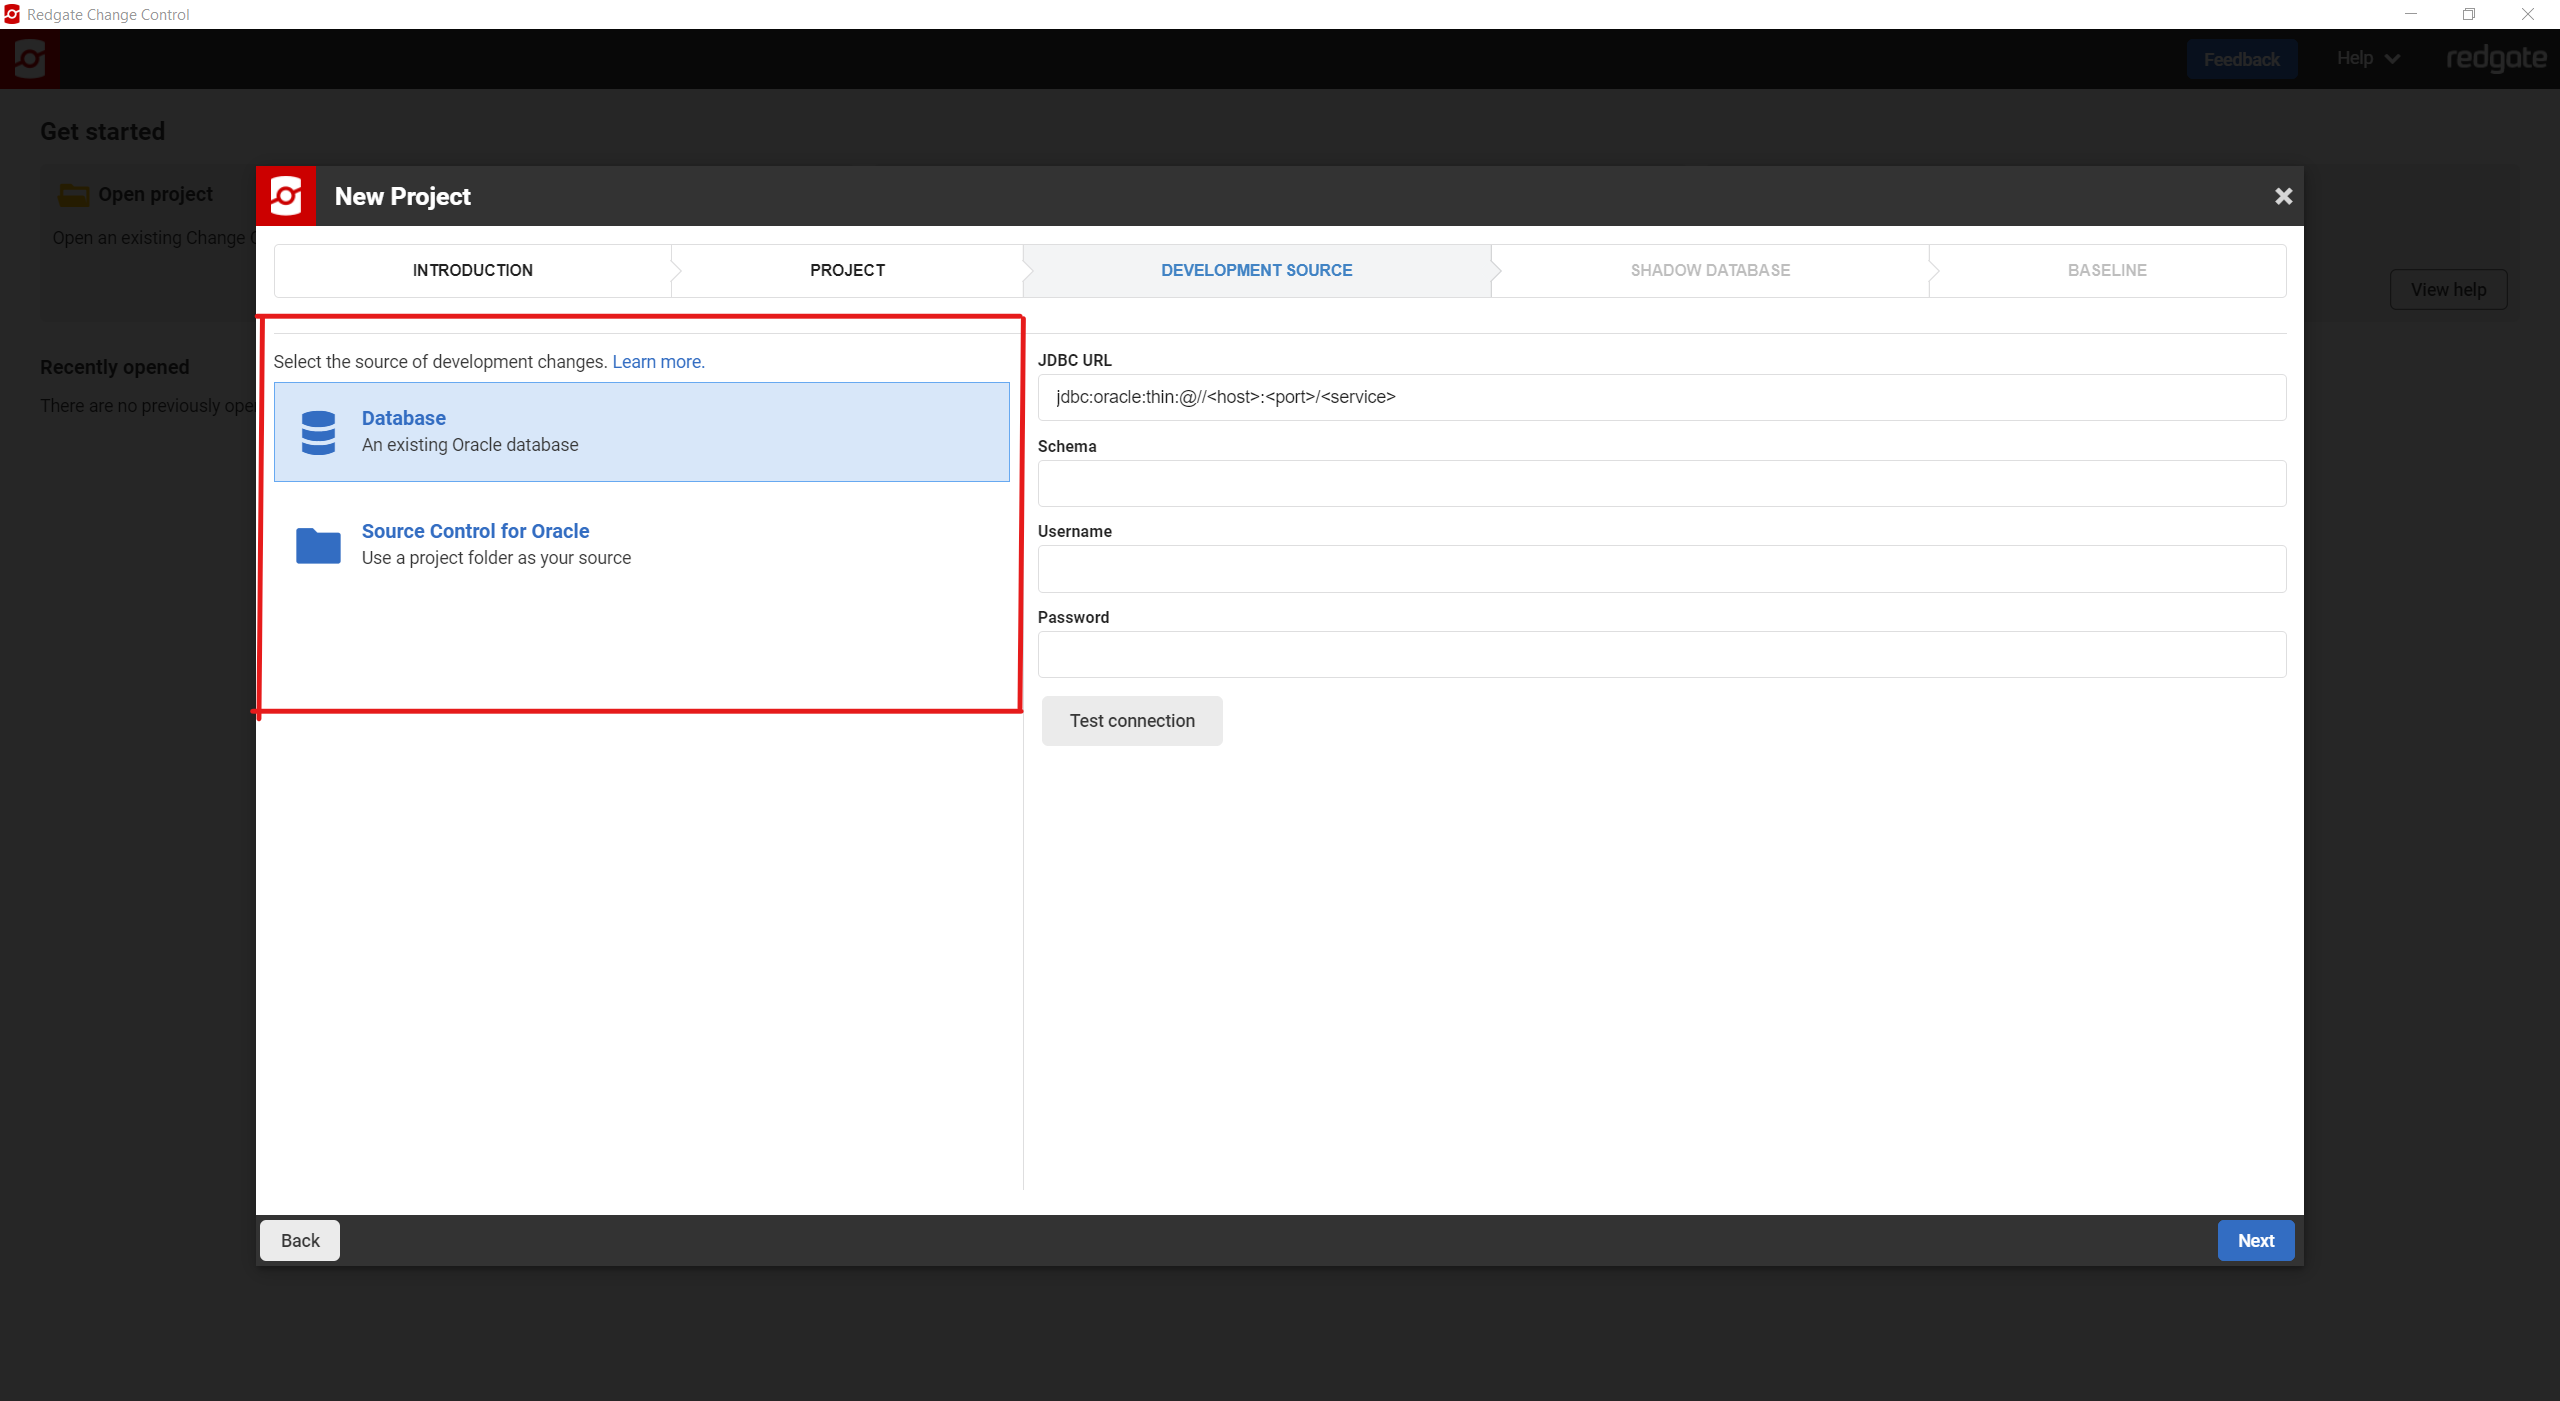
Select which development source you're going to use, and follow one of the two sections below for specifying the development source.
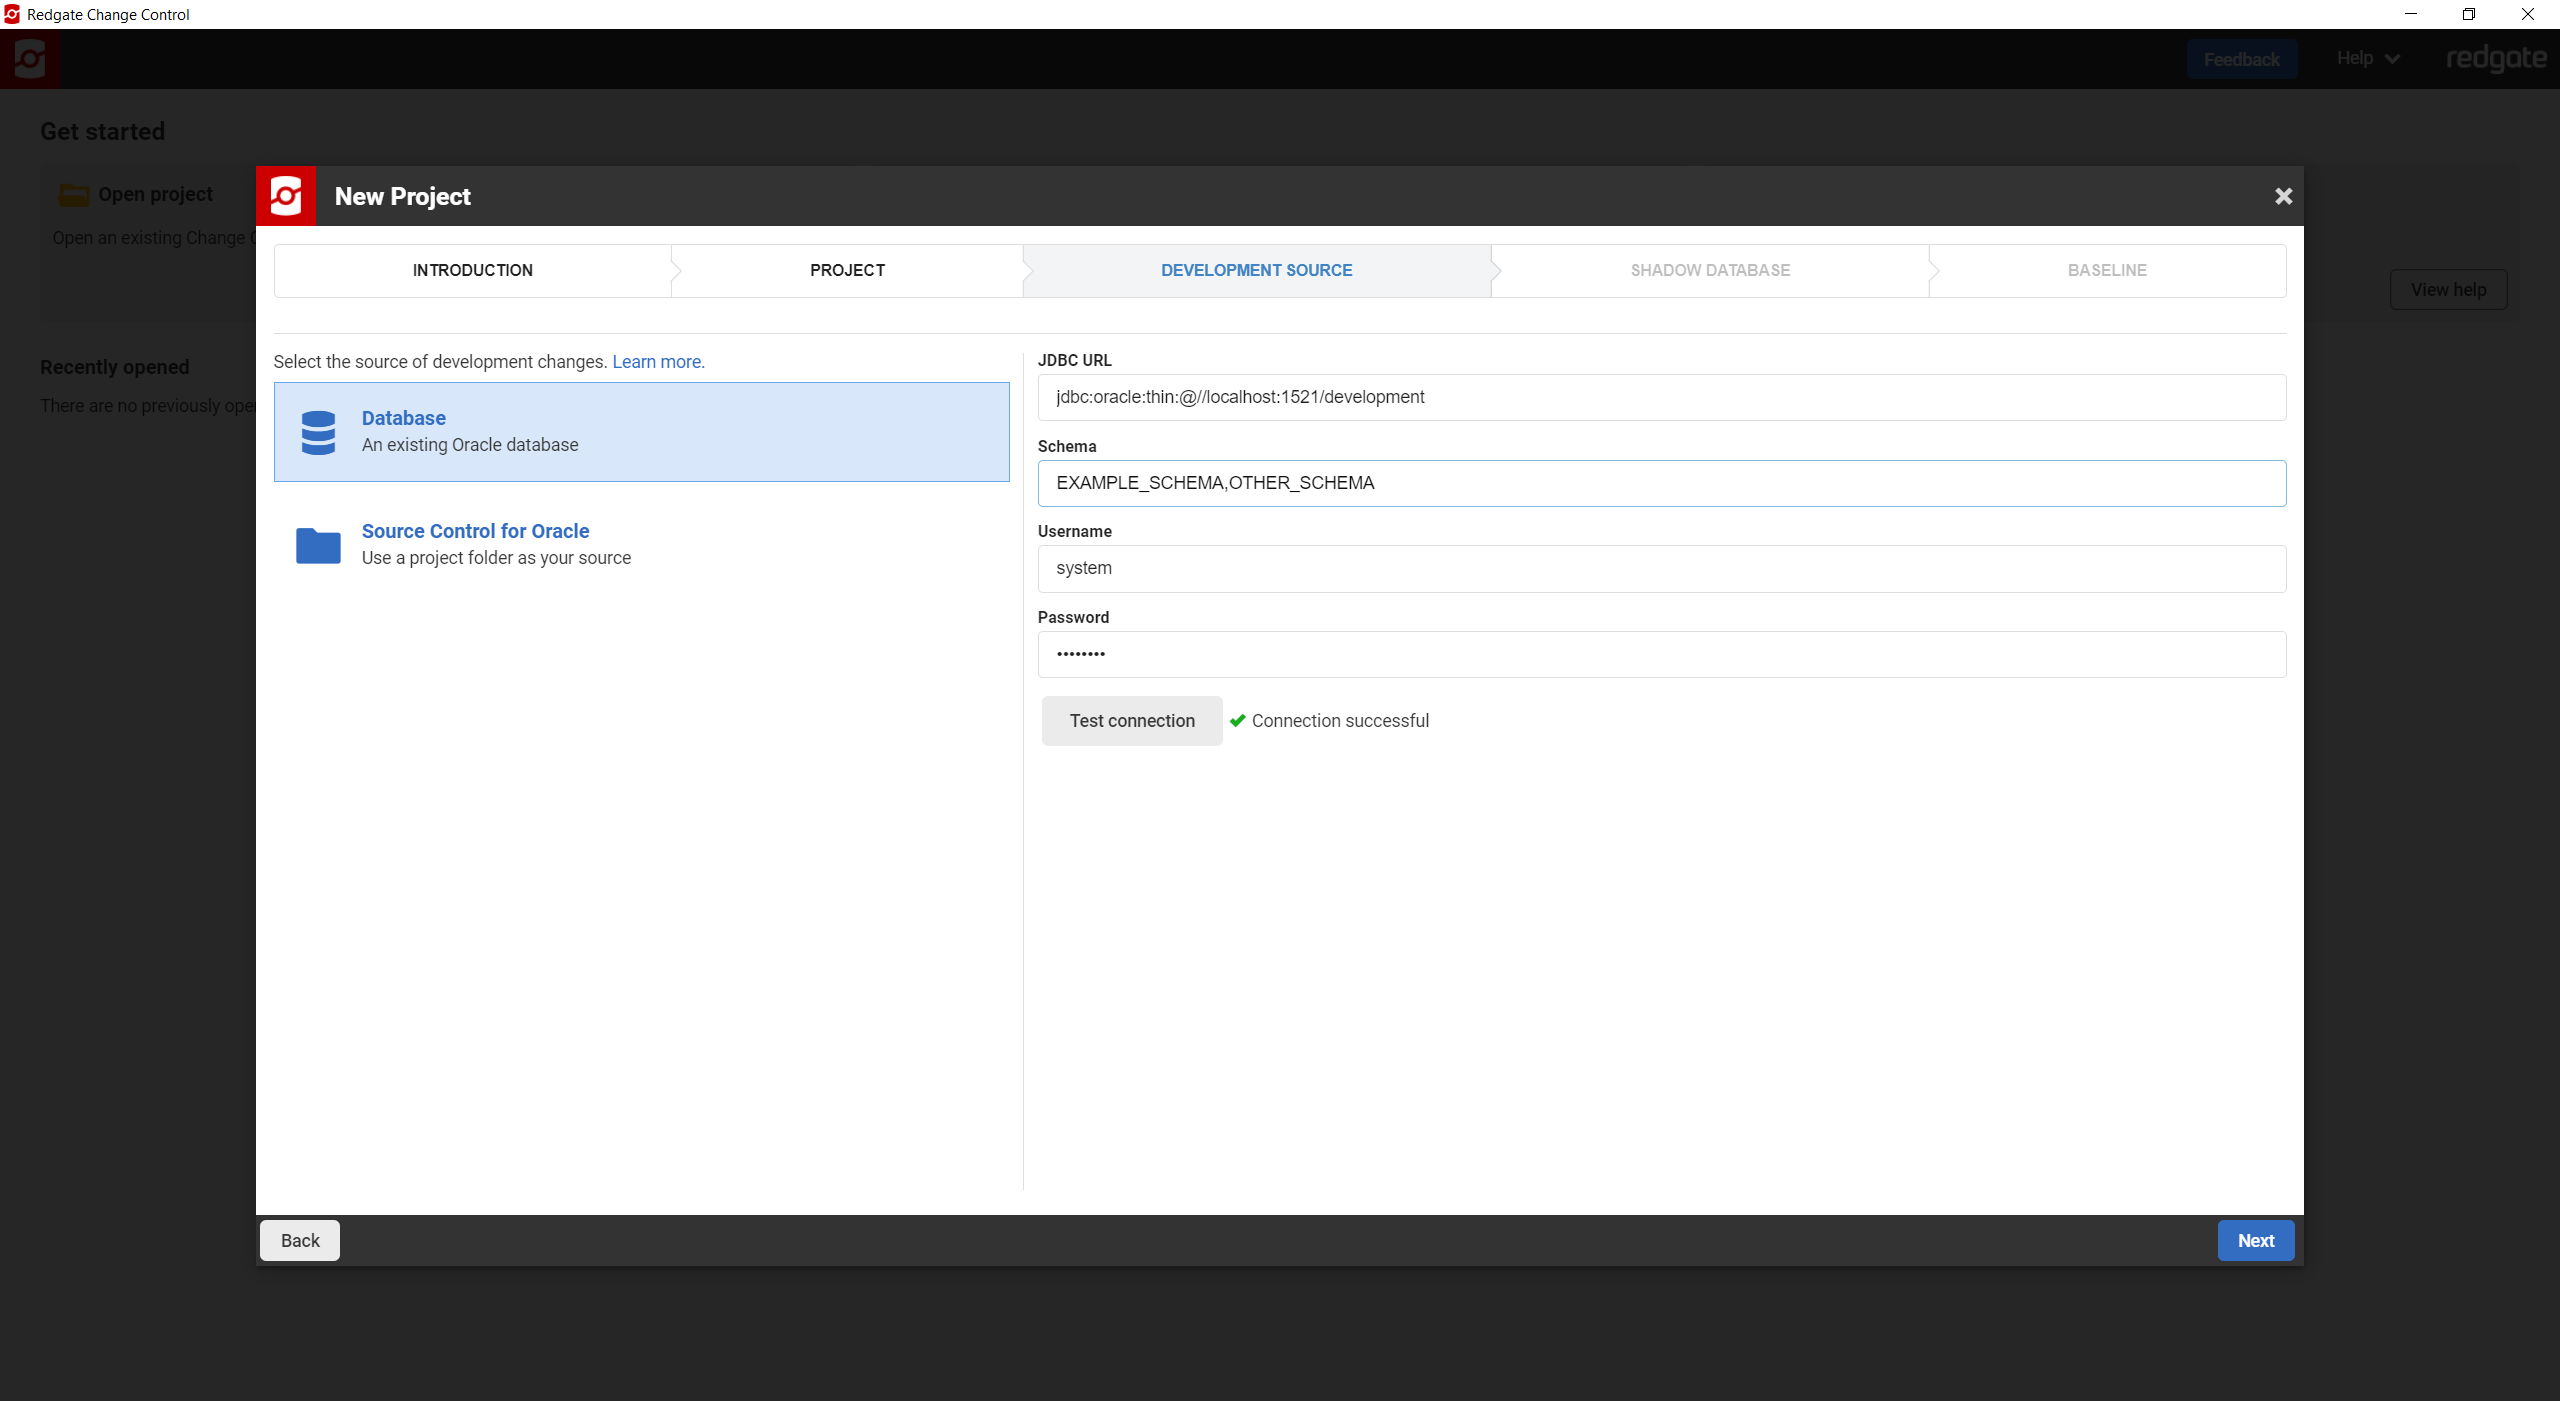
Specify the development source (database)
Enter the information required to connect to the development database. Click Next.
- JDBC URL (required): should be in the example format given (jdbc:oracle:thin:@//<host>:<port>/<service name>)
- Schema (required): a comma-separated list of schemas to include in the project; we will add a redgate_schema_history table to the first schema in your list to track migration scripts that have been ran against this database
- Username (optional): the username to use to connect to the development database. Warning: values entered here will be stored in plain text in the project configuration file (e.g., projectName.conf)
- Password (optional): the password to use to connect to the development database. Warning: values entered here will be stored in plain text in the project configuration file (e.g., projectName.conf)
If Username and Password are not entered here, you will be prompted for these at the end of the wizard. The Password will be encrypted if entered at this later stage.
The connection can be tested before continuing if Username and Password are entered.
Specify the development source (Source Control for Oracle project)
Enter the information required to register your Source Control for Oracle project. Then click Next.
- Project location (required): A path to your Source Control for Oracle project folder. This folder should contain a
DatabaseInformation.xmlfile, which contains the metadata used to recognise a Source Control for Oracle project. - Schema (required): a comma-separated list of schemas to include in the project; we will add a redgate_schema_history table to the first schema in your list to track migration scripts that have been ran against this database
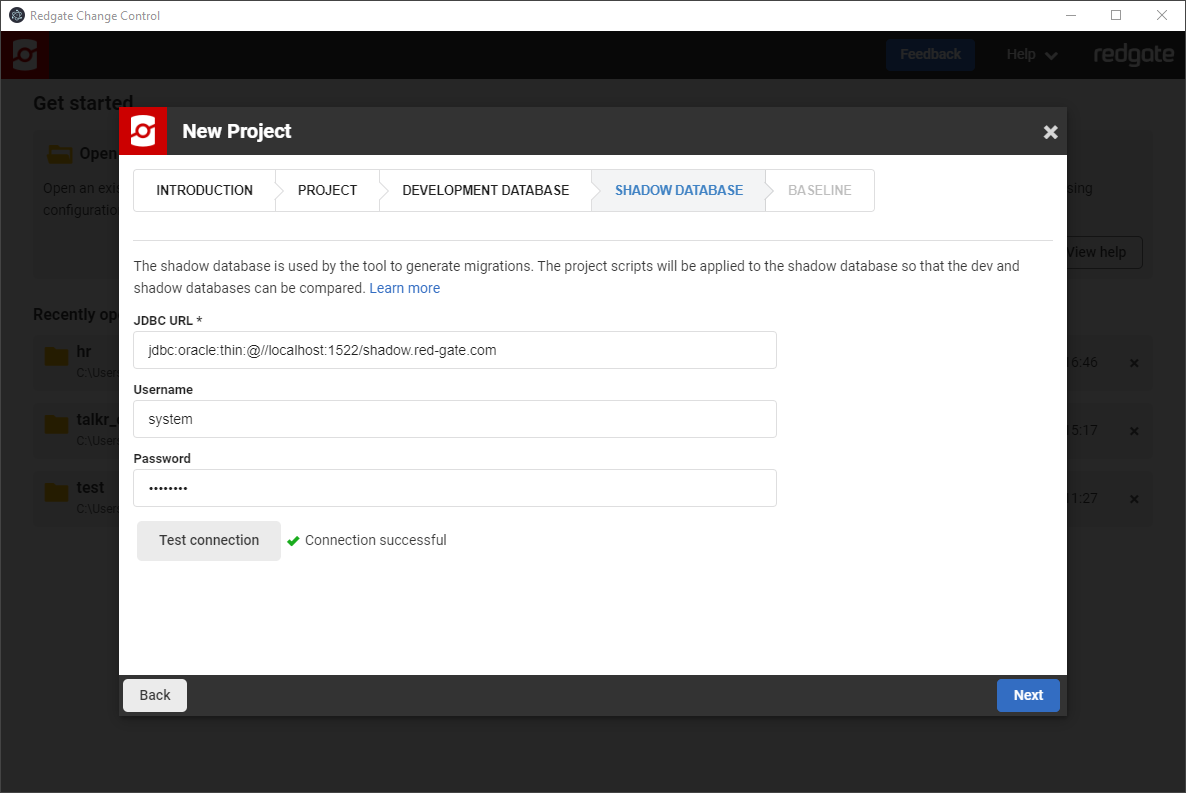
Specify the shadow database
Enter the information required to connect to the shadow database. Click Next.
- JDBC URL (required): should be in the example format given (jdbc:oracle:thin:@//<host>:<port>/<service name>)
- Username (optional): the username to use to connect to the shadow database. Warning: values entered here will be stored in plain text in the project configuration file (e.g., projectName.conf)
- Password (optional): the password to use to connect to the shadow database. Warning: values entered here will be stored in plain text in the project configuration file (e.g. projectName.conf)
If Username and Password are not entered here, you will be prompted for these at the end of the wizard. The Password will be encrypted if entered at this later stage.
The connection can be tested before continuing if Username and Password are entered.
The schema does not need to be specified here since it will be the same as those specified in the development database. For more information on the shadow database, see Shadow Database.
If you are only tracking changes to one schema, then you may want to try single-schema mode and set up a Shadow Schema instead of a Shadow Database. This is currently an experimental feature that you can configure through the projectName.conf file that you can try. There's more details about this at Shadow Database.
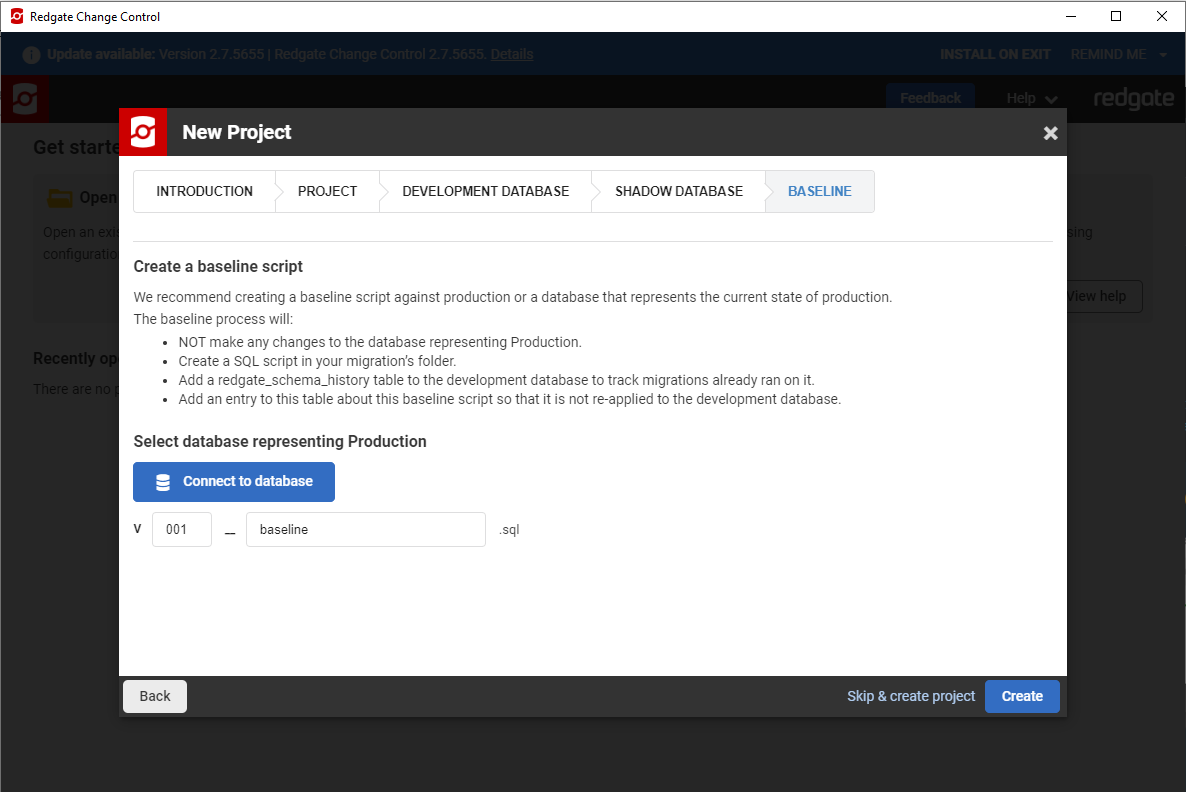
Create a baseline
We recommend creating a baseline script when setting up a new project so that any migration scripts created can be deployed to downstream environments (e.g. Test > Production). This step can be skipped at this stage and done at a later point, or ignored entirely (click Skip & create project). Ignoring the baseline entirely can be useful if the project will not be used for deployment (e.g. if setting up a new sandbox to experiment with the tool) or you are starting a greenfield project that does not have an existing database. For more information on baselining, see Creating a baseline script. To set up the baseline script in this wizard, click Connect to database.
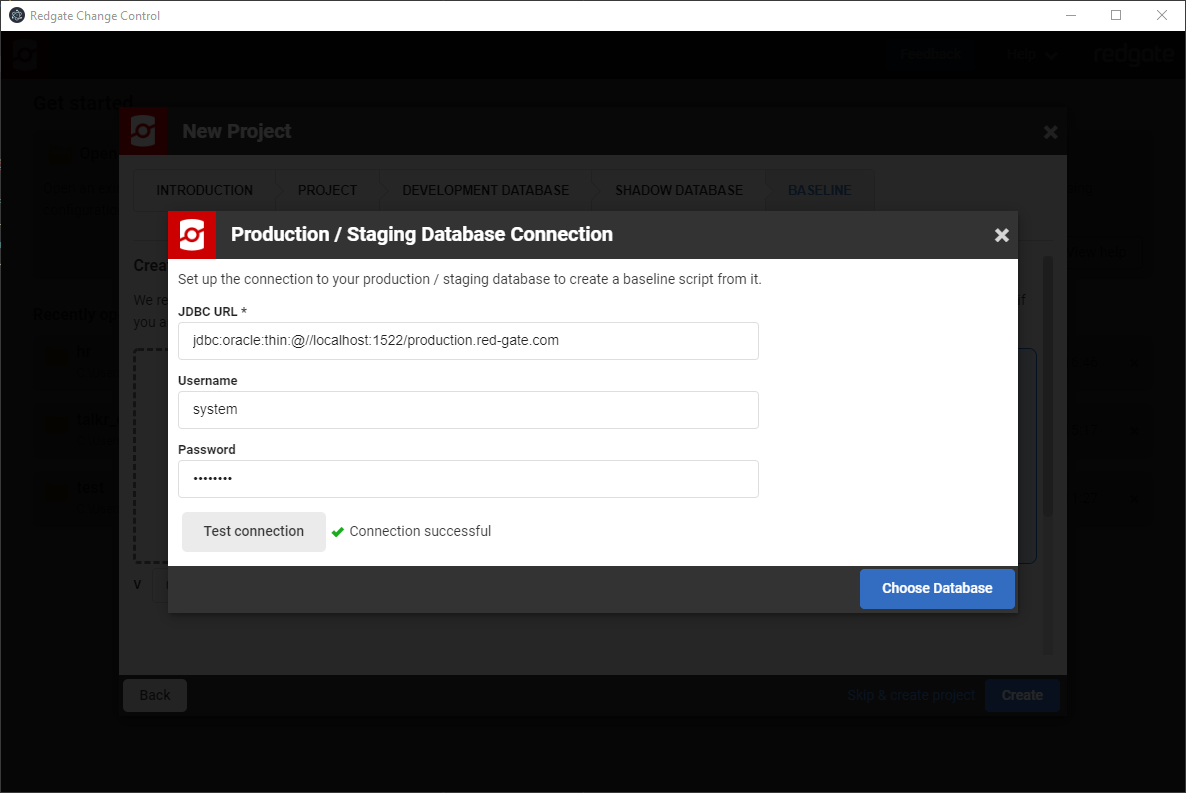
Specify the database that represents Production
Enter the information required to connect to a database that represents Production. Click Choose Database.
- JDBC URL (required): should be in the example format given (jdbc:oracle:thin:@//<host>:<port>/<service name>)
- Username (required): the username to use to connect to the Oracle instance. Note: values entered here are used to make a one-time connection and are not stored.
- Password (required): the password to use to connect to the Oracle instance. Note: values entered here are used to make a one-time connection and are not stored.
The baseline script will be generated from the schema specified in the development database step. The connection can be tested before continuing.
Name the baseline script
Give the baseline script a version number and a description. The version number is set to 001 by default but can be changed to match your versioning convention. Click Create.
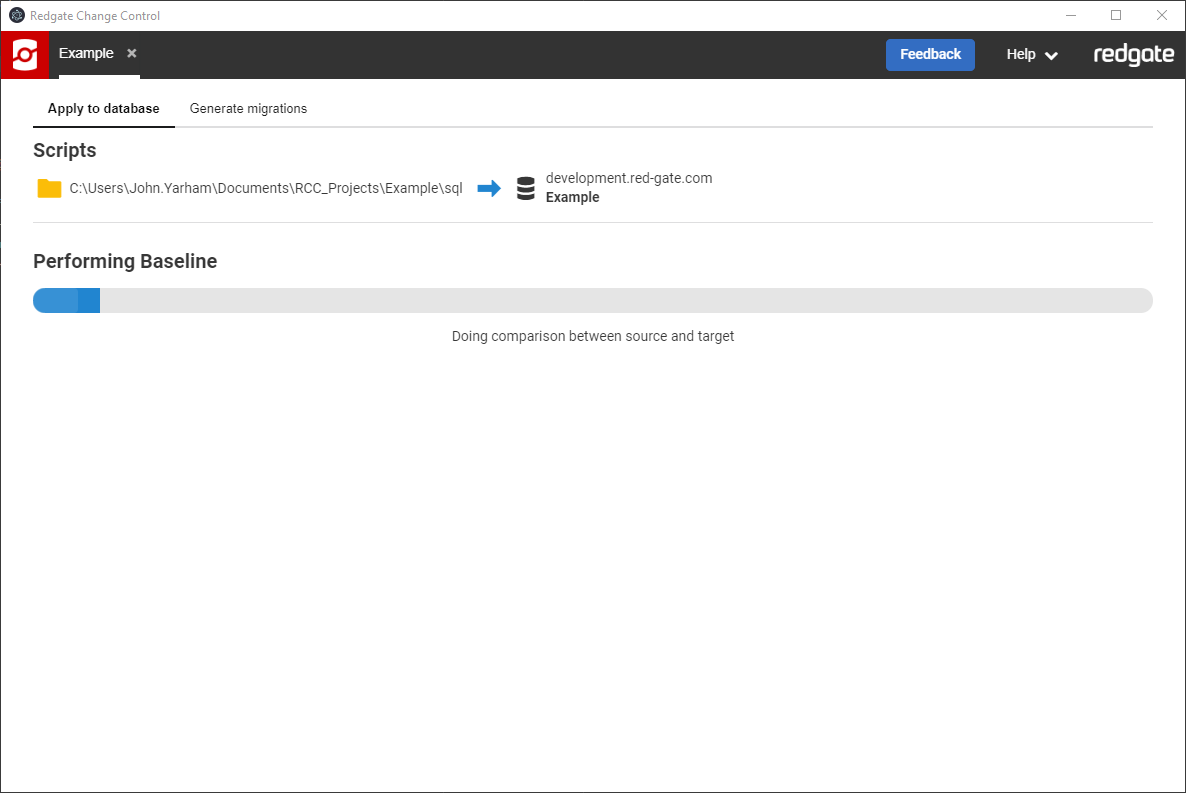
Wait for the baseline script to be created
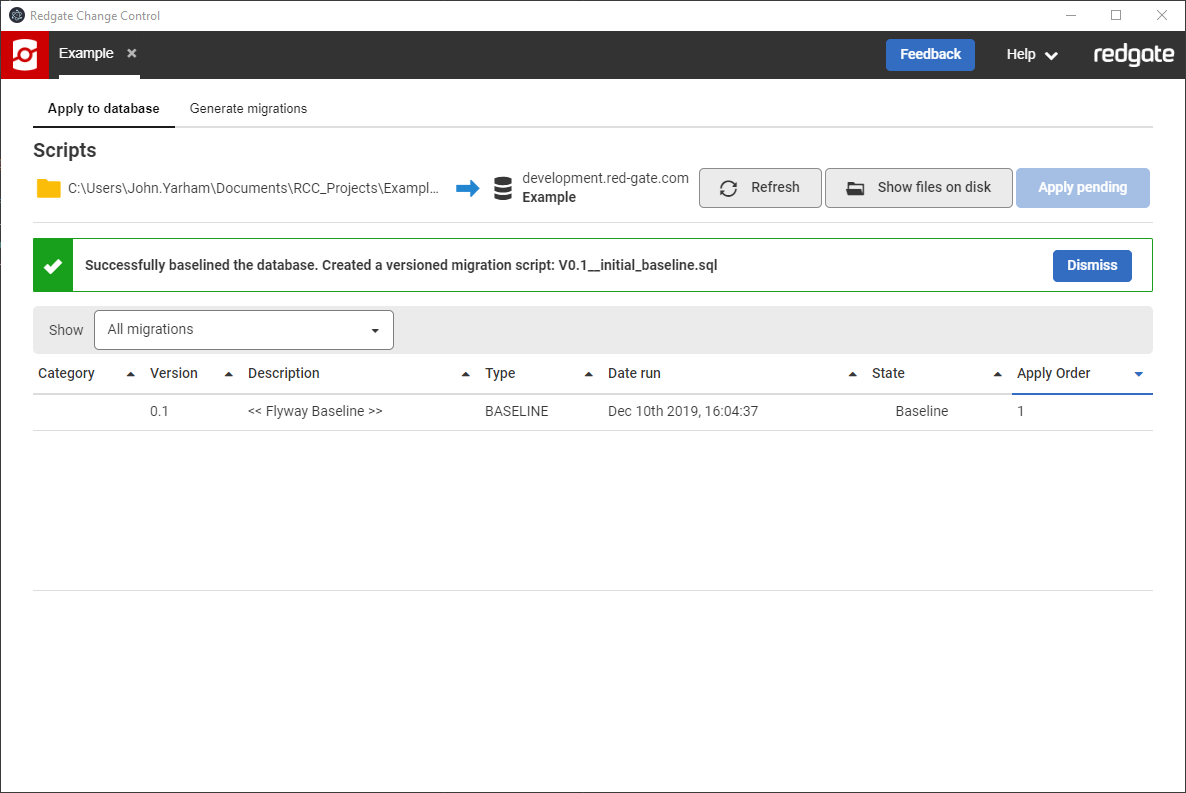
Review
A green success message should appear and the generated script will be displayed in the table. The project is now ready to use. Commit this to your version control system for other team members to get this project using their version control system client. Other team members can then Opening an existing project and start collaborating on database changes to this project.
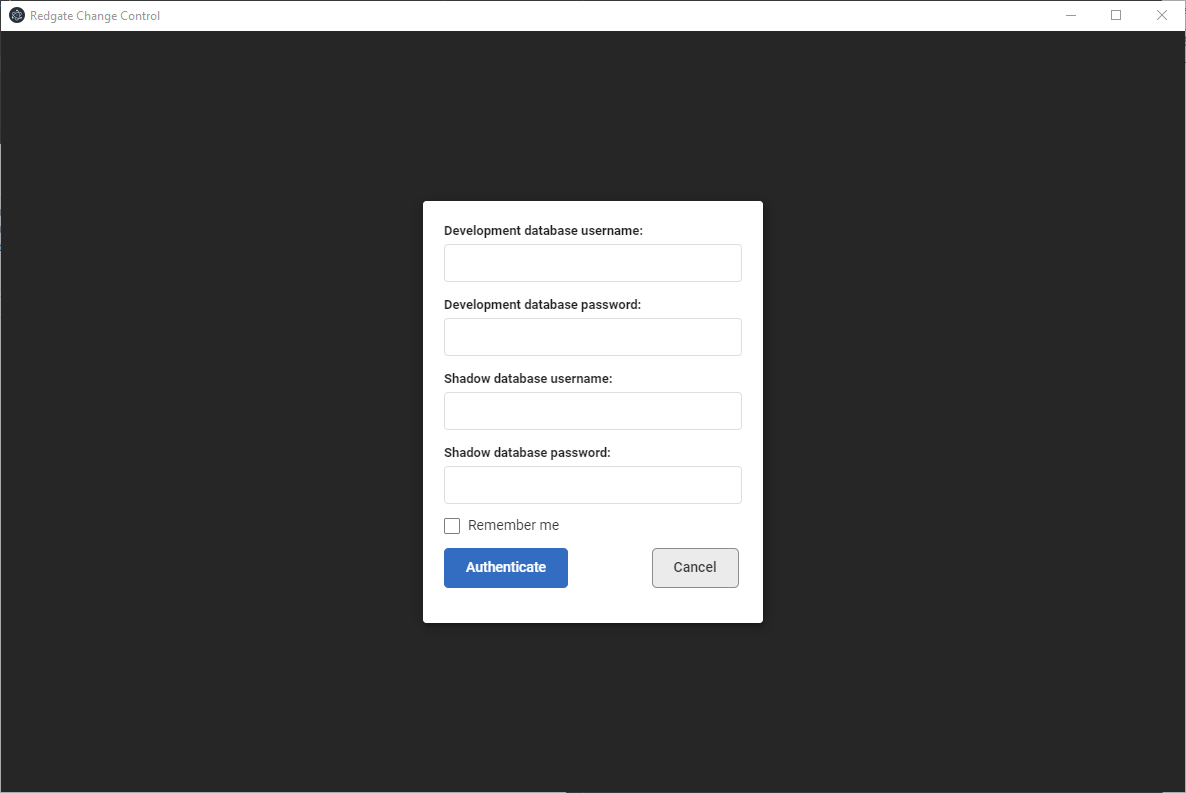
Credential setting
If the username and/or password were not set for the development or the shadow database during the wizard, a dialog box will be shown before the tool can be used requesting these credentials. All the fields are mandatory. If Remember me is checked, obfuscated values will be persisted for future sessions.
Per-user settings
Some settings (particularly the urls and credentials for the development and shadow databases) may need to vary for each user of a project. By default, RCC will create new projects with a separate per-user settings files stored in the local user settings:
- Windows:
%LOCALAPPDATA%/Redgate/RCC/<project-id>.conf.user - Mac:
~/Library/Preferences/Redgate/RCC/<project-id>.conf.user - Linux:
~/.local/share/Redgate/RCC/<project-id>.conf.user
If preferred, per-user settings can also be stored in a file named <project-name>.conf.user next to the main project file.
Settings in the per-user files override settings specified in the main project file. If required, development and shadow database details can be kept in the main project file, but using dedicated per-user databases is recommended wherever possible.
This documentation contains proprietary information and is protected by copyright law.
Copyright © 2026 Red Gate Software Limited. All rights reserved


