Getting started
Published 18 November 2013
With Deployment Manager, you can automate software deployments into development, test, staging and production environments.
1. Install the Deployment Manager server
Download the Deployment Manager installer from the Redgate website.
On the server you want to use to host the Deployment Manager web interface, run the DeploymentManager.msi installer.
Requirements
For a list of software requirements for a Deployment Manager server, see Requirements.
Follow the instructions to complete the installation.
For more information, see Installing.
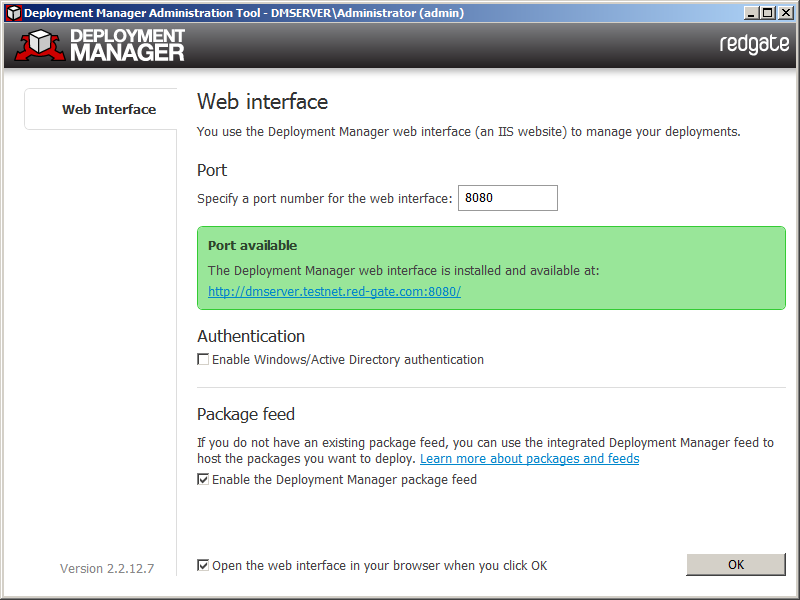
An administration tool is displayed when the installation is complete:
In the administration tool, specify the port you want to use for the Deployment Manager web interface, and then click OK.
The Deployment Manager web interface launches in your web browser. If you encounter a problem viewing the web interface, see Troubleshooting.
2. Create an administrator user
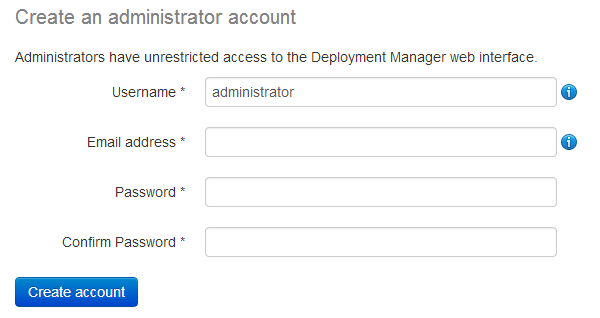
The first time you visit the web interface, you must create an administrator user account:
Enter details for the administrator, and click Create account. Click Continue to Deployment Manager on the page that is displayed.
For a list of what administrator users can do, see Permissions.
3. Add environments
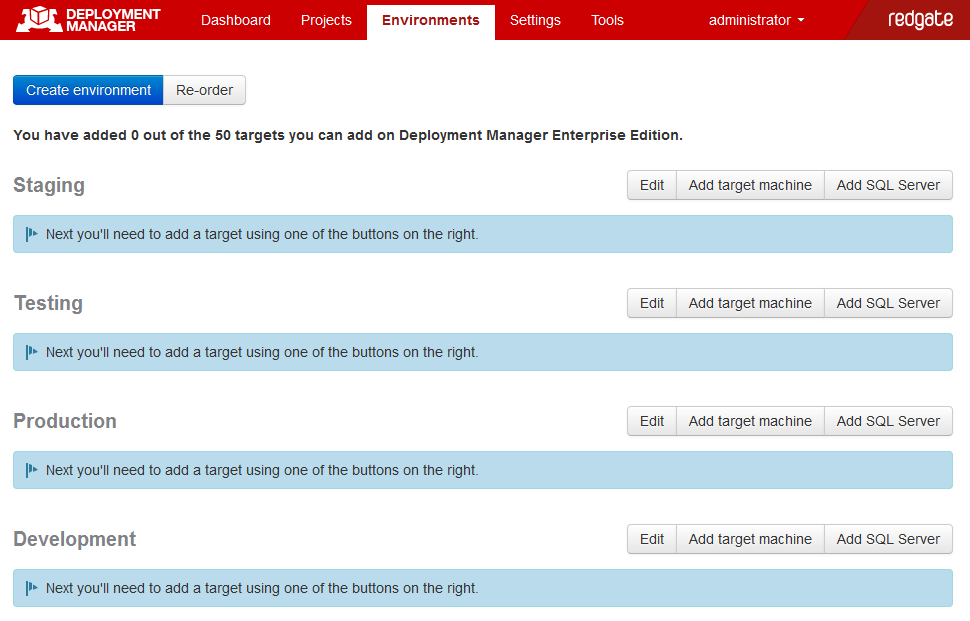
You need to add some environments. These are groups of machines that you can deploy to. For example, this allows you to group several machines as Development, Testing, Staging and Production:
To add some environments, see Setting up environments.
4. Add machines to your environments
Next, you need to add machines to your environments:
- To add SQL Servers, see Adding a SQL Server.
- To add general target machines, such as a web servers, see Adding a target machine.
5. Create deployment packages
Next, you need to create and publish the packages you want to deploy.
Packages can contain databases or applications.
To package and publish a database, you can:
- Use the SSMS add-in and publish it from the context menu in SQL Server Management Studio.
- Set up an automated process in TeamCity.
- Set up an automated process in MSBuild.
To package and publish an application, you can:
- Use the Visual Studio extension and publish it from from the context menu in Visual Studio.
- Use the RgPublish.exe tool.
If you're creating and publishing packages for the first time, we recommend using the SSMS add-in or the Visual Studio extension.
6. Create a project
Once you've created and published the packages you want to deploy, you need to create a project.
Projects contain the deployment steps you want Deployment Manager to perform.
To add a project, see Creating projects.
7. Adding steps
To deploy a package you have published, you need to add a step to your project. Projects can have multiple steps to deploy multiple packages.
- To deploy a database package, see configuring a database package step.
- To deploy an application package, see configuring a package step.
8. Create and deploy a release
Next, create a release:
- On the Releases page, click Create release:
- Enter a version number for the release, select the version of the package you want to deploy, and then click Create release.You can now deploy the release.
- On the page for the release you want to deploy, on the menu bar, click Deploy this release:
- Select the environment you want to deploy to, add any comments you want, and click Deploy release.
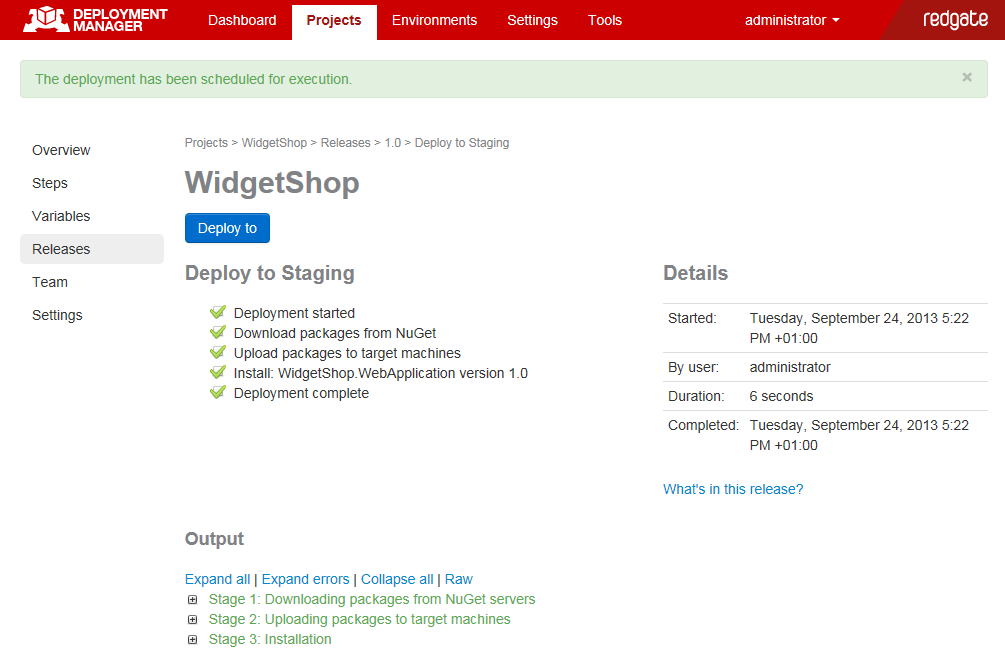
Deployment Manager executes the deployment, and displays output logging information:
You've now deployed your first release with Deployment Manager.


