Using the Visual Studio Deployment Manager Extension
Published 07 August 2013
With the Visual Studio Deployment Manager extension, you can publish a web application directly to Deployment Manager from Visual Studio:
- Open your web project solution in Visual Studio.
In Solution Explorer, right-click on a project in your solution.
The context menu is displayed:
You can also access this option from the Build menu in the Visual Studio title bar.
- Click Publish for deployment.
The Deployment Manager Details page of the wizard is displayed: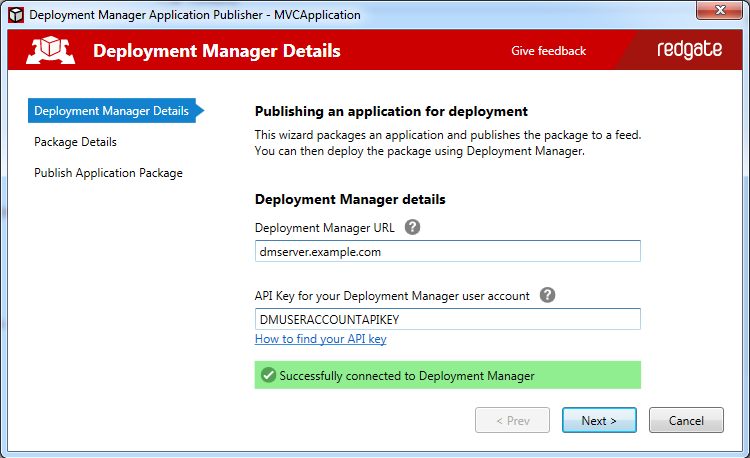
- Type or paste your Deployment Manager server URL into the Deployment Manager URL box.
- Copy your API key from your user profile in Deployment Manager and paste it in to the API Key box.
- Click Next.
The Package Details page is displayed: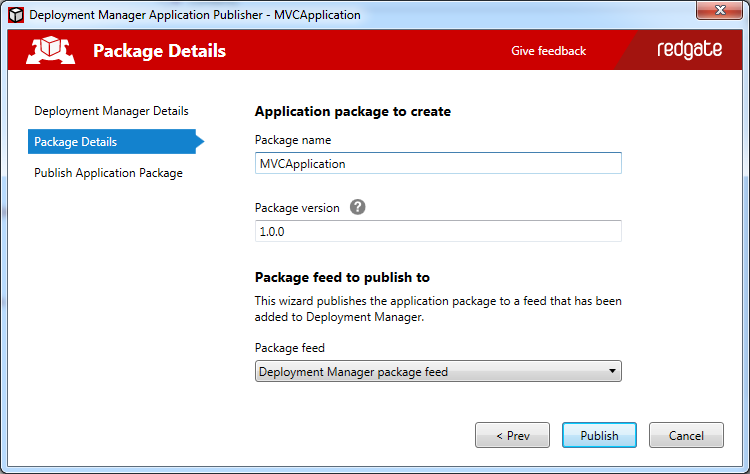
- Type a name for the package or accept the default.
Type a package version or accept the default.
The extension automatically increments the least significant number of the version each time you publish.
- Select a package feed from the Package feed to publish to box.
For more information on package feeds, see Working with package feeds. - Click Publish.
The package is published and the Publish Application Package page is displayed: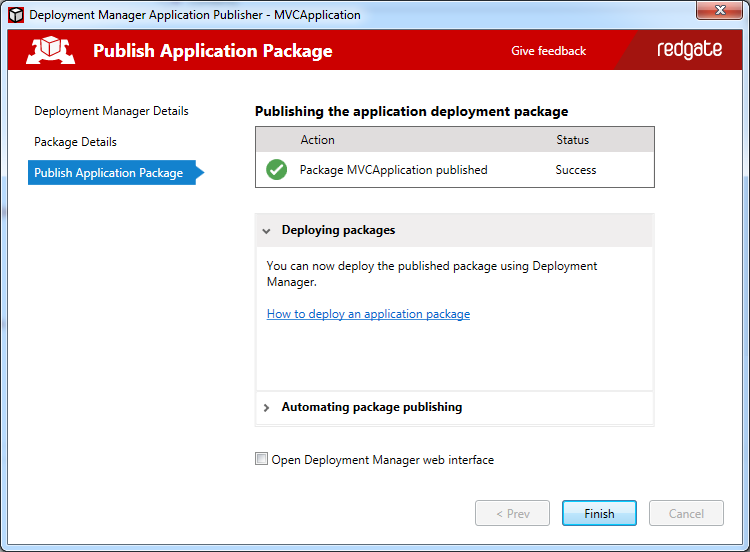
- Click Finish.
Deploying a package with Deployment Manager
After you've published an application package, you can deploy it using the Deployment Manager web interface or command line. For more information, see Configuring a package step.
This documentation contains proprietary information and is protected by copyright law.
Copyright © 2026 Red Gate Software Limited. All rights reserved


